
Producto terminadoview
The Melnor 20280 Oscillating Sprinkler with Watering Gauge is designed to provide even and gentle watering for your lawn and garden. It features 16 precision nozzles and can cover an area of up to 3,100 sq. ft. The built-in watering gauge assists in monitoring water flow to prevent overwatering, and the adjustable spray range allows for precise watering of specific areas.
Características principales:
- Waters up to a 3,100 sq. ft. area.
- 16 precision nozzles ensure even water distribution.
- Adjustable spray range for targeted watering.
- Integrated watering gauge to monitor water application.
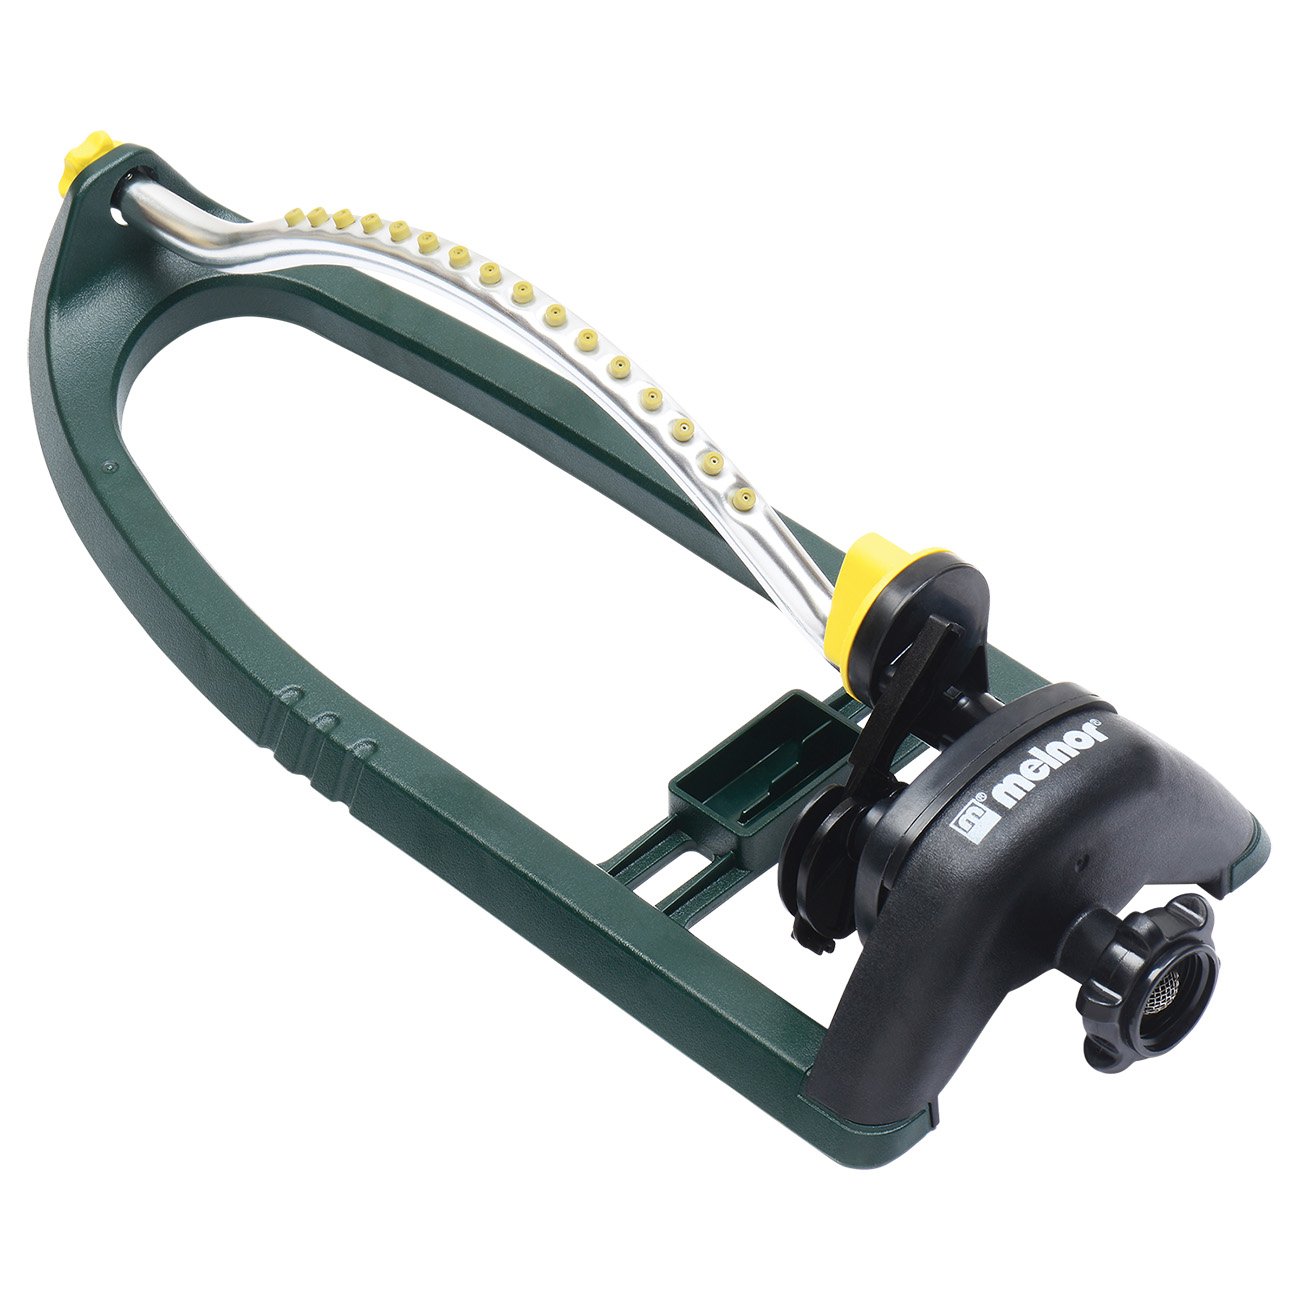
Image: The Melnor 20280 Oscillating Sprinkler, showcasing its design and integrated watering gauge.
Instrucciones de instalación
- Desembalaje del aspersor: Carefully remove the sprinkler from its packaging. Inspect for any damage.
- Coloque el aspersor: Place the sprinkler on a flat, stable surface in the area you wish to water. Ensure the base is secure to prevent tipping during operation.
- Conectarse a la fuente de agua: Attach a standard garden hose to the sprinkler's inlet connection. Hand-tighten the connection to prevent leaks. Do not overtighten.
- Adjust Spray Range (Initial): Before turning on the water, familiarize yourself with the spray range adjustment levers. These are typically located on the sides of the sprinkler head. Adjust them to define the desired watering area.

Image: An oscillating sprinkler demonstrating its adjustable range mechanism for defining the watering area.
Instrucciones de funcionamiento
- Abrir el agua: Abra lentamente el grifo de agua. Observe el funcionamiento del aspersor.
- Fine-tune Spray Range: While the water is running, adjust the spray range levers as needed to cover your desired area precisely. This prevents watering sidewalks or driveways.
- Monitor Watering Gauge: The built-in watering gauge helps you determine the amount of water applied. Use this to ensure your plants receive adequate moisture without overwatering. Consult local guidelines for recommended watering depths for your specific plants and soil type.
- Adjust Water Pressure: If the spray is too weak or too strong, adjust the water pressure at your faucet. The sprinkler is designed for optimal performance within typical household water pressures.
- Apagar el agua: Una vez finalizado el riego, cierre el suministro de agua en el grifo.

Image: Close-up of the sprinkler's adjustment levers, used to control the spray range.

Image: The integrated watering gauge on the sprinkler, indicating water application levels.
Mantenimiento
- Boquillas limpias: Periodically check the nozzles for clogs from debris or mineral deposits. Use a small pin or a soft brush to clear any obstructions.
- Inspeccionar la conexión de la manguera: Ensure the hose connection remains tight and free of leaks. Replace worn washers if necessary.
- Almacenamiento de invierno: Before the first frost, disconnect the sprinkler from the hose and drain all water from it. Store the sprinkler in a dry, protected area where temperatures remain above freezing to prevent damage from ice expansion.
- Limpieza general: Wipe down the sprinkler body with a damp paño para quitar la suciedad y la mugre. Evite el uso de productos químicos agresivos.

Image: A diagram illustrating key components of an oscillating sprinkler, useful for maintenance identification.
Solución de problemas
| Problema | Posible causa | Solución |
|---|---|---|
| Uneven Watering / Poor Coverage | Clogged nozzles; Low water pressure; Incorrect spray range adjustment. | Clean nozzles; Increase water pressure at faucet; Adjust spray range levers. |
| Sprinkler Not Oscillating | Low water pressure; Internal mechanism obstruction; Debris in the oscillation motor. | Ensure adequate water pressure; Check for visible obstructions; Contact customer support if problem persists. |
| Leaks at Hose Connection | Loose connection; Worn rubber washer. | Tighten hose connection; Replace the rubber washer in the hose coupling. |
| Watering Gauge Not Functioning | Debris obstructing sensor; Mechanical failure. | Inspect for and remove any debris; If still not working, contact customer support. |
Presupuesto
- Marca: Melnor
- Número de modelo: 20280
- Área de cobertura: Hasta 3,100 pies cuadrados.
- Boquillas: 16 Precision Nozzles
- Material: Metal, Plástico
- Color: Verde
- Dimensiones del artículo (largo x ancho x alto): 6.18 x 14.96 x 3.5 pulgadas
- Componentes incluidos: Oscillator Lawn and Garden Sprinkler
Garantía y soporte
The Melnor 20280 Oscillating Sprinkler is backed by a Melnor 7 Year Limited Warranty. This warranty covers defects in materials and workmanship under normal use. For warranty claims, technical assistance, or additional information, please refer to the official Melnor website or contact Melnor customer service directly.
Melnor stands behind its products.
Información importante de seguridad
ADVERTENCIA: Este producto puede exponerlo a productos químicos, incluido el estireno, que el estado de California reconoce como causante de cáncer. Para más información ir a www.P65Warnings.ca.gov. For outdoor use only.