
Intermatic T103M
Intermatic T103M Dial Timer Mechanism Instruction Manual
Modelo: T103M
1. Introducción
The Intermatic T103M Dial Timer Mechanism is a robust 24-hour mechanical timer designed for various applications including indoor/outdoor lighting, signs, filters, electric fences, fans, conveyors, pool heaters, blowers, and pumps. This mechanism provides reliable scheduling with up to 12 ON/OFF operations daily, each with a minimum ON/OFF time of one hour. It features a DPST switch with a 40 Amp, 125 VAC, 2 HP rating.
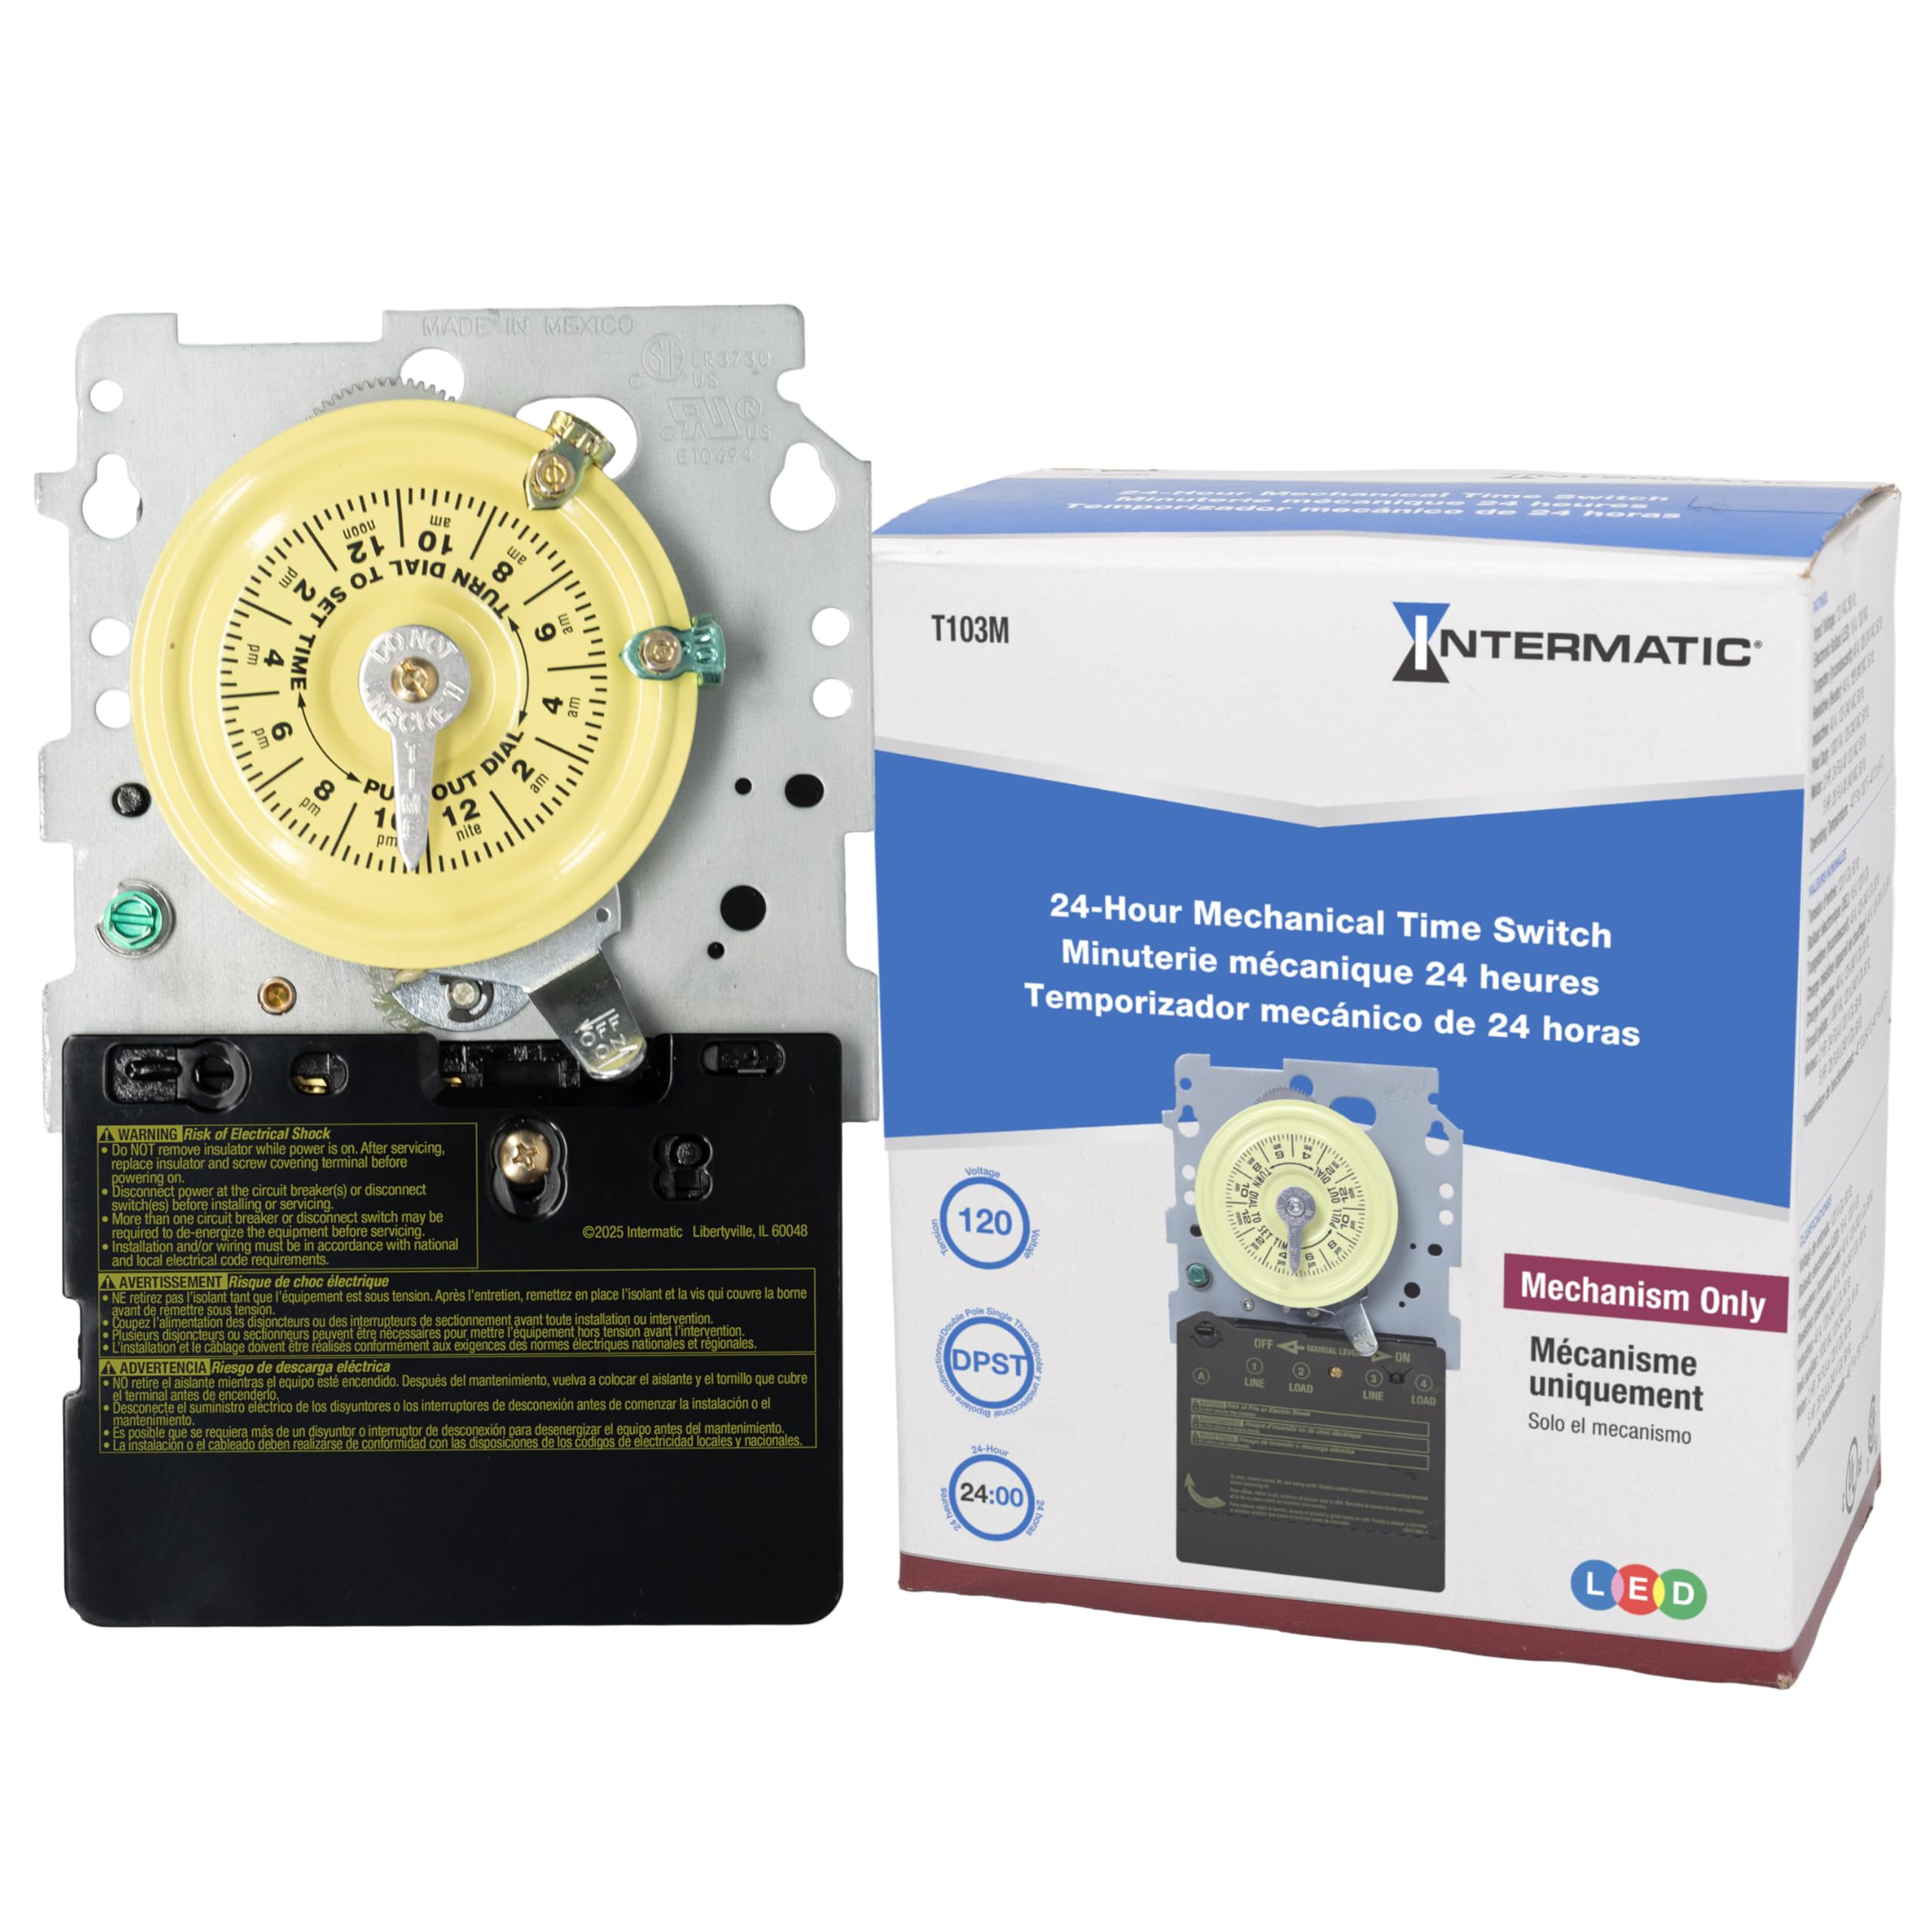
Imagen: Frente view of the Intermatic T103M Dial Timer Mechanism, showing the yellow 24-hour dial, manual lever, and electrical terminals.
2. Información de seguridad
WARNING: Always turn power OFF at the main panel before servicing this switch or the equipment it controls. Failure to do so may result in serious injury or death. Do not connect aluminum wires to switch terminals.
This device must be installed in accordance with the National Electrical Code (NEC) and local codes. Ensure proper grounding and bonding. Keep the enclosure door closed at all times when the unit is operational.
3. Configuración e instalación
Installation of the T103M mechanism typically involves replacing an existing timer or installing it into a compatible control panel. Always ensure power is disconnected before beginning any work.
3.1. Disconnecting Power
- Locate the main electrical panel for the equipment controlled by the timer.
- Turn off the circuit breaker supplying power to the timer and associated equipment (e.g., pool pump). Verify power is off using a voltage probador.
3.2. Removing the Old Mechanism (if applicable)
- Abra la puerta del panel de control.
- Carefully remove any protective cover plates inside the panel.
- Importante: Take clear photographs of the existing wiring connections before disconnecting any wires. This will serve as a reference for connecting the new mechanism.
- Loosen the terminal screws and carefully disconnect all wires from the old timer mechanism. Note the position of each wire (e.g., Line 1, Line 2, Load 1, Load 2, Ground).
- Locate the retaining tab(s) holding the mechanism in place. Press the tab(s) and gently pull the old mechanism out of its housing.

Image: The Intermatic T103M mechanism detached, revealing the internal gear system that drives the dial and switching action.
3.3. Installing the New Mechanism
- Align the new T103M mechanism with the mounting slots in the control panel.
- Push the mechanism firmly into place until the retaining tab(s) click securely.
- Refer to your previously taken photographs and the wiring diagram (usually located inside the control panel door) to connect the wires to the appropriate terminals on the new mechanism. Ensure all connections are tight and secure.
- Replace any protective cover plates.
4. Instrucciones de funcionamiento
4.1. Configuración de la hora actual
- Grasp the outer edge of the yellow dial.
- Rotate the dial clockwise until the current time aligns with the "TIME" arrow indicator.
4.2. Setting ON/OFF Operations
- The T103M comes with one "ON" (green) and one "OFF" (red) tripper.
- To set an ON time: Push the green tripper into the desired ON time slot on the dial.
- To set an OFF time: Push the red tripper into the desired OFF time slot on the dial.
- Additional trippers can be purchased separately for up to 12 ON/OFF operations per day.
- Minimum ON/OFF time is one hour.
4.3. Accionamiento manual
The timer mechanism includes a manual lever. This lever allows you to temporarily override the programmed schedule. Pushing the lever to the "ON" or "OFF" position will manually switch the connected equipment. The timer will resume its programmed schedule at the next scheduled ON or OFF event.
5. Mantenimiento
The Intermatic T103M is designed for durability with all-metal construction and a heavy-duty gear train. Regular maintenance is generally not required beyond ensuring the unit is free from debris and moisture. Periodically inspect the wiring connections for tightness and signs of wear. Ensure the control panel door is securely closed to protect the mechanism from environmental elements.
6. Solución de problemas
6.1. Timer Not Activating/Deactivating Equipment
- Comprobar potencia: Ensure power is supplied to the control panel and the timer mechanism.
- Verify Tripper Placement: Confirm that the ON and OFF trippers are correctly positioned on the dial for the desired schedule.
- Inspeccionar los engranajes: If the timer dial is not rotating or the manual lever does not engage the switch, the internal gears may be damaged or stripped. This often requires replacement of the timer mechanism. You can often feel the smaller gears turning by gently touching them through openings in the back of the mechanism, even if the main dial is not moving.
- Conexiones de cableado: Recheck all wiring connections for tightness and proper placement according to the wiring diagram.
6.2. Timer Dial Not Moving
- This indicates a motor or gear train failure within the mechanism. The mechanism will need to be replaced.
7. Especificaciones
| Característica | Especificación |
|---|---|
| Número de modelo | T103M |
| Marca | Intermático |
| Tipo de interruptor | DPST (Doble polo, un solo tiro) |
| AmpCalificación de edad | 40 Amp |
| Volumentage Calificación | 125 V CA |
| Clasificación de caballos de fuerza | 2 CV |
| Operaciones diarias | Up to 12 ON/OFF operations |
| Tiempo mínimo de encendido/apagado | 1 horas |
| Material de construcción | Toda la construcción de metal |
| Dimensiones (D x W x H) | 2.5" de profundidad x 4.5" de ancho x 7" de alto |
| Peso del artículo | 1.3 libras |
| Aprobaciones | UL (Canadá y EE. UU.), CSA (Canadá y EE. UU.) |
8. Garantía y soporte
For warranty information, please refer to the manufacturer's description or contact Intermatic customer support directly. Keep your purchase receipt for warranty claims.
For technical assistance or further inquiries, please visit the official Intermatic webSitio web o contacte con su departamento de atención al cliente. Los datos de contacto suelen estar disponibles en el empaque del producto o en la información del fabricante. websitio.
Ask a question about this manual
Ask about setup, troubleshooting, compatibility, parts, safety, or missing instructions. Manuals+ will review the question and use this page’s manual context to help answer it.