1. Introducción
This manual provides essential instructions for the safe and efficient operation of your BLACK+DECKER B2250 All-In-One Automatic Breadmaker. This appliance is designed to bake 1-1/2 to 2-pound loaves of bread by automatically controlling temperature, kneading, and baking times. Please read all instructions thoroughly before first use and retain this manual for future reference.
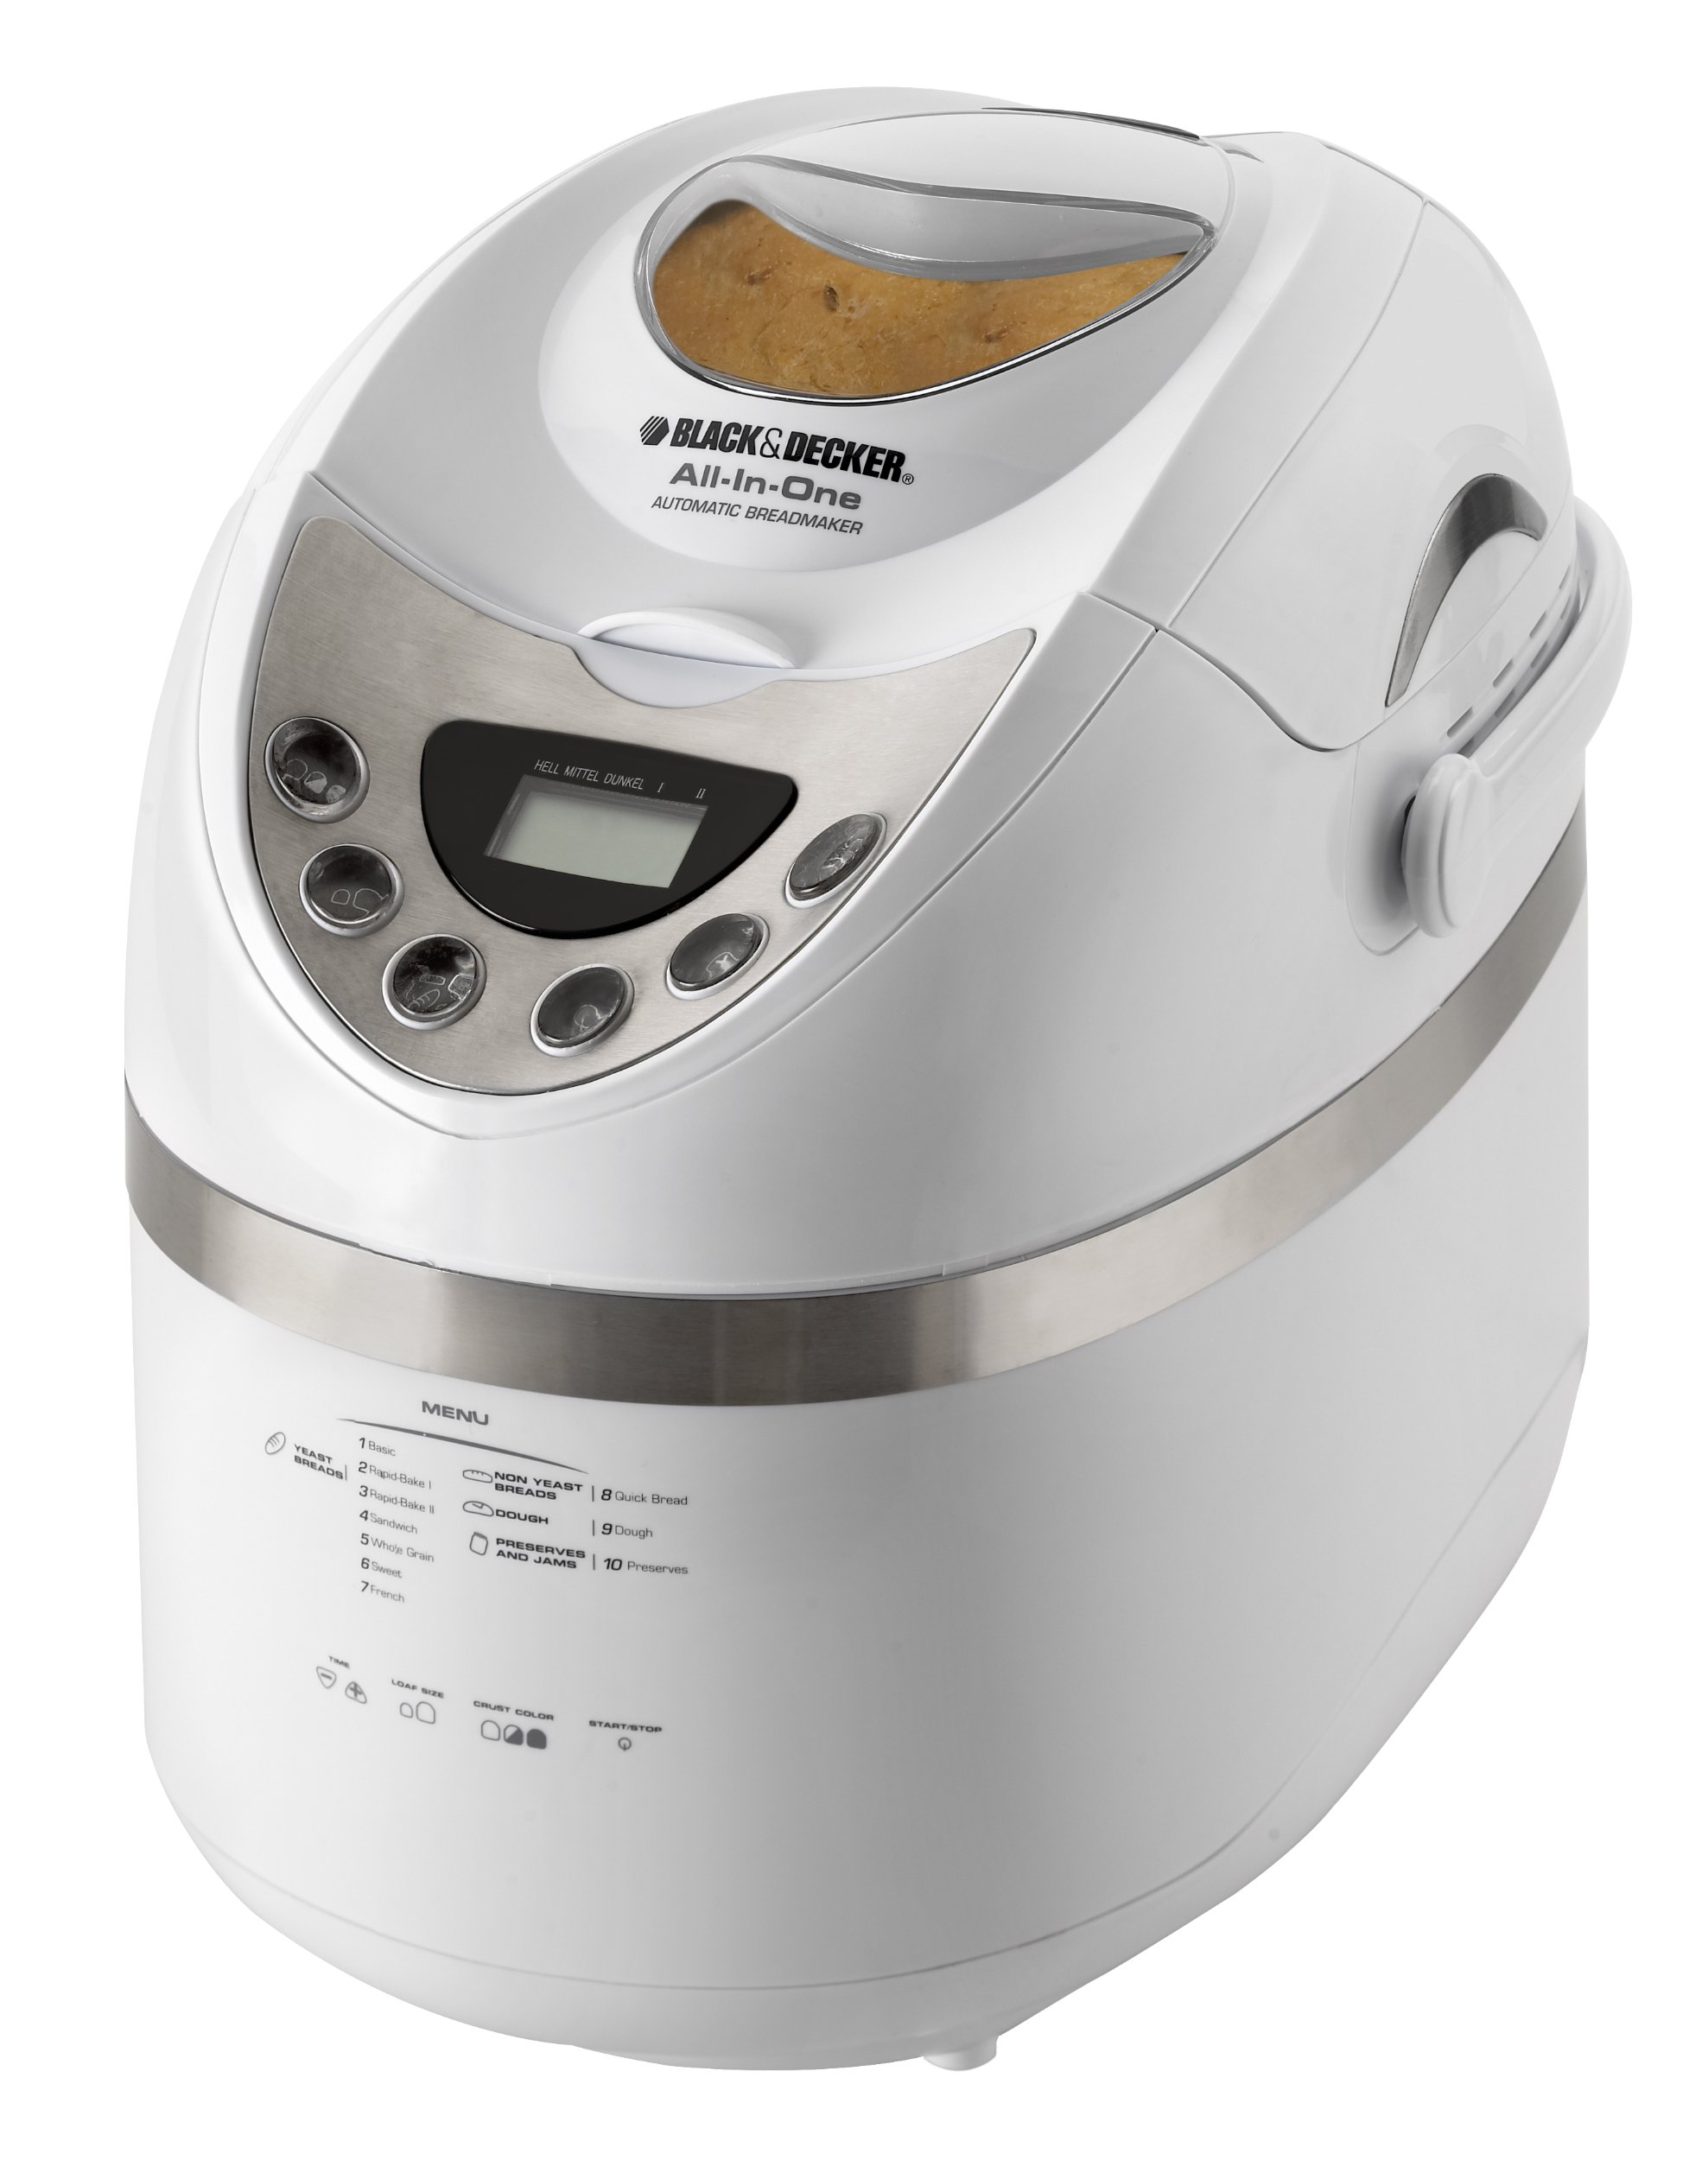
Image of the Black & Decker B2250 Automatic Breadmaker, showing its white exterior, control panel, and viewventana de ing.
2. Instrucciones de seguridad importantes
Al utilizar aparatos eléctricos, siempre se deben seguir precauciones básicas de seguridad para reducir el riesgo de incendio, descarga eléctrica y/o lesiones a las personas, incluidas las siguientes:
- Lea todas las instrucciones.
- No toque superficies calientes. Utilice asas o perillas.
- Para protegerse contra descargas eléctricas, no sumerja el cable, los enchufes ni el aparato en agua ni en ningún otro líquido.
- Es necesaria una estrecha supervisión cuando cualquier aparato sea utilizado por niños o cerca de ellos.
- Desenchufe el aparato del tomacorriente cuando no lo utilice y antes de limpiarlo. Deje que se enfríe antes de colocar o quitar piezas.
- No opere ningún aparato con un cable o enchufe dañado o después de que el aparato funcione mal o haya sufrido algún daño.
- El uso de accesorios no recomendados por el fabricante del aparato puede provocar lesiones.
- No utilizar en exteriores.
- No deje que el cable cuelgue del borde de la mesa o mostrador, ni que toque superficies calientes.
- No lo coloque sobre o cerca de un quemador de gas o eléctrico caliente, ni dentro de un horno caliente.
- Se debe tener mucho cuidado al mover un aparato que contenga aceite caliente u otros líquidos calientes.
- Para desconectar, gire cualquier control a la posición “apagado” y luego retire el enchufe del tomacorriente de pared.
- No utilice el aparato para ningún fin distinto del previsto.
3. Componentes del producto
The BLACK+DECKER B2250 Automatic Breadmaker includes the following main components and accessories:
- Unidad principal: Features a cool-touch housing and a viewVentana para monitorear el proceso de horneado.
- Panel de control: User-friendly interface with a digital display for program selection and settings.
- Bandeja para hornear antiadherente: Removable pan for easy bread removal and cleaning.
- Paleta de amasado: Detachable paddle for mixing ingredients.
- Taza de medir: Para mediciones precisas de líquidos.
- Cuchara medidora: For accurate dry ingredient measurements.
4. Configuración
- Desembalaje: Carefully remove the breadmaker and all accessories from the packaging. Retain packaging for storage or shipping if needed.
- Limpieza inicial: Before first use, wash the nonstick baking pan, kneading paddle, measuring cup, and measuring spoon in warm, soapy water. Rinse thoroughly and dry completely. Wipe the exterior of the breadmaker with a damp paño.
- Colocación: Coloque la panificadora sobre una superficie estable, plana y resistente al calor, alejada de la luz solar directa y de fuentes de calor. Asegúrese de que haya una ventilación adecuada alrededor del aparato.
- Conexión de energía: Conecte el cable de alimentación a una toma de corriente con conexión a tierra. La pantalla digital se iluminará.
5. Instrucciones de funcionamiento
Follow these steps for baking bread with your automatic breadmaker:
- Insertar paleta de amasado: Coloque la paleta amasadora sobre el eje dentro del molde para hornear.
- Añadir ingredientes: Add ingredients to the baking pan in the order specified by your recipe (typically liquids first, then dry ingredients, with yeast last). Ensure all ingredients are at room temperature.
- Coloque la bandeja para hornear: Insert the baking pan into the breadmaker, ensuring it is securely locked in place. Close the lid.
- Seleccionar programa: Use the control panel to select one of the 10 available menu items (e.g., Basic, French, Whole Wheat). Refer to your recipe book for recommended programs.
- Choose Loaf Size and Crust Shade: Select the desired loaf size (1-1/2 or 2 pounds) and crust shade (light, medium, dark) using the respective buttons on the control panel.
- Establecer temporizador de retardo (opcional): If you wish to delay the start of the baking process, use the delay timer function. The breadmaker can be programmed up to 13 hours in advance.
- Comience a hornear: Press the START/STOP button to begin the selected program. The breadmaker will automatically proceed through kneading, rising, and baking cycles.
- Función mantener caliente: After baking is complete, the breadmaker will automatically switch to a 60-minute keep warm cycle.
- Quitar el pan: Once the cycle is complete, unplug the breadmaker. Using oven mitts, carefully remove the hot baking pan. Invert the pan to release the bread onto a wire rack to cool. Remove the kneading paddle from the loaf if it remains embedded.
6. Cuidado y mantenimiento
Proper care ensures the longevity and performance of your breadmaker.
- Limpieza de la bandeja para hornear y la paleta: After each use, allow the pan and paddle to cool. Fill the pan with warm, soapy water and let it soak for 10-15 minutes to loosen any stuck-on dough. Wash with a soft sponge and rinse thoroughly. Do not use abrasive cleaners or metal utensils, as these can damage the nonstick coating.
- Limpieza del exterior: Wipe the exterior of the breadmaker with a dry cloth. For stubborn stains, use a slightly damp cloth, then dry immediately. Do not immerse the breadmaker in water or any other liquid.
- Limpieza del ViewVentana de visualización: Limpiar el viewVentana con una suave luzamp paño.
- Almacenamiento: Ensure the breadmaker is clean and dry before storing. Store in a cool, dry place.
7. Solución de problemas
If you encounter issues with your breadmaker, refer to the following common solutions:
| Problema | Posible causa | Solución |
|---|---|---|
| El pan no sube | Levadura caducada, temperatura del agua incorrecta, demasiada sal/azúcar. | Verifique la fecha de vencimiento de la levadura, use agua tibia (105-115 °F) y asegúrese de que las medidas de los ingredientes sean correctas. |
| Pan denso o pesado | Demasiada harina, poco líquido, levadura vieja. | Mida los ingredientes con precisión y asegúrese de que la levadura sea fresca. |
| Palitos de pan a la sartén | Pan not properly greased (if recipe requires), damaged nonstick coating. | Ensure pan is clean and undamaged. Allow bread to cool slightly before removing. |
| Ruido fuerte durante el funcionamiento | Kneading paddle not properly seated, breadmaker on an uneven surface. | Ensure paddle is securely attached. Place breadmaker on a stable, flat surface. |
8. Especificaciones
- Número de modelo: B2250
- Marca: NEGRO+DECKER
- Capacidad: 1-1/2 to 2 Pounds
- Material: Plástico
- Color: Blanco
- Dimensiones del producto: 18.58 x 12.36 x 14.8 pulgadas
- Peso del artículo: 15.4 libras
- Código postal: 050875530515
- Características: 10 Menu Items, 3 Crust Shades, 13-hour Delay Timer, 60-minute Keep Warm, Viewing Window, Cool-Touch Housing
- Instrucciones de cuidado del producto: Limpiar con un paño seco
9. Garantía y soporte
Para obtener información sobre la garantía y atención al cliente, consulte la tarjeta de garantía incluida con su producto o visite el sitio web oficial de BLACK+DECKER. website. You may also contact their customer service directly for assistance with product operation, parts, or service.