1. Introducción
This manual provides detailed instructions for the installation, operation, and maintenance of your Geberit PushControl Bathtub Drain and Overflow Unit, Model 151.603. This unit is designed for bathtubs with depths ranging from 17 to 24 inches and features a 27-inch stainless steel cable for reliable operation. Please read this manual thoroughly before installation and use to ensure proper function and safety.
The Geberit PushControl system offers a convenient push-button mechanism for opening and closing the bathtub drain, providing a clean and modern aesthetic for your bathroom.
2. Información de seguridad
ADVERTENCIA: Failure to follow these safety instructions could result in property damage, personal injury, or death.
- Cierre siempre el suministro de agua antes de comenzar cualquier trabajo de plomería.
- Utilice equipo de protección personal adecuado, como gafas de seguridad y guantes, durante la instalación.
- Asegúrese de que todas las conexiones sean seguras y estancas para evitar fugas.
- Si no está seguro acerca de alguna parte del proceso de instalación, consulte a un plomero calificado.
- Mantenga las piezas pequeñas fuera del alcance de los niños para evitar riesgos de asfixia.
3. Contenido del paquete
Verifique que todos los componentes estén presentes antes de comenzar la instalación:
- Geberit PushControl Bathtub Drain and Overflow Unit (Model 151.603)
- Brass trim (Polished Chrome)
- colador de acero inoxidable
- 27" stainless steel cable (Teflon coated)
- Herramienta de instalación
- Gaskets and fasteners
4. Especificaciones
| Número de modelo | 151.603 |
| Material | Brass construction with brass trim |
| Finalizar | Cromo pulido |
| Compatibilidad de profundidad de la bañera | 17" a 24" |
| Longitud del cable | 27" (stainless steel, Teflon coated) |
| Diámetro de tubería | 1-1/2" tubular |
| Max. Tub Wall Thickness | 1/2" |
| Diámetro del orificio de desbordamiento | 2" a 2-1/2" |
| Tipo de actuación | PushControl |
5. Instalación
Before you begin, ensure you have all necessary tools and that the water supply to the bathtub is turned off. Refer to local plumbing codes for specific requirements.
5.1 Herramientas necesarias
- Masilla de plomero o sellador de silicona
- Llave ajustable o cerraduras de canal
- Destornillador (Phillips y de punta plana)
- Cinta métrica
- gafas de seguridad y guantes
5.2 Instalación paso a paso
- Prepare la bañera: Ensure the bathtub drain and overflow holes are clean and free of debris. The overflow hole should be between 2" and 2-1/2" in diameter.
- Instalar la zapata de drenaje: Apply plumber's putty or silicone sealant around the underside of the drain flange. Insert the drain flange into the bathtub drain hole from the inside of the tub. From underneath the tub, attach the drain shoe assembly, ensuring the gasket is properly seated. Tighten securely with an adjustable wrench.
- Instalar el conjunto de desbordamiento: Position the overflow gasket on the back of the overflow plate. Insert the overflow pipe assembly into the overflow hole from the outside of the tub. Align the overflow plate with the overflow hole from the inside of the tub and secure it with the provided screw. Ensure the cable is routed correctly and not kinked.
- Conecte el cable: Connect the 27" stainless steel cable to both the drain stopper mechanism and the PushControl overflow trim. Follow the specific instructions provided with the unit for proper cable attachment and adjustment. The installation tool included will assist with this step.
- Conectar a la tubería de desagüe: Connect the 1-1/2" tubular piping of the drain and overflow unit to your existing waste pipe system. Ensure all connections are tight and sealed to prevent leaks.
- Prueba de fugas: Fill the bathtub with water and check all connections for any signs of leakage. Operate the PushControl mechanism several times to ensure the drain stopper opens and closes smoothly.
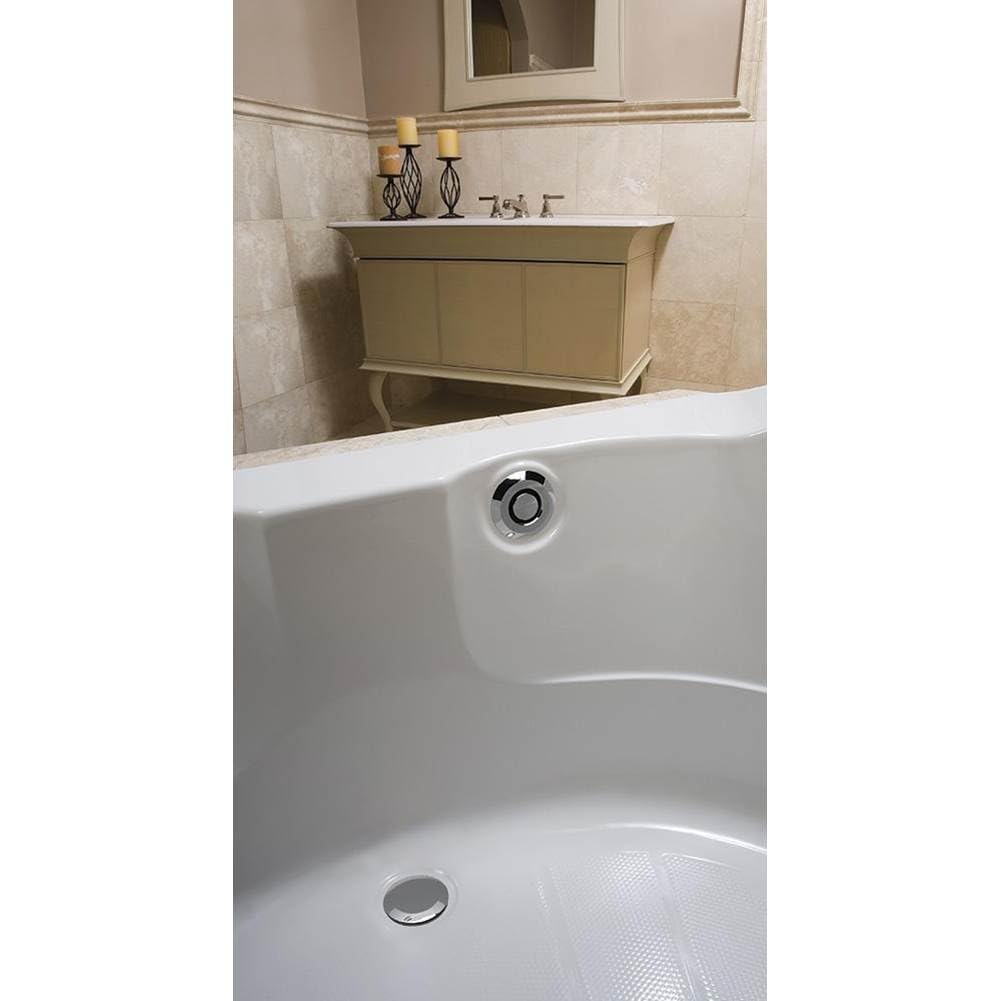
Image 1: Geberit PushControl Bathtub Drain and Overflow Unit (Model 151.603) showing the polished chrome trim and cable assembly. This image illustrates the main components of the unit.
6. Operación
The Geberit PushControl system is designed for simple and intuitive operation.
- Para cerrar el drenaje: Firmly press the center of the overflow trim plate. The drain stopper will move into the closed position, allowing the tub to fill with water.
- Para abrir el drenaje: Firmly press the center of the overflow trim plate again. The drain stopper will release, allowing water to drain from the tub.
Ensure the mechanism operates smoothly. If you experience resistance, refer to the Troubleshooting section.
7. Mantenimiento
Regular cleaning and maintenance will ensure the longevity and proper function of your Geberit PushControl unit.
- Cleaning the Trim: Clean the polished chrome trim with a soft cloth and mild, non-abrasive cleaner. Avoid harsh chemicals, abrasive pads, or acidic cleaners, as these can damage the finish.
- Limpieza del desagüe: Periodically remove the drain stopper and clean any hair or debris that may have accumulated in the drain opening.
- Inspección de cables: Annually inspect the stainless steel cable for any signs of wear or damage. While the cable is Teflon coated for durability, extreme conditions or improper use can cause wear.
8. Solución de problemas
| Problema | Posible causa | Solución |
|---|---|---|
| Drain stopper does not close completely. | Debris under the stopper; cable misadjusted or damaged. | Remove stopper and clean. Check cable connection and adjustment. |
| Drain stopper does not open. | Cable misadjusted or jammed; mechanism obstruction. | Check cable connection and ensure no obstructions. Re-adjust cable if necessary. |
| Fugas de agua por el desagüe o desbordamiento. | Loose connections; improperly seated gaskets; damaged seals. | Tighten all connections. Inspect and replace gaskets or seals if damaged. Reapply plumber's putty if needed. |
| PushControl button feels stiff. | Mineral buildup; cable friction. | Clean around the button and cable entry points. Ensure cable is not kinked. |
If problems persist after attempting these solutions, please contact Geberit customer support or a qualified plumber.
9. Garantía y soporte
Geberit products are manufactured to the highest quality standards and come with a limited warranty. For specific warranty terms and conditions, please refer to the warranty card included with your product or visit the official Geberit websitio.
For technical assistance, replacement parts, or further support, please contact Geberit customer service:
- Websitio: www.geberit.com
- Servicio al cliente: Refer to the Geberit webSitio para información de contacto regional.
Cuando se comunique con el soporte, tenga a mano el número de modelo del producto (151.603) y la fecha de compra.