1. Introducción
The SANYO VPC-CG20 is a compact, high-definition camcorder and 10-megapixel digital camera designed for capturing both video and still images. This device features Full HD 1080i video recording at 60 frames per second, a 10-megapixel still image sensor, and a 5x optical zoom lens. It includes a 2.7-inch wide LCD monitor for easy framing and playback, along with optical image stabilization for clearer footage and photos. This manual provides essential information for setting up, operating, and maintaining your VPC-CG20 camcorder.
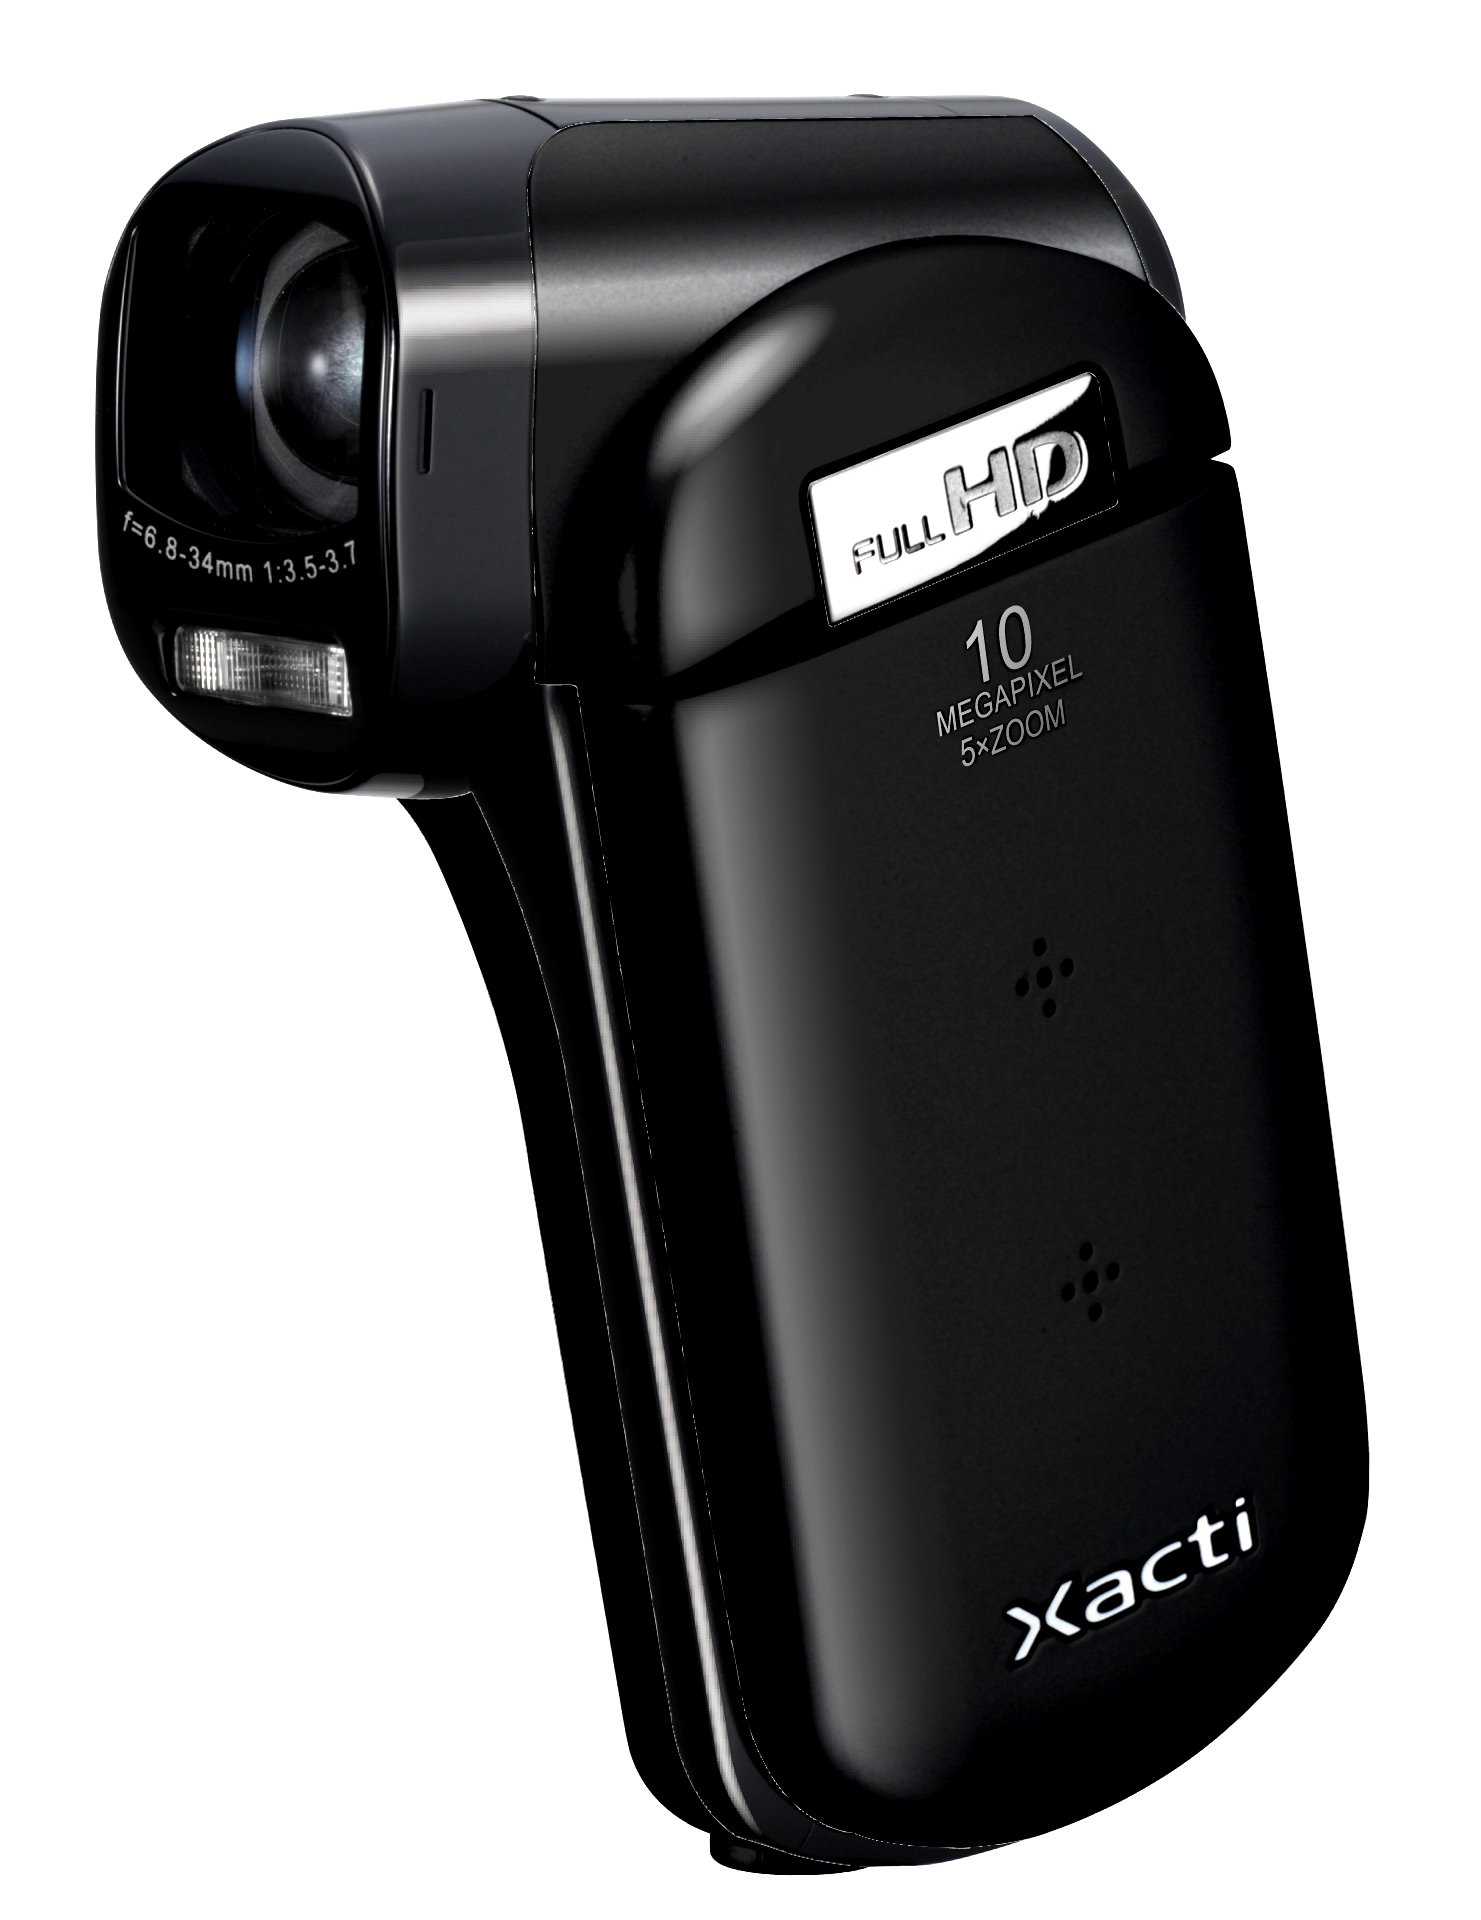
Imagen 1.1: Frente view of the SANYO VPC-CG20 High Definition Camcorder.
2. Contenido del paquete
Compruebe que todos los siguientes elementos estén incluidos en el paquete de su producto:
- SANYO VPC-CG20 Camcorder
- Batería recargable
- Adaptador / cargador de CA
- Cable USB
- AV Cable
- Correa de muñeca
- Manual de usuario (este documento)
3. Piezas y controles
Familiarize yourself with the various parts and controls of your camcorder.
3.1. Frente View
The front of the camcorder features the lens, flash, and microphone.
3.2. Trasero View
The rear panel typically includes the record button and power indicator.
3.3 Lado View (LCD Monitor Open)
When the 2.7-inch LCD monitor is open, you will find navigation buttons, menu access, and the zoom lever. The USB and AV ports are also located on the side, often beneath a protective cover.
3.4. Parte inferior View
The bottom of the camcorder houses the battery compartment and the SD card slot.
4. Configuración
4.1. Carga de la batería
- Insert the rechargeable battery into the camcorder's battery compartment, ensuring correct orientation.
- Connect the AC adapter to the camcorder's power input.
- Plug the AC adapter into a wall outlet. The charging indicator light will illuminate.
- Charge the battery until the indicator light changes or turns off, signaling a full charge.
4.2. Inserción de una tarjeta de memoria SD
The VPC-CG20 uses SD memory cards for storage.
- Open the SD card slot cover, usually located on the bottom or side of the camcorder.
- Inserte la tarjeta SD con los contactos metálicos en la dirección correcta (consulte el diagrama cerca de la ranura). Presione hasta que encaje en su lugar.
- Cierre la tapa de la ranura de la tarjeta SD de forma segura.
Nota: Ensure the SD card is not locked (write-protected) before insertion.
5. Operación de la videocámara
5.1. Encendido / apagado
- To power on, open the LCD monitor. The camcorder will typically power on automatically.
- To power off, close the LCD monitor.
5.2. Grabación de vídeo
The VPC-CG20 records Full HD 1080i video (1920 x 1080) at 60 frames per second in H.264/MPEG-4 format.
- Ensure the camcorder is in video recording mode (check the mode switch or menu).
- Encuadre su toma utilizando el monitor LCD de 2.7 pulgadas.
- Presione el Registro Botón para iniciar la grabación. El indicador de grabación se iluminará.
- Presione el Registro de nuevo para detener la grabación.
5.3. Tomar fotografías
The camcorder can capture 10-megapixel still images in JPEG format.
- Switch the camcorder to still image mode.
- Compose your shot on the LCD monitor.
- Presione el Obturador button halfway to focus, then press fully to take the picture.
5.4. Using Zoom
Use the zoom lever to adjust the 5x optical zoom. Push the lever towards 'T' for telephoto (zoom in) and 'W' for wide-angle (zoom out).
5.5. Estabilización de imagen
The VPC-CG20 features optical image stabilization to reduce blur from camera shake during both video recording and photo capture. This feature is typically active by default.
5.6. Reproducción
- Cambie la videocámara al modo de reproducción.
- Use the navigation buttons to select the desired video or photo.
- Presione el Jugar botón para view videos or display photos.
5.7. Conexión a una computadora
Para transferir files, connect the camcorder to your computer using the supplied USB cable. The camcorder will appear as a removable storage device, allowing you to copy files.
6. Mantenimiento
6.1. Limpieza de la videocámara
- Utilice un paño suave y seco para limpiar el cuerpo de la videocámara.
- Para la lente y la pantalla LCD, utilice un paño y una solución especial para limpiar lentes. Evite materiales abrasivos.
- Do not use organic solvents such as alcohol or thinner.
6.2. Almacenamiento
Guarde la videocámara en un lugar fresco y seco, alejada de la luz solar directa y de temperaturas extremas. Retire la batería si la va a guardar durante un período prolongado.
7. Solución de problemas
| Problema | Solución |
|---|---|
| La videocámara no se enciende. | Ensure the battery is charged and correctly inserted. Try charging the battery. |
| No se pueden grabar vídeos ni tomar fotografías. | Check if an SD card is inserted and has sufficient free space. Ensure the SD card is not write-protected. |
| Mala calidad de imagen/video. | Clean the lens. Ensure adequate lighting. Check shooting mode settings. |
| La computadora no reconoce la videocámara. | Ensure the USB cable is securely connected. Try a different USB port or cable. Restart both camcorder and computer. |
8. Especificaciones
| Característica | Detalle |
|---|---|
| Nombre del modelo | VPC-CG20 |
| Resolución de captura de video | 1080p (Full HD 1920 x 1080, 60i) |
| Resolución de imágenes fijas efectiva | 10 MP |
| Zoom óptico | 5x |
| Estabilización de imagen | Óptico |
| Tamaño de pantalla | 2.7 pulgadas |
| Tipo de memoria flash | SD (SDHC compatible) |
| Formato de captura de video | H.264, MPEG-4 |
| Formato de imagen admitido | JPEG |
| Tecnología de conectividad | USB |
| Tipo de enfoque | Enfoque automático |
| Modos de disparo | Detección de rostros |
| Peso del artículo | 0.35 libras (aproximadamente 159 gramos) |
9. Garantía y soporte
For information regarding the product warranty, please refer to the warranty card included in your original packaging or visit the official SANYO support website. For technical assistance, troubleshooting beyond this manual, or service inquiries, please contact SANYO customer support through their official channels.
Conserve su comprobante de compra para reclamos de garantía.