Waring PCM55PC
Waring Pro Professional Popcorn Maker (Model PCM55PC) Instruction Manual
Model: PCM55PC
1. Introducción
Thank you for choosing the Waring Pro Professional Popcorn Maker. This appliance is designed to bring the classic movie theater popcorn experience to your home. With its vintage styling and efficient performance, you can enjoy up to 8 cups of delicious popcorn quickly. This manual provides essential information for the safe and effective operation, maintenance, and care of your new popcorn maker.
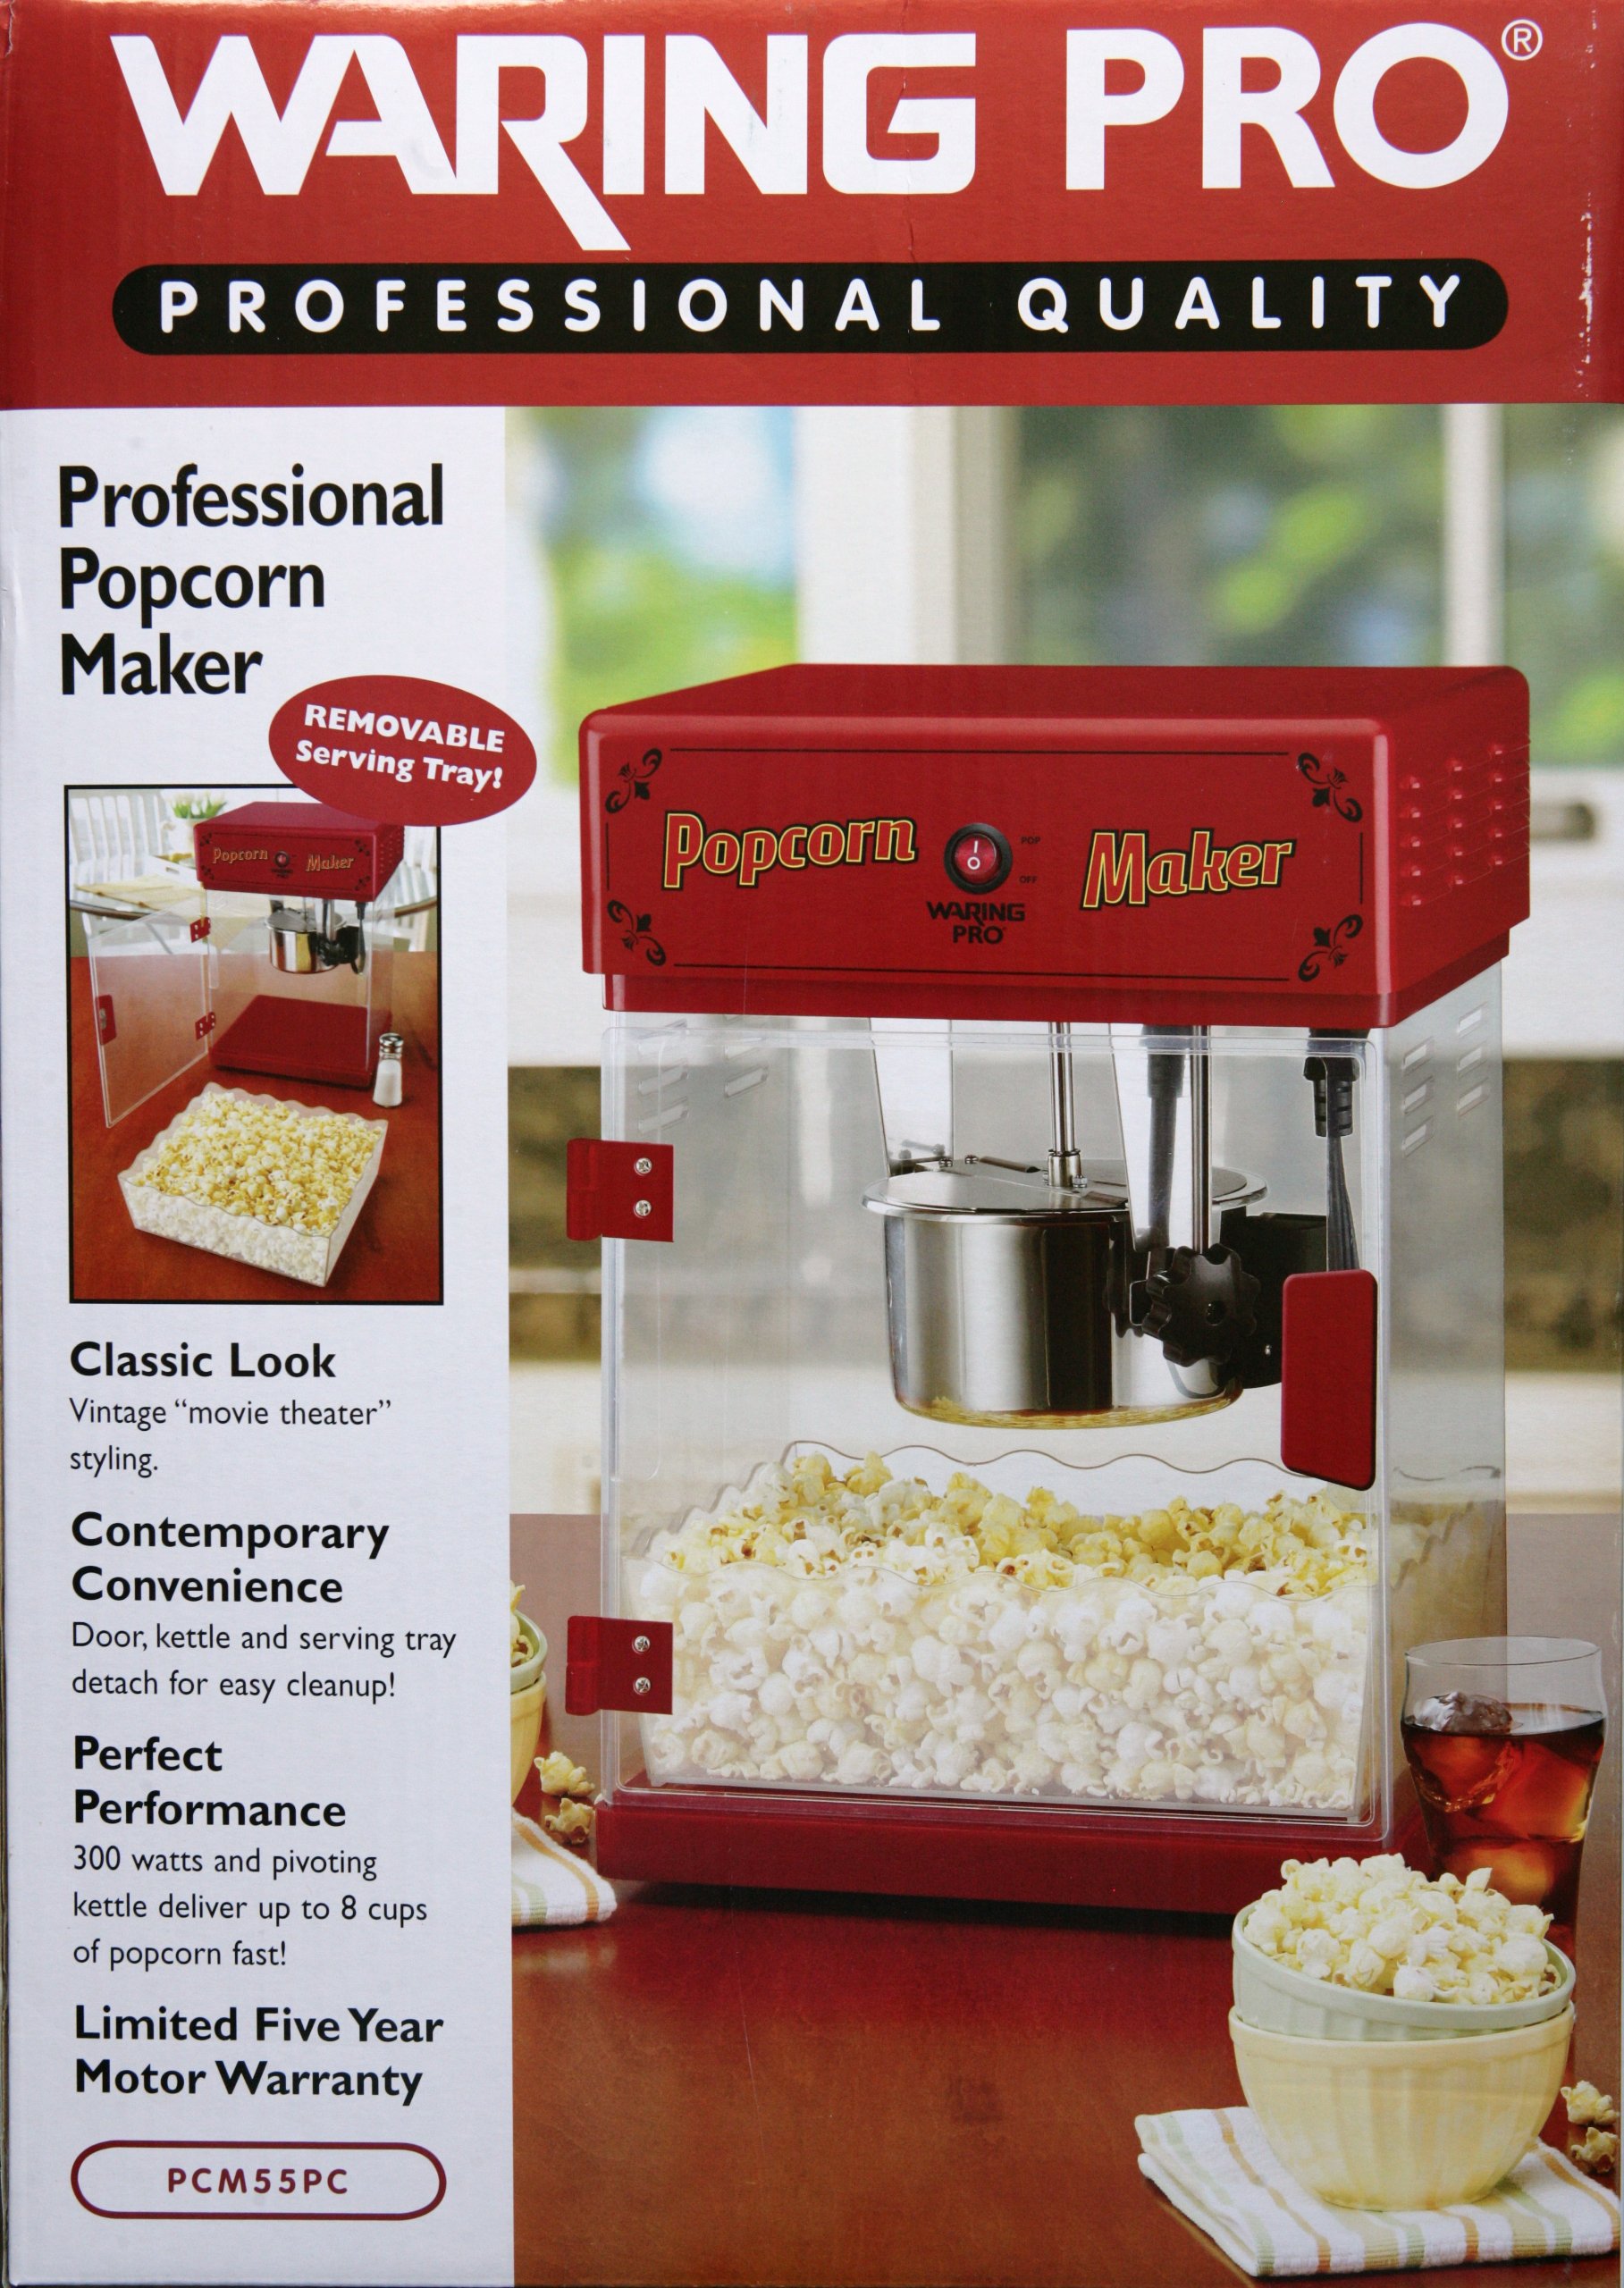
Figure 1: Waring Pro Professional Popcorn Maker (Model PCM55PC)
2. Información importante de seguridad
Lea atentamente todas las instrucciones antes de utilizar el aparato. El incumplimiento de estas normas de seguridad podría provocar incendios, descargas eléctricas o lesiones personales.
- Asegúrese siempre de que el aparato esté colocado sobre una superficie estable, nivelada y resistente al calor.
- Do not immerse the main unit or electrical components of the kettle in water or other liquids.
- Keep hands and utensils away from the heating element and stirring mechanism during operation.
- Desenchufe el aparato del tomacorriente cuando no esté en uso y antes de limpiarlo.
- Allow the appliance to cool completely before adding or removing parts, and before cleaning.
- No opere el electrodoméstico con un cable o enchufe dañado, o después de que el electrodoméstico funcione mal o haya sido dañado de alguna manera.
- Utilice únicamente accesorios y aditamentos recomendados por el fabricante.
- Es necesaria una estrecha supervisión cuando cualquier aparato sea utilizado por niños o cerca de ellos.
- Never pop corn in a dry kettle. Always add oil and kernels as instructed.
3. Contenido del paquete
Al desembalar, asegúrese de que todos los elementos enumerados a continuación estén presentes y en buenas condiciones:
- Popcorn Maker Main Unit (with red top and clear panels)
- Stainless Steel Kettle with Stirring Mechanism
- Bandeja de servicio extraíble
- Cuchara de palomitas de maíz
- Cucharas medidoras (para aceite y granos)
- Manual de instrucciones
Note: Popcorn kernels and popping oil are not included and must be purchased separately.
4. Instrucciones de montaje
Your popcorn maker requires minimal assembly. All components are typically packaged inside the main unit for shipping. Carefully remove all packaging materials and components before beginning assembly.
- Attach the Front Door: The front door slides down onto the hinges located on the main unit. Ensure it is securely seated.
- Assemble the Kettle:
- Screw the lid onto the kettle using the provided wing nuts.
- Mount the assembled kettle into the device's holding brackets. Twist it to secure it in place.

Figure 2: Kettle assembly and controls.
- Attach the Serving Tray: Slide the removable serving tray into its designated slot at the bottom of the main unit. This tray can be pulled out for serving and pushed in for storage.
- Connect Kettle Power: The kettle has its own power plug. This must be plugged into the receptacle outlet located at the top of the main unit. Do not plug the kettle into any other power source, as its operation is controlled by the main unit's switches.
5. Instrucciones de funcionamiento
Sigue estos pasos para hacer unas deliciosas palomitas de maíz:
- Preparar Ingredientes: Measure the appropriate amount of popcorn kernels and popping oil. The machine is designed to produce up to 8 cups of popcorn per batch.
- Add Ingredients to Kettle: Open the kettle lid and carefully add the measured popping oil, followed by the popcorn kernels.
- Close Kettle and Door: Securely close the kettle lid and the front door of the popcorn maker.
- Encendido: Turn on the stirrer and kettle switches located on the top panel of the machine. The light switch can also be turned on to illuminate the interior.
- Popcorn Production: The popcorn will begin popping within a few minutes. The stirring mechanism will ensure even popping.
- Hervidor vacío: Once popping is complete, turn off both the stirrer and kettle switches. Use the convenient tilt handle on the kettle to dump the freshly popped corn into the main chamber.
- Atender: Pull out the serving tray and use the included scoop to serve the popcorn.

Figure 3: Adding popcorn kernels to the kettle.
The popcorn maker has a large capacity, capable of producing up to 48 cups (384 ounces) of popcorn, making it suitable for gatherings or movie nights.
6. Mantenimiento y limpieza
La limpieza regular garantizará la longevidad y el rendimiento óptimo de su máquina para hacer palomitas de maíz.
- Limpieza de hervidores: The kettle should be hand washed only. NO use a dishwasher. Avoid submerging the kettle in water as it contains electrical components. Remove the wing nuts to detach the lid for easier cleaning.
- Limpieza de la unidad principal: Wipe down the interior and exterior surfaces of the main unit with a damp Paño. Para la grasa rebelde, utilice un detergente suave.
- Kernel Collection Tray: The bottom of the unit features a removable kernel collection tray. Pull this tray out to dispose of unpopped kernels and small debris, then clean it as needed.
- Asegúrese de que todas las piezas estén completamente secas antes de volver a montar y guardar el aparato.

Figure 4: Kernel collection tray for easy cleaning.
7. Solución de problemas
If you encounter issues with your popcorn maker, please refer to the following common solutions:
- El aparato no se enciende:
- Ensure the main power cord is securely plugged into a working electrical outlet.
- Verify that the kettle's power plug is correctly inserted into the receptacle on the main unit.
- Check that all switches (light, stirrer, kettle) are in the "ON" position.
- Popcorn not popping or poor yield:
- Ensure sufficient oil and fresh kernels are used. Stale kernels may not pop effectively.
- Confirm the kettle is properly heated before adding kernels.
- Check that the stirrer mechanism is operating correctly.
- Humo excesivo:
- This may indicate too much oil or old oil. Reduce oil quantity or use fresh oil.
- Ensure the kettle is clean and free of burnt residue from previous uses.
Si los problemas persisten, comuníquese con el servicio de atención al cliente.
8. Especificaciones
| Marca: | Advertencia |
| Número de modelo: | PCM55PC |
| Color: | Rojo |
| Material: | Acero inoxidable |
| Peso del artículo: | 11.5 libras |
| Componentes incluidos: | Pava |
| Característica especial: | Portátil |
| es eléctrico: | Sí |
| Código postal: | 040072016028 |
| Dimensiones del paquete: | 19.9 x 14.1 x 14 pulgadas |
| Fabricante: | Waring Pro |
| Fecha de primera disponibilidad: | 14 de octubre de 2010 |
9. Garantía y soporte
For warranty information or technical support, please refer to the documentation included with your purchase or contact Waring customer service directly. Keep your purchase receipt as proof of purchase for warranty claims.
Ask a question about this manual
Ask about setup, troubleshooting, compatibility, parts, safety, or missing instructions. Manuals+ will review the question and use this page’s manual context to help answer it.