1. Introducción
Thank you for choosing the Zipro Pacemaker Treadmill. This manual provides essential information for the safe assembly, operation, and maintenance of your new fitness equipment. Please read this manual thoroughly before using the treadmill and keep it for future reference.
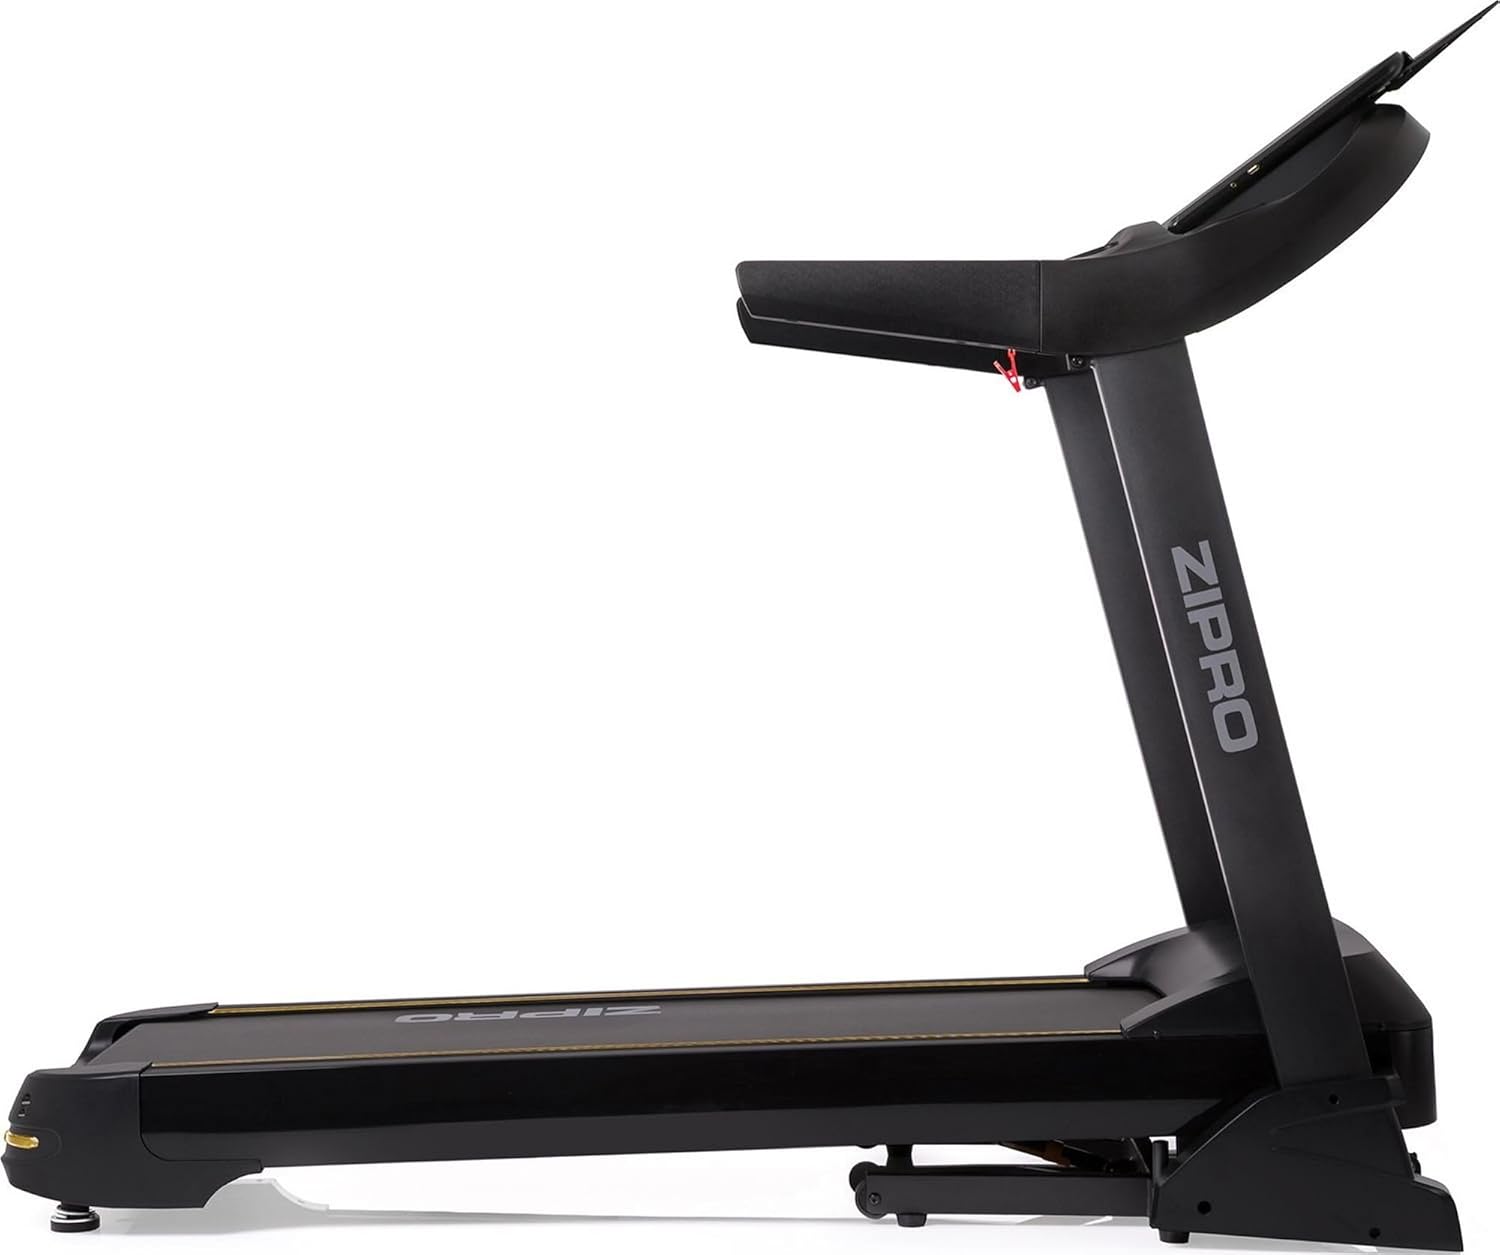
The Zipro Pacemaker Treadmill is designed for home use, offering a robust construction, a wide running belt, and a powerful motor for various training intensities. Its folding design and transport wheels ensure convenient storage and mobility.
2. Instrucciones de seguridad
WARNING: Before starting any exercise program, consult your physician, especially if you have pre-existing health conditions.
- Always place the treadmill on a flat, stable surface with adequate clearance around it (at least 2 meters behind and 0.6 meters on each side).
- Mantenga a los niños y las mascotas alejados de la máquina para correr durante su funcionamiento.
- Use ropa y calzado deportivo adecuados. Evite la ropa suelta que pueda engancharse en las piezas móviles.
- Always use the safety key/clip. Attach the clip to your clothing before starting your workout. In case of an emergency, pulling the safety key will immediately stop the treadmill.
- Do not step on or off the treadmill while the belt is moving. Start at a slow speed and gradually increase.
- Hold onto the handrails for balance, especially when starting or adjusting speed/incline.
- Do not attempt to service the treadmill yourself. Refer to qualified service personnel for repairs.
- Ensure the power cord is not damaged or placed under the treadmill.
- Capacidad máxima de peso del usuario: 150 kg.
3. Contenido del paquete
Verifique que todos los componentes estén presentes en el paquete:
- 1 x Zipro Pacemaker Treadmill (main unit)
- 1 x Manual de usuario
- Assembly tools (if applicable)
- Llave de seguridad
4. Configuración y montaje
The Zipro Pacemaker Treadmill features a convenient folding design for easy setup and storage. Follow these general steps for assembly:
- Desembalaje: Retire con cuidado todos los componentes del embalaje.
- Posicionamiento: Place the treadmill on a level surface in your desired workout area. Ensure sufficient space around the unit.
- Despliegue: Gently lower the running deck from its folded position until it locks into place. Refer to the specific instructions in your included manual for the exact unfolding mechanism.
- Componentes de seguridad: Attach any loose components such as the console, handrails, or safety key holder as per the detailed assembly instructions.
- Conexión de energía: Enchufe el cable de alimentación a una toma eléctrica con conexión a tierra.


5. Instrucciones de funcionamiento
5.1 Consola terminadaview
The treadmill features an intuitive LED display console that shows key workout metrics.


5.2 Comenzar un entrenamiento
- Asegúrese de que la cinta de correr esté enchufada y que la llave de seguridad esté en su lugar.
- Súbase a los rieles laterales de la cinta de correr.
- Presione el COMENZAR Botón en la consola. La cinta comenzará a moverse a baja velocidad.
- Suba con cuidado a la cinta transportadora y comience a caminar.
5.3 Ajuste de la velocidad y la inclinación
- Velocidad: Utilice el VELOCIDAD + y VELOCIDAD - buttons to adjust the belt speed from 1 km/h to 22 km/h. Quick speed buttons may also be available for instant adjustments.
- Inclinación: Utilice el INCLINACIÓN + y INCLINACIÓN - buttons to adjust the incline level (0-15 levels). Quick incline buttons may also be available.
5.4 Detener un entrenamiento
- Presione el DETENER Botón para reducir gradualmente la velocidad y detener la cinta de correr.
- En caso de emergencia, tire de la llave de seguridad para detener inmediatamente la cinta de correr.
5.5 Using Bluetooth and USB
- Bluetooth: The treadmill supports Bluetooth connectivity. Pair your device to stream audio through the integrated speakers or connect to compatible fitness applications like Kinomap for interactive workouts.
- USB: Use the USB port to charge your mobile devices during your workout.

6. Programas y características
The Zipro Pacemaker Treadmill offers a variety of training options to suit your fitness goals:
- Programas preestablecidos: The computer is equipped with 99 pre-set workout programs designed for various fitness levels and goals.
- Programas de usuario: Create and save up to 3 individual user programs to customize your training experience.
- Monitoreo del ritmo cardíaco: Integrated pulse sensors in the handrails allow you to monitor your heart rate during your workout.
- Inclinación ajustable: Simulate uphill running with 15 levels of electronic incline adjustment.
- Amplio rango de velocidad: Speeds from 1 to 22 km/h accommodate walking, jogging, and high-intensity running.
7. Mantenimiento
El mantenimiento regular garantiza la longevidad y el rendimiento óptimo de su cinta de correr.
- Limpieza: Limpie la consola y otras superficies con un paño húmedo.amp Paño después de cada uso. Evite los limpiadores abrasivos.
- Lubricación de la correa: Periodically lubricate the running belt according to the instructions in your specific manual (usually every few months depending on usage). This reduces friction and extends belt life.
- Tensión y alineación de la correa: Revise la tensión y la alineación de la banda de rodadura regularmente. Ajústela si es necesario para evitar deslizamientos o rozaduras.
- Cubierta del motor: Mantenga la cubierta del motor limpia y libre de polvo para garantizar una ventilación adecuada.
- Inspección: Regularly inspect all nuts, bolts, and moving parts for tightness and wear. Tighten or replace as needed.


8. Solución de problemas
If you encounter issues with your Zipro Pacemaker Treadmill, refer to the following common problems and solutions:
- La cinta de correr no se enciende:
- Compruebe si el cable de alimentación está enchufado de forma segura a una toma de corriente que funcione.
- Ensure the safety key is correctly placed in its slot.
- Revise el disyuntor o fusible de su casa.
- La cinta de correr se resbala o se tambalea:
- La banda de rodadura podría necesitar lubricación. Consulte la sección de mantenimiento.
- The running belt may be too loose. Adjust the tension according to your specific manual.
- Console display is not working correctly:
- Asegúrese de que todas las conexiones de cables a la consola estén seguras.
- Try turning the treadmill off and on again.
- Ruidos inusuales durante el funcionamiento:
- Compruebe si hay piezas sueltas u objetos extraños debajo del cinturón.
- Asegúrese de que la cinta de correr esté sobre una superficie nivelada.
For persistent issues not covered here, please contact customer support or refer to the full troubleshooting guide in your included manual.
9. Especificaciones
| Característica | Especificación |
|---|---|
| Número de modelo | 5942805 |
| Marca | ZIPRO |
| Dimensiones (desplegado) | 188 x 82 x 151 cm (largo x ancho x alto) |
| Dimensiones (plegadas) | 118 x 82 x 151 cm (largo x ancho x alto) |
| Peso | 81 kilogramos |
| Peso máximo del usuario | 150 kilogramos |
| Rango de velocidad | 1 - 22 kilómetros por hora |
| Niveles de inclinación | 15 (ajustable) |
| Potencia del motor | 5 HP (pico) |
| Tipo de pantalla | LED (7 windows) |
| Programas de entrenamiento | 99 Pre-set + 3 User Programs |
| Conectividad | Bluetooth, USB |
| Material | Polietileno (PE), Metal, Plástico |
| Características especiales | Adjustable incline, Bluetooth app compatibility, Elegant design, Transport wheels |
10. Garantía y soporte
For information regarding warranty coverage, product registration, or technical support, please refer to the warranty card included with your purchase or visit the official ZIPRO webSitio. Conserve su comprobante de compra para cualquier reclamación de garantía.