1. Introducción
Thank you for choosing the HKC 1818 LED Monitor. This manual provides essential information for the safe and efficient use of your new display. Please read this manual thoroughly before operating the monitor and keep it for future reference.
2. Información de seguridad
Para garantizar un funcionamiento seguro y evitar daños, tenga en cuenta las siguientes precauciones de seguridad:
- No exponga el monitor a la lluvia ni a la humedad para evitar incendios o descargas eléctricas.
- No abra el monitor casing. No hay piezas que el usuario pueda reparar en el interior. Encargue cualquier reparación a personal técnico cualificado.
- Coloque el monitor sobre una superficie plana y estable para evitar que se caiga.
- Asegúrese de que haya una ventilación adecuada. No bloquee las aberturas de ventilación.
- Utilice únicamente el adaptador de corriente suministrado con el monitor.
- Desconecte el monitor de la toma de corriente durante tormentas eléctricas o cuando no lo utilice durante períodos prolongados.
3. Contenido del paquete
Por favor, revise el contenido de su paquete. Si falta algún artículo o está dañado, contacte con su vendedor.
- HKC 1818 LED Monitor
- Soporte para monitor (base y mástil)
- Adaptador de corriente
- Cable VGA
- Manual de usuario (este documento)
4. Configuración
4.1 Montaje del soporte
- Retire con cuidado el monitor de su embalaje y colóquelo boca abajo sobre una superficie suave y limpia para evitar rayones.
- Fije el soporte a la parte posterior del monitor, alineando los orificios de montaje. Fíjelo con los tornillos (si los hay).
- Attach the stand base to the bottom of the stand neck. Tighten the thumb screw or regular screw at the bottom of the base.
- Levante con cuidado el monitor y colóquelo en posición vertical sobre un escritorio estable.
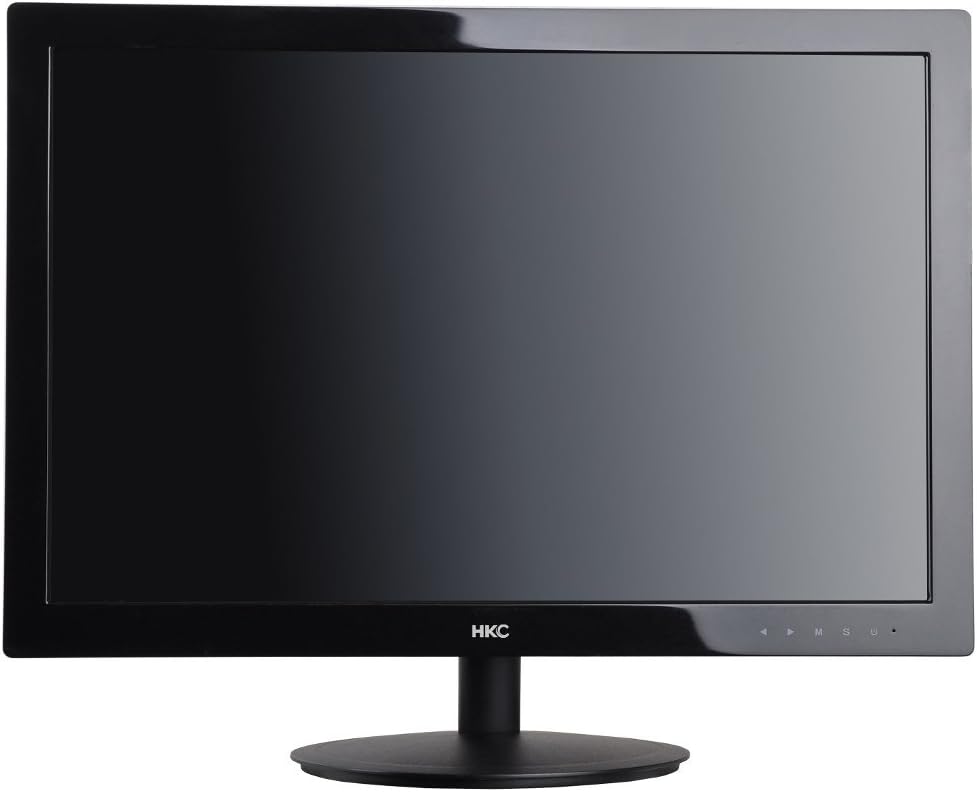
Figura 1: Frente view of the HKC 1818 LED Monitor with its stand assembled, ready for connection.
4.2 Conexión del monitor
- Conecte el cable de vídeo: Locate the VGA port on the back of the monitor. Connect one end of the supplied VGA cable to this port and the other end to the VGA output port on your computer. Secure the connection by tightening the screws on the VGA connector.
- Conecte el cable de alimentación: Plug the power adapter into the monitor's power input jack. Then, plug the other end of the power adapter into a wall outlet.

Figura 2: Angulado view of the HKC 1818 LED Monitor, highlighting the rear panel where cables are connected.
4.3 Encendido inicial
Press the power button located on the front or bottom right of the monitor. The power indicator light should illuminate, and the monitor will display an image if connected to an active video source.
5. Funcionamiento del monitor
5.1 botones de control
The control buttons are typically located on the bottom right bezel of the monitor. They allow you to navigate the On-Screen Display (OSD) menu and adjust settings.
- Botón de encendido: Enciende o apaga el monitor.
- Botón Menú (M): Abre el menú OSD o ingresa a un submenú.
- Up/Down (▲/▼) Buttons: Navegue por las opciones del menú o ajuste los valores.
- Select (S) Button: Confirms a selection or exits a sub-menu.
- Auto/Exit (U) Button: Performs auto-adjustment or exits the OSD menu.
5.2 Navegación por el menú OSD
- Presione el Menú (M) Botón para abrir el menú OSD.
- Utilice el Up/Down (▲/▼) buttons to navigate through the main menu categories (e.g., Picture, Color, OSD, Setup).
- Presione el Select (S) button to enter a selected category.
- Utilice el Up/Down (▲/▼) buttons to adjust values or select sub-options.
- Presione el Select (S) button to confirm changes or the Auto/Exit (U) button to go back or exit.
- Presione el Auto/Exit (U) repetidamente para salir del menú OSD.
5.3 Configuraciones comunes de OSD
- Brillo: Ajusta la luminancia general de la pantalla.
- Contraste: Ajusta la diferencia entre áreas claras y oscuras.
- Temperatura de color: Cambia el balance de color (por ejemplo, Cálido, Frío, Usuario).
- Seleccionar entrada: Manually selects the video input source (e.g., VGA).
- Auto ajuste: Optimizes the image automatically for analog (VGA) input.
6. Mantenimiento
6.1 Limpieza del monitor
- Desenchufe siempre el monitor de la toma de corriente antes de limpiarlo.
- Utilice un paño suave y sin pelusa ligeramente seco.ampLimpie la pantalla con agua o un limpiador de pantallas no abrasivo. No rocíe el limpiador directamente sobre la pantalla.
- para la casinUtilice un paño suave y seco. Evite el uso de detergentes fuertes o limpiadores abrasivos.
6.2 Almacenamiento
If you plan to store the monitor for an extended period, unplug it, disconnect all cables, and store it in a cool, dry place, preferably in its original packaging to protect it from dust and physical damage.
7. Solución de problemas
If you encounter problems with your monitor, please refer to the following common issues and solutions:
| Problema | Posible causa | Solución |
|---|---|---|
| Sin poder | Cable de alimentación no conectado; la toma de corriente no funciona. | Asegúrese de que el cable de alimentación esté bien conectado al monitor y a la toma de corriente. Pruebe la toma de corriente con otro dispositivo. |
| Sin señal | Video cable not connected; Incorrect input source selected; Computer not on. | Check video cable connection. Select correct input source via OSD. Ensure computer is powered on and not in sleep mode. |
| La imagen está borrosa o distorsionada. | Incorrect resolution; Auto-adjust needed (VGA); Loose video cable. | Set computer resolution to monitor's native resolution (1366x768 for 18.5"). Use OSD Auto Adjust function. Check video cable connection. |
| La pantalla es demasiado oscura/brillante | Los ajustes de brillo/contraste son incorrectos. | Ajuste los ajustes de brillo y contraste en el menú OSD. |
Si el problema persiste después de probar estas soluciones, comuníquese con el servicio de atención al cliente.
8. Especificaciones
| Característica | Especificación |
|---|---|
| Marca | Ciudad de Hong Kong |
| Número de modelo | 1818 |
| Tamaño de pantalla | 18.5 pulgadas |
| Tipo de pantalla | CONDUJO |
| Relación de aspecto | 16:9 |
| Tiempo de respuesta | 2 milisegundos |
| Frecuencia de actualización | 60 Hz |
| Tecnología de conectividad | VGA |
| Descripción de la superficie de la pantalla | Lustroso |
| Peso del producto | 2.8 kilogramos |
| Dimensiones del paquete | 50 x 38.5 x 12 cm |
9. Garantía y soporte
9.1 Información de garantía
This HKC monitor comes with a standard manufacturer's warranty. Please refer to the warranty card included in your package or contact your retailer for specific warranty terms and conditions. Keep your purchase receipt as proof of purchase for warranty claims.
9.2 Atención al cliente
For technical assistance, troubleshooting beyond this manual, or warranty inquiries, please contact HKC customer support or your local retailer. Contact information can typically be found on the manufacturer's official websitio o en el embalaje del producto.