
Introducción
This manual provides instructions for the Datalogic Barcodescanner Touch TD1100 90 Light, model TD1120-BK-90K1. It covers essential information for setting up, operating, maintaining, and troubleshooting your device to ensure optimal performance. Please read this manual thoroughly before using the scanner.
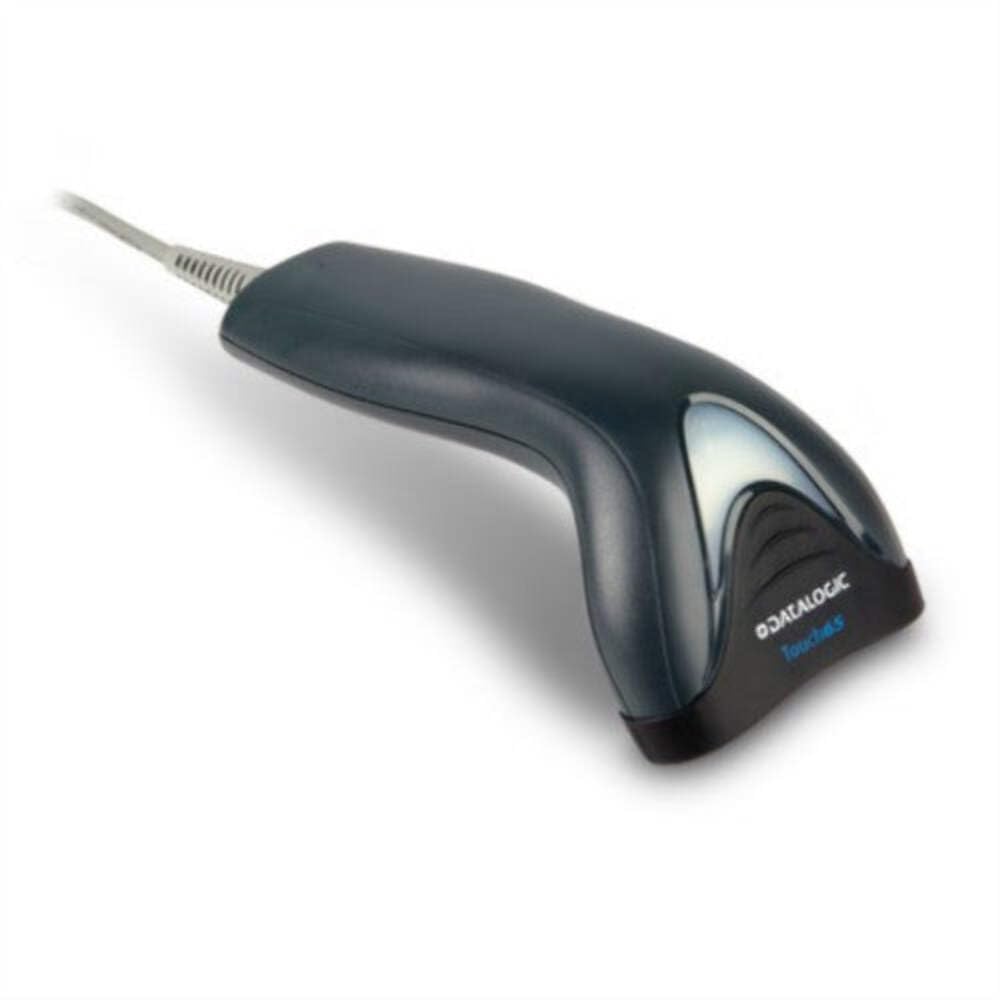
Image: The Datalogic Touch TD1100 90 Light barcode scanner, showing its ergonomic design and integrated cable.
Configuración
1. Desembalaje
Retire con cuidado todos los componentes del embalaje. Compruebe que estén todos los elementos:
- Datalogic Touch TD1100 90 Light Barcode Scanner
- Cable USB (integrado)
- Guía de inicio rápido (si está incluida)
2. Conexión del escáner
The TD1120-BK-90K1 model connects via a USB interface. Follow these steps:
- Localice un puerto USB disponible en su computadora (de escritorio o portátil).
- Inserte firmemente el conector USB del cable del escáner en el puerto USB.
- The operating system should automatically detect the new hardware and install the necessary drivers. This process may take a few moments.
- Once drivers are installed, the scanner will typically emit a short beep or an indicator light will illuminate, signifying it is ready for use.
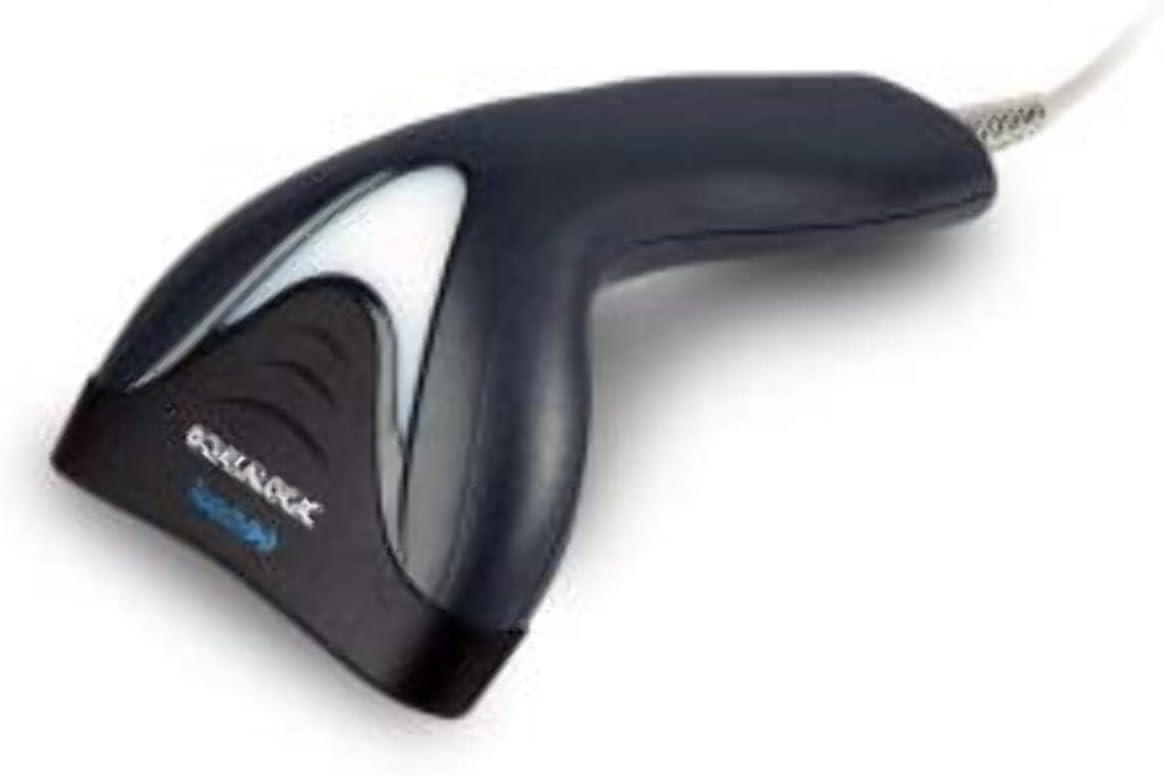
Imagen: Lateral view of the Datalogic Touch TD1100 90 Light barcode scanner, highlighting the integrated cable for connection.
Instrucciones de funcionamiento
1. Procedimiento básico de escaneo
Para escanear un código de barras:
- Asegúrese de que el escáner esté conectado y encendido.
- Open an application on your computer where you want the scanned data to appear (e.g., a text editor, spreadsheet, or POS software).
- Sostenga el escáner con la ventana de escaneo orientada hacia el código de barras.
- Press and hold the trigger button. A red aiming line or light will project from the scanning window.
- Position the aiming line across the entire barcode.
- Once the barcode is successfully read, the scanner will emit a beep and/or the indicator light will flash green. The data will then appear in your active application.
- Suelte el botón del gatillo.
2. Scanning Techniques
- Distancia óptima: Hold the scanner at an appropriate distance from the barcode, typically between 2-10 cm (1-4 inches), depending on the barcode size and density.
- Ángulo: Scan barcodes at a slight angle to avoid direct reflection, which can interfere with reading.
- Códigos de barras dañados: For poorly printed or damaged barcodes, try scanning from different angles or distances.
Mantenimiento
1. Limpieza del escáner
La limpieza regular ayuda a mantener un rendimiento de escaneo óptimo.
- Ventana de escaneo: Utilice un paño suave y sin pelusaampened with a mild, non-abrasive cleaner (e.g., isopropyl alcohol or glass cleaner) to gently wipe the scanning window. Avoid harsh chemicals or abrasive materials.
- Exterior: Limpie el exterior casing con un suave, damp cloth. Do not allow liquids to enter the scanner.
- Ensure the scanner is disconnected from the power source before cleaning.
2. Almacenamiento
When not in use, store the scanner in a clean, dry environment, away from direct sunlight, extreme temperatures, and corrosive materials.
Solución de problemas
If you encounter issues with your Datalogic TD1100 scanner, refer to the following common problems and solutions:
| Problema | Posible causa | Solución |
|---|---|---|
| El escáner no se enciende ni responde. | Loose cable connection, faulty USB port, power issue. |
|
| El escáner no lee códigos de barras. | Incorrect scanning technique, damaged barcode, dirty scanning window, incompatible barcode type, application not ready. |
|
| Los datos escaneados aparecen incorrectamente. | Keyboard wedge settings, incorrect language settings. |
|
Presupuesto
Key technical specifications for the Datalogic Touch TD1100 90 Light (TD1120-BK-90K1):
- Número de modelo: TD1120-BK-90K1
- Marca: Datalogic
- Rango de escaneo: 90 cuadros por segundo (fps)
- Tecnología de conectividad: Bluetooth
- Dispositivos compatibles: Computadora de escritorio, computadora portátil
- Fuente de energía: Funciona con pilas
- Peso del artículo: 153 gramos
- Ángulo real de View: 3.5 grados
- Fabricante: Datalogic
Note: Some specifications like "Battery Powered" and "Bluetooth" might be generic for the TD1100 series. The TD1120-BK-90K1 is primarily a wired USB scanner.
Garantía y soporte
Información de garantía
Datalogic products are covered by a standard manufacturer's warranty. For specific warranty terms and conditions, please refer to the warranty card included with your product or visit the official Datalogic webSitio. Conserve su comprobante de compra para reclamaciones de garantía.
Apoyo técnico
For technical assistance, troubleshooting beyond this manual, or to inquire about repairs, please contact Datalogic customer support. You can typically find contact information on the Datalogic websitio o en la documentación proporcionada con su escáner.
- Datalogic Official Websitio: www.datalogic.com
- Recursos de soporte: Check the support section of the website for FAQs, drivers, and additional documentation.