
1. Introducción
This manual provides essential information for the safe and effective operation, setup, maintenance, and troubleshooting of your Telwin Linear 340-819020 MMA DC Welding Machine. Please read this manual thoroughly before using the machine to ensure proper handling and to prevent injury or damage.
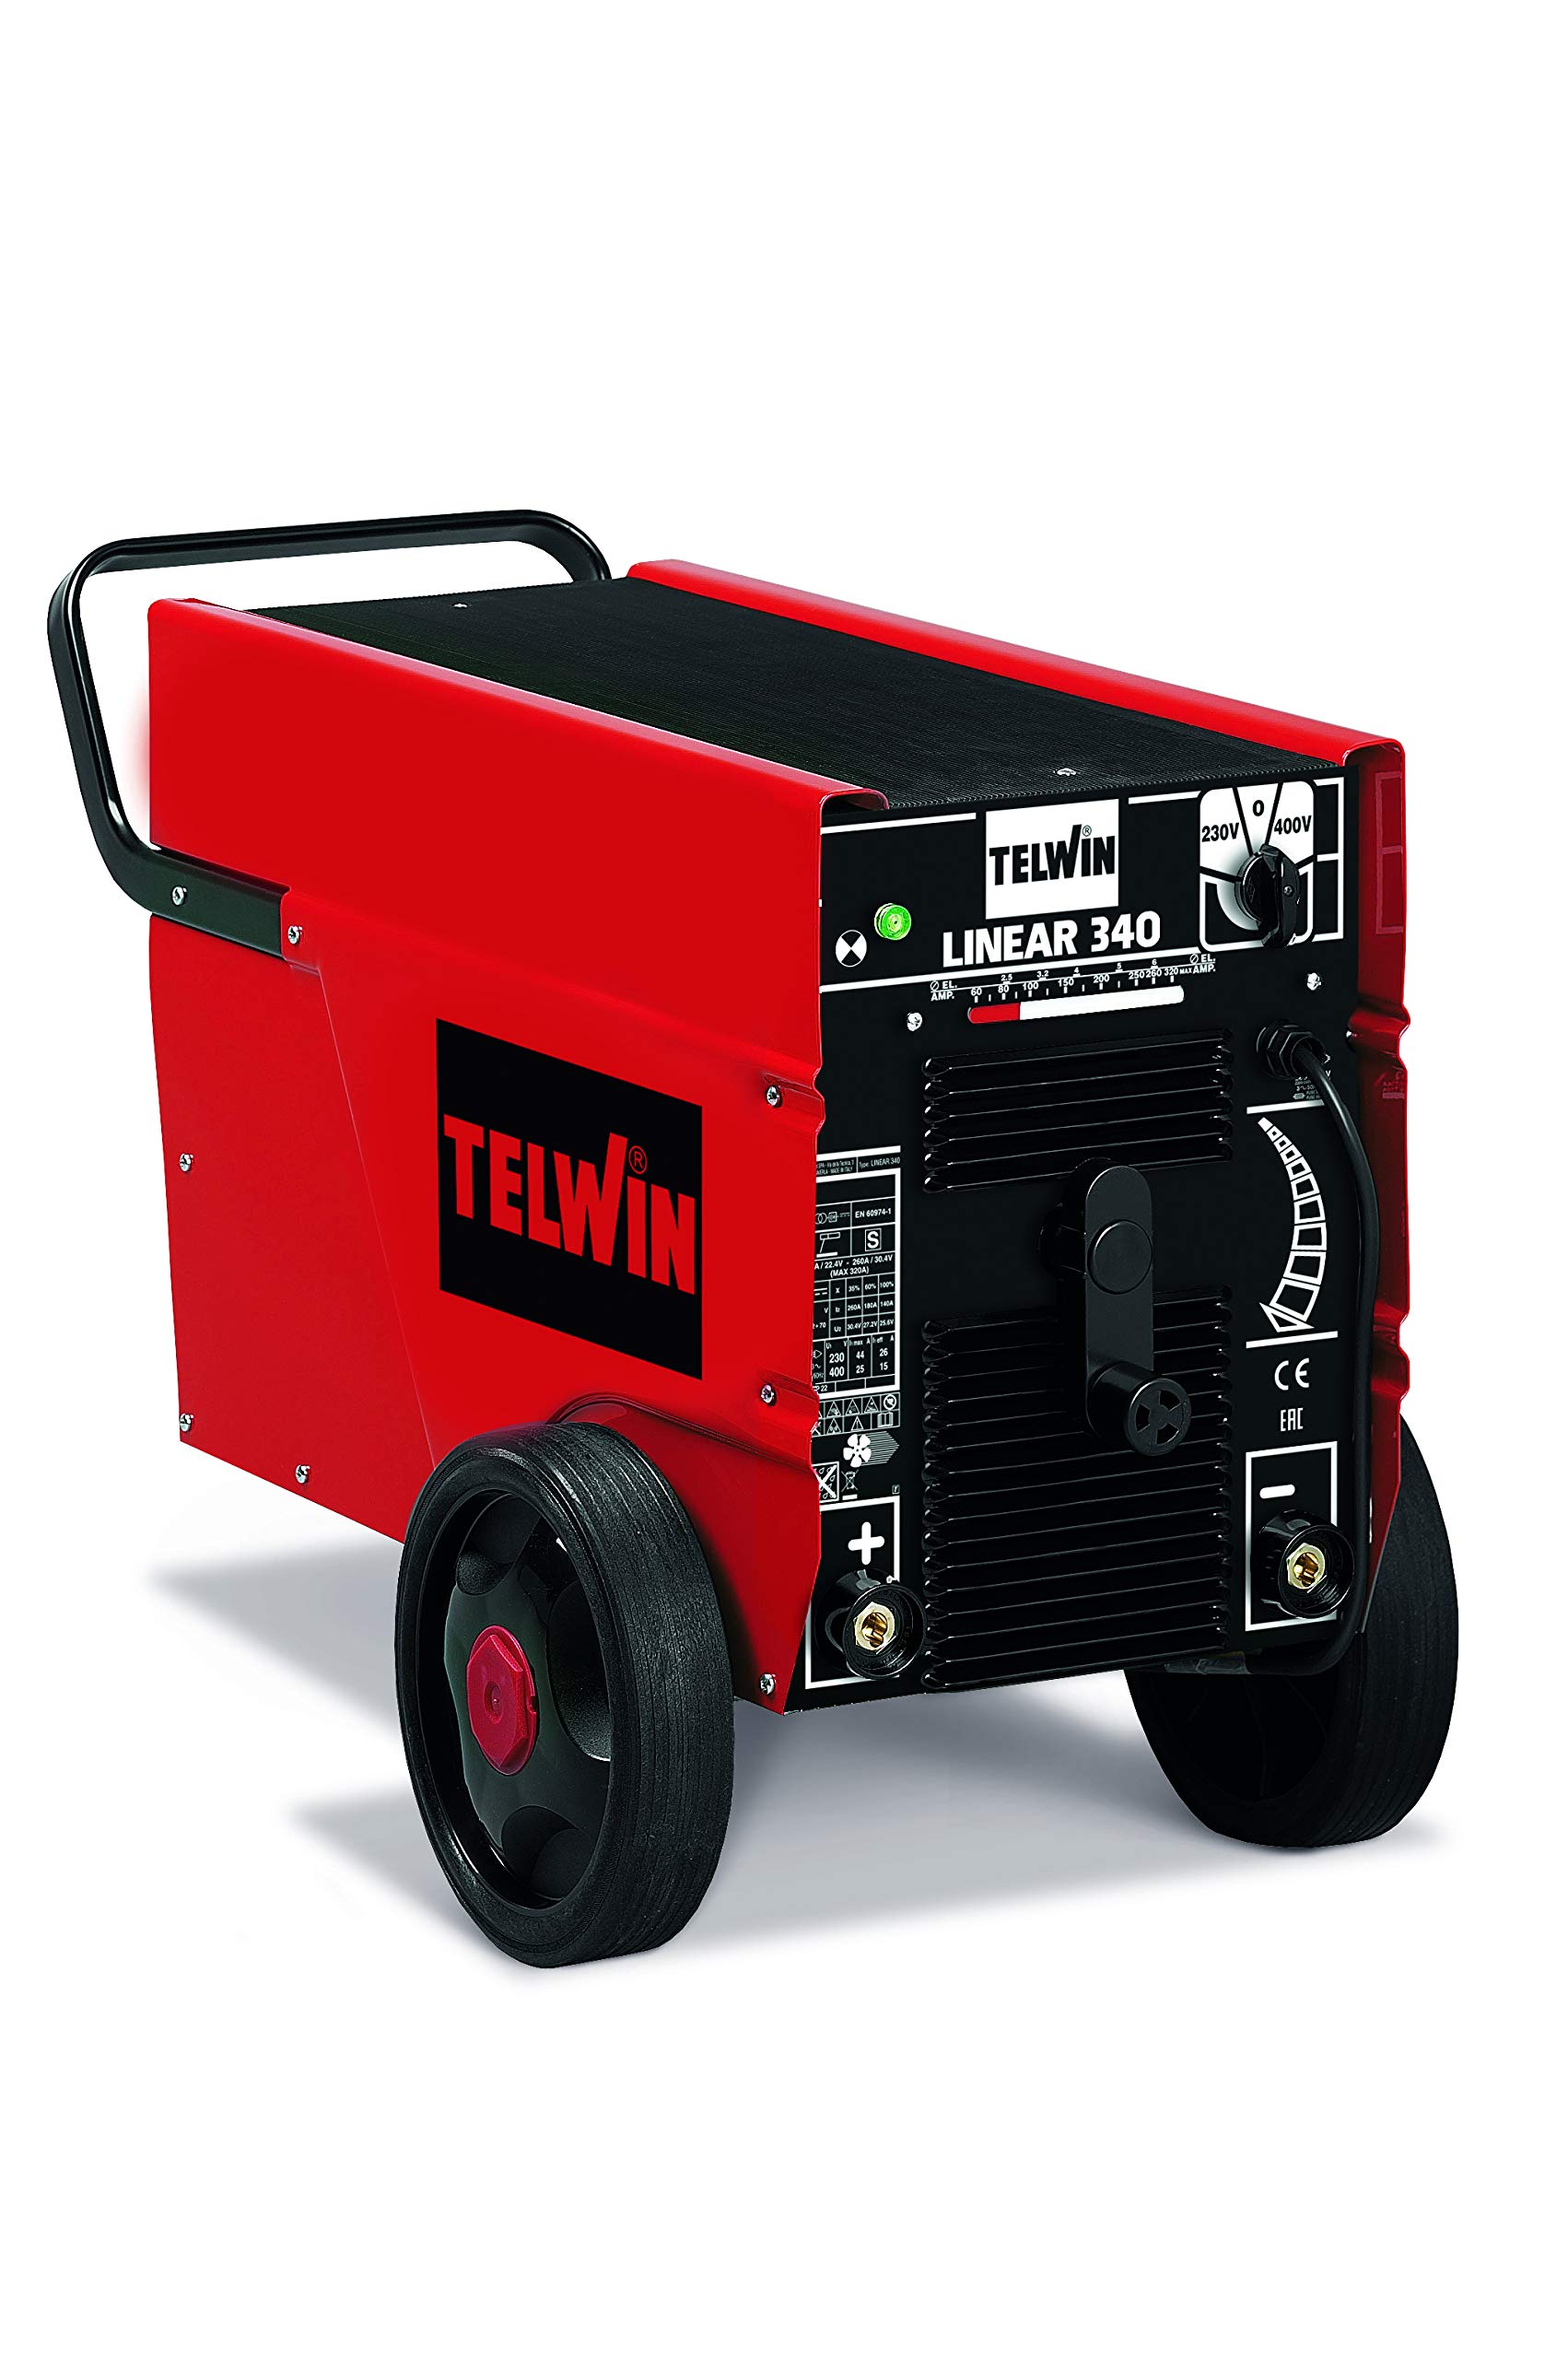
Figure 1: Telwin Linear 340-819020 Welding Machine. This image shows the overall view of the red and black welding machine with its control panel and wheels.
2. Información de seguridad
Welding operations involve significant risks. Always adhere to safety precautions to prevent electric shock, burns, fire, and exposure to fumes. This machine is designed for Manual Metal Arc (MMA) welding.
- Descarga eléctrica: Ensure the machine is properly grounded. Do not touch live electrical parts. Wear dry welding gloves.
- Humos y Gases: Work in a well-ventilated area. Use fume extraction if necessary.
- Rayos de arco: Proteja sus ojos y piel de los rayos del arco. Use un casco de soldadura con protección adecuada y ropa protectora.
- Fuego y explosiones: Mantenga los materiales inflamables alejados del área de soldadura. Tenga un extintor a mano.
- Quemaduras: Hot metal and equipment can cause severe burns. Wear protective clothing, gloves, and footwear.
3. Configuración
3.1 Desembalaje e inspección
Carefully remove the welding machine from its packaging. Inspect the machine for any signs of damage that may have occurred during transit. Ensure all components listed in the packing list are present. If any damage or missing parts are found, contact your supplier immediately.
3.2 Conexión de alimentación
The Telwin Linear 340-819020 operates on a 230-400V power supply. Ensure your power source matches these requirements. Connect the machine to a suitable power outlet using the provided cord. Verify that the power circuit is adequately protected by a fuse or circuit breaker.
3.3 Electrode Holder Connection
Connect the electrode holder cable to the appropriate terminal on the welding machine. For DC welding, the polarity depends on the electrode type and welding application. Consult your electrode manufacturer's recommendations for correct polarity.
3.4 Cl de tierraamp Conexión
Adjuntar el suelo clamp cable to the workpiece. Ensure a clean, solid electrical connection to the base metal to facilitate a stable arc. A poor ground connection can lead to an unstable arc and poor weld quality.

Figure 2: Close-up of the Telwin Linear 340-819020 control panel. This image highlights the current adjustment knob and connection points.
4. Instrucciones de funcionamiento
4.1 Encendido / Apagado
To power on the machine, switch the main power switch to the 'ON' position. The indicator light will illuminate. To power off, switch the main power switch to the 'OFF' position.
4.2 Ajuste actual
The Telwin Linear 340-819020 features stepless regulation of the welding current. Use the adjustment knob on the front panel to set the desired welding current. Refer to the electrode manufacturer's recommendations for appropriate current settings based on electrode diameter and material thickness.
4.3 Selección de electrodos
This machine is compatible with a wide range of electrodes, including rutile, basic, stainless steel, cast iron, and aluminum electrodes. Select the appropriate electrode type and diameter for your specific welding application and material.
4.4 Proceso de soldadura
- Asegúrese de usar todo el equipo de seguridad.
- Insert the chosen electrode into the electrode holder.
- Cree un arco tocando ligeramente el electrodo sobre la pieza de trabajo y levantándolo rápidamente y ligeramente para establecer el arco.
- Mantenga una longitud de arco y una velocidad de desplazamiento constantes para lograr una calidad de soldadura óptima.
- Después de soldar, deje que la pieza de trabajo se enfríe antes de manipularla.
5. Mantenimiento
El mantenimiento regular garantiza la longevidad y el funcionamiento seguro de su máquina de soldar.
- Limpieza: Periodically clean the machine's exterior with a dry cloth. Ensure ventilation openings are free from dust and debris. Use compressed air to clean internal components if necessary, ensuring the machine is unplugged.
- Inspección de cables: Inspeccione periódicamente todos los cables de soldadura, el portaelectrodos y la conexión a tierra.amp for damage, cuts, or loose connections. Replace damaged cables immediately.
- Almacenamiento: Guarde la máquina de soldar en un entorno seco y limpio, alejado de la luz solar directa y de temperaturas extremas.
6. Solución de problemas
| Problema | Posible causa | Solución |
|---|---|---|
| Sin arco o arco débil | Mala conexión a tierra, ajuste de corriente incorrecto, damp electrode, power supply issue. | Comprobar tierra clamp connection, adjust current, dry electrodes, verify power supply. |
| La máquina se sobrecalienta | Ciclo de trabajo excedido, ventilación bloqueada. | Allow machine to cool, clear ventilation openings, reduce welding time. |
| Mala calidad de la soldadura | Incorrect current, wrong electrode, improper technique, dirty workpiece. | Adjust current, select correct electrode, refine welding technique, clean workpiece. |
7. Especificaciones
| Característica | Detalle |
|---|---|
| Fabricante | Telwin |
| Número de modelo | 819020 |
| Peso del artículo | 80 kilogramos |
| Dimensiones del producto | 46 x 89 x 59 cm |
| Color | Rojo/negro |
| Tipo de fuente de poder | Eléctrico con cable |
| Volumentage | 240 Volts (Input 230-400V) |
| Quétage | 11.5 Kilowatts (Max Power 7 kW) |
| Componentes incluidos | Solo dispositivo |
| Pilas incluidas | No |
| Pilas necesarias | No |
8. Garantía y soporte
For warranty information and technical support, please refer to the documentation provided with your purchase or contact Telwin customer service directly. Keep your proof of purchase for warranty claims.

Figure 3: Telwin brand logo. This image displays the official logo of the manufacturer, Telwin.