1. Introducción
The WeMo F7C059 Dimmer Wi-Fi Light Switch allows you to control and dim your lights from anywhere using the WeMo app, voice commands, or directly from the wall switch. This device integrates with your existing Wi-Fi network, eliminating the need for a separate hub. It is compatible with Amazon Alexa, Google Assistant, and Apple HomeKit, offering flexible control options for your smart home lighting.

Imagen: Frente view of the WeMo F7C059 Dimmer Wi-Fi Light Switch, showing its sleek white design with a vertical dimming strip and a circular power button.
2. Información importante de seguridad
Lea y comprenda todas las instrucciones de seguridad antes de instalar y usar el producto. El incumplimiento de estas instrucciones podría provocar descargas eléctricas, incendios o daños materiales.
- Riesgo de descarga eléctrica: Apague siempre la alimentación en el disyuntor antes de instalar o realizar mantenimiento al interruptor.
- Cable neutro requerido: This device requires a neutral wire for operation. If your existing switch box does not have a neutral wire (typically white), this dimmer is not compatible.
- Single-Pole Installation Only: This dimmer is designed for single-pole light switches only. It is not compatible with 3-way (multi-location control) switches.
- Evite las placas frontales de metal: Not recommended for use with metal faceplates, as this may interfere with Wi-Fi signal.
- Uso exclusivo en interiores: Este dispositivo está diseñado para uso en interiores en lugares secos.
- Wat máximotage: Respete el agua máxima especificada.tage: 400W Incandescent (single-gang), 250W Incandescent (multi-gang), 150W CFL/LED (single or multi-gang).
3. Contenido del paquete
Verifique que todos los artículos estén presentes en su paquete:
- WeMo Wi-Fi Smart Dimmer (F7C059)
- Guía de inicio rápido (no incluida en este manual digital)
- Wire Nuts (typically included for installation)
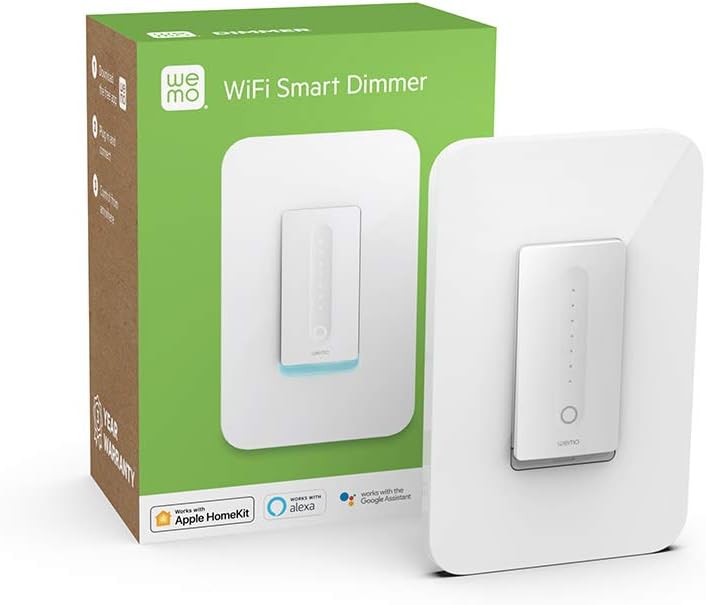
Image: The WeMo Wi-Fi Smart Dimmer shown alongside its retail packaging, highlighting the product and its box.
4. Instalación (Configuración)
This section guides you through the physical installation of your WeMo Dimmer. If you are unsure about any steps, consult a qualified electrician.
4.1 Comprobaciones previas a la instalación
- Verificar compatibilidad: Ensure your existing switch is a single-pole switch (controls lights from one location) and that a neutral wire is present in the electrical box.
- Herramientas necesarias: You will need a screwdriver, wire strippers, and electrical tape.
4.2 Instrucciones de cableado
- Apagar la energía: Locate your circuit breaker panel and turn off the power to the light switch you are replacing. Verify the power is off by attempting to turn on the light.
- Quitar el interruptor antiguo: Carefully remove the existing wall plate and unscrew the old switch from the electrical box. Disconnect the wires, noting their connections.
- Identificar cables:
- Cable de línea (caliente): Generalmente de color negro, trae energía desde el disyuntor.
- Cable de carga: Typically black, sends power to the light fixture.
- Cable neutro: Typically white, required for the WeMo Dimmer.
- Cable a tierra: Generalmente cobre verde o desnudo.
- Connect WeMo Dimmer:
- Connect the WeMo Dimmer's alambre negro to the electrical box's Cable de línea (caliente).
- Connect the WeMo Dimmer's cable rojo to the electrical box's Cable de carga.
- Connect the WeMo Dimmer's cable blanco to the electrical box's Cable neutro.
- Connect the WeMo Dimmer's cable verde to the electrical box's cable a tierra.
- Monte el regulador de intensidad: Carefully push the wired dimmer into the electrical box. Screw the dimmer into place.
- Instale la placa de pared: Attach your existing or a new standard rocker-style wall plate.
- Restaurar energía: Return to your circuit breaker panel and turn the power back on.
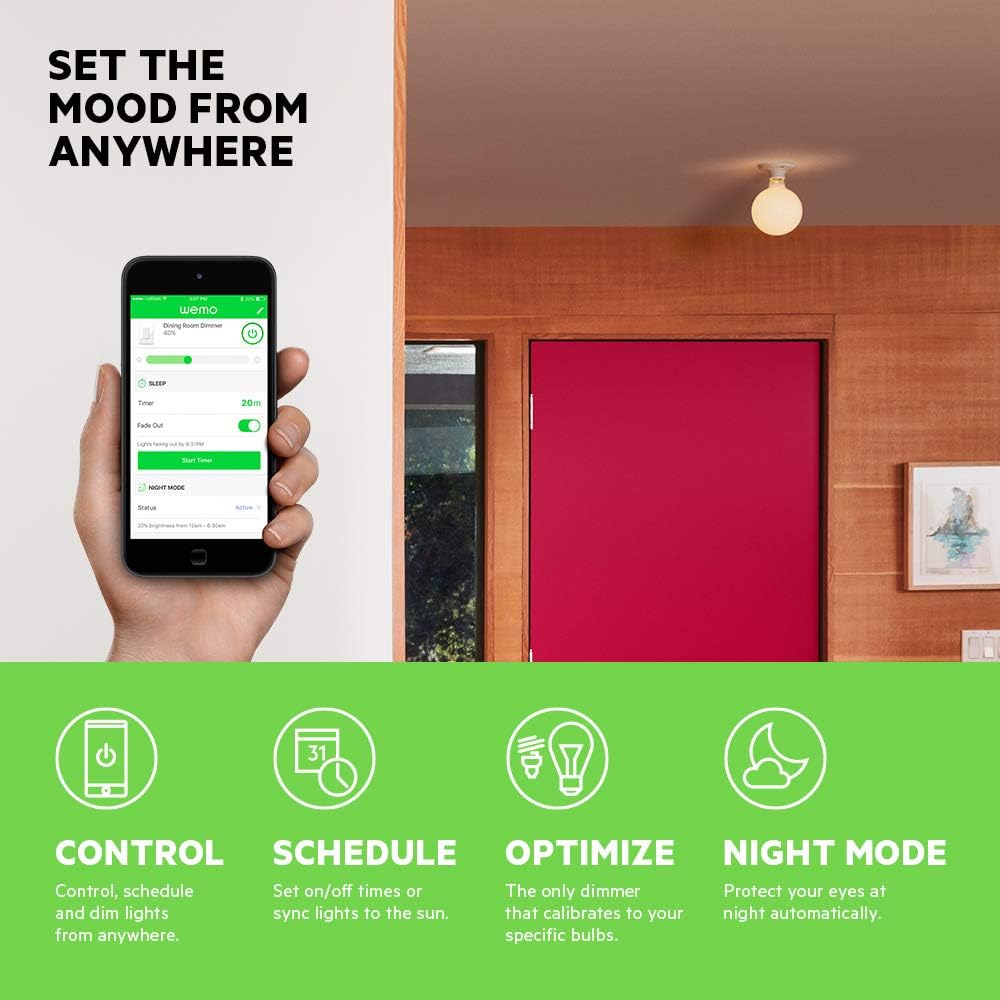
Imagen: Un primer plano view of the WeMo Dimmer with its wires (black, red, white, green) extending, ready for electrical connection. This illustrates the wiring process.
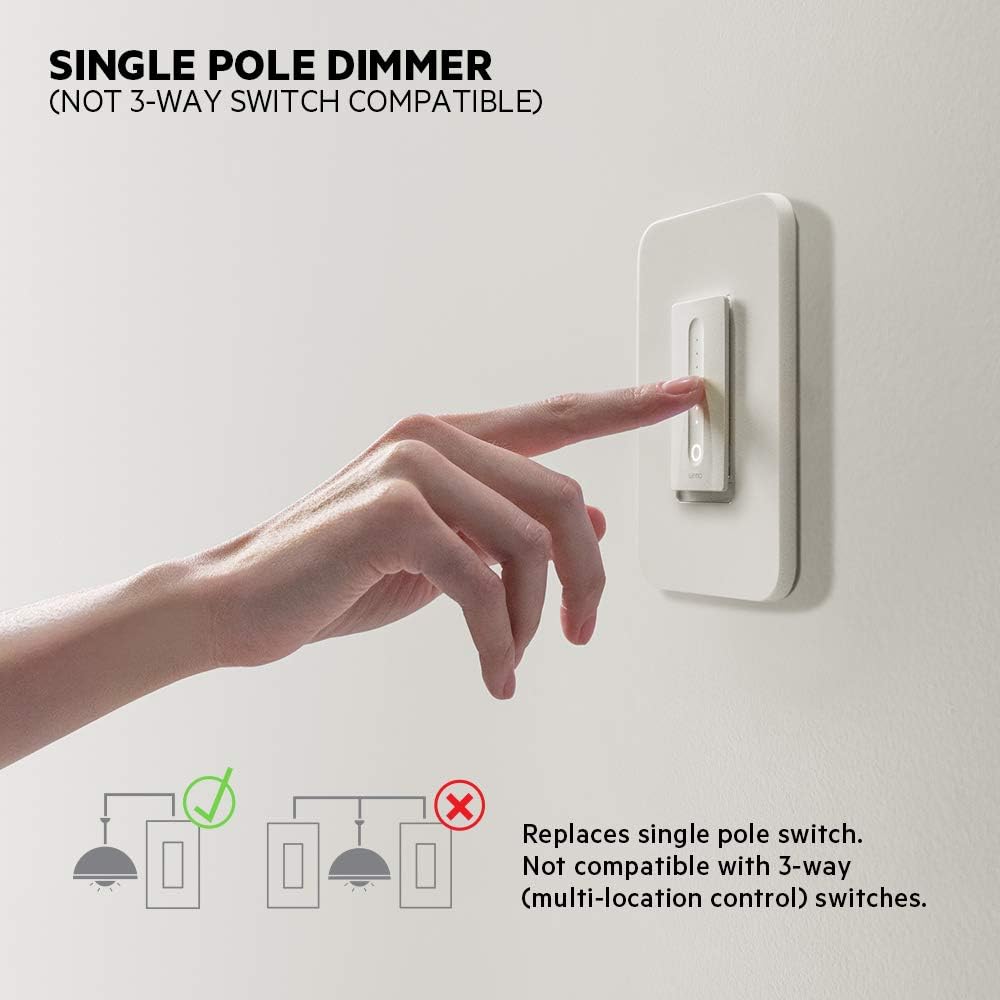
Image: Diagram illustrating that the WeMo Dimmer is compatible with single-pole switches (one switch controlling one light) and not with 3-way switches (multiple switches controlling one light).
5. WeMo App Setup
After physical installation, set up your WeMo Dimmer using the WeMo app to enable smart features.
- Descargue la aplicación WeMo: Download the free WeMo app from the Apple App Store (for iOS) or Google Play Store (for Android).
- Launch App and Add Device: Open the WeMo app and follow the on-screen instructions to add a new device.
- Conectarse a WeMo Wi-Fi: Your phone will temporarily connect to the WeMo Dimmer's Wi-Fi network during setup.
- Conectarse al Wi-Fi doméstico: Select your home 2.4GHz Wi-Fi network and enter the password when prompted.
- Name Your Dimmer: Give your dimmer a descriptive name (e.g., "Living Room Lights").
- Calibrate Dimmer: The app will guide you through a calibration process to optimize dimming for your specific bulbs (incandescent, CFL, or LED) and prevent flickering.

Image: A smartphone displaying the WeMo app interface, showing controls for dimming, scheduling, and night mode settings for a connected light switch.
6. Operación
Control your lights using the physical switch, the WeMo app, or voice commands.
6.1 controles manuales
- Encendido/apagado: Press the main circular button to turn the lights on or off.
- Atenuación: Slide your finger along the vertical touch-sensitive strip to adjust brightness levels.
6.2 Control de aplicaciones
The WeMo app provides advanced control features:
- Mando a distancia: Turn lights on/off and adjust brightness from anywhere with an internet connection.
- Horarios y Temporizadores: Set custom schedules for lights to turn on/off or dim at specific times, or sync with sunrise/sunset.
- Modo nocturno: Configure a low-light setting for specific hours to protect your eyes from bright lights during the night.

Image: A couple relaxing on a couch, watching television, with the text "Set the mood from anywhere" suggesting remote control of lighting.
7. Integración del control por voz
Integrate your WeMo Dimmer with popular voice assistants for hands-free control.
- Amazon Alexa: Enable the WeMo skill in the Alexa app and discover devices. You can then say commands like, "Alexa, dim the living room lights to 50%."
- Asistente de Google: Link your WeMo account in the Google Home app. Use commands such as, "Hey Google, turn off the bedroom light."
- Apple HomeKit: While advertised as compatible, some users may experience issues with HomeKit setup. Ensure your WeMo Dimmer firmware is up to date. If a HomeKit code is not present on the device or packaging, direct integration may not be immediately available.
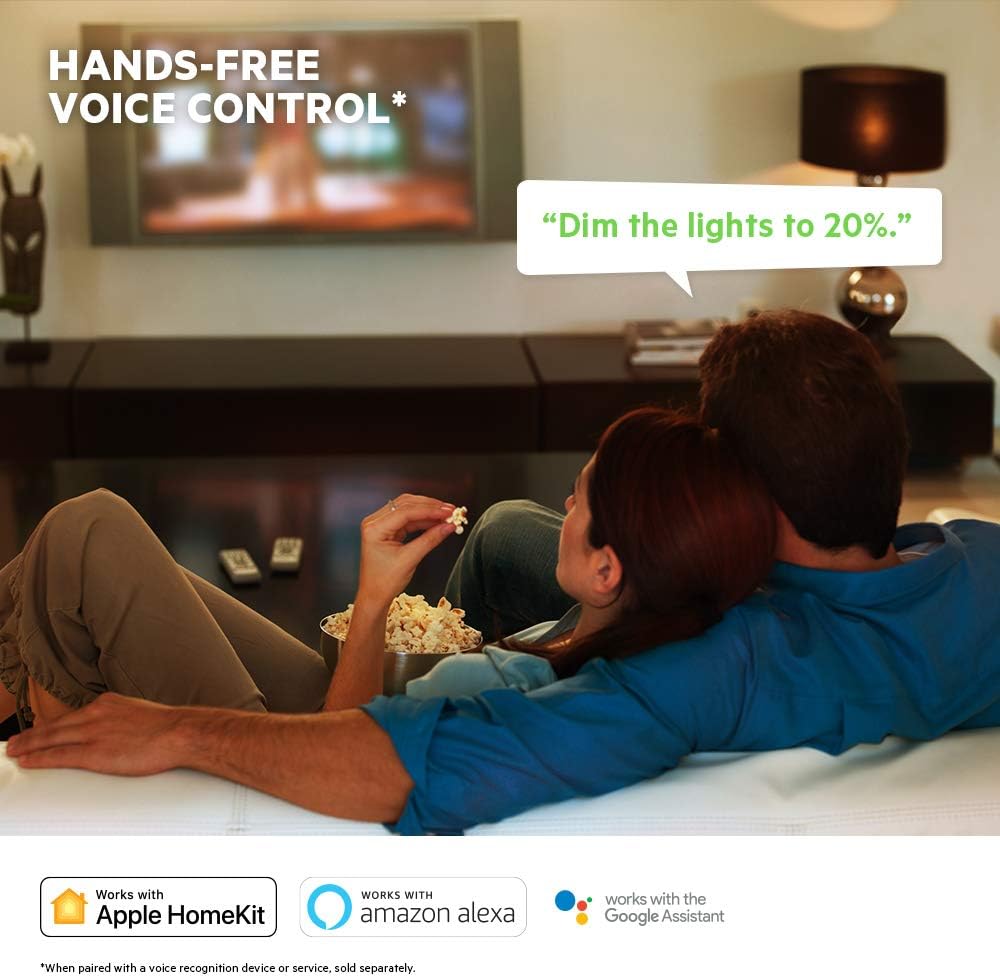
Image: A visual representation of voice control, showing a speech bubble with "Dim the lights to 20%." and logos for Apple HomeKit, Amazon Alexa, and Google Assistant.
8. Mantenimiento
To ensure optimal performance and longevity of your WeMo Dimmer:
- Limpieza: Wipe the dimmer and wall plate with a soft, dry cloth. Do not use abrasive cleaners or solvents.
- Actualizaciones de firmware: Regularly check the WeMo app for available firmware updates. These updates can improve performance, add features, and enhance security.
- Ciclo de potencia: If the dimmer becomes unresponsive, try turning off the power at the circuit breaker for 10 seconds, then turning it back on.
9. Solución de problemas
If you encounter issues with your WeMo Dimmer, refer to the following common problems and solutions:
| Problema | Posible causa / solución |
|---|---|
| Dimmer does not turn on/off or dim. |
|
| Cannot connect to WeMo app or Wi-Fi. |
|
| Lights flicker or dimming range is poor. |
|
| El control de voz no funciona. |
|
10. Especificaciones
| Característica | Detalle |
|---|---|
| Número de modelo | F7C059 |
| Marca | WeMo |
| Vol de funcionamientotage | 120 V CA |
| Wat máximotage (incandescente) | 400W (single-gang), 250W (multi-gang) |
| Wat máximotage (CFL/LED) | 150W (single or multi-gang) |
| Protocolo de conectividad | WiFi (2.4 GHz 802.11b/g/n) |
| Método de control | App, Voice, Manual |
| Tipo de controlador | Amazon Alexa, Google Assistant, HomeKit, WeMo App |
| Tipo de circuito | Unipolar (unipolar) |
| Cable neutro | Requerido |
| Dimensiones del producto | 3.3 x 1.7 x 5 pulgadas |
| Peso del artículo | 8 onzas |
| Color | Blanco |
11. Garantía y soporte
For warranty information, technical support, or further assistance, please visit the official WeMo support website or contact their customer service. Details are typically available on the product packaging or the WeMo websitio.
Soporte en línea: www.wemo.com/support (Examp(el enlace real puede variar)