
1. Másview
The LDSOLAR Sky Dream Series PWM Solar Charge Controller is designed for efficient and reliable management of solar power systems. Utilizing full digital technology and an intuitive LCD display, this controller operates in series PWM mode, optimizing the charging process for extended battery life and enhanced system performance. It is suitable for a wide range of applications, including off-grid solar home systems, traffic indicators, solar street lights, and solar garden lights.
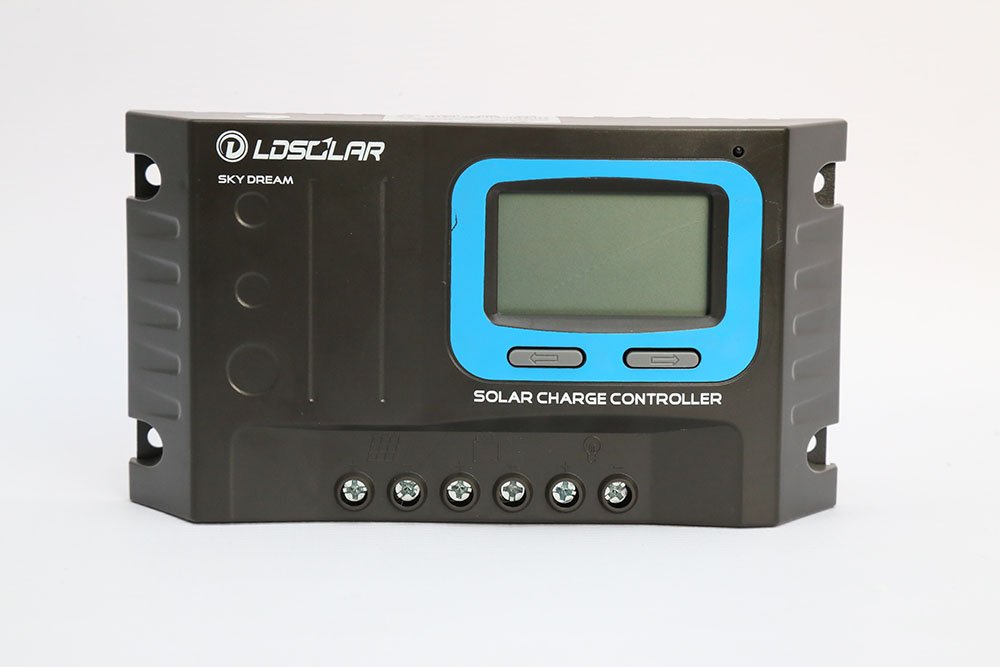
Figura 1: Frente view of the SD Series Sky Dream Solar Charge Controller, showing the LCD screen and control buttons.
2. Características principales
- 32-bit CPU: Ensures higher sampling precision and faster operation speed.
- Sistema automático Voltage Identificación: Supports 12V/24V DC systems.
- 3-StagCarga PWM: Features Bulk, Boost, and Float charging stages para una salud óptima de la batería.
- Selección del tipo de batería: Compatible with Sealed, Gel, and Flooded batteries.
- Humanized LCD Display: Provides dynamic display of operation data and working status.
- Built-in Operation Log: Records system working state for monitoring.
- Multi-Load Control Modes: Includes Normal mode, Sensor mode, and Timer mode.
- Función de compensación de temperatura: Adjusts charging parameters based on ambient temperature.
- Comprehensive Digital Protection: Safeguards against overcharging, over-discharging, overload, short circuit, and reverse connection.
- Max 16mm² Connectors: Accommodates robust wiring.
- 5V 1A USB Output: Conveniente para cargar pequeños dispositivos electrónicos.
3. Configuración e instalación
Una instalación correcta es crucial para el funcionamiento seguro y eficiente de su controlador de carga solar. Siga estos pasos cuidadosamente:
- Preparar el cableado: Ensure all wires are of appropriate gauge for the current and length, and that all connections are clean and secure.
- Conecte la batería: Connect the battery to the charge controller first. Ensure correct polarity (+ to + and - to -). The controller will automatically detect the system voltage (12 V o 24 V).
- Conectar el panel solar: Connect the solar panel array to the charge controller. Again, observe correct polarity. The controller will begin charging the battery.
- Conectar carga: Finally, connect the DC load to the charge controller's load terminals. Do not exceed the maximum rated load current.
Importante: Siempre conecte la batería primero y desconéctela por último para evitar dañar el controlador.
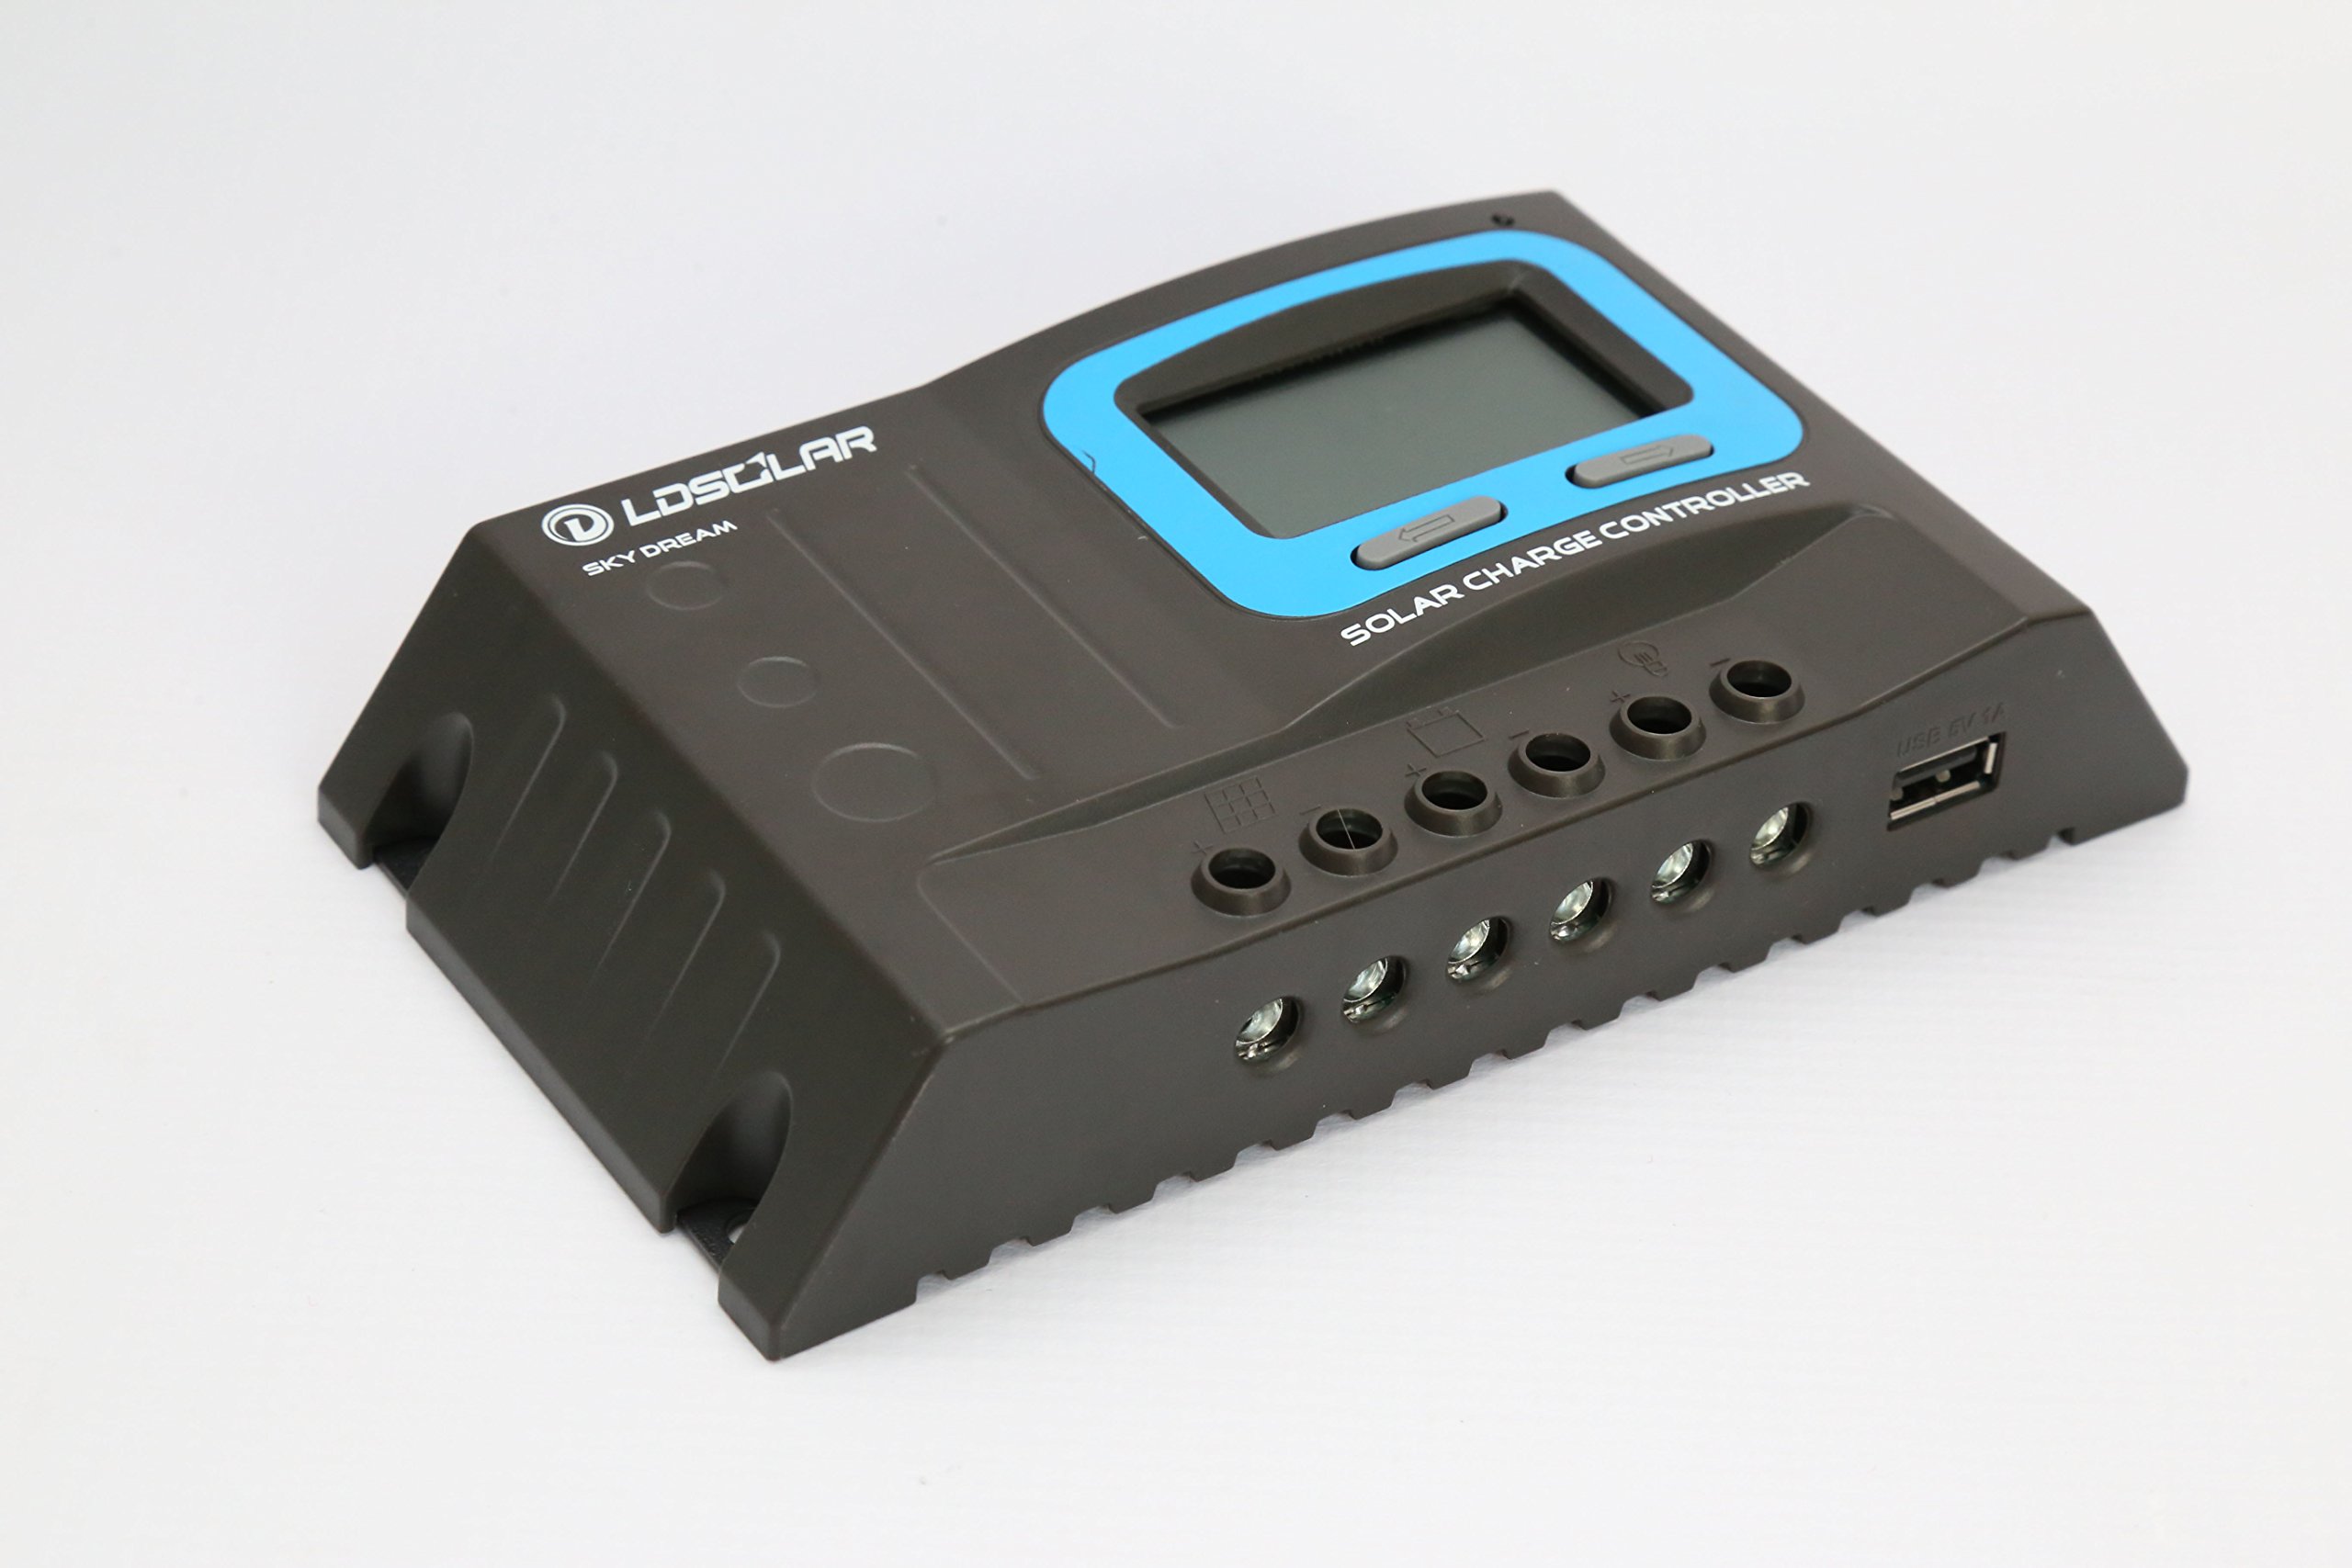
Figura 2: Angulado view of the controller showing the input/output terminals for battery, solar panel, and load connections.
4. Instrucciones de funcionamiento
4.1. Pantalla LCD
The LCD display provides real-time information about the system's status. It shows battery voltage, charging current, discharging current, battery state of charge, and various error indicators.
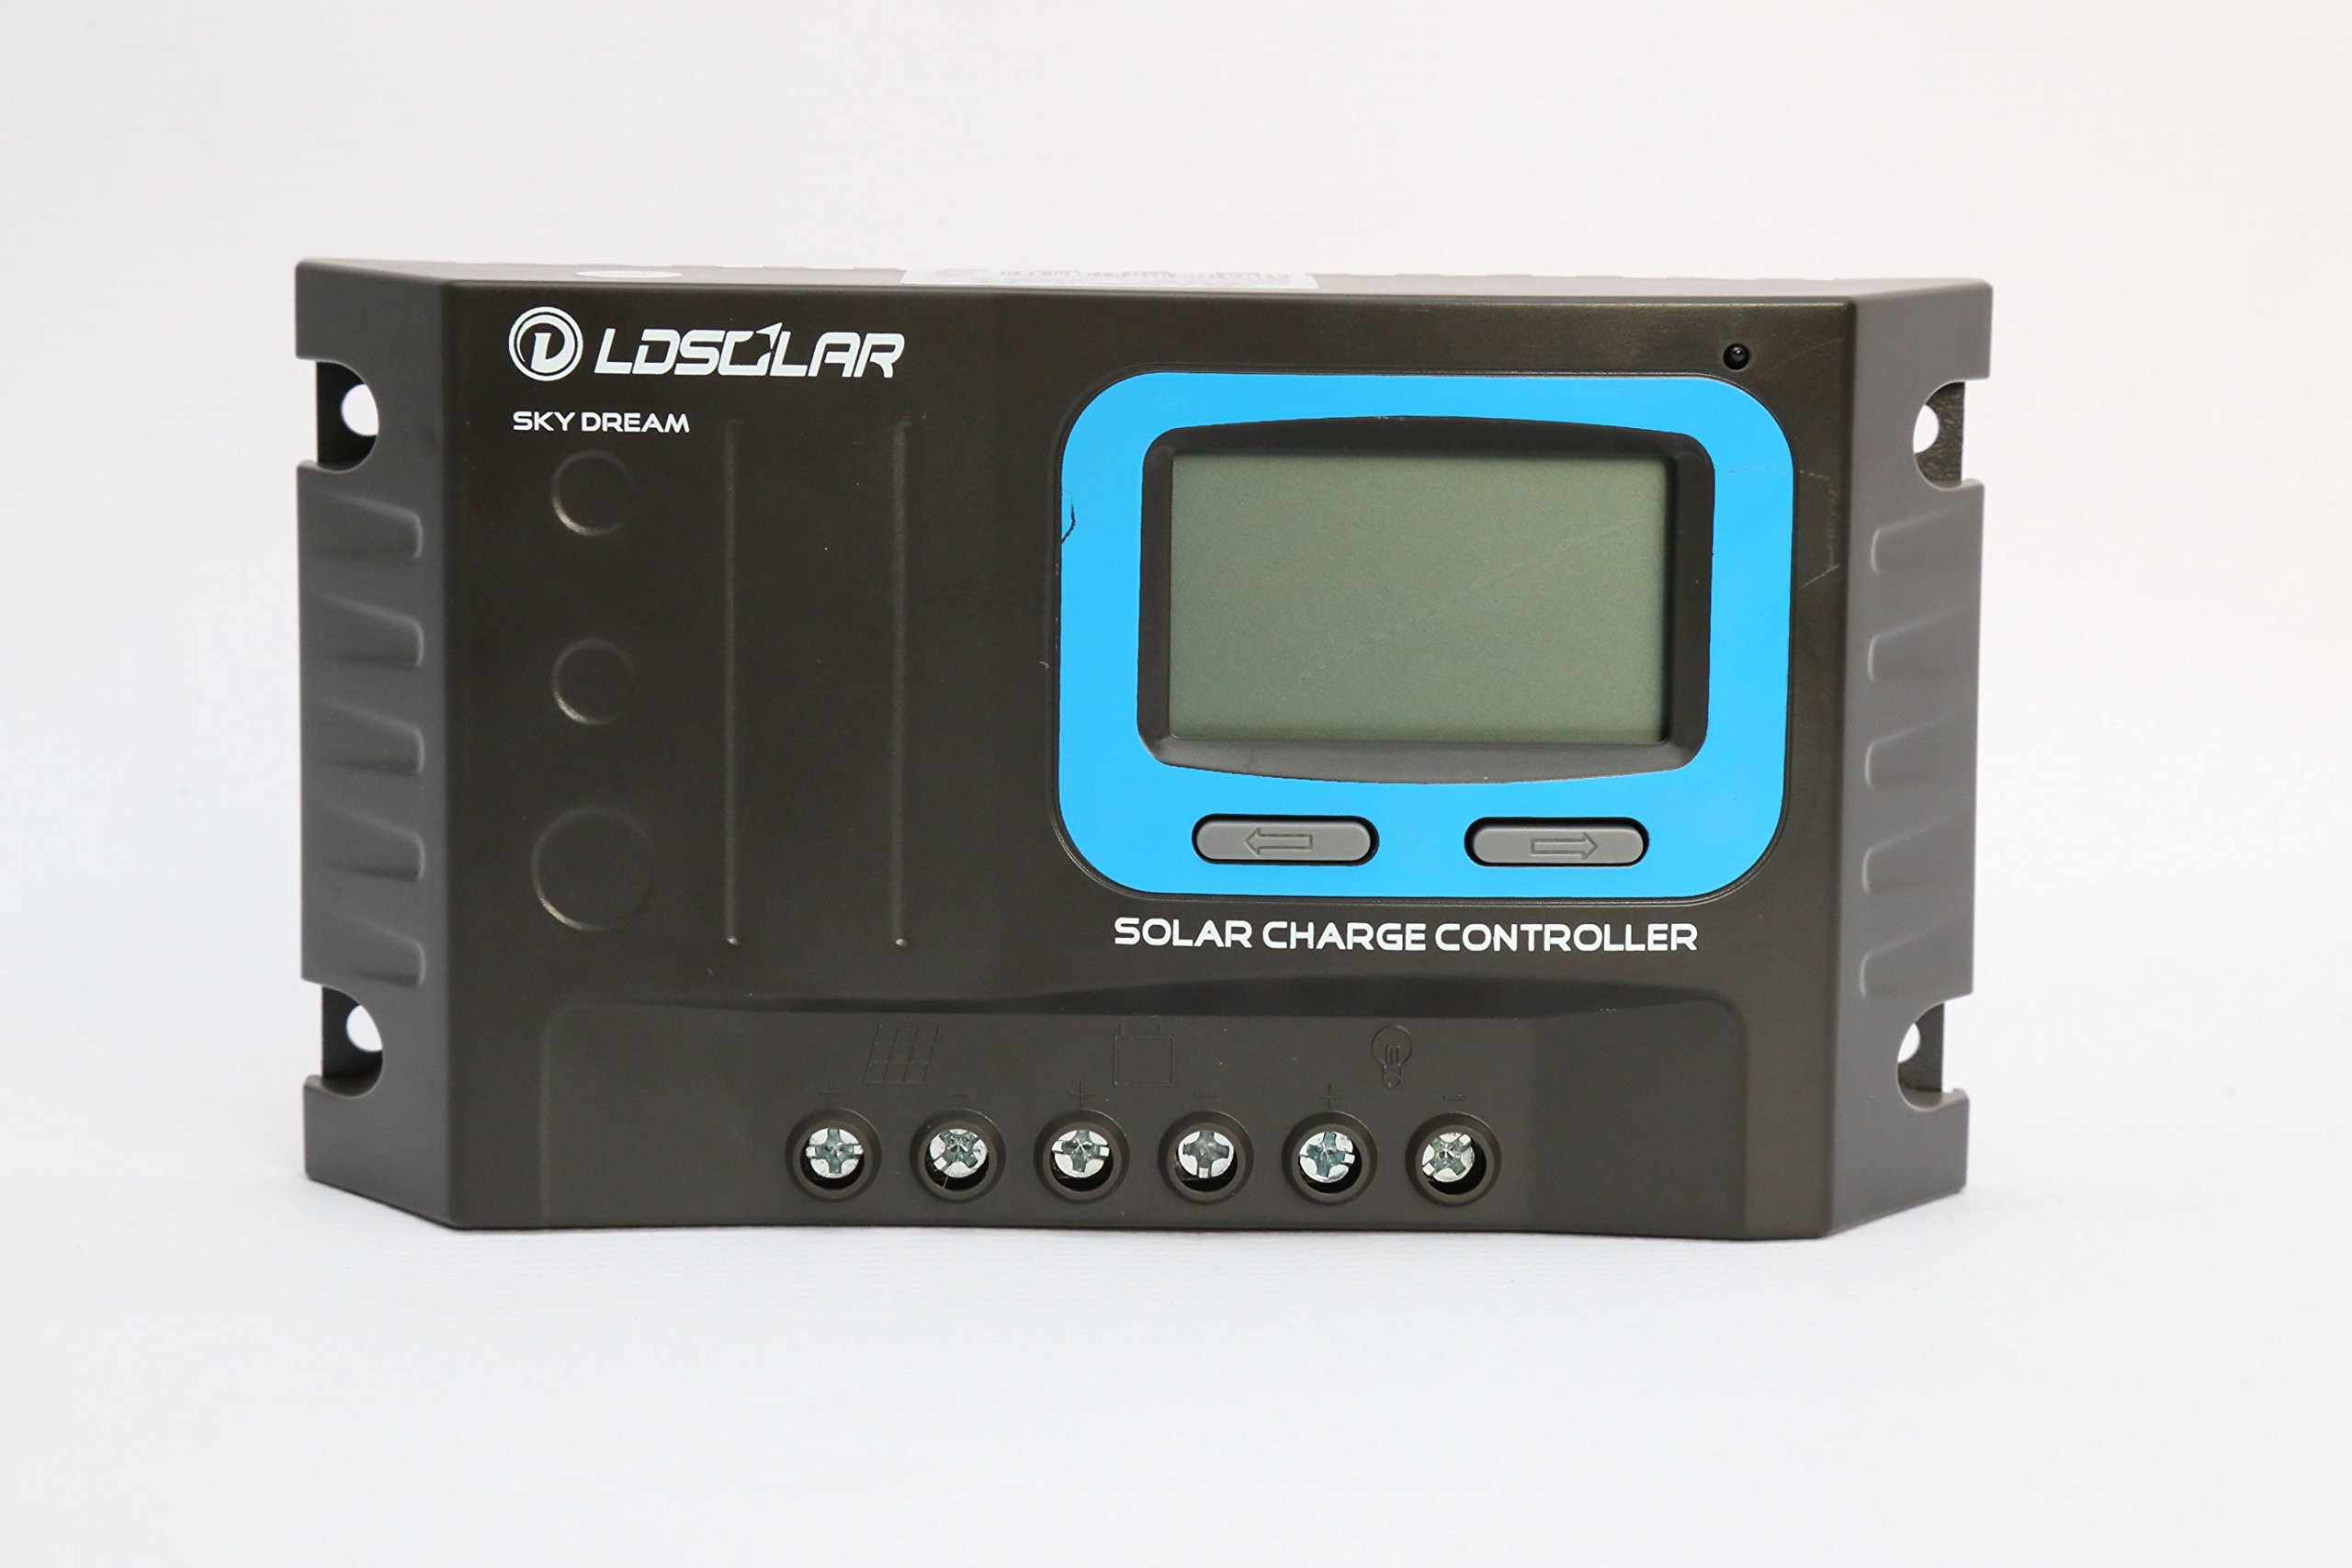
Figure 3: Close-up of the LCD display and control buttons for navigation and settings.
4.2. Funciones de los botones
The controller features two buttons for navigation and setting adjustments:
- Left Button (Menu/Select): Used to cycle through display screens and enter/confirm settings.
- Right Button (Up/Adjust): Used to increase values or navigate options within settings.
4.3. Modos de control de carga
The controller supports multiple load control modes to suit different application needs:
- Modo normal: Load is continuously ON or OFF based on manual setting.
- Modo sensor: Load turns ON automatically when it gets dark and OFF when it gets light (e.g., for street lights).
- Modo temporizador: Load turns ON when it gets dark and stays ON for a set number of hours.
4.4. Selección del tipo de batería
To ensure optimal charging, select the correct battery type in the controller settings:
- Sellado: For sealed lead-acid batteries.
- Gel: For gel batteries.
- Inundado: For flooded (wet cell) lead-acid batteries.
Refer to the detailed instructions in the full manual for specific steps on navigating menus and adjusting settings.
5. Mantenimiento
El mantenimiento regular garantiza la longevidad y el rendimiento óptimo de su controlador de carga solar:
- Limpieza: Mantenga el controlador limpio y libre de polvo y residuos. Utilice un paño seco para limpiarlo.
- Comprobaciones de conexión: Inspeccione periódicamente todas las conexiones del cableado para asegurarse de que estén bien apretadas y libres de corrosión. Las conexiones sueltas pueden causar sobrecalentamiento y un rendimiento deficiente.
- Ventilación: Asegúrese de que el controlador tenga ventilación adecuada para evitar el sobrecalentamiento. No obstruya los orificios de ventilación.
- Condiciones ambientales: Operate the controller within its specified temperature range (-20℃ to +55℃) and avoid exposure to direct sunlight or excessive moisture. The waterproof grade is IP32.
6. Solución de problemas
This section outlines common issues and their potential solutions. The controller features comprehensive digital protection functions to prevent damage.
| Problema | Posible causa | Solución |
|---|---|---|
| La pantalla del controlador está apagada. | Batería no conectada o polaridad invertida; vol. de la bateríatagy demasiado bajo. | Verifique las conexiones y la polaridad de la batería. Asegúrese de que el volumen de la bateríatage is above LVD (Low Voltage Disconnection) threshold. |
| La batería no se carga. | Solar panel not connected or reverse polarity; insufficient sunlight; PV input voltagy demasiado bajo. | Verifique las conexiones y la polaridad de los paneles solares. Asegúrese de que haya suficiente luz solar. Verifique el volumen fotovoltaico.tage está dentro de las especificaciones. |
| La carga no funciona. | Load over current; short circuit; battery voltage too low (LVD); load control mode setting. | Check load current and wiring for short circuits. The controller has load over current protection (auto restart every 30s). Check battery voltage. Adjust load control mode settings. |
| Sobrecalentamiento del controlador. | Mala ventilación; carga o corriente de carga excesiva. | Ensure proper airflow around the controller. Reduce load or charging current if consistently high. |
For issues not listed here, or if problems persist, please contact LDSOLAR customer support.
7. Especificaciones técnicas
| Parámetro | Value (SD2410C) |
|---|---|
| Vol del sistematage | 12V / 24V Auto |
| Volumen de entrada máx. de PVtage | 55 V |
| Autoconsumo | ≤12 mA |
| Corriente de carga máxima | 10A |
| Corriente de descarga máxima | 10A |
| Vol bajotage Desconexión (LVD) | 11.0V ADJ (9V…12V); ×2/24V |
| Vol bajotage Reconexión (LVR) | 12.6V ADJ (11V…13.5V); ×2/24V |
| Flotador Voltage | 13.8V ADJ (13V…15V); ×2/24V |
| Aumentar Voltage | 14.4V; ×2/24V (auto boost 2 hours if battery voltagy < 12.6 V) |
| Batería sobre vol.tage Desconexión | 16.5V; ×2/24V |
| Protección de conexión inversa | Sí |
| Carga sobre la protección actual | Yes, auto restart every 30s |
| Tipo de carga | Modulación por ancho de pulso (PWM) |
| Compensación de temperatura | -24 mV /℃ for 12V system; ×2/24V |
| Temperatura de trabajo | -20℃ a +55℃ |
| Escala terminal | 14---6 AWG (16mm²) |
| Grado de impermeabilidad | IP32 |
| Dimensiones del producto | 190 mm × 108 mm × 41.5 mm (7.48 x 4.25 x 1.63 pulgadas) |
| Peso neto | 450 g (15.8 onzas) |
* Please ensure the product is used under its rated power in high temperature environments.
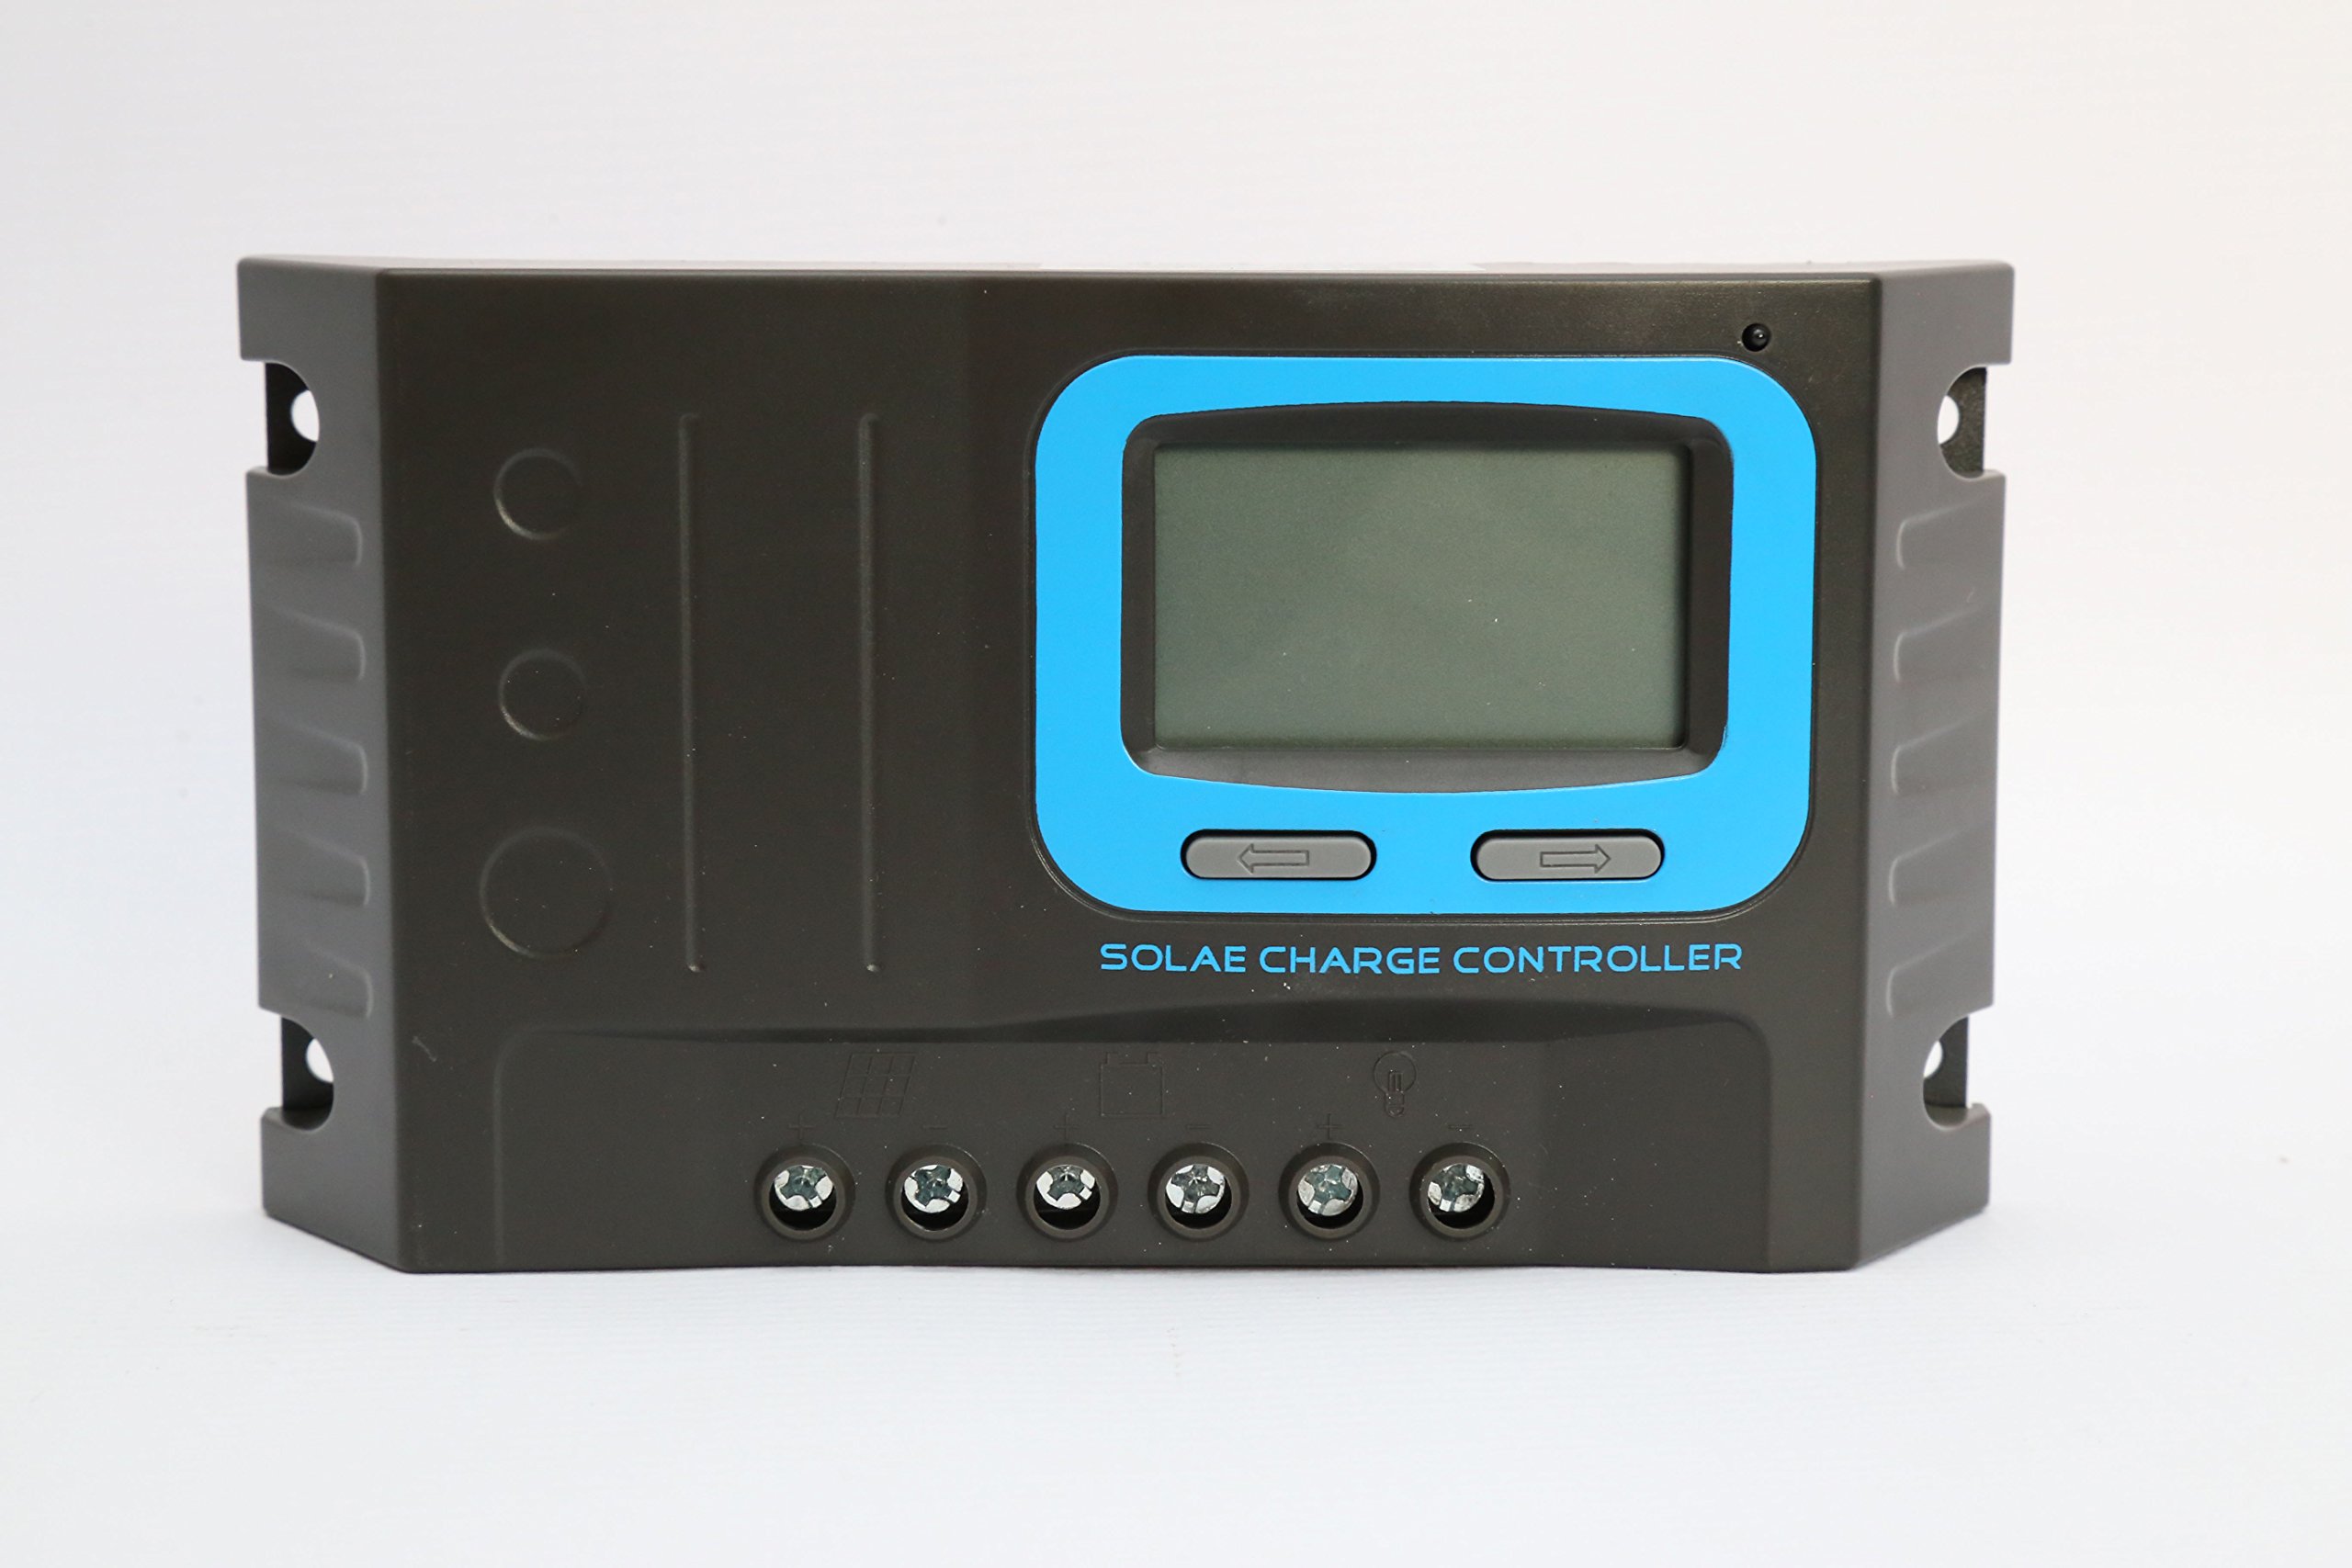
Figure 4: Diagram illustrating the dimensions and port layout of the solar charge controller.
8. Información de garantía
Specific warranty terms and conditions for the LDSOLAR SD Series Sky Dream PWM Solar Charge Controller are typically provided with the product packaging or on the manufacturer's official website. Please refer to these resources for detailed warranty coverage, duration, and claim procedures. Keep your proof of purchase for warranty claims.
9. Soporte
For technical assistance, troubleshooting beyond this manual, or inquiries regarding your LDSOLAR product, please contact LDSOLAR customer support. You can typically find contact information on the product packaging, the manufacturer's official websitio, o a través de su punto de compra.
LDSOLAR Official Websitio: www.ldsolar.com (Nota: Este es un marcador de posición URL, por favor verificar la información oficial real webSitio de soporte.)