
Hitachi RMC322HBD 2.0 Ton 3 Star Split AC User Manual
Model: RMC322HBD
1. Introducción
This manual provides essential information for the safe and efficient operation, installation, and maintenance of your Hitachi RMC322HBD 2.0 Ton 3 Star Split Air Conditioner. Please read this manual thoroughly before using the appliance and retain it for future reference. Proper use and maintenance will ensure optimal performance and extend the lifespan of your unit.
2. Instrucciones de seguridad importantes
Always follow basic safety precautions to reduce the risk of fire, electric shock, or injury. This appliance is not intended for use by persons (including children) with reduced physical, sensory, or mental capabilities, or lack of experience and knowledge, unless they have been given supervision or instruction concerning use of the appliance by a person responsible for their safety.
- Asegúrese de que la fuente de alimentación coincida con las especificaciones de la unidad.
- No opere el aire acondicionado con las manos mojadas.
- No introduzca los dedos ni objetos en la entrada/salida de aire.
- Asegure una conexión a tierra adecuada para evitar descargas eléctricas.
- Mantenga el área alrededor de la unidad exterior libre de obstrucciones.
- No intente reparar la unidad usted mismo. Contacte con personal de servicio técnico cualificado.
- Apague la fuente de alimentación antes de limpiar o realizar mantenimiento.
3. Componentes del producto
The Hitachi RMC322HBD Split AC system consists of two main units: an indoor unit and an outdoor unit, along with a remote control and installation accessories.
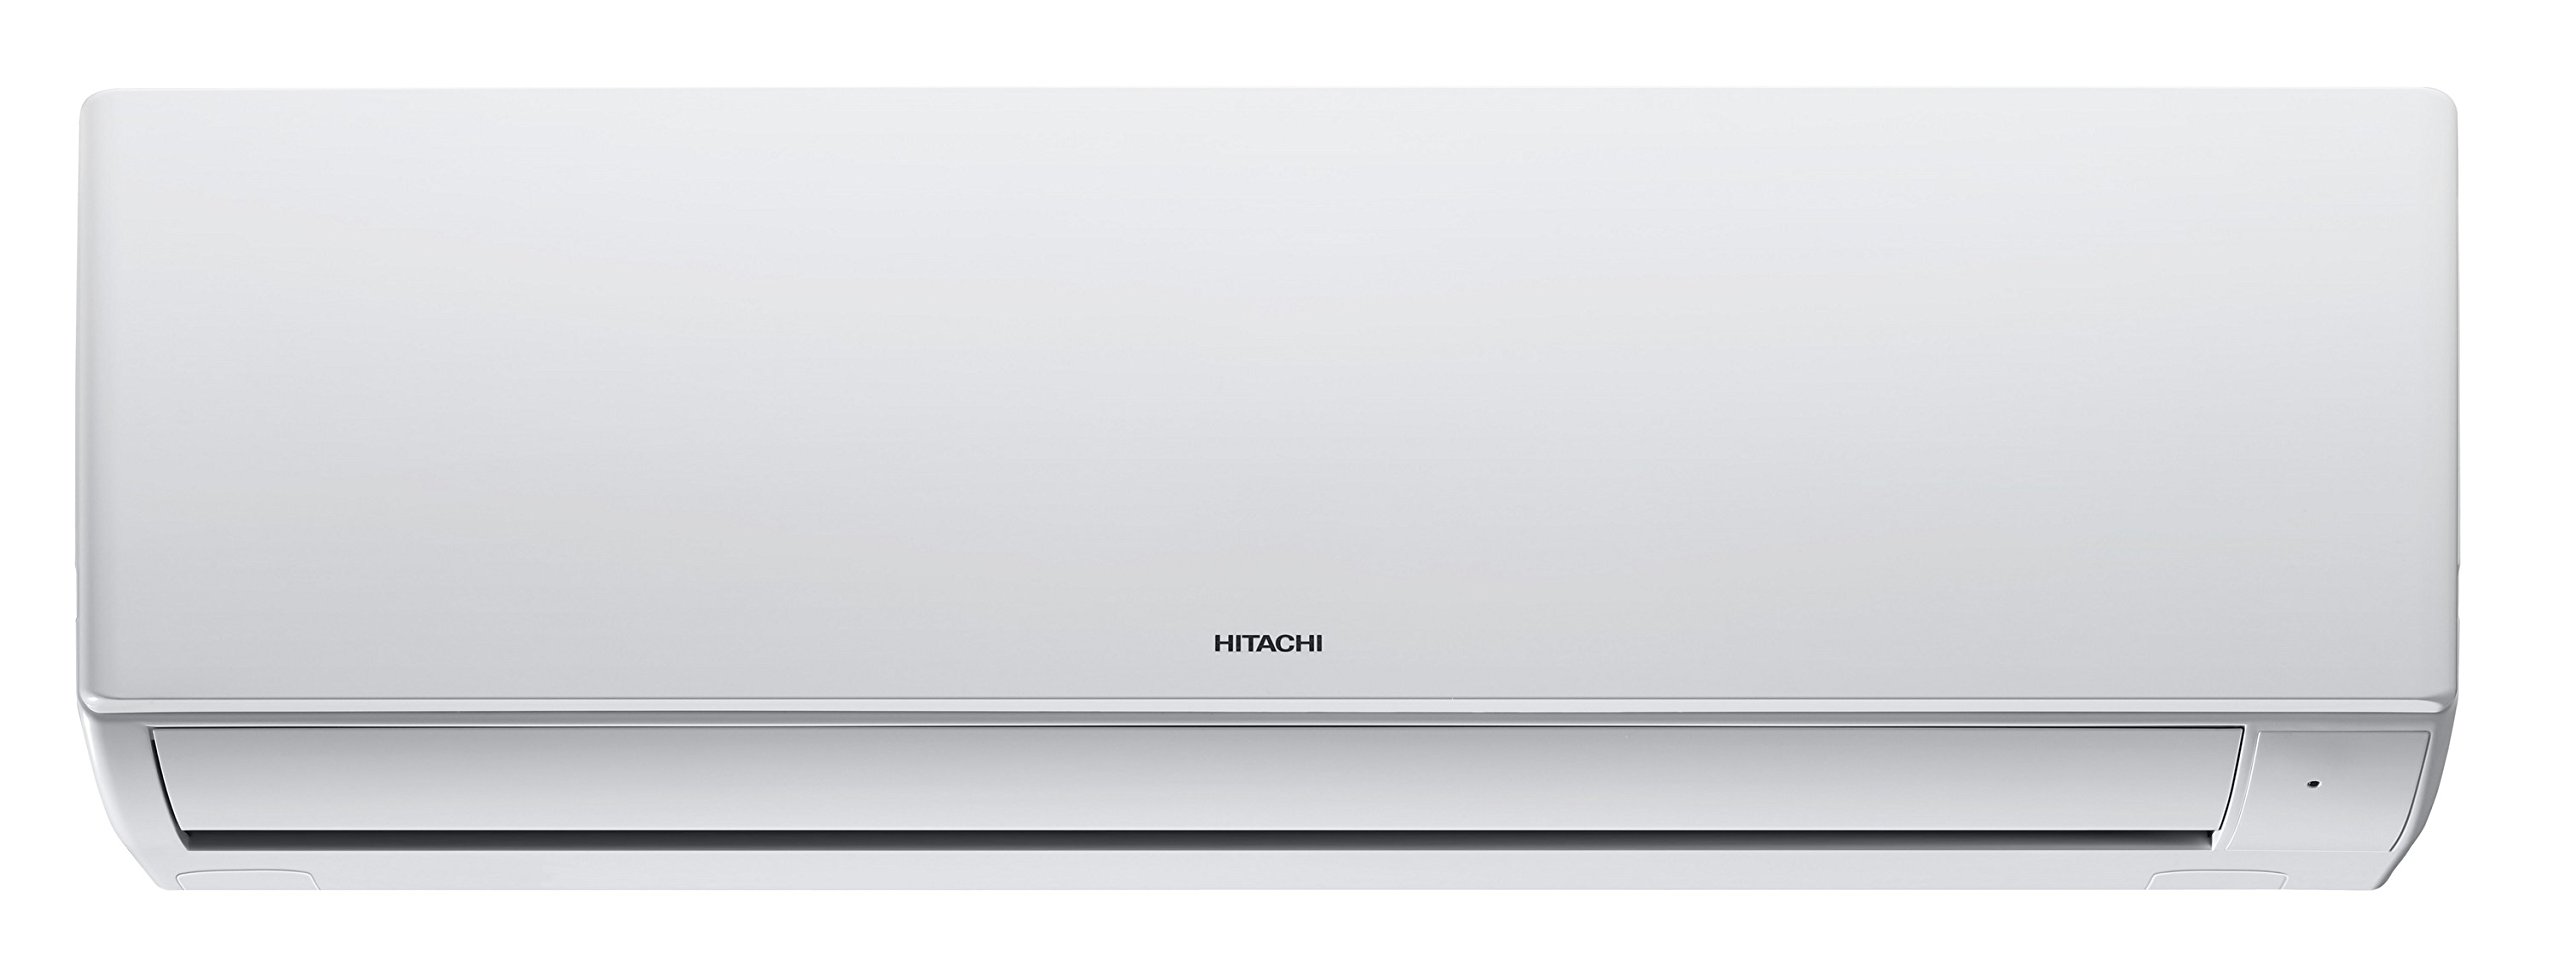
Figura 3.1: Frente view of the Hitachi RMC322HBD indoor unit. This unit is typically mounted inside the room and is responsible for circulating cooled air.

Figura 3.2: Lado view of the Hitachi RMC322HBD indoor unit, showing its compact design suitable for various room aesthetics.
- Unidad interior: Houses the evaporator coil, fan, air filter, and control electronics. It is designed for wall mounting.
- Unidad exterior: Contains the compressor, condenser coil, and expansion valve. It is installed outside the building.
- Mando a distancia: Used to operate the AC unit from a distance, allowing adjustment of settings such as temperature, mode, and fan speed.
- Kit de instalacion: Includes necessary pipes, wires, and mounting brackets for installation.
4. Guía de instalación
Installation of this split air conditioner requires specialized skills and tools. It is strongly recommended that installation be performed by a qualified and certified technician to ensure proper functioning, safety, and warranty validity.
4.1 Selección del sitio
- Unidad interior: Elija una ubicación que permita una distribución uniforme del aire, alejada de la luz solar directa y de fuentes de calor. Asegúrese de que haya suficiente espacio alrededor de la unidad para su mantenimiento.
- Unidad exterior: Select a well-ventilated area, free from obstructions, and away from direct sunlight or strong winds. Ensure the unit is placed on a stable, level surface.
4.2 Montaje de la unidad interior
The indoor unit should be securely mounted on a wall using the provided mounting plate. Ensure the wall is strong enough to support the unit's weight. Proper drainage for condensate water must be established.
4.3 Montaje de la unidad exterior
The outdoor unit should be installed on a rigid base to minimize vibration and noise. Ensure there is adequate clearance for airflow around the unit. Connect the refrigerant pipes and electrical wiring between the indoor and outdoor units.
4.4 Conexiones eléctricas
All electrical work must comply with local codes and regulations. Connect the unit to a dedicated power circuit with appropriate voltage (230 Volts) and a circuit breaker. Ensure all connections are secure and properly insulated.
4.5 Drenaje
The indoor unit produces condensate water during operation. Ensure the drain hose is properly installed with a downward slope to allow for continuous drainage, preventing water leakage.
5. Operating Your AC
Your Hitachi RMC322HBD AC unit is controlled via a wireless remote control. Familiarize yourself with the remote's functions for optimal use.
5.1 Funciones de control remoto
El control remoto le permite:
- Encendido/apagado: Activa o desactiva la unidad.
- Selección de modo: Choose between Cooling, Fan, Dry, or Auto modes.
- Ajuste de temperatura: Establezca la temperatura ambiente deseada.
- Velocidad del ventilador: Ajuste la velocidad del ventilador (Baja, Media, Alta, Automático).
- Función de oscilación: Control the direction of the air deflector (Wide angle deflector).
- Minutero: Set the unit to turn on or off automatically.
- Características especiales: Activate specific functions like Anti Bacterial Filter or Sleep mode.
5.2 Funcionamiento básico
- Apunte el control remoto hacia la unidad interior.
- Press the 'ON/OFF' button to start the unit.
- Select your desired operating mode using the 'MODE' button.
- Adjust the temperature using the 'TEMP UP/DOWN' buttons.
- Ajuste la velocidad del ventilador según sea necesario.
5.3 Funciones especiales
- Filtro antibacteriano: Helps to remove bacteria and allergens from the air, improving indoor air quality.
- Diseño de cuchilla ondulada: Contribuye a un flujo de aire eficiente y un funcionamiento silencioso.
- Deflector de gran ángulo: Permite una distribución más amplia del aire en toda la habitación.
- Indicador de limpieza del filtro: Notifies you when the air filter requires cleaning, ensuring consistent performance.
6. Mantenimiento y cuidado
Regular maintenance is crucial for the efficient and long-lasting operation of your AC unit. Always disconnect power before performing any maintenance.
6.1 Limpieza del filtro de aire
The air filters should be cleaned regularly, typically every two weeks or when the 'Filter Clean Indicator' illuminates. Dirty filters can reduce cooling efficiency and airflow.
- Abra el panel frontal de la unidad interior.
- Retire los filtros de aire.
- Limpie los filtros con una aspiradora o lávelos con agua tibia y detergente suave.
- Deje que los filtros se sequen completamente en un área sombreada antes de volver a instalarlos.
- Cierre el panel frontal.
6.2 Indoor Unit Cleaning
Limpie la superficie de la unidad interior con un paño suave y seco. Para manchas difíciles, utilice un paño seco.amp Limpie el producto con un paño humedecido con detergente neutro y séquelo. No utilice productos químicos agresivos ni limpiadores abrasivos.
6.3 Mantenimiento de la unidad exterior
Periodically check the outdoor unit for any obstructions (leaves, debris) around the condenser coils and clear them. Ensure the area around the unit remains clear for proper airflow. Professional cleaning of the outdoor unit's coils is recommended annually.
6.4 Mantenimiento estacional
- Antes del verano: Have a professional technician inspect the refrigerant levels and overall system performance.
- Antes del invierno: If the unit will not be used for an extended period, clean all components thoroughly and cover the outdoor unit to protect it from harsh weather.
7. Solución de problemas
Before contacting customer support, refer to the following table for common issues and their potential solutions.
| Problema | Posible causa | Solución |
|---|---|---|
| La unidad no arranca | No hay suministro de energía; las baterías del control remoto están bajas; el disyuntor se disparó. | Verifique la conexión eléctrica; reemplace las baterías; reinicie el disyuntor. |
| Refrigeración insuficiente | Dirty air filters; Obstruction in air intake/outlet; Doors/windows open; Temperature setting too high; Low refrigerant. | Clean filters; Remove obstructions; Close openings; Lower temperature; Contact service for refrigerant check. |
| Ruidos extraños | Piezas sueltas; Unidad desnivelada; Ruidos de funcionamiento normales (por ejemplo, flujo de refrigerante). | Check for loose parts; Ensure unit is level; If unusual, contact service. |
| Fuga de agua de la unidad interior | Clogged drain hose; Improper installation; Unit not level. | Manguera de drenaje limpia; comuníquese con el instalador para una inspección. |
Si el problema persiste después de intentar estas soluciones, comuníquese con el personal de servicio autorizado.
8. Especificaciones técnicas
| Especificación | Valor |
|---|---|
| Marca | Hitachi |
| Nombre del modelo | RMC322HBD |
| Capacidad | 2 toneladas |
| Potencia de enfriamiento | 6445 vatios |
| Clasificación Energética | 3 estrellas (clasificación de estrellas BEE) |
| Índice de eficiencia energética estacional (SEER) | 3.51 |
| Refrigerante | R22 |
| Nivel de ruido | 40 decibelios |
| Tipo de instalación | Sistema dividido |
| Material básico | Cobre |
| Volumentage | 230 voltios |
| Fuente de poder | Eléctrico con cable |
| Peso del artículo | 13000 Grams (Indoor Unit) |
| Tipo de controlador | Mando a distancia |
| Cobertura del área del piso | 180 pies cuadrados |
| Características especiales | Anti Bacterial Filter, Wave blade design, Wide angle deflector, Filter clean indicator, Tropical compressor, Backlight remocon |
9. Información de garantía
Your Hitachi RMC322HBD Split AC comes with a limited warranty to cover manufacturing defects. The warranty details are as follows:
- 1 años en el producto.
- 1 años on the condenser.
- 5 años en el compresor.
Please retain your purchase receipt as proof of purchase for warranty claims. The warranty does not cover damages resulting from improper installation, misuse, lack of maintenance, or unauthorized repairs. For detailed terms and conditions, refer to the warranty card included with your product.
10. Atención al cliente
For any inquiries, technical assistance, or service requests regarding your Hitachi RMC322HBD Split AC, please contact Hitachi customer support. Ensure you have your model number (RMC322HBD) and purchase details ready when contacting support.
You can typically find contact information for Hitachi customer service on their official websitio o en la documentación proporcionada con su producto.