
1. Introducción
This manual provides essential information for the safe and efficient operation of your Luminous 350 Eco Watt Inverter, Model CL0113. Please read these instructions carefully before installation and use, and retain this manual for future reference. The Luminous 350 Eco Watt Inverter is designed to convert DC power from a battery into AC power for various household appliances.
2. Instrucciones de seguridad importantes
ADVERTENCIA: Si no sigue estas instrucciones puede producirse una descarga eléctrica, un incendio o lesiones graves.
- Lea todas las instrucciones antes de operar el inversor.
- No exponga el inversor a la lluvia, la humedad o temperaturas extremas.
- Asegúrese de que haya una ventilación adecuada alrededor del inversor para evitar el sobrecalentamiento.
- Conecte el inversor únicamente a un sistema de batería de 12 V.
- Observe correct polarity when connecting battery cables (positive to positive, negative to negative). Incorrect connection can damage the inverter and battery.
- No abra el inversor casing. No hay piezas que el usuario pueda reparar en el interior. Encargue cualquier reparación a personal cualificado.
- Keep children away from the inverter and battery.
- Ensure the inverter is installed on a stable, non-flammable surface.
3. Producto terminadoview
The Luminous 350 Eco Watt Inverter features a compact design with essential connections and indicators for reliable power conversion. Below is an illustration of the rear panel and its components.
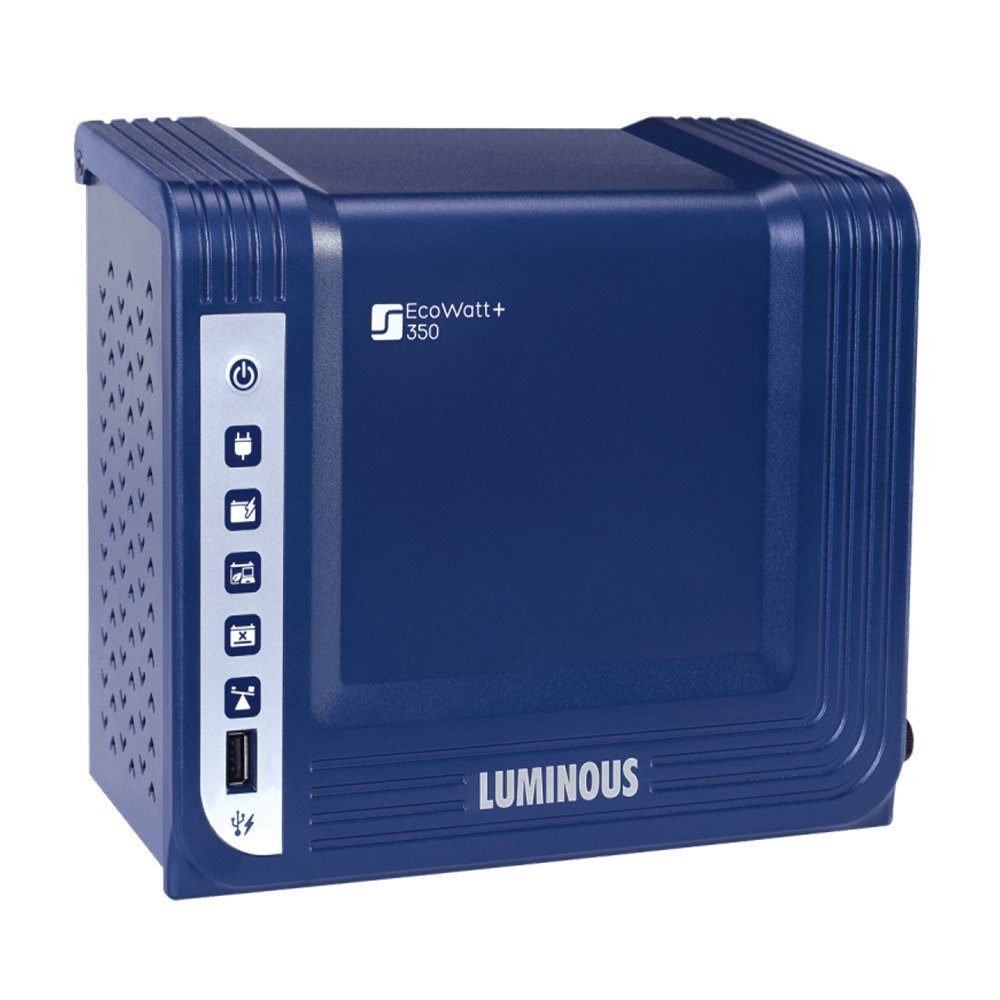
Figure 1: Rear Panel of Luminous 350 Eco Watt Inverter
Description of Rear Panel Components:
- 1. Cooling Fan: Located at the top, this fan helps dissipate heat during operation to maintain optimal performance.
- 2. Output Socket: A multi-pin socket labeled "OUTPUT" for connecting AC-powered appliances.
- 3. Fusible (6.3A): A replaceable fuse, labeled "FUSE 6.3A", for overcurrent protection.
- 4. AC Input (230V-50Hz): The input port for connecting the inverter to the main AC power supply for battery charging.
- 5. 12V Battery Terminals: Red (+) and Black (-) terminals for connecting to a 12V battery. A caution label "CAUTION: OBSERVE CORRECT POLARITY" is present.
- 6. Luminous Power Technologies Pvt. Ltd. Branding: Manufacturer's identification.
4. Instrucciones de configuración
4.1 Colocación
- Instale el inversor en un área fresca, seca y bien ventilada.
- Evite la luz solar directa, fuentes de calor y humedad.
- Ensure sufficient clearance around the cooling fan for proper airflow.
- Mount the inverter securely on a wall or stable surface, away from flammable materials.
4.2. Conexión de la batería
Connect the inverter to a 12V deep cycle battery. Ensure the battery is fully charged before initial use.
- Connect the red battery cable to the positive (+) terminal of the inverter and the positive (+) terminal of the battery.
- Connect the black battery cable to the negative (-) terminal of the inverter and the negative (-) terminal of the battery.
- CAUTION: Observe correct polarity. Reversing polarity will damage the inverter and void the warranty.
- Asegúrese de que todas las conexiones estén firmes y seguras para evitar contactos sueltos y chispas.
4.3. AC Input Connection
Connect the inverter to the main AC power supply (230V-50Hz) using a suitable power cord. This connection allows the inverter to charge the connected battery when grid power is available.
- Plug the power cord into the "AC INPUT 230V-50Hz" port on the inverter's rear panel.
- Connect the other end of the power cord to a grounded wall outlet.
4.4. Conexión de carga
Connect your appliances to the "OUTPUT" socket on the inverter's rear panel.
- Asegurar el agua total.tage of connected appliances does not exceed the inverter's rated output of 350 Watts.
- Connect appliances one by one, starting with the highest power consumption.
5. Instrucciones de funcionamiento
5.1. Turning On the Inverter
- After completing all connections as per the setup instructions, switch on the main power supply to the inverter.
- The inverter will automatically detect the grid power and begin charging the battery.
- En caso de un corte de energíatage, the inverter will automatically switch to battery mode, providing power to connected appliances.
5.2. Turning Off the Inverter
- To turn off the inverter, first disconnect all connected appliances from the output socket.
- Then, switch off the main power supply to the inverter.
- Finally, disconnect the battery cables if the inverter will not be used for an extended period.
6. Mantenimiento
6.1. Limpieza
- Limpie periódicamente el exterior del inversor con un paño suave y seco.
- Asegúrese de que el ventilador de enfriamiento y las aberturas de ventilación estén libres de polvo y residuos para evitar el sobrecalentamiento.
- No utilice limpiadores líquidos ni disolventes.
6.2. Cuidado de la batería
- Ensure the battery connected to the inverter is maintained according to its manufacturer's guidelines.
- Check battery terminals periodically for corrosion and clean if necessary.
- Mantenga la batería cargada, especialmente durante largos períodos de inactividad, para prolongar su vida útil.
6.3. Reemplazo de fusibles
The inverter is equipped with a 6.3A fuse for protection. If the inverter stops functioning due to an overload or short circuit, the fuse may need replacement.
- Disconnect the inverter from all power sources (AC input and battery) before attempting fuse replacement.
- Locate the fuse holder labeled "FUSE 6.3A" on the rear panel.
- Unscrew the fuse cap and carefully remove the old fuse.
- Replace it with a new fuse of the exact same rating (6.3A). Using a fuse with a different rating can damage the inverter or compromise safety.
- Securely screw the fuse cap back into place.
7. Solución de problemas
This section addresses common issues you might encounter with your Luminous 350 Eco Watt Inverter. If the problem persists after following these steps, contact customer support.
| Problema | Posible causa | Solución |
|---|---|---|
| El inversor no se enciende. |
|
|
| Sin salida de CA |
|
|
| Inverter fan running constantly or loudly. |
|
|
8. Especificaciones
| Marca | Luminoso |
| Nombre del modelo | CL0113 |
| Quétage | 350 vatios |
| Potencia de salida | 350 vatios |
| Fuente de poder | Alimentado por batería (12 V CC) |
| Forma de onda de salida eléctrica | Onda cuadrada |
| Frecuencia | 50 Hz |
| Entrada de CA | 230V-50Hz |
| Peso del artículo | 5 kilogramos |
| Usos recomendados | Vehicle (as per product data, though typically used for home backup) |
9. Información de garantía
The Luminous 350 Eco Watt Inverter comes with a 24 meses warranty. For detailed terms and conditions of warranty, please refer to the warranty card supplied along with the product.
For product installation and usage details, you may also refer to the product manual downloadable by scanning the QR code on the front panel of the inverter using any QR code scanner App.
10. Atención al cliente
If you require further assistance, have questions not covered in this manual, or need to report a service issue, please contact Luminous customer support. Refer to the warranty card or Luminous official webSitio para obtener detalles de contacto específicos de su región.
When contacting support, please have your inverter model number (CL0113) and purchase details readily available.