1. Información importante de seguridad
Please read this instruction manual carefully before using the appliance and save it for future reference. Incorrect use may result in electric shock, fire, or serious injury.
- Este aparato está diseñado exclusivamente para uso doméstico. No lo utilice en exteriores ni sobre superficies húmedas.
- No permita que los niños operen la aspiradora. Es necesaria una supervisión estricta cuando se utilice cerca de ellos.
- No recoja líquidos inflamables o combustibles, como gasolina, ni los use en áreas donde puedan estar presentes.
- No recoja nada que esté ardiendo o humeando, como cigarrillos, fósforos o cenizas calientes.
- No lo use sin el recipiente para polvo y / o los filtros en su lugar.
- Turn off the appliance before connecting or disconnecting the motorized brush, crevice tool, or square brush.
- Utilice únicamente el cargador suministrado por el fabricante para recargar.
- No manipule el cargador o el aparato con las manos mojadas.
2. Producto terminadoview
The Princess 339490 Rapido Cordless Stick Vacuum Cleaner is designed for efficient cleaning of various surfaces. It features a powerful motor, a removable battery, and multiple attachments for versatile use.
Componentes incluidos:
- Princess Rapido Cordless Vacuum Unit
- Estación de carga de pared
- Herramienta para grietas
- Pincel cuadrado
- Paquete de baterías de iones de litio
- Main Brush Head (Motorized)
- Tubo vacío
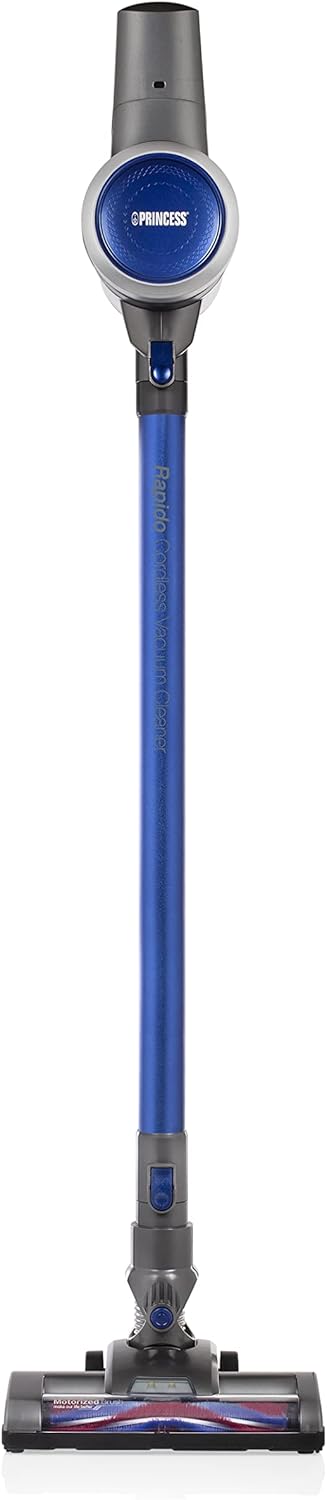
Figura 2.1: Frente view of the Princess 339490 Rapido Cordless Stick Vacuum Cleaner.

Figura 2.2: Angulado view of the Princess 339490 Rapido Cordless Stick Vacuum Cleaner, showing its sleek design.

Figure 2.3: Close-up of the motorized brush head, designed for effective cleaning on various floor types.

Figure 2.4: The vacuum unit configured as a handheld cleaner with the crevice tool attached, ideal for tight spaces.
3. Configuración
3.1 Asamblea
- Attach the Vacuum Tube: Insert the vacuum tube into the main vacuum unit until it clicks securely into place.
- Coloque el cabezal del cepillo principal: Connect the motorized brush head to the other end of the vacuum tube, ensuring it locks firmly.
- Instale la batería: Slide the Li-ion battery pack into the designated slot on the main vacuum unit until it clicks. Ensure it is fully seated.

Figure 3.1: Proper insertion of the Li-ion battery pack into the main vacuum unit.
3.2 Carga
Before first use, fully charge the battery for approximately 4 hours.
- Mount the Charging Station: Secure the wall-mounted charging station in a convenient location near a power outlet.
- Place the Vacuum: Hang the assembled vacuum cleaner on the charging station. Ensure the charging contacts align.
- Conectarse a la energía: Plug the charging station into a standard electrical outlet.
- Carga del monitor: The charging indicator light on the vacuum unit will illuminate during charging. It will change color or turn off when fully charged.
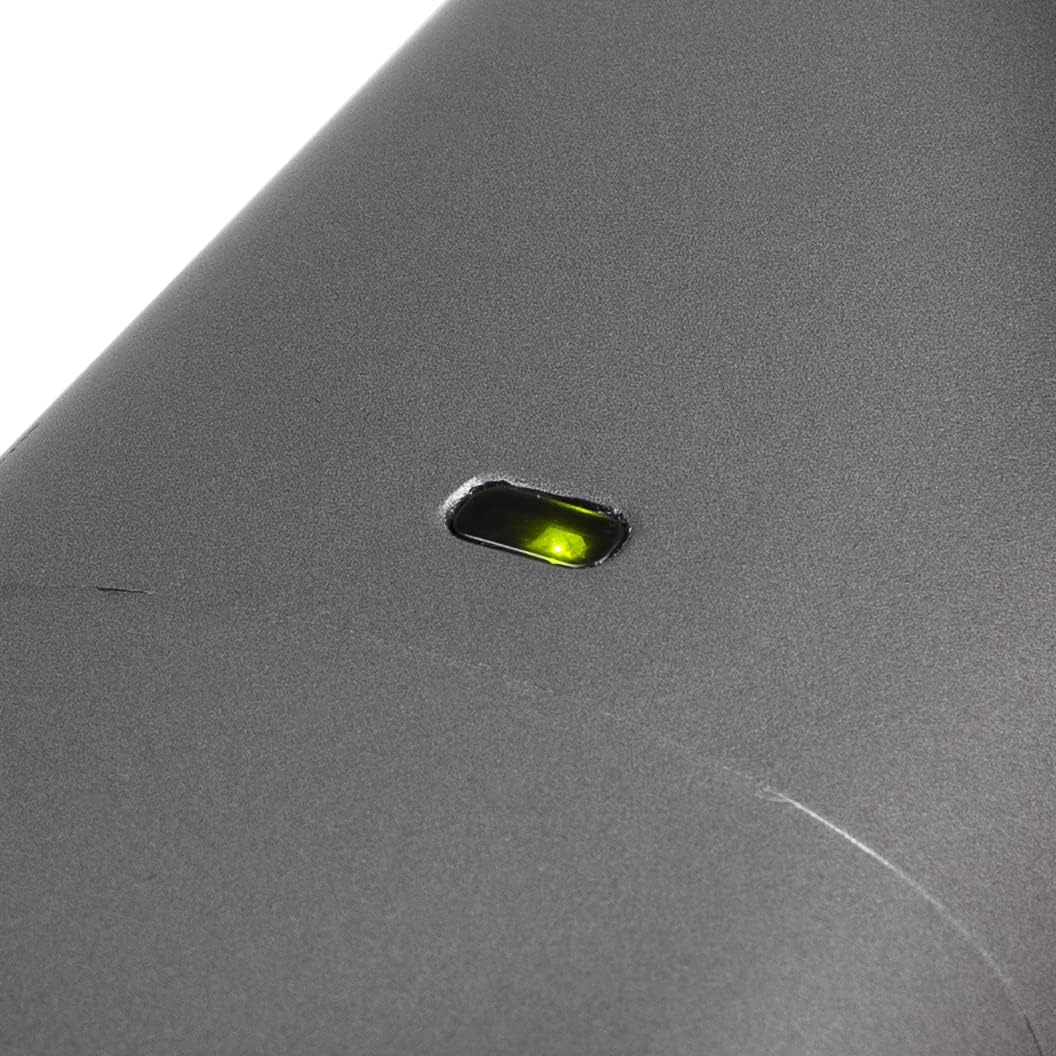
Figure 3.2: The charging indicator light, which shows the charging status of the battery.
4. Instrucciones de funcionamiento
4.1 Encendido / Apagado
Para encender la aspiradora, presione el botón de encendido ubicado en el mango. Presiónelo nuevamente para apagarla.

Figure 4.1: The handle and trigger mechanism for operating the vacuum cleaner.
4.2 Uso como aspiradora de mano
With the vacuum tube and main brush head attached, the appliance functions as a stick vacuum, suitable for floors and carpets. The luxury brush head is designed to transition smoothly between hard floors and carpets without needing to change attachments.
4.3 Uso como aspiradora de mano
To convert to a handheld vacuum, detach the vacuum tube and main brush head from the main unit. You can then attach the crevice tool or square brush directly to the main vacuum unit for cleaning stairs, upholstery, or car interiors.
Figure 4.2: The main unit used as a handheld vacuum with the crevice tool for detailed cleaning.
4.4 Duración de la batería
The fully charged Li-ion battery provides approximately 32 minutes of continuous operation, allowing you to clean an entire floor without interruption.
5. Mantenimiento
El mantenimiento regular garantiza un rendimiento óptimo y prolonga la vida útil de su aspiradora.
5.1 Vaciado del cubo de basura
The dustbin should be emptied regularly, especially when the MAX line is reached.
- Asegúrese de que la aspiradora esté apagada.
- Hold the main unit over a waste bin.
- Presione el botón de liberación del depósito de basura para abrir la tapa inferior y vaciar el contenido.
- Cierre la solapa de forma segura hasta que haga clic.

Figure 5.1: The transparent dustbin showing the HEPA filter inside, indicating the MAX fill line.
5.2 Limpieza del filtro HEPA
The removable HEPA filter should be cleaned periodically to maintain suction power.
- Apague la aspiradora y retire el depósito de polvo.
- Retire con cuidado el filtro HEPA del depósito de polvo.
- Golpee suavemente el filtro sobre un cubo de basura para eliminar el polvo suelto.
- Si es necesario, enjuague el filtro con agua fría corriente. Asegúrese de que esté completamente seco antes de volver a colocarlo.
- Reassemble the filter and dustbin, then attach to the main unit.
5.3 Limpieza del rodillo del cepillo
Revise periódicamente el cepillo giratorio motorizado para detectar cabello enredado o residuos.
- Asegúrese de que la aspiradora esté apagada y desconectada de la estación de carga.
- Detach the main brush head from the vacuum tube.
- Locate the release mechanism for the brush roll (refer to diagrams in the full manual if needed).
- Retire el rodillo del cepillo y corte con cuidado cualquier pelo o fibra enredada usando tijeras.
- Vuelva a insertar el cepillo giratorio y asegúrelo en su lugar.
6. Solución de problemas
If you encounter issues with your Princess 339490 Rapido, refer to the following common problems and solutions:
| Problema | Posible causa | Solución |
|---|---|---|
| La aspiradora no se enciende | La batería no está cargada o no está instalada correctamente. | Ensure battery is fully charged and correctly inserted. Check charging station connection. |
| Baja potencia de succión | Dustbin full, filter clogged, or blockage in the tube/brush head. | Empty dustbin. Clean HEPA filter. Check for and remove any blockages in the tube or brush head. |
| El rodillo del cepillo no gira | Hair or debris tangled in the brush roll, or brush head not properly attached. | Clean the brush roll of any obstructions. Ensure the brush head is securely attached to the tube. |
| Batería de corta duración | La batería no está completamente cargada o está degradada. | Ensure battery is fully charged (4 hours). If runtime remains significantly reduced, the battery may need replacement. |
7. Especificaciones
- Número de modelo: 01.339490.01.001
- Fuerza: 130 vatios
- Volumentage: 22.2 voltios
- Tipo de batería: Iones de litio
- Duración de la batería: Hasta 32 minutos
- Tiempo de carga: Aproximadamente 4 horas
- Capacidad de polvo: 0.8 litros
- Tipo de filtro: HEPA, Cartucho
- Nivel de ruido: 70 decibelios
- Dimensiones (L x An x Al): 109 x 22 x 23 cm
- Peso: 2.6 kilogramos
- Características especiales: Cordless, Bagless, Handheld conversion, Motorized brush head
8. Garantía y soporte
8.1 Información de garantía
The Princess 339490 Rapido Cordless Stick Vacuum Cleaner comes with a Garantía del fabricante de 24 meses from the date of purchase. This warranty covers defects in materials and workmanship under normal household use. It does not cover damage resulting from misuse, neglect, accident, alteration, or improper maintenance.
Conserve su comprobante de compra para reclamos de garantía.
8.2 Atención al cliente
For technical assistance, warranty claims, or to order replacement parts, please contact Princess customer support:
- Websitio: www.princesshome.eu/en-gb/service
- Correo electrónico: support@princesshome.eu
- Teléfono: Refer to your regional Princess webSitio para números de contacto locales.