Introducción
This manual provides essential information for the safe and efficient operation of your lightmaXX Vega Silent PAR I 14x 10W RGBWA LED PAR Spot. This LED PAR spot features 14x 10 Watt LEDs, RGBWA color mixing capabilities, and is designed for silent operation, making it suitable for various stage and event lighting applications. Please read this manual thoroughly before use and keep it for future reference.
Configuración
1. Desembalaje
Carefully unpack the device and ensure all components are present and undamaged. Retain the original packaging for future transport or storage.
2. Montaje
The Vega Silent PAR I is equipped with a mounting bracket for flexible positioning. Ensure the fixture is securely mounted to a truss, stand, or other stable surface using appropriate clamps and safety cables. Always use a safety cable as a secondary attachment.

Imagen: Frente view of the lightmaXX Vega Silent PAR I LED PAR spot, showing the 14 LED lenses and the adjustable mounting bracket.

Imagen: Lateral view of the lightmaXX Vega Silent PAR I, highlighting the robust heat sink design and the side adjustment knob for the mounting bracket.
3. Conexión de alimentación
Connect the included power cable to the "POWER IN" socket on the rear panel of the fixture and then to a suitable power outlet. The fixture supports power linking via the "POWER OUT" socket for connecting multiple units.

Image: The included power cable, featuring an EU plug on one end and an IEC C13 connector for the fixture's power input.
4. Conexión DMX (opcional)
For DMX control, connect a DMX controller to the "DMX IN" port using a 3-pin DMX cable. To daisy-chain multiple fixtures, connect the "DMX OUT" of the first fixture to the "DMX IN" of the next. Ensure the last fixture in the chain has a DMX terminator connected to its "DMX OUT" port.

Image: Rear panel of the lightmaXX Vega Silent PAR I, displaying the power input/output, DMX input/output, and the digital control display with navigation buttons.
Instrucciones de funcionamiento
1. Panel de control terminadoview
The rear panel features a digital display and four control buttons: MENU, UP, DOWN, and ENTER. These buttons allow you to navigate through the fixture's settings and modes.

Imagen: Primer plano view of the digital display and control buttons (MENU, UP, DOWN, ENTER) on the rear panel, used for configuring the PAR spot.
2. Modo de control DMX
To operate the fixture via DMX, set the DMX address using the control panel. Refer to the DMX channel chart (not provided in this manual, typically found in a separate DMX protocol document) for specific functions of each channel, including RGBWA color mixing, dimming, strobe, and built-in programs.
3. Standalone Modes
The fixture offers several standalone modes for operation without a DMX controller:
- Modo automático: Cycles through pre-programmed light shows. Use the UP/DOWN buttons to select different auto programs or adjust speed.
- Modo activo de sonido: The fixture reacts to sound via its built-in microphone. Adjust sensitivity using the control panel.
- Modo de color estático: Select a fixed color by adjusting the intensity of Red, Green, Blue, White, and Amber LEDs.

Image: The lightmaXX Vega Silent PAR I projecting a vibrant red light beam, demonstrating its color output capabilities.
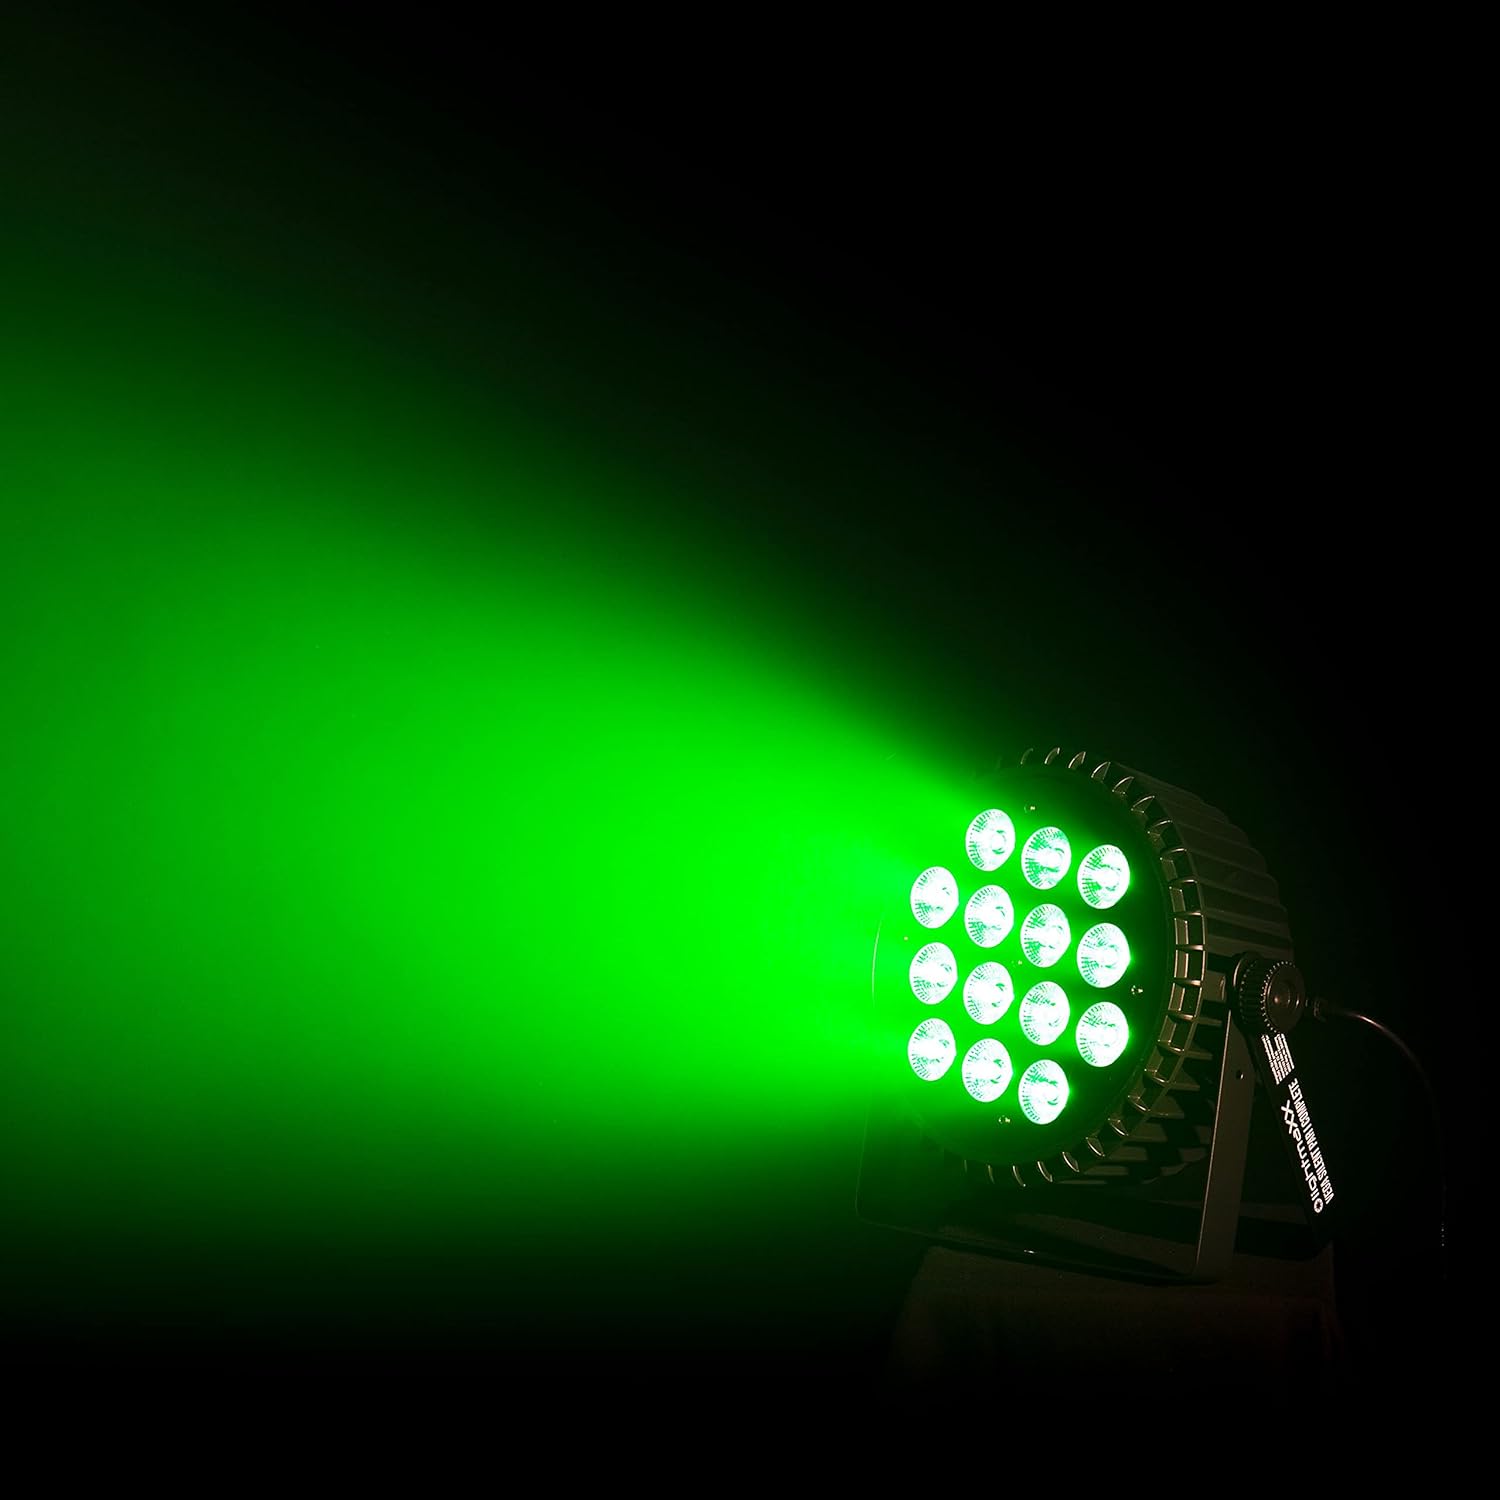
Image: The lightmaXX Vega Silent PAR I projecting a bright green light beam, showcasing another aspect of its RGBWA color mixing.
Mantenimiento
1. Limpieza
Regular cleaning of the lens and housing is recommended to ensure optimal light output and prevent overheating. Use a soft, lint-free cloth and a mild cleaning solution. Do not use abrasive cleaners or solvents.
2. Almacenamiento
Cuando no esté en uso, guarde el dispositivo en su embalaje original o en un estuche de transporte adecuado en un entorno seco y sin polvo.
3. Controles de seguridad
Inspeccione periódicamente los cables de alimentación, los cables DMX y los accesorios de montaje para detectar cualquier signo de desgaste o daño. Reemplace los componentes dañados inmediatamente.
Solución de problemas
| Problema | Posible causa | Solución |
|---|---|---|
| El dispositivo no se enciende. | No hay fuente de alimentación; cable defectuoso; fusible quemado. | Verifique la conexión de alimentación; pruebe el cable; reemplace el fusible (si es accesible y seguro). |
| Sin salida de luz. | Dimmer at zero; incorrect mode; DMX signal issue. | Increase dimmer level; select appropriate mode; check DMX connections and address. |
| El dispositivo no responde al DMX. | Incorrect DMX address; faulty DMX cable; no DMX signal. | Verify DMX address; test/replace DMX cable; ensure DMX controller is sending signal. |
| Unexpected behavior. | Interference; software glitch. | Restart the fixture; ensure proper grounding; consult support if issue persists. |
Presupuesto
| Característica | Detalle |
|---|---|
| Marca | luzmaXX |
| Modelo | Vega Silent PAR I 14x 10W RGBWA |
| Tipo de fuente de luz | LED (14x 10W RGBWA) |
| Dimensiones del producto | 30 x 30 x 25.5 cm |
| Peso del artículo | 3.22 kilogramos |
| Fabricante | luzmaXX |
| Referencia del fabricante | LIG0015757-000 |
| ASIN | B07KXRFX2H |
| Primera fecha disponible | 28 de noviembre de 2018 |
| País natal | Alemania |
| Etiqueta energética de la UE | G |
| Actualizaciones de software garantizadas hasta | Desconocido |
Garantía y soporte
Para obtener información sobre la garantía y asistencia técnica, consulte la documentación incluida con su compra o póngase en contacto con su distribuidor. Conserve el comprobante de compra para reclamaciones de garantía.