1. Introducción
This manual provides comprehensive instructions for the safe installation, operation, and maintenance of your PUTORSEN MAW-1 Gas Spring Monitor Wall Mount. This versatile wall mounting solution is designed for PC monitors and small TV screens ranging from 17 to 42 inches, with a weight capacity of up to 12 kg (26.4 lbs). It offers full articulation and integrated cable management to optimize your workspace.
2. Información de seguridad
- Lea atentamente todas las instrucciones antes de la instalación. Si no las entiende o tiene dudas sobre la seguridad de la instalación, póngase en contacto con un instalador cualificado.
- Verifique que la superficie de montaje pueda soportar de manera segura el peso combinado del equipo y todo el hardware y los componentes adjuntos.
- Use only the mounting hardware provided. Do not use the product for any purpose not explicitly specified by the manufacturer.
- Improper installation or use may result in property damage, serious injury, or death.
- Ensure all screws are tightened securely but do not overtighten. Overtightening can damage the screws and mounting surface.
- Mantenga a los niños y a las mascotas alejados durante la instalación.
3. Contenido del paquete
Verifique que todos los componentes estén presentes y sin daños:
- 1 x PUTORSEN MAW-1 Monitor Wall Mount
- 1 x Mounting Hardware Kit (screws, anchors, L-key)
- 1 x Manual de usuario
4. Especificaciones
| Característica | Especificación |
|---|---|
| Número de modelo | MAW-1 |
| Compatibilidad de tamaño de pantalla | 17 - 42 pulgadas |
| Capacidad de peso | Hasta 12 kg (26.4 lbs) |
| Compatibilidad VESA | 75 x 75 mm, 100 x 100 mm |
| Ángulo de inclinación | -35° a +35° |
| Ángulo de rotación | -180° a +180° |
| Ángulo de giro | 360° |
| Material | Aluminio |
| Peso del producto | 1.82 kilogramos |

Figure 1: Compatibility and Dimensional Overview. This image illustrates the supported monitor sizes (17-42 inches), VESA patterns (75x75mm, 100x100mm), maximum weight (12kg), and various dimensions including arm extension and rotation limits.
5. Configuración e instalación
Follow these three simple steps for installation:
- Step 1: Attach the Wall Mount to Your Wall.
Carefully select a suitable wall location. Ensure the wall material can support the mount and your monitor's weight. Use the provided hardware to securely fasten the wall plate to the chosen spot. - Step 2: Connect Your Monitor to the VESA Plate.
The VESA plate is detachable for easier installation. Attach the VESA plate to the back of your monitor using the appropriate screws from the mounting hardware kit. Once attached, slide the monitor with the VESA plate onto the arm's mounting head until it clicks securely into place. - Step 3: Adjust the Gas Spring Tension.
After mounting the monitor, adjust the gas spring tension to match your monitor's weight. This ensures the monitor floats freely and can be positioned effortlessly. Refer to the 'Operating and Adjustment' section for detailed instructions on tension adjustment. - Sistema de organización de cables:
Utilize the built-in cable management system to route and conceal your cables along the arm. This helps maintain a clean and organized workspace.

Figure 2: Detachable VESA Plate Design. This image demonstrates how the VESA plate detaches from the arm for easy monitor attachment, simplifying the installation process.
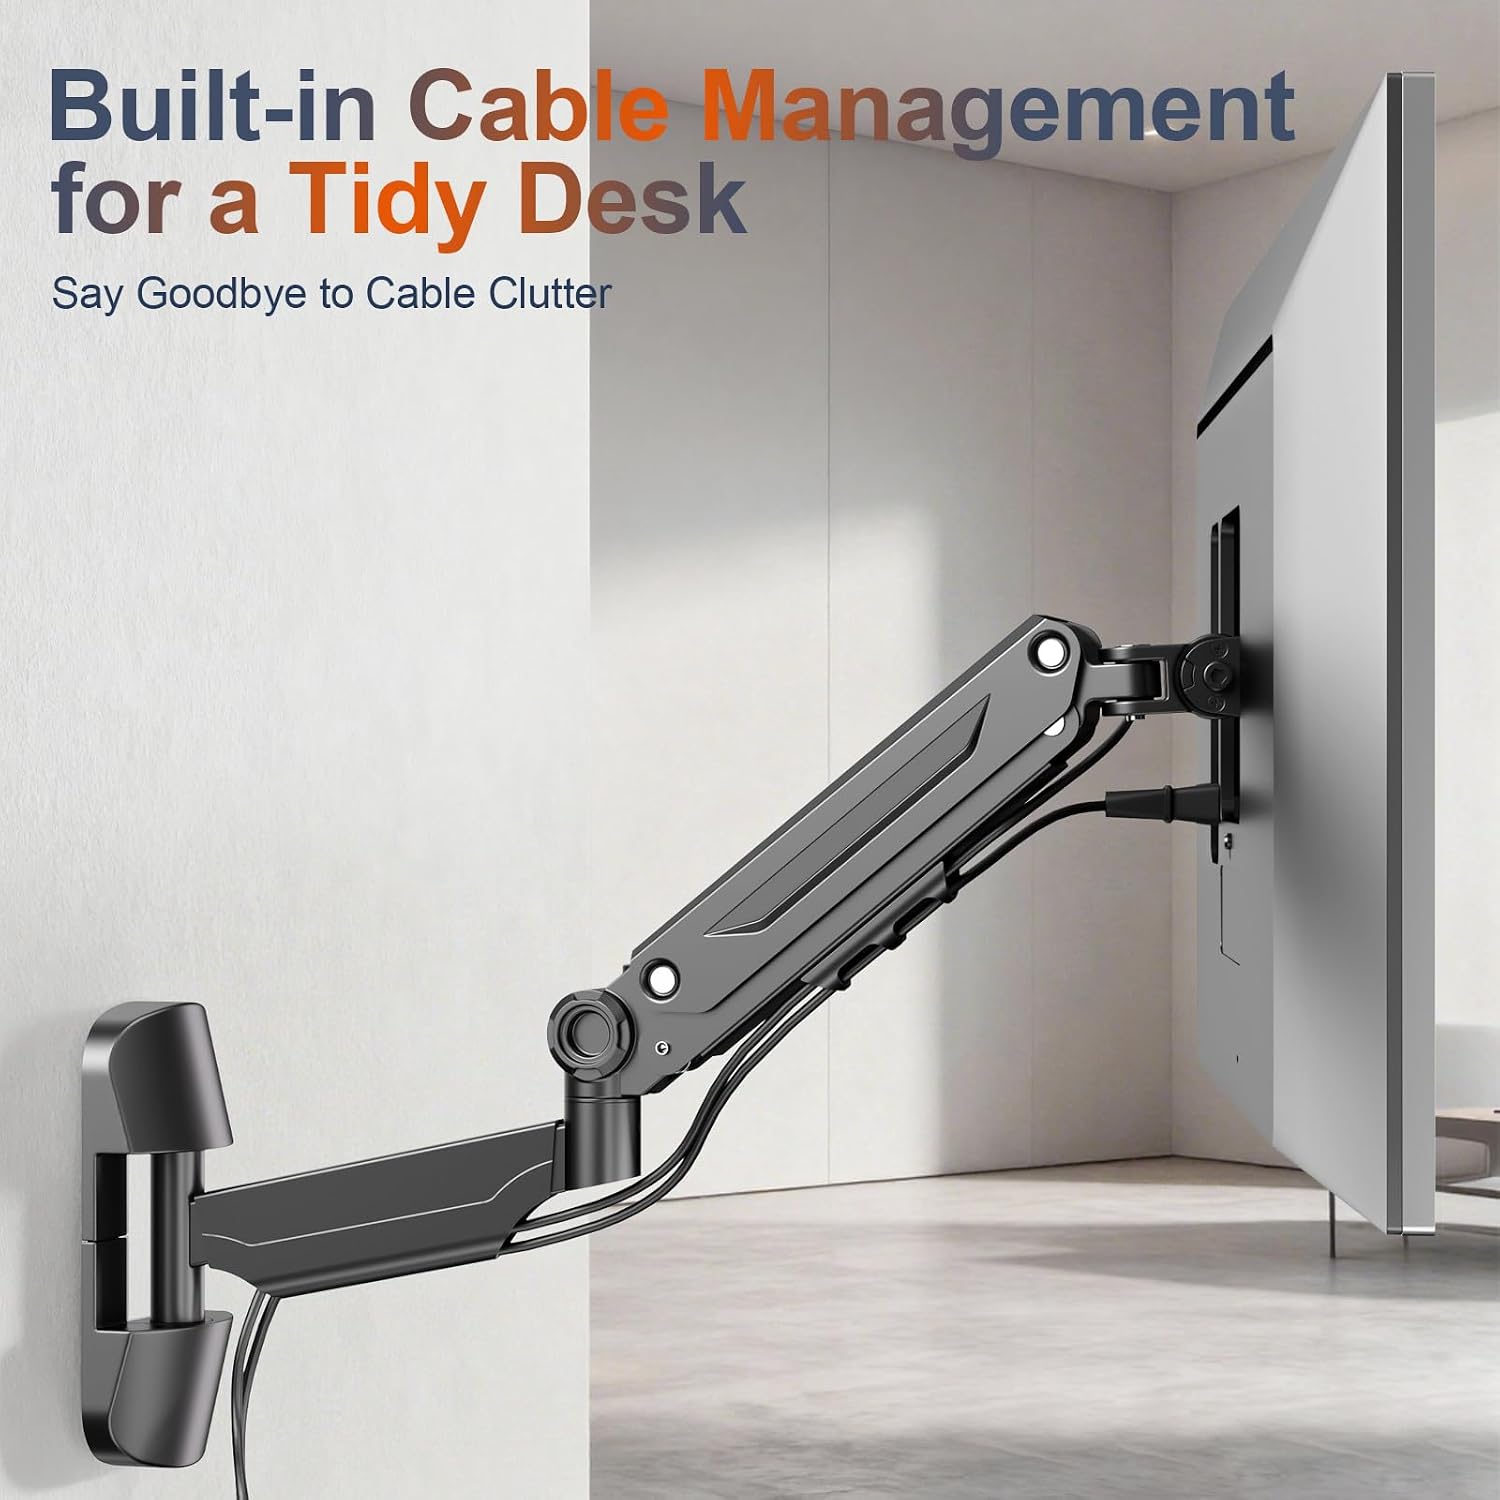
Figure 3: Built-in Cable Management. This image highlights the integrated channels within the monitor arm designed to neatly route and hide cables, contributing to a tidy desk environment.
6. Operación y ajuste
The MAW-1 monitor mount offers extensive flexibility for optimal viewing comodidad.
6.1 Ajuste de la tensión del resorte de gas
The gas spring allows your monitor to float and be freely adjustable. Proper tension adjustment is crucial for this functionality. Use the provided L-key to adjust the articulation knob:
- Si el monitor cannot be lifted or sags, turn the articulation knob in the "+" direction (counter-clockwise) to increase tension for heavier monitors.
- Si el monitor no se puede bajar or rises too easily, turn the articulation knob in the "-" direction (clockwise) to decrease tension for lighter monitors.

Figure 4: Gas Spring Tension Adjustment. This diagram shows the adjustment point on the arm and indicates turning counter-clockwise for heavier monitors ('+') and clockwise for lighter monitors ('-').
6.2 Posicionamiento del monitor
The adjustable arm provides a wide range of motion:
- Inclinación: Adjust the screen vertically from -35° to +35° to reduce glare and find your preferred viewángulo de ing.
- Rotación: Rotate the screen horizontally from -180° to +180° to share your screen or change orientation.
- Girar: Swivel the monitor 360° for portrait or landscape mode.
These adjustments help achieve ergonomic comfort, reducing strain on your neck, shoulders, and back.

Figure 5: Flexible Positioning. This image illustrates the 360° rotation, ±35° tilt, and ±90° swivel capabilities of the monitor mount, allowing for versatile screen orientation.
7. Mantenimiento
- Revise periódicamente todos los tornillos y conexiones para asegurarse de que permanezcan firmes y seguros.
- Limpie el soporte con un paño suave.amp paño. Evite limpiadores abrasivos o disolventes que puedan dañar el acabado.
- Inspect the gas spring mechanism periodically for any signs of wear or damage.
8. Solución de problemas
- Monitor does not stay in position (sags or rises): Adjust the gas spring tension using the L-key as described in Section 6.1. Ensure the tension is correctly set for your monitor's weight.
- Dificultad para mover el brazo: Check if any joints are overtightened. Loosen slightly if necessary. Ensure the gas spring tension is not set too high or too low for the monitor's weight.
- Tambaleo o inestabilidad: Verify that the wall mount is securely fastened to the wall and that all monitor attachment screws are tight. Ensure the wall material is appropriate for the mount.
9. Garantía y soporte
The PUTORSEN MAW-1 Monitor Wall Mount is backed by a 10 año de garantía. This warranty covers manufacturing defects and ensures the product's quality and durability.
For any questions, technical assistance, or warranty claims, please contact our professional pre-sales and after-sales service team. We are available 7 days a week, 24 hours a day, to provide helpful support.
Contact information can typically be found on the product packaging or the official PUTORSEN websitio.