
Introducción
This manual provides essential instructions for the safe and effective use of your Turtlebox Speaker Replacement Charger (Gen 1). Please read this manual thoroughly before use and retain it for future reference.
Información de seguridad
- Use only the specified charger for your Turtlebox Gen 1 speaker.
- No exponga el cargador a temperaturas extremas ni a la luz solar directa.
- Keep the charger away from water or liquids. Ensure the speaker's charging port cover is securely closed when not charging to maintain its waterproof integrity.
- No intente desarmar o modificar el cargador.
- Desenchufe el cargador de la toma de corriente cuando no esté en uso o durante tormentas eléctricas.
Contenido del paquete
- 1 x Turtlebox Replacement Charger (Gen 1)
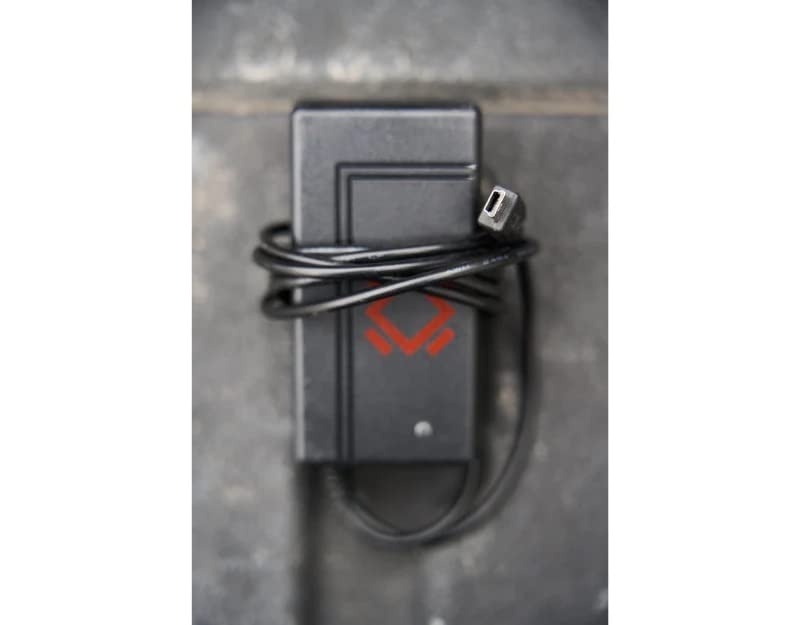
This image displays the Turtlebox Gen 1 Replacement Charger, a compact black power adapter with an attached cable ending in a barrel connector. The charger features the Turtlebox logo.
Configuración
- Localice el puerto de carga: On your Turtlebox Gen 1 speaker, find the waterproof cover on the side or back panel. Open this cover to reveal the charging port.
- Conecte el cargador: Insert the barrel connector of the replacement charger into the charging input port on your Turtlebox speaker.
- Enchufe en el poder: Plug the charger's power adapter into a standard 110V AC wall outlet.
This video demonstrates the physical characteristics of the charger and how it connects to the speaker. It highlights the barrel connector and the power adapter, showing the process of plugging it into a wall outlet.
Operante
Once connected to power, the charging indicator lights on your Turtlebox speaker will illuminate, typically showing green LEDs to indicate the battery level and charging status. Allow the speaker to charge until all indicator lights are solid green, signifying a full charge.
After charging, disconnect the charger from the speaker and the wall outlet. Ensure the waterproof cover on the speaker's charging port is securely closed to maintain its IP67 rating.
Mantenimiento
- Mantenga el cargador limpio y sin polvo ni residuos. Utilice un paño seco y suave para limpiarlo.
- Guarde el cargador en un lugar fresco y seco cuando no esté en uso.
- Regularly inspect the charger cable and connector for any signs of damage. If damaged, discontinue use and replace with an official Turtlebox charger.
Solución de problemas
| Asunto | Posible causa | Solución |
|---|---|---|
| El altavoz no carga | Charger not properly connected; Power outlet issue; Damaged charger. | Ensure the charger is fully inserted into the speaker and wall outlet. Test the outlet with another device. Inspect the charger for damage and replace if necessary. |
| Carga lenta | Using a non-standard charger; Power fluctuations. | Ensure you are using the official Turtlebox Gen 1 Replacement Charger. Try a different power outlet. |
Presupuesto
- Marca: Turtlebox
- Modelo: Gen 1 Replacement Charger
- Volumen de salida del cargadortage: 14 voltios
- Entrada del cargador: Standard AC Wall Outlet
- Material: Plástico
- Peso del artículo: 6.7 ounces (Note: This weight is likely for the speaker, not the charger itself.)
- Dimensiones del producto: 11.5 x 6.5 x 8.75 inches (Note: These dimensions are likely for the speaker, not the charger itself.)
- Código postal: 861053002621
- Fabricante: Turtlebox Audio, LLC
Garantía y soporte
The Turtlebox Speaker Replacement Charger (Gen 1) comes with a Limited Warranty. For specific warranty details, claims, or technical support, please refer to the official Turtlebox Audio, LLC websitio o comuníquese directamente con su servicio de atención al cliente.
Para obtener más ayuda, visite el Turtlebox Store on Amazon.