
Introducción
Gracias por la compraasing the Magic Chef MCSTCW30W4 3.0 Cubic Foot Compact Washer. This manual provides essential information for the safe installation, operation, and maintenance of your new appliance. Please read it thoroughly before use and retain it for future reference.
This compact top-load washer is designed for small spaces, offering convenience with its electronic controls, LED display, and multiple wash cycles. Its stainless steel inner tub ensures durability.
Información importante de seguridad
Siga siempre las precauciones básicas de seguridad al utilizar aparatos eléctricos para reducir el riesgo de incendio, descarga eléctrica o lesiones.
- Lea todas las instrucciones antes de utilizar el aparato.
- No lave artículos que hayan sido previamente limpiados, lavados, remojados o manchados con gasolina, solventes de limpieza en seco u otras sustancias inflamables o explosivas, ya que emiten vapores que podrían encenderse o explotar.
- No permita que los niños jueguen sobre el aparato ni dentro de él. Es necesario supervisarlos de cerca cuando el aparato se utilice cerca de ellos.
- Antes de retirar o desechar el aparato, retire la puerta del compartimento de lavado.
- No introduzca la mano en el aparato si la tina o el agitador están en movimiento.
- No instale ni guarde este aparato en un lugar expuesto a la intemperie o a temperaturas bajo cero.
- No lo hagasamper con controles.
- No repare ni reemplace ninguna pieza del electrodoméstico ni intente realizar ningún servicio a menos que se recomiende específicamente en las instrucciones de mantenimiento para el usuario o en las instrucciones de reparación para el usuario publicadas que usted comprenda y tenga las habilidades para llevar a cabo.
- Desconecte siempre el aparato de la fuente de alimentación antes de limpiarlo o realizar cualquier mantenimiento.
Configuración e instalación
1. Desembalaje
Carefully remove all packaging materials. Ensure all components are present: washer unit, bottom cover, screw, quick connect adapter, water intake cap, and two water supply hoses.
2. Requisitos de ubicación
Place the washer on a firm, level surface. Ensure there is adequate space around the unit for ventilation and connections. Avoid direct sunlight or extreme temperatures.
3. Installing the Bottom Cover
Attach the bottom cover to the base of the washer using the provided screw. This helps reduce noise and protects internal components.
4. Conexión de mangueras de agua
Connect the two water supply hoses to the hot and cold water inlets on the back of the washer. Connect the other ends to your household hot and cold water faucets. Use the quick connect adapter for sink faucet connections if needed. Ensure all connections are tight to prevent leaks.
5. Configuración de la manguera de drenaje
Position the drain hose into a utility sink or standpipe. Ensure the hose is securely fastened to prevent it from dislodging during the drain cycle, which could cause flooding.
6. Nivelación de la lavadora
Adjust the leveling feet at the bottom of the washer until the unit is stable and level. An unlevel washer can cause excessive vibration and noise during operation.
7. Conexión de alimentación
Conecte el cable de alimentación a una toma de corriente con conexión a tierra. No utilice cables alargadores.

Image: Washer dimensions. This image illustrates the overall dimensions of the compact washer, including height, width, and depth, which are important for placement and installation.
Instrucciones de funcionamiento
1. Panel de control terminadoview

Image: Control Panel. This image shows a detailed view of the washer's control panel, highlighting the LED display, cycle selection buttons, water level, and temperature controls.
The control panel features an LED display, buttons for selecting wash cycles, water levels, temperature settings, and a delay start function. The 'ON/OFF' button powers the unit, and 'START/PAUSE' controls the cycle progression.
2. Carga de la ropa
Open the soft-close lid. Load clothes loosely into the stainless steel inner tub. Do not overload the washer, as this can affect cleaning performance and cause excessive wear. For best results, distribute items evenly.
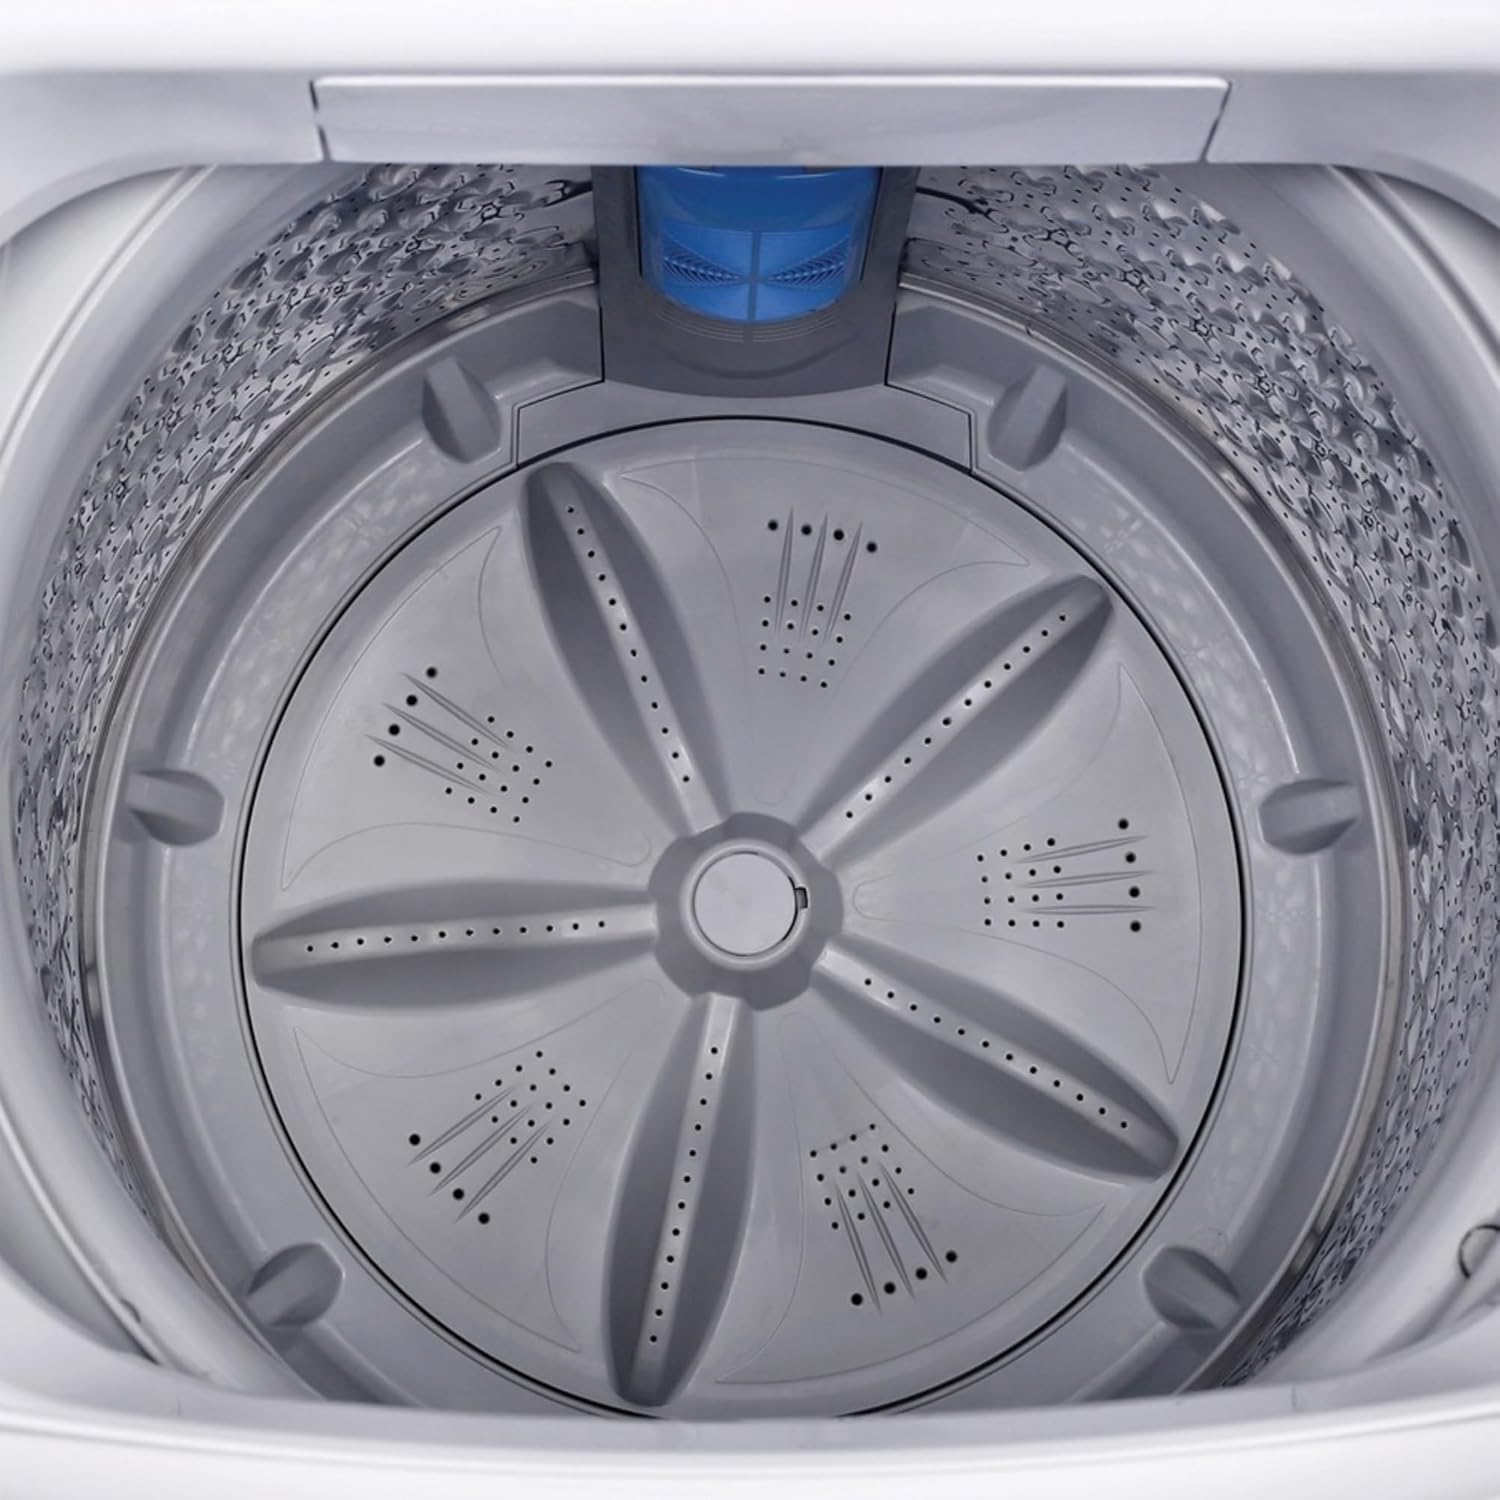
Image: Washer Tub Interior. This image provides a clear view inside the washer's stainless steel tub, showing the agitator and the textured surface designed for effective cleaning.
3. Agregar detergente
Añada la cantidad adecuada de detergente al dispensador. Consulte las instrucciones del detergente para ver las cantidades recomendadas según el tamaño de la carga y el nivel de suciedad.
4. Selecting Wash Cycles
Choose from 6 fully automatic wash cycles using the cycle selection buttons on the control panel. Common cycles include Normal, Delicates, Heavy Duty, Quick Wash, and Rinse. Select the cycle that best suits your laundry type.
5. Adjusting Water Level and Temperature
Select one of the 3 available water level settings based on your load size. Choose from 3 temperature controls (Hot, Warm, Cold) according to fabric care instructions.
6. Using Delay Start
The delay start function allows you to set a time for the wash cycle to begin automatically. Press the 'Delay Start' button and adjust the desired delay time before pressing 'START/PAUSE'.
7. Iniciar un ciclo
After loading laundry, adding detergent, and selecting your desired settings, press the 'START/PAUSE' button to begin the wash cycle. The washer will automatically shut off after the cycle ends.
Mantenimiento
1. Cleaning the Water Pump Filter
Regularly clean the water pump filter to capture and collect debris, ensuring efficient operation and preventing drainage issues. Refer to the diagram in your full manual for the exact location and removal instructions.
2. Cleaning the Washer Exterior
Limpie las superficies exteriores con un paño suave, damp paño. Evite limpiadores abrasivos o disolventes que puedan dañar el acabado.
3. Cleaning the Inner Tub
Periodically run a cleaning cycle with a washing machine cleaner or a mixture of vinegar and baking soda to remove detergent residue and odors from the stainless steel tub.
4. Winterizing (for infrequent use in cold environments)
If the washer will not be used for an extended period in an area subject to freezing temperatures, drain all water from the hoses and pump to prevent damage. Consult a qualified technician if unsure.
Solución de problemas
Antes de contactar con el servicio técnico, review Los siguientes problemas comunes y soluciones:
- La lavadora no arranca: Ensure the power cord is securely plugged in, the lid is closed, and the 'START/PAUSE' button has been pressed. Check if a circuit breaker has tripped.
- Ruido o vibración excesivos: Verify the washer is level. Ensure the load is balanced inside the tub. Remove any shipping bolts or packing materials if recently installed.
- Clothes are still wet after spin cycle: An unbalanced load can prevent proper spinning. Redistribute clothes and restart the spin cycle. Ensure the drain hose is not kinked or blocked, and the water pump filter is clean.
- Fugas de agua: Check all hose connections for tightness. Ensure the drain hose is properly secured in the standpipe or sink.
- Unusual odor (e.g., burning rubber): This can sometimes occur with new appliances during initial use. If the smell persists or is accompanied by smoke, immediately unplug the unit and contact customer support. Ensure the washer is not overloaded.
- El agua no drena: Check the drain hose for kinks or blockages. Clean the water pump filter.
Para problemas que no se resuelvan con estos pasos, consulte la sección de soporte.
Especificaciones del producto
| Nombre de marca | Chef magico |
| Información del modelo | MCSTCW30W4 |
| Peso del artículo | 99.2 libras |
| Dimensiones del producto | 24.8 x 23.7 x 39.4 pulgadas (profundidad x ancho x alto) |
| Capacidad | 3 pies cúbicos |
| Tipo de instalación | Enroscar |
| Característica especial | Inicio diferido |
| Color | Blanco |
| Consola de control | Perilla |
| Ciclos estándar | 6 |
| Ubicación de acceso | Carga superior |
| Tipo de material | Acero inoxidable |
| Componentes incluidos | Dispenser, Drain Hose, Bottom Cover, Screw, Quick Connect Adapter, Water Intake Cap, 2 Water Supply Hoses |
| Fecha de primera disponibilidad | 30 de enero de 2019 |
Garantía y atención al cliente
For warranty information, please refer to the warranty card included with your product or visit the official Magic Chef website. If you require technical assistance, replacement parts, or have questions regarding your appliance, please contact Magic Chef customer support.
Keep your purchase receipt and model number (MCSTCW30W4) readily available when contacting support.