
Construcción maestra MB20070210
Masterbuilt® 30-inch Electric Vertical BBQ Smoker User Manual
Modelo: MB20070210
Marca: Masterbuilt
Introducción
The Masterbuilt 30-inch Analog Electric Smoker is designed to provide a convenient and efficient way to smoke various foods. This manual provides essential information for the safe and effective operation, maintenance, and troubleshooting of your electric smoker. With its analog controls and spacious design, you can achieve competition-ready results without the complexities of charcoal or propane.

Figura 1: Frente view of the Masterbuilt 30-inch Electric Vertical BBQ Smoker.
Configuración y montaje
Before first use, ensure all packaging materials are removed. The smoker requires minimal assembly, primarily attaching the legs and side handles. Always place the smoker on a stable, level surface outdoors, away from flammable materials.
- Desembalaje: Retire con cuidado todos los componentes del embalaje. Inspeccione si presentan daños.
- Asamblea de la pierna: Attach the sturdy legs to the base of the smoker using the provided hardware. Ensure they are securely fastened for stability.
- Accesorio de manija: Secure the side handles to the smoker body.
- Limpieza inicial: Wipe down all interior surfaces and racks with a damp paño antes del primer uso.
- Colocación: Position the smoker outdoors on a non-combustible surface. Ensure adequate clearance from walls, fences, and other structures.
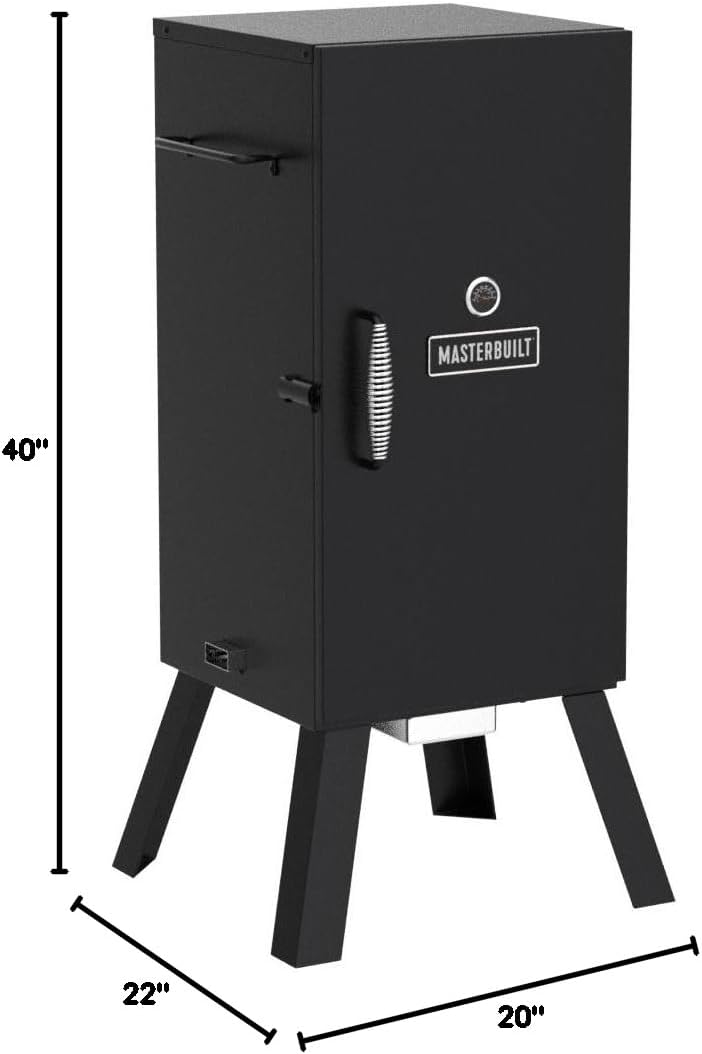
Figura 2: Dimensiones del producto para una colocación adecuada.
Instrucciones de funcionamiento
The Masterbuilt Electric Smoker is designed for ease of use. Follow these steps for optimal smoking results:
- Conexión de energía: Conecte el ahumador a una toma eléctrica con conexión a tierra.
- Temperatura de ajuste: Use the analog dial to set your desired smoking temperature. The smoker can reach temperatures up to 275°F.
- Monitoreo de temperatura: The built-in temperature gauge on the door allows for easy monitoring of the internal smoking temperature.
- Adding Wood Chips: The removable wood chip tray allows you to add your preferred wood chips for rich smoky flavor. Experiment with different wood types to enhance your food.
- Cuenco de agua: Utilize the removable water bowl to add moisture during the smoking process, ensuring juicy and tender meats.
- Loading Racks: The smoker features three chrome-coated smoking racks, providing 535 square inches of cooking space. Arrange your food on these racks, ensuring proper air circulation. The spacious vertical design can accommodate up to 3 chickens, 2 turkeys, or 3 racks of ribs.

Figure 3: Analog temperature dial for precise control.
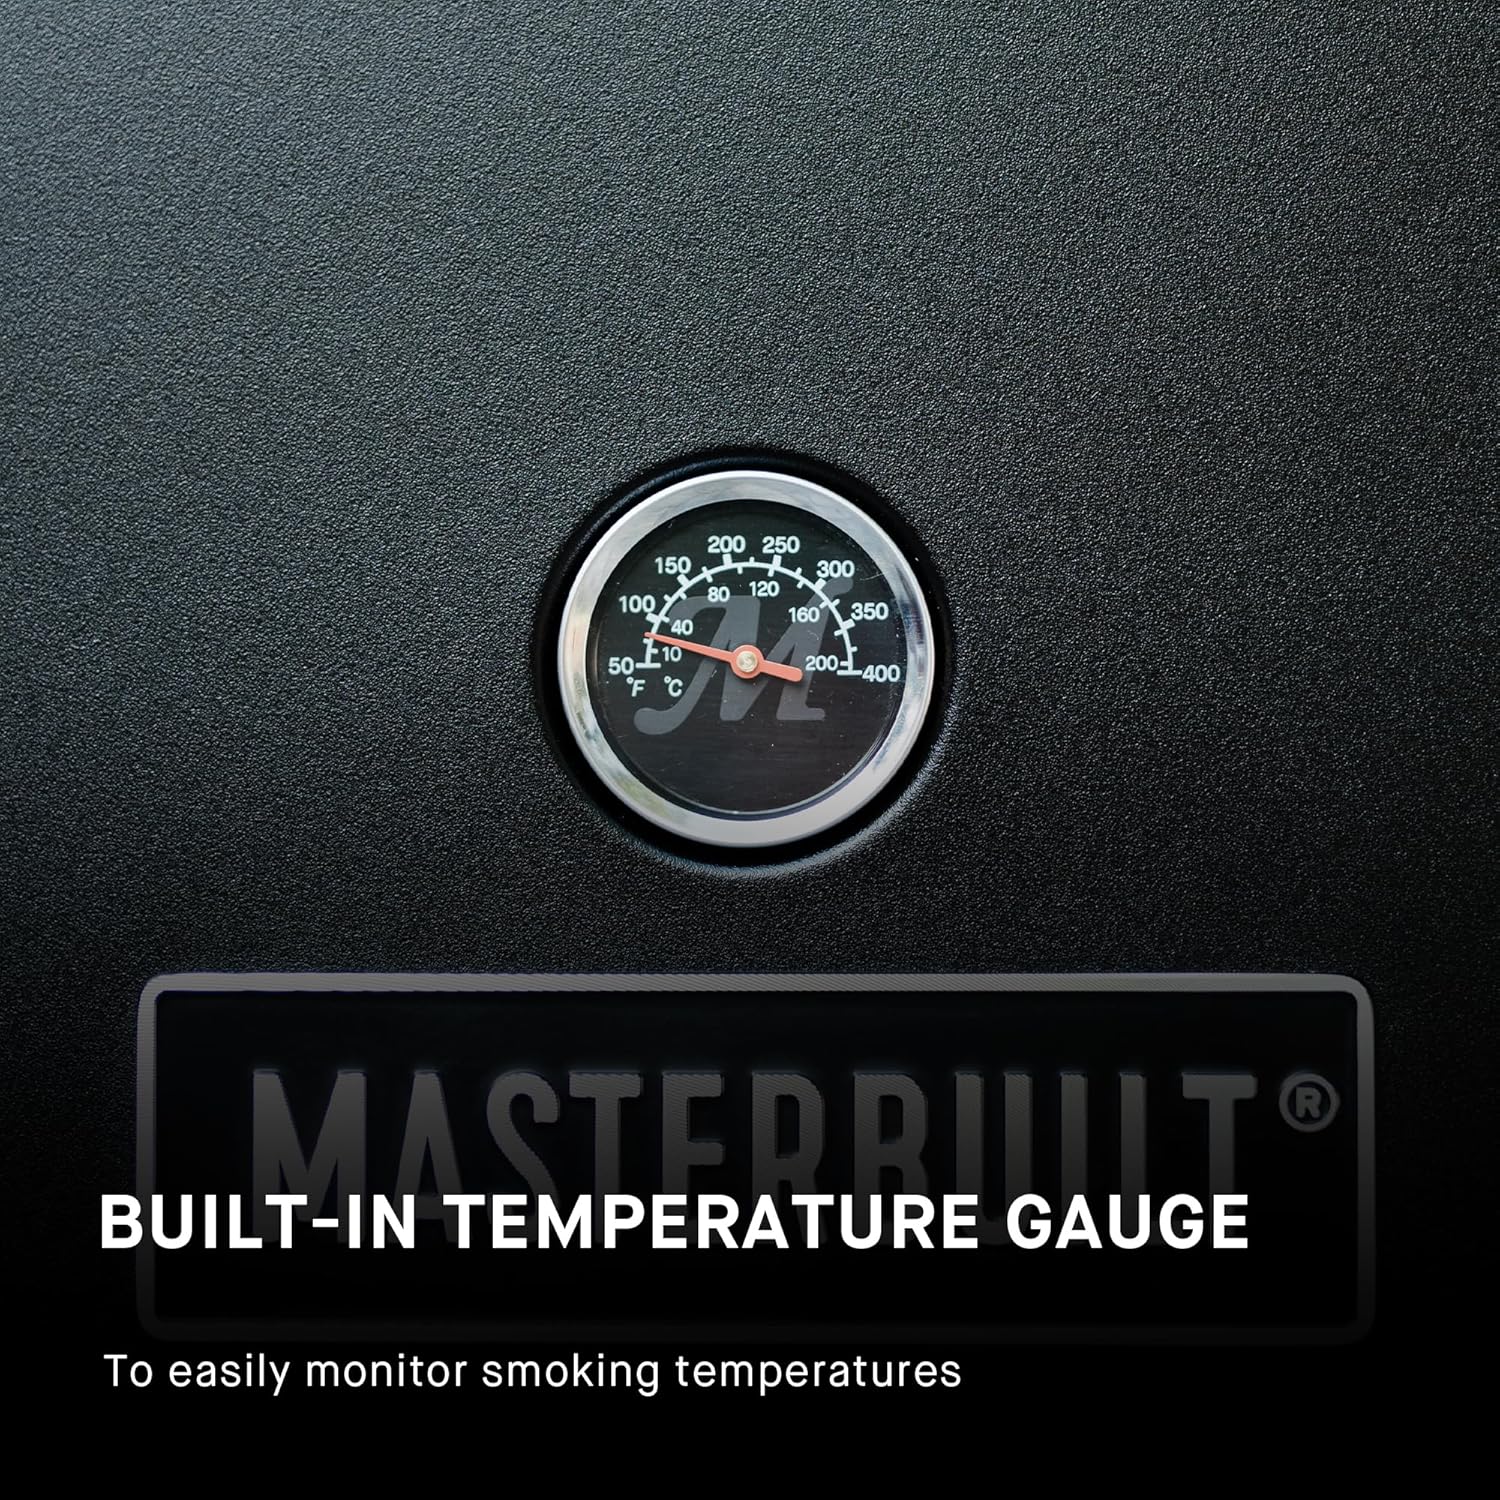
Figure 4: Built-in temperature gauge for monitoring.

Figure 5: Wood chip tray for adding smoke flavor.

Figura 6: Interior view showing the three chrome-coated smoking racks.

Figura 7: Example of food placed on the smoking racks.
Mantenimiento y limpieza
Regular cleaning and maintenance will extend the life of your Masterbuilt Electric Smoker and ensure consistent performance.
- Bandeja de grasa: The removable rear grease tray simplifies the cleanup process. Empty and clean this tray after each use to prevent grease buildup.
- Racks and Water Bowl: Clean the chrome-coated racks and water bowl with warm, soapy water after each use.
- Interior: Wipe down the interior of the smoker with a damp cloth. For stubborn residue, a mild degreaser can be used, followed by a thorough rinse and dry.
- Exterior: Clean the exterior with a mild detergent and a soft cloth. Avoid abrasive cleaners.
- Almacenamiento: Guarde el ahumador en un lugar seco y cubierto cuando no esté en uso para protegerlo de los elementos.

Figura 8: Bandeja de grasa extraíble para fácil limpieza.
Solución de problemas
If you encounter issues with your Masterbuilt Electric Smoker, refer to the following common troubleshooting tips:
- El ahumador no calienta:
- Asegúrese de que el cable de alimentación esté enchufado de forma segura a una toma de corriente con conexión a tierra.
- Check the analog dial setting; ensure it is set to a desired temperature.
- Verify the heating element is clean and free of debris.
- Producción insuficiente de humo:
- Ensure the wood chip tray contains enough wood chips.
- Verify the wood chips are dry and not overly packed.
- Check that the wood chip tray is positioned correctly over the heating element.
- Fluctuaciones de temperatura:
- Avoid frequently opening the smoker door, as this releases heat and smoke.
- Ensure the door latch is securely closed.
- Consider external factors like wind or ambient temperature, which can affect internal temperature.
For more detailed troubleshooting or persistent issues, please contact Masterbuilt customer support or refer to the full user manual.
Presupuesto
| Característica | Detalle |
|---|---|
| Marca | Obra maestra |
| Nombre del modelo | Ahumador eléctrico analógico |
| Número de modelo | MB20070210 |
| Fuente de poder | Eléctrico |
| Color | Negro |
| Material exterior | Acero aleado |
| Material interior | Acero inoxidable |
| Peso del artículo | 49.9 libras |
| Dimensiones del producto | 20" de profundidad x 22" de ancho x 40" de alto |
| Espacio de cocina | 535 pulgadas cuadradas |
| Bastidores | 3 Chrome-Coated Racks |
| Temperatura máxima | 275°F (Analog Control) |
| Código Postal | 843706100328, 803982949363 |
Garantía y soporte
For detailed warranty information, product registration, or to contact customer support, please refer to the official Masterbuilt websitio o el manual de usuario completo proporcionado con su producto.
- Manual de usuario oficial (PDF): Descarga aquí
- Visit the Masterbuilt Store: Masterbuilt Store on Amazon
Ask a question about this manual
Ask about setup, troubleshooting, compatibility, parts, safety, or missing instructions. Manuals+ will review the question and use this page’s manual context to help answer it.