
1. Introducción
Thank you for choosing the MICTUNING 2025 Upgraded RGB Rock Lights Kit. This kit provides vibrant, multi-color underglow lighting for a variety of vehicles, including cars, trucks, ATVs, UTVs, RZRs, SUVs, boats, and golf carts. Featuring RF wireless remote control and app connectivity, these IP68 waterproof lights are designed for durability and ease of use in diverse environments.
This manual provides essential information for the proper installation, operation, maintenance, and troubleshooting of your new rock lights. Please read it thoroughly before installation and retain it for future reference.
2. Información de seguridad
- Desconecte siempre la batería del vehículo antes de comenzar cualquier instalación eléctrica.
- Asegúrese de que todas las conexiones del cableado sean seguras y estén adecuadamente aisladas para evitar cortocircuitos.
- Mount the control box in a dry location, away from excessive heat or moisture, such as the engine compartment.
- Route all cables away from moving parts, sharp edges, and high-temperature areas.
- Verifique el volumen de entradatage (12V DC) matches your vehicle's electrical system.
- No modifique el producto de ninguna manera, ya que esto puede anular la garantía y crear riesgos de seguridad.
3. Contenido del paquete
Verifique que todos los artículos enumerados a continuación estén incluidos en su paquete:
- 8 x RGB Rock Light Pods
- 1 x Control Box/Module
- 1 x RF Wireless Remote Control (24-key)
- 1 x Main Wiring Harness (with short and long wire leads for pods)
- 8 x Rubber Mounting Pads (4 flat, 4 curved)
- 1 set x Mounting Hardware (screws, nuts, washers)
- 1 x Manual de usuario

4. Especificaciones
| Característica | Especificación |
|---|---|
| Marca | Sintonización microscópica |
| Número de modelo | MIC-RRL-367 |
| Color | RGB, Multicolor, White |
| Factor de forma | Vaina |
| Usos recomendados | Exterior del vehículo |
| Posición de la pieza automática | Abajo |
| Característica especial | RF Remote Control, Multicolors |
| Material | Aluminio |
| Nivel de resistencia al agua | IP68 resistente al agua |
| Control remoto incluido | Sí |
| Número de piezas | 8 |
| Vol de entradatage | DC9-32V |
| Potencia de salida | 5 A (máximo) |
| Temperatura de funcionamiento | -20°C a 50°C |
5. Instalación
5.1. Lista de verificación previa a la instalación
- Asegúrese de que el vehículo esté apagado y la batería esté desconectada.
- Gather necessary tools: drill, drill bits, screwdriver, wire cutters/strippers, zip ties (optional, for cable management).
- Plan the placement of each rock light pod and the control box.
5.2. Mounting the Light Pods
- Select desired mounting locations for each rock light pod. Common areas include wheel wells, under the chassis, or along the frame.
- Use the provided rubber mounting pads. Choose between flat pads for flat surfaces or curved pads for rounded surfaces (e.g., roll bars). The pads also help with vibration dampening
- Position the light pod with its rubber pad and mark the screw holes.
- Drill pilot holes if necessary, then secure the light pod using the provided screws and nuts.
- Route the wiring from each pod towards the central location where the control box will be mounted. Ensure wires are secured and protected from heat, sharp edges, and moving parts.

5.3. Cableado del sistema
- Mount the control box in a secure, dry location, preferably in the engine bay or another protected area.
- Connect the main power input harness to the vehicle's 12V DC battery. Connect the red wire to the positive (+) terminal and the black wire to the negative (-) terminal.
- Connect the individual rock light pods to the main wiring harness. The kit includes both short and long wire leads to accommodate different vehicle sizes and light placements. For longer vehicles, additional extension wires may be purchased separately.
- Connect the RF remote control receiver (if separate) to the control box according to the wiring diagram.

5.4. Referencia de vídeo de instalación
6. Instrucciones de funcionamiento
6.1. Control remoto por radiofrecuencia
The included 24-key RF remote control allows for easy adjustment of your rock lights:
- ENCENDIDO/APAGADO: Encender o apagar las luces.
- Selección de colores: Elija entre una amplia gama de colores estáticos.
- Control de brillo: Ajusta la intensidad de las luces.
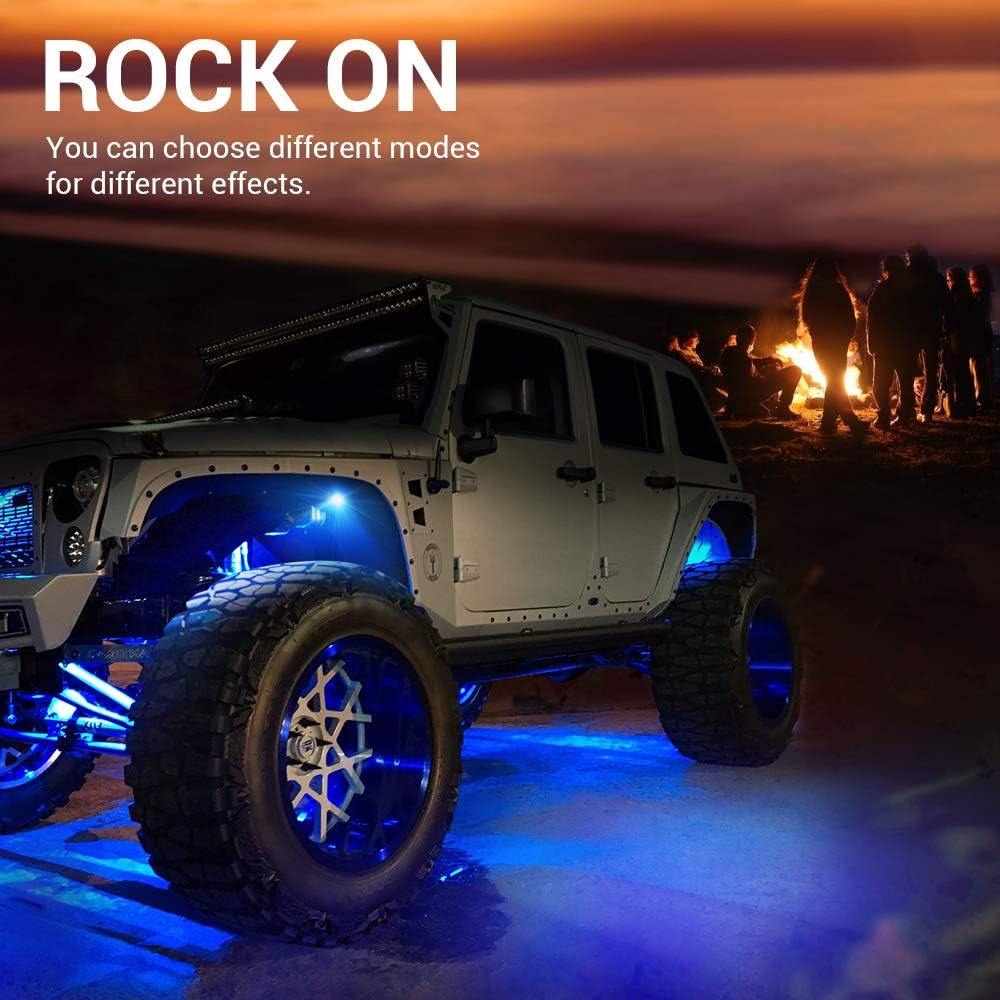
- Modos dinámicos: Select various lighting effects such as Flash, Strobe, Fade, and Smooth.
- Control de velocidad: Ajustar la velocidad de los modos dinámicos.
6.2. Control de aplicaciones
For enhanced control and customization, download the
Ask a question about this manual
Ask about setup, troubleshooting, compatibility, parts, safety, or missing instructions. Manuals+ will review the question and use this page’s manual context to help answer it.