
Williams AV DWS COM 8 400
Williams AV DWS COM 8 400 Digi-Wave 400 Wireless Intercom System User Manual
Model: DWS COM 8 400 | Brand: Williams AV
1. Sistema terminadoview
The Williams AV DWS COM 8 400 Digi-Wave 400 is a wireless intercom system designed for clear, reliable communication among up to 8 participants. This system is ideal for various applications including event production, theaters, houses of worship, and educational settings, providing seamless interpretation and communication capabilities.
Componentes incluidos:
- (8) DLT 400 Transceivers: These compact units serve as both transmitters and receivers, allowing two-way communication.
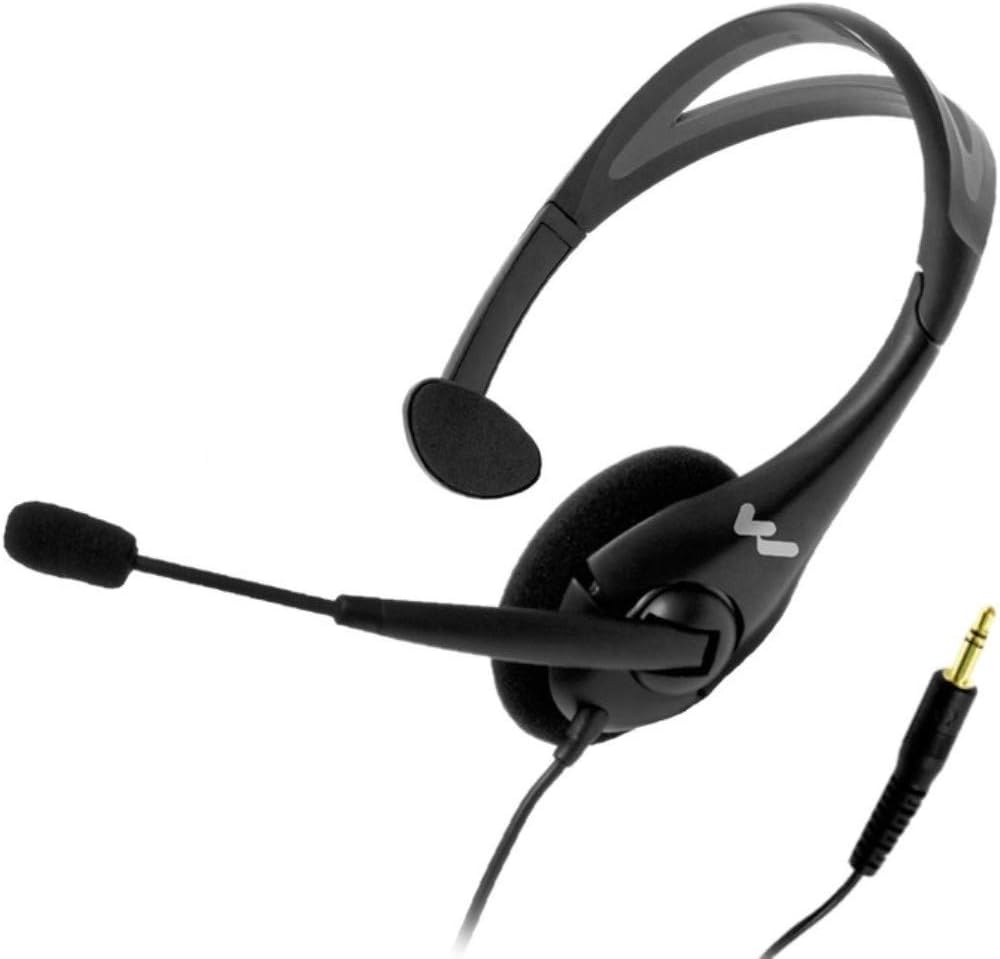
- (8) MIC 144 2P Headset Microphones: Comfortable headset microphones for hands-free operation and clear audio input.
- (1) CCS 056 DW 11 System Carry Case: A durable case designed to protect and transport the entire system.
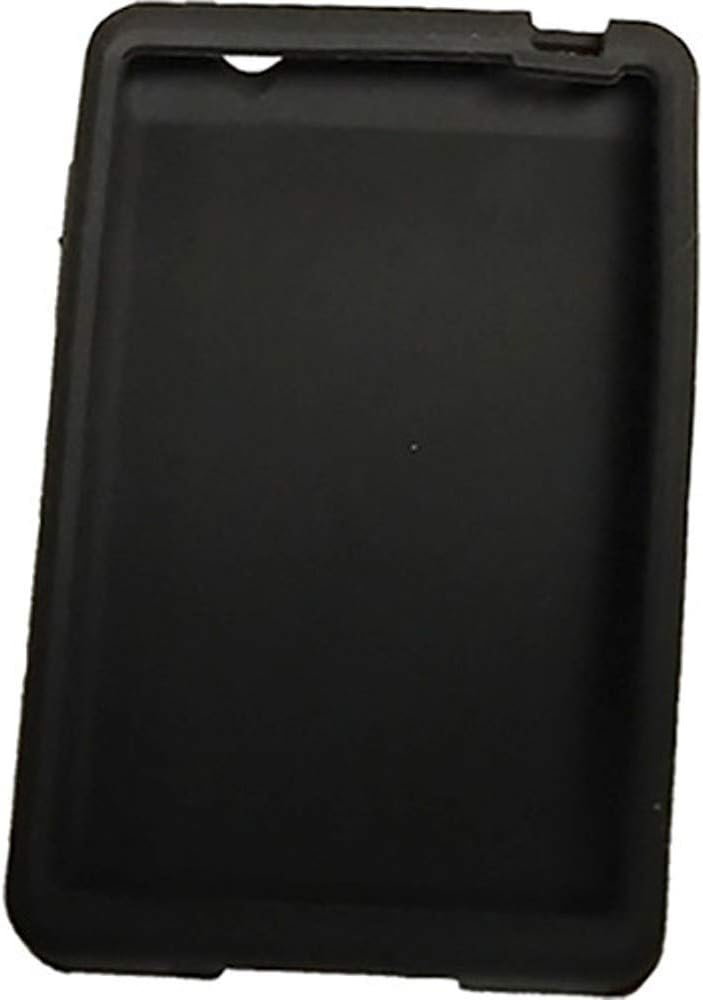
- (1) CCS 061 GR Grey Silicone Skin: A protective silicone cover for one transceiver.
- (7) CCS 061 BK Black Silicone Skins: Protective black silicone covers for the remaining transceivers.


2. Instrucciones de configuración
- Charge the DLT 400 Transceivers:
Before initial use, ensure all DLT 400 Transceivers are fully charged. Connect the transceivers using a standard USB-C cable to a power source, or place them in a compatible multi-unit charger (e.g., CHG 412, sold separately) if available. A full charge typically takes approximately 5 hours.

Figura 2.1: DLT 400 Transceiver with USB-C port. The USB-C port is located on the side for direct charging. - Attach Silicone Skins (Optional):
For added protection and grip, slide the provided CCS 061 GR (Grey) or CCS 061 BK (Black) silicone skins onto the DLT 400 Transceivers.
- Connect Headset Microphones:
Plug the MIC 144 2P Headset Microphones into the 3.5 mm TRRS headphone jack located on the top of each DLT 400 Transceiver. This port also serves as the audio output for listening.
Figura 2.2: DLT 400 Transceiver with 3.5mm jack. The headphone/microphone jack is located at the top of the unit. - Encendido:
Press and hold the power button (usually marked with a circle and a vertical line) on each DLT 400 Transceiver until the OLED display illuminates.
3. Instrucciones de funcionamiento
3.1. Channel Selection (Interpretation Mode)
The DLT 400 Transceiver allows users to easily switch between different interpretation channels. This system is configured to support multiple language translations simultaneously.
- View Current Channel: The OLED display shows the currently selected channel (e.g., "CH 01").
- Cambiar canales: Utilice el botón arriba (^) y abajo (v) arrow buttons located below the display to navigate through available channels. Each channel typically corresponds to a different language or audio source.
- Confirmar selección: The system will automatically select the channel once you stop pressing the arrow buttons.
3.2. Ajuste del volumen
Adjust the listening volume to a comfortable level using the dedicated volume buttons on the side of the DLT 400 Transceiver.
- Aumenta el volumen: Presione el botón '+'
- Disminuir volumen: Presione el botón '-'.
3.3. Two-Way Communication (Transceiver Functionality)
The DLT 400 units are transceivers, meaning they can both transmit and receive audio. When using the MIC 144 2P Headset Microphone, you can speak into the microphone to transmit your voice to other participants on the same channel, or to an interpreter.
- Botón de hablar: Press the central microphone icon button to activate your microphone for speaking. A red LED around the Talk button indicates that the microphone is active.
- Silenciar micrófono: Press the Talk button again to mute your microphone.
4. Mantenimiento
- Limpieza: Use a soft, dry cloth to clean the exterior of the DLT 400 Transceivers and the headset microphones. Avoid using abrasive cleaners, solvents, or harsh chemicals.
- Almacenamiento: When not in use, store the system components in the CCS 056 DW 11 System Carry Case to protect them from dust, moisture, and physical damage. Store in a cool, dry place.
- Cuidado de la batería: For optimal battery life, avoid fully discharging the transceivers frequently. Recharge them regularly, especially if they will be stored for an extended period.
- Silicone Skins: The silicone skins can be removed and cleaned with mild soap and water if necessary. Ensure they are completely dry before reattaching them to the transceivers.
5. Solución de problemas
- No hay sonido en los auriculares:
- Ensure the headset microphone is fully plugged into the 3.5mm jack.
- Check the volume level on the DLT 400 Transceiver and increase if necessary.
- Verify that the transceiver is powered on and tuned to an active channel.
- Confirm the headset itself is functioning by testing with another audio source if possible.
- Transceiver Not Charging:
- Ensure the USB-C cable is securely connected to both the transceiver and the power source.
- Pruebe con un cable USB-C o un adaptador de corriente diferente.
- If using a multi-unit charger, ensure the transceiver is correctly seated in its slot.
- Mala calidad de audio o interferencia:
- Check the distance between the transceiver and the main transmitter; the system has a range of up to 900 ft (274 m), but environmental conditions can affect this.
- Ensure there are no large metallic objects or other wireless devices causing interference in the immediate vicinity.
- Verify that all units are on the correct channel.
- El micrófono no transmite:
- Ensure the MIC 144 2P Headset Microphone is properly connected.
- Press the Talk button on the DLT 400 Transceiver to activate the microphone (red LED should illuminate).
- The internal microphone is disabled when the MIC jack is engaged; ensure the headset is the intended input.
6. Especificaciones
| Frecuencias de funcionamiento | 2.4 GHz (banda ISM); 2402 - 2476 MHz FHSS |
| Audio Frequency Response (-3dB Level) | Intercom Mode: 100 - 7200Hz / Other Modes: 100 - 1,500Hz |
| Relación señal-ruido (SNR) | 73 dB (A-weighted, default Rx volume with mic input) |
| Distorsión armónica total (THD) | 0.1 % (Default Volume, 1kHz) |
| Entrada de micrófono | Internal microphone (disabled when MIC jack engaged) and 3.5 mm phone jack (sleeve) with electret microphone bias, adjustable gain with 63dB range. |
| Entrada de línea | USB-C |
| Salida de auriculares | 3.5 mm TRRS headphone jack; 25 mW, R 32 ohms |
| Audio Output (Max SSPL 90) | 111.8dB (EAR 013), 116.8dB (EAR 041) |
| Rango | Hasta 900 pies (274 m) (dependiendo de las condiciones ambientales) |
| Modulación | FSK |
| Salida RF | 19 dBm típico |
| Seguridad | 87 bit encryption (300 Series Compatible), 87+128 bit Encryption, Encryption PIN, Lock for settings |
| Tono lateral | -6 dB below volume, tone variation (Off, Low and High settings available) |
| Indicadores | Pantalla OLED |
| LED | Red LED around Talk button when enabled; Bi-color, changing green and red LED at top |
| Conectores de carga | USB-C; Dos contactos para uso con CHG 412 |
| Receptores compatibles | DLR 400 RCH, DLR 400 ALK, DLT 300 and DLR 360 |
| Duración de la batería | Up to 16 hrs talk time |
| Ahorro de energía | Modo de suspensión automática después de 5 minutos sin señal de RF de dispositivos compatibles |
| Tiempo de carga | 5 horas aprox. |
| Dimensiones | 4.22" x 2.60" x 0.50" |
| Peso | 3.3 onzas |
7. Garantía y soporte
For detailed warranty information, please refer to the warranty card included with your product or visit the official Williams AV website. For technical support, troubleshooting assistance beyond this manual, or to inquire about replacement parts, please contact Williams AV customer service.
Williams AV Contact Information:
- Websitio: www.williamsav.com
- Consulte el embalaje del producto o la información oficial. webSitio para números de teléfono y direcciones de correo electrónico actuales.
Ask a question about this manual
Ask about setup, troubleshooting, compatibility, parts, safety, or missing instructions. Manuals+ will review the question and use this page’s manual context to help answer it.