
Vissani QR254S
Manual de instrucciones de la campana extractora Vissani de 30"
Model: QR254S
Introducción
This manual provides detailed instructions for the installation, operation, and maintenance of your Vissani Under Cabinet Range Hood. Please read thoroughly before use to ensure safe and efficient operation of the appliance.
Instrucciones de seguridad importantes
Para reducir el riesgo de incendio, descarga eléctrica o lesiones a personas, tenga en cuenta lo siguiente:
- Instale esta campana extractora de acuerdo con todas las instrucciones especificadas.
- Desconecte siempre la alimentación antes de realizar tareas de mantenimiento o limpieza en la unidad.
- No utilice ningún ventilador con un cable o enchufe dañado. Deseche el ventilador o devuélvalo a un centro de servicio autorizado para que lo examinen o lo reparen.
- Sufficient air is needed for proper combustion and exhausting of gases through the flue (chimney) of fuel burning equipment to prevent back-drafting. Follow the heating equipment manufacturer's guideline and safety standards such as those published by the National Fire Protection Association (NFPA), and the American Society for Heating, Refrigeration and Air Conditioning Engineers (ASHRAE), and the local code authorities.
- Al cortar o perforar la pared o el techo, no dañe el cableado eléctrico ni otros servicios públicos ocultos.
- Los ventiladores canalizados siempre deben ventilarse hacia el exterior.
- Limpie los filtros de grasa con frecuencia. No permita que la grasa se acumule en el ventilador ni en el filtro.
- Use proper size wiring and always use a dedicated circuit.
- Esta unidad debe estar conectada a tierra.
Contenido del paquete
Verifique que todos los componentes estén presentes y en buenas condiciones antes de comenzar la instalación.
- Vissani Under Cabinet Range Hood Unit
- Charcoal Filter (included for ductless operation)
- Herrajes de montaje (tornillos, anclajes)
- Duct Connector (for ducted installation)
- Manual de usuario
Components included with the Vissani range hood, showing filters, duct connector, and mounting hardware.
Configuración e instalación
The Vissani Under Cabinet Range Hood can be installed as either ducted (vented to the outside) or ductless (recirculating with charcoal filters).
Lista de verificación previa a la instalación
- Ensure the cabinet measurements are appropriate for a 30-inch range hood.
- Verify electrical supply is available and meets specifications.
- For ducted installation, ensure proper ductwork is in place.
- For ductless installation, ensure charcoal filters are installed.
Montaje de la campana extractora
- Carefully measure and mark the mounting points under the cabinet.
- Perfore agujeros guía para los tornillos de montaje.
- Lift the range hood into position and secure it with the provided screws.
- Connect the electrical wiring according to local codes and the wiring diagram in the manual.
- If installing as ducted, connect the ductwork to the top exhaust port. If ductless, ensure the charcoal filter is properly seated.

Frente view of the Vissani Under Cabinet Range Hood installed under a kitchen cabinet.

Lado view of the Vissani Under Cabinet Range Hood, showcasing su elegante diseño de acero inoxidable.
Operación de su campana extractora
The Vissani range hood features intuitive push-button controls for easy operation of its lighting and fan functions.
Panel de control
The control panel is located on the front of the range hood and consists of five push buttons:
- Botón de luz: Enciende y apaga las luces LED.
- Velocidad del ventilador 1: Activates the fan at low speed.
- Velocidad del ventilador 2: Activates the fan at medium speed.
- Velocidad del ventilador 3: Activates the fan at high speed.
- Botón de apagado: Apaga el ventilador.

De cerca view of the range hood's control panel, showing the push buttons for light and fan speed settings.
Operación de luz
Press the light button (indicated by a light bulb icon) to turn the LED lights on or off. The lights illuminate your cooking surface effectively.
Control de velocidad del ventilador
Select the desired fan speed (1, 2, or 3) based on your cooking needs. Speed 1 is for light ventilation, while Speed 3 provides maximum extraction for heavy cooking fumes. Press the 'Off' button to turn the fan off.
Mantenimiento y cuidado
El mantenimiento regular garantiza un rendimiento óptimo y la longevidad de su campana extractora.
Limpieza de los filtros
The mesh filters should be cleaned regularly to prevent grease buildup. To remove, locate the latch on each filter, push it in, and pull the filter down. Clean with warm, soapy water or in a dishwasher. Ensure filters are completely dry before re-installing.

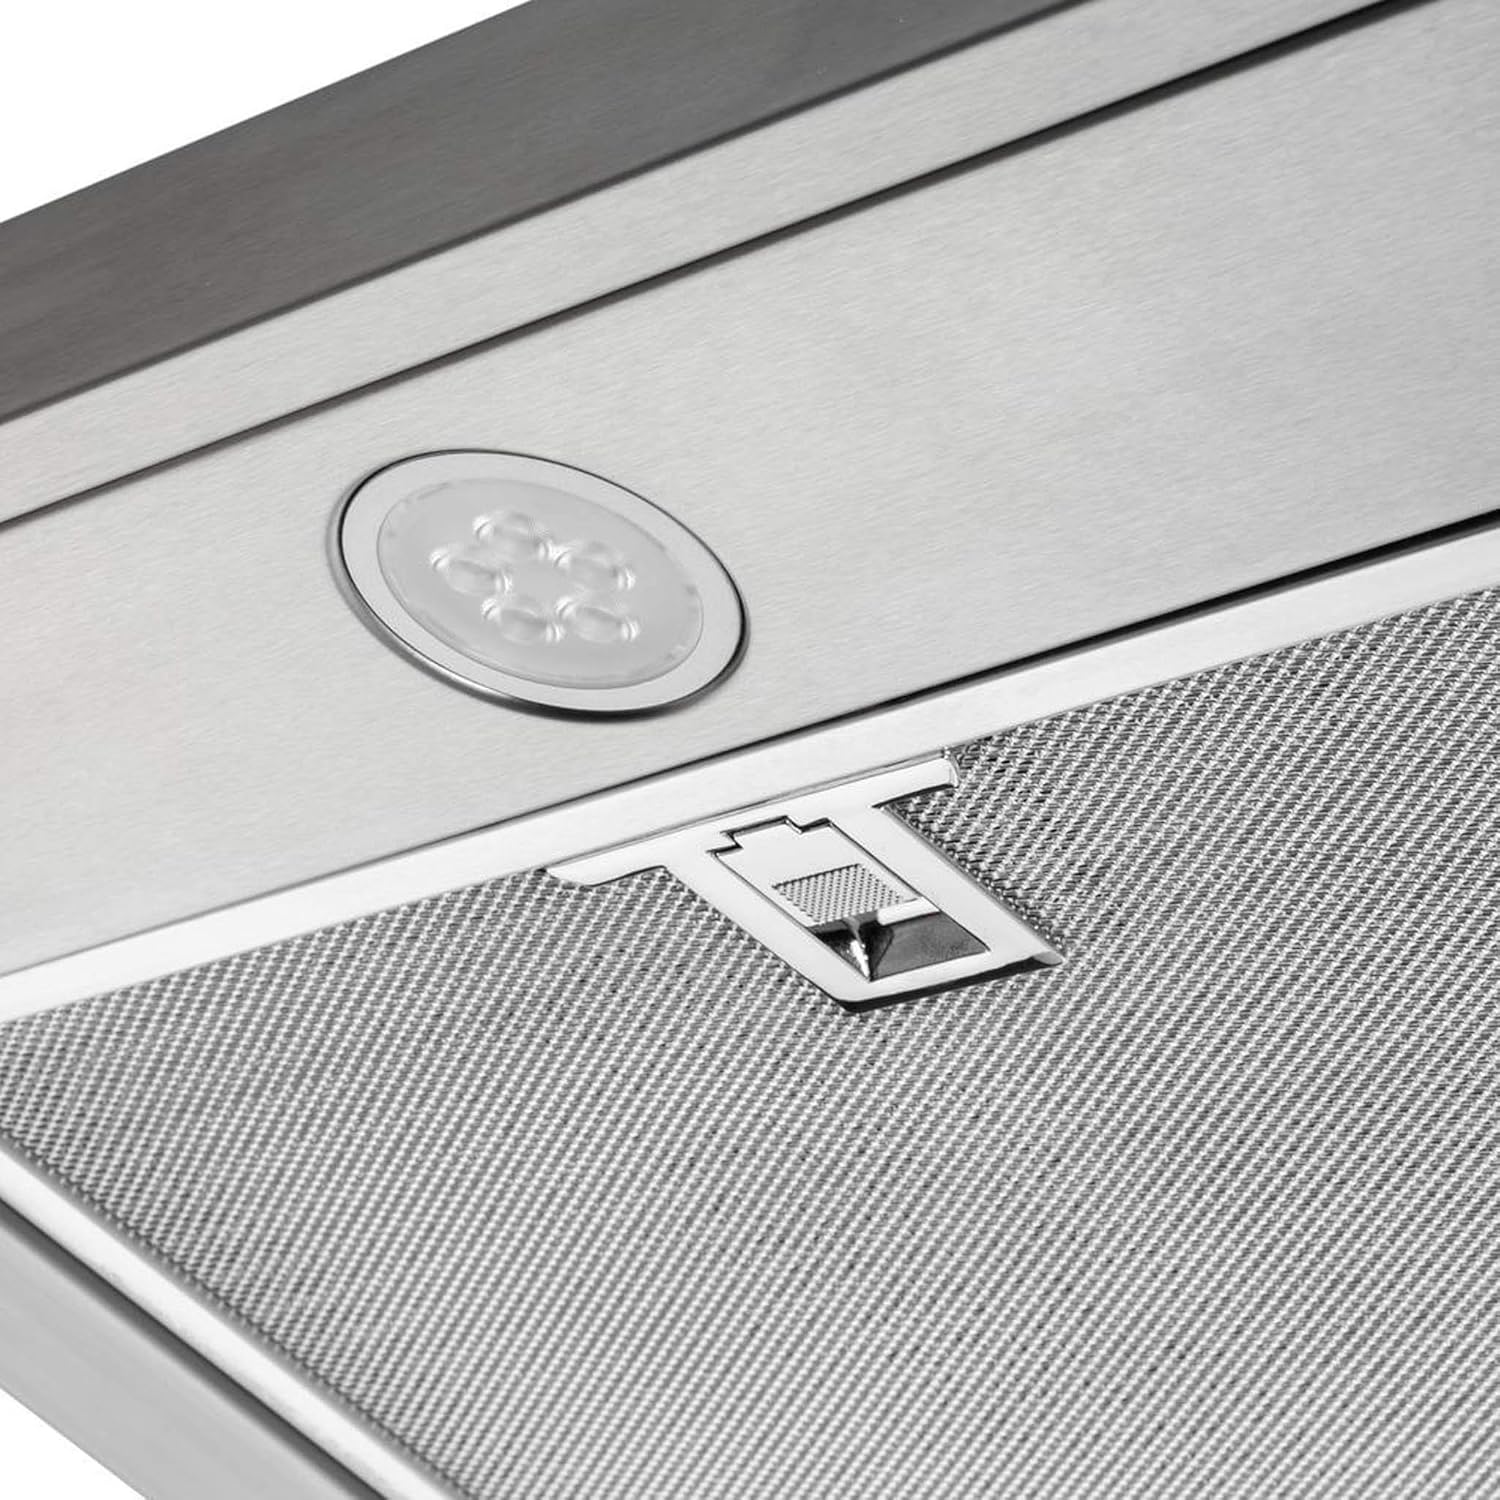
De cerca view of the mesh filter, designed to trap grease and odors.

A hand demonstrating the simple process of removing the mesh filter for cleaning.
Reemplazo del filtro de carbón
For ductless (recirculating) installations, the charcoal filter traps odors and should be replaced every 3-6 months depending on usage. Refer to the filter's specific instructions for replacement.

The charcoal filter, essential for odor removal in ductless configurations.
Reemplazo de bombilla
The range hood uses GU10 LED bulbs (max 5W). To replace, ensure power is off, then carefully twist and pull out the old bulb. Insert the new bulb by aligning the pins and twisting to secure.

Close-up of the LED light fixture, showing the GU10 bulb type.
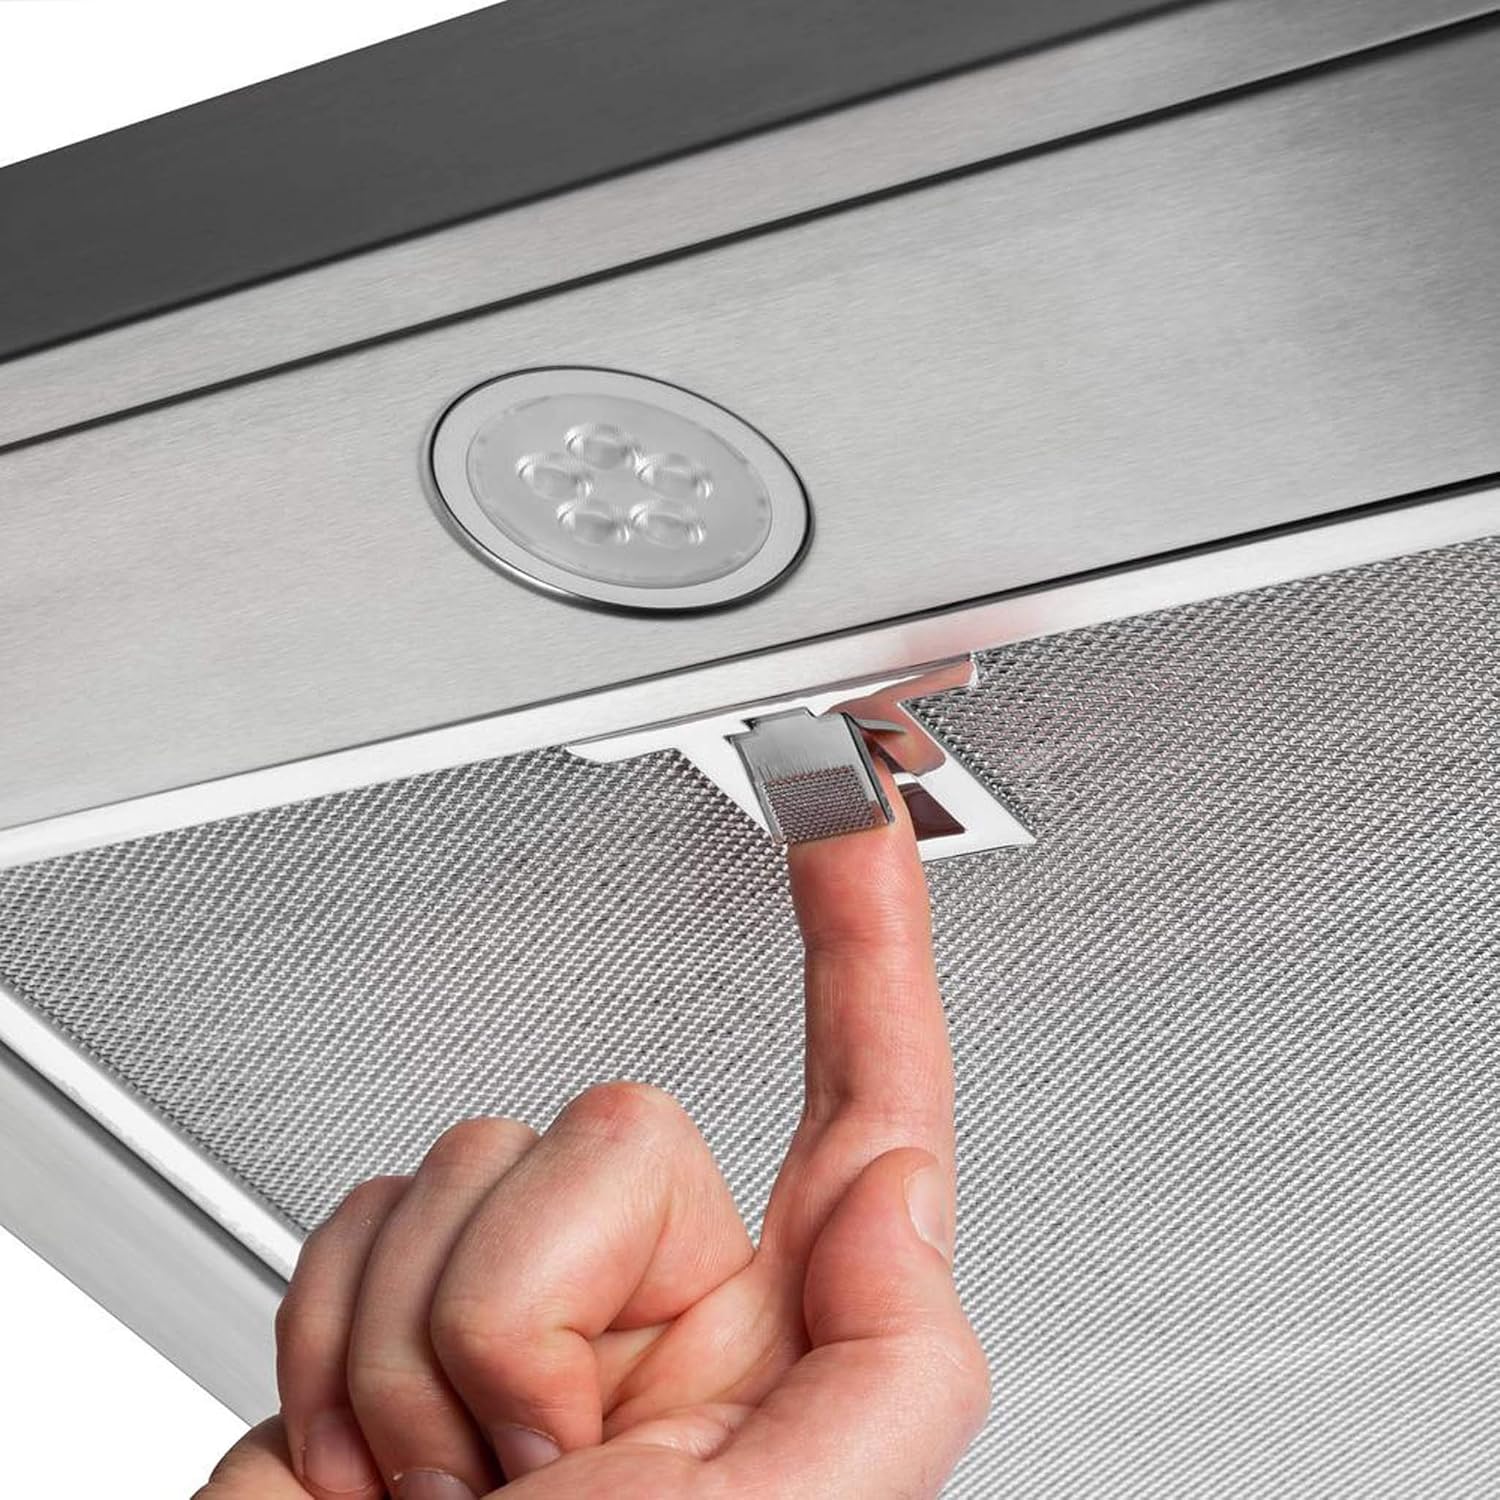
A hand indicating the location of the light fixture and the filter release latch.
Guía para resolver problemas
Consulte esta guía para conocer problemas comunes y sus soluciones.
| Problema | Posible causa | Solución |
|---|---|---|
| El ventilador no funciona | No power supply; Fan switch off; Motor malfunction. | Check circuit breaker/fuse; Ensure fan switch is on; Contact customer support if motor is faulty. |
| Las luces no funcionan | Light switch off; Bulb loose or burnt out; Wiring issue. | Ensure light switch is on; Tighten or replace bulb; Check wiring connections. |
| Succión insuficiente | Grease filters clogged; Charcoal filters saturated (ductless); Improper installation; Obstruction in ductwork. | Clean or replace filters; Verify proper installation and sealing; Check for duct obstructions. |
| Ruido excesivo | Loose parts; Fan motor imbalance; Obstruction in fan blades. | Check for loose screws or components; Inspect fan blades for debris; Contact customer support if motor is imbalanced. |
Especificaciones del producto
| Característica | Especificación |
|---|---|
| Marca | Vissani |
| Información del modelo | QR254S |
| Dimensiones del producto | 18" de profundidad x 29.8" de ancho x 5" de alto |
| Peso del artículo | 22.6 libras |
| Material | Acero inoxidable |
| Tipo de acabado | Cepillado |
| Color | Acero inoxidable |
| Capacidad de flujo de aire | 320 pies cúbicos por minuto |
| Nivel de ruido | 1.5 Sonios |
| Tipo de montaje | Montaje debajo del gabinete |
| Componentes incluidos | Filtro de carbón |
| Tipo de controles | Botón pulsador |
| Tipo de fuente de luz | CONDUJO |
| Quétage | 1E+1 (10W) |
| Tipo de filtro | Malla |
| Tipo de ventilación | [BOTH] (Ducted/Ductless) |
| Código Postal | 056677874543 |
Garantía y atención al cliente
For warranty information or technical assistance, please contact Vissani customer support. Keep your purchase receipt for warranty claims.
La información de contacto normalmente se puede encontrar en el sitio web oficial del fabricante. websitio o en el embalaje del producto.
Ask a question about this manual
Ask about setup, troubleshooting, compatibility, parts, safety, or missing instructions. Manuals+ will review the question and use this page’s manual context to help answer it.