1. Introducción
1.1 producto másview
The Renkforce RF-HC-100 is a compact 16-megapixel trail camera designed for outdoor monitoring. It features a time-lapse function, night vision capabilities, and a durable, camouflage brown housing. This camera is suitable for wildlife observation, property surveillance, and other outdoor recording needs.
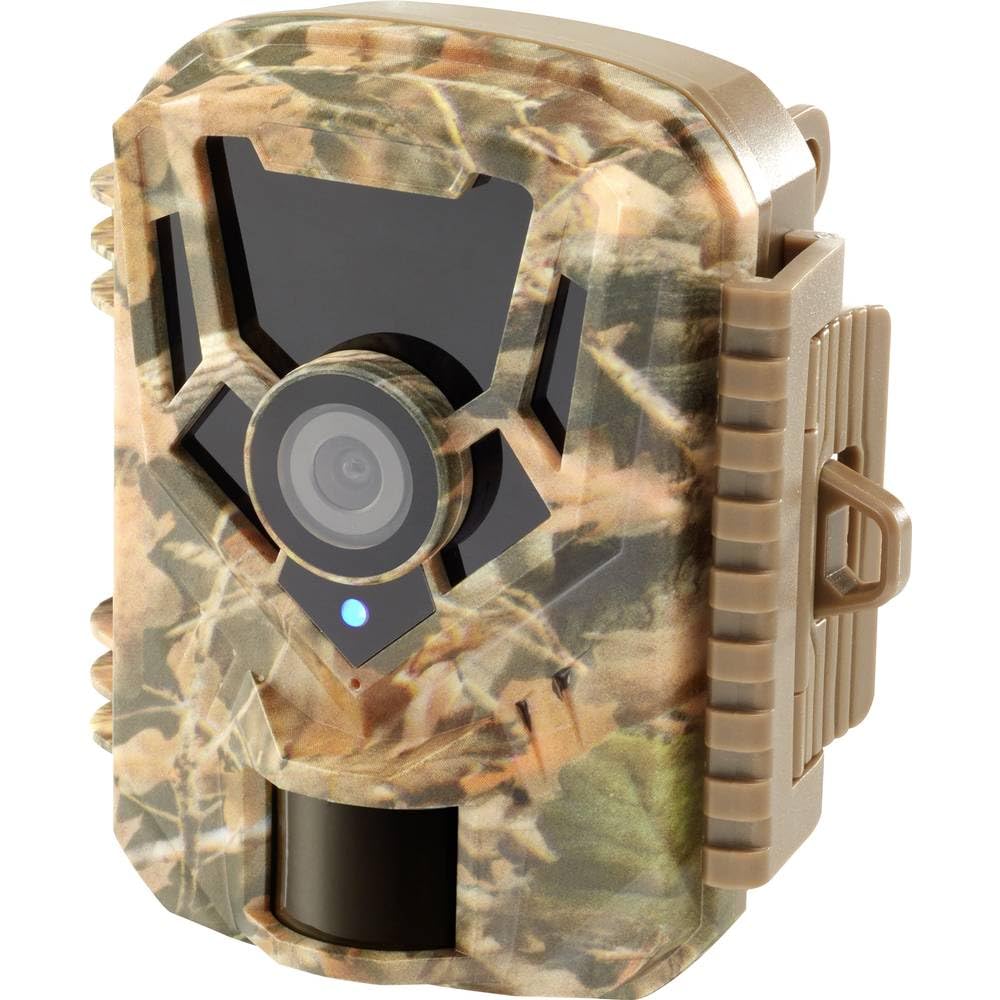
Imagen: Frontal view of the Renkforce RF-HC-100 Trail Camera, showcasing its compact design and camouflage pattern.

Imagen: Frente view of the Renkforce RF-HC-100 Trail Camera, highlighting the main lens and motion sensor.
1.2 Contenido del paquete
- 1 x Renkforce RF-HC-100 Trail Camera Unit
- Note: Additional accessories such as mounting straps, USB cables, or user manuals may be included depending on the specific package.
2. Información de seguridad
- Lea atentamente todas las instrucciones antes de utilizar el dispositivo.
- Do not expose the camera to extreme temperatures, direct sunlight for prolonged periods, or corrosive liquids.
- Ensure the battery compartment is properly sealed to maintain the IP65 weather resistance.
- Deseche las baterías según la normativa local. No mezcle baterías nuevas y usadas ni baterías de diferentes tipos.
- Mantenga el dispositivo fuera del alcance de los niños.
- No intente desmontar ni modificar la cámara, ya que esto anulará la garantía y puede causar daños.
3. Características del producto
The Renkforce RF-HC-100 Trail Camera offers the following key features:
- Imágenes de alta resolución: 16 Megapixel effective capture resolution for clear photos and 1080p video recording.
- Visión nocturna: Equipped with color night vision for monitoring in low-light conditions.
- Función de lapso de tiempo: Capture imágenes a intervalos establecidos para observar eventos a largo plazo.
- Ranura para tarjeta SD: Supports external SD cards for ampel almacenamiento de fotos y vídeos.
- Resistencia a la intemperie: IP65 international protection rating ensures durability in various outdoor environments.
- Diseño compacto: Miniature form factor with a camouflage brown finish for discreet placement.
- Gran angular View: 90-degree angle of view para cubrir un área amplia.
- Conectividad: Features wired connectivity (USB, AV ports) and Wi-Fi protocol for data transfer and control via application.
- Opciones de montaje: Includes support for wall mounting.
4. Configuración
4.1 Instalación de la batería
- Abra la carcasa de la cámara desenganchando los clips laterales.
- Ubique el compartimiento de la batería.
- Insert the required number of AA batteries (not included) according to the polarity markings (+/-).
- Cierre bien el compartimento de la batería.
4.2 Instalación de la tarjeta SD
- Con la carcasa de la cámara abierta, localice la ranura para tarjeta SD.
- Insert a compatible SD card (up to 32GB, Class 10 recommended) into the slot with the metal contacts facing down until it clicks into place.
- Para quitarla, empuje la tarjeta SD nuevamente hasta que salga.

Image: The Renkforce RF-HC-100 Trail Camera with its housing open, revealing the control panel, USB, AV, and DC ports, and the ON/SETUP/OFF switch.
4.3 Montaje de la cámara
The camera can be mounted using a strap or a wall mount bracket (if included or purchased separately).
- Montaje de la correa: Thread a mounting strap through the slots on the back of the camera and secure it to a tree or pole.
- Montaje en pared: Use the integrated mounting points or a compatible wall mount bracket to attach the camera to a flat surface. Ensure the camera is stable and pointed in the desired direction.
5. Instrucciones de funcionamiento
5.1 Encendido/apagado y selección de modo
Locate the ON/SETUP/OFF switch inside the camera housing.
- OFF: Apaga la cámara.
- PREPARAR: Enters setup mode, allowing you to configure settings via the internal display.
- EN: Activates the camera for recording based on the configured settings.
5.2 Configuración de ajustes
In SETUP mode, use the navigation buttons (if available) to access the menu and adjust parameters such as:
- Resolución de foto/vídeo
- Sensibilidad del sensor PIR
- Retraso de detección
- Intervalo de lapso de tiempo
- Fecha y hora
- Recording Mode (Photo, Video, Photo+Video, Time-Lapse)
5.3 Recuperación de datos
Para acceder a lo grabado files:
- Vía USB: Connect the camera to a computer using a USB cable. The camera will appear as a removable disk.
- A través de tarjeta SD: Remove the SD card from the camera and insert it into a computer's card reader.
6. Mantenimiento
- Limpieza: Use a soft, dry cloth to clean the camera lens and housing. For stubborn dirt, a slightly damp Se puede utilizar un paño, pero asegúrese de que no entre humedad en el dispositivo.
- Reemplazo de batería: Reemplace las baterías cuando aparezca el indicador de batería baja o cuando el rendimiento disminuya.
- Gestión de tarjetas SD: Regularly format the SD card (after backing up important data) to maintain optimal performance and prevent errors.
- Almacenamiento: Cuando no utilice la cámara durante períodos prolongados, retire las baterías y guarde la cámara en un lugar fresco y seco, alejado de la luz solar directa.
7. Solución de problemas
| Problema | Posible causa | Solución |
|---|---|---|
| La cámara no se enciende. | Low or dead batteries; incorrect battery installation; power switch in OFF position. | Replace batteries; ensure correct polarity; set switch to ON or SETUP. |
| Mala calidad de imagen/video. | Lente sucia; condiciones de poca luz; configuración de resolución incorrecta. | Clean the lens; ensure adequate lighting or use night vision; adjust resolution settings. |
| La cámara no graba. | SD card full or faulty; incorrect mode selected; PIR sensor blocked. | Format or replace SD card; select appropriate recording mode; clear sensor path. |
| No se puede conectar a la computadora. | Faulty USB cable; camera not in correct mode; driver issues. | Try a different USB cable; ensure camera is in connection mode (if applicable); try another computer or card reader. |
8. Especificaciones
| Nombre del modelo | RF-HC-100 (RF-4466574) |
| Effective Capture Resolution | 16 megapíxeles |
| Resolución de vídeo | 1080p |
| Dimensiones (L x An x Al) | 21 x 12 x 9 cm (8.27 x 4.72 x 3.54 pulgadas) |
| Peso | 186 gramos (0.41 libras) |
| Tecnología de conectividad | Wired (USB, AV), Wi-Fi Protocol (for control/transfer) |
| Características especiales | Local Recording, Night Vision (Color Night Vision) |
| Entorno de uso | Exterior |
| Calificación de protección internacional | IP65 |
| Fuente de poder | Manual Operation (Battery-powered, batteries not included) |
| Quétage | 1.5 vatios |
| View Ángulo | 90 grados |
| Color | Camouflage Brown |
| Material | Metal (internal) |
| Tipo de montaje | Soporte de montaje en pared |
9. Garantía y soporte
Renkforce provides support for its products. Spare parts availability is indicated for 1 year from the date of purchase. For technical assistance, troubleshooting beyond this manual, or warranty claims, please refer to the contact information provided with your product packaging or visit the official Renkforce websitio.