1. Producto terminadoview
The Thlevel 20A 12V/24V Solar Charge Controller is designed to manage the power flow from your solar panel to your battery, ensuring efficient charging and protecting the battery from overcharge and over-discharge. It features a clear LCD display for monitoring system status and adjustable parameters for various battery types and load requirements. This controller is suitable for home, commercial, and industrial solar power systems.

Figure 1: Thlevel 20A 12V/24V Solar Charge Controller front view.
Características principales:
- Corriente de carga: 20A; Salida USB: 5V/2A max; Volumen de la bateríatage: 12V/24V auto-identification.
- Protección de seguridad integral: Built-in short-circuit protection, open-circuit protection, reverse connection protection, and overload protection.
- Advanced Charge Management: Features 3-level PWM charge management for optimal battery health.
- Parámetros ajustables: Integrated industrial micro-controller allows for adjustable charge and discharge parameters, and configurable load operating modes.
- Disipación de calor eficiente: Dual MOS reverse current protection ensures low heat generation and high reliability.
- Interfaz fácil de usar: LCD screen displays real-time status and data, making setup and operation straightforward.
2. Instalación y conexión del sistema
Follow these steps for proper installation. Ensure all connections are secure and correct to prevent damage to the controller or other components. Conecte siempre primero la batería.

Figura 2: Diagrama de conexión del sistema.
- Connect Battery (1): Connect the battery to the charge controller first. Ensure correct polarity (+ to + and - to -). The controller will automatically detect 12V or 24V battery systems.
- Connect Solar Panels (2): Connect the solar panel(s) to the charge controller. Again, observe correct polarity.
- Connect DC Load (3 - Optional): Connect your DC loads (e.g., LED lights) to the controller's load terminals. Ensure correct polarity.
- Connect Inverter (4 - Optional): If using an inverter for AC loads, connect it to the battery terminals. The inverter should not be connected directly to the load terminals of the controller.
Nota importante: Connect in strict accordance with the sequence: 1. Battery, 2. Solar Panel, 3. Load. Disassembly should be in the reverse order to prevent damage.
Montaje:
- Mount the controller on a vertical surface to allow for proper heat dissipation.
- Ensure adequate clearance around the controller for air circulation.
- Avoid mounting in direct sunlight, high temperatures, or areas prone to water exposure.
3. Funcionamiento y configuración
The controller features an LCD display and three buttons for navigation and parameter adjustment.
3.1. Interfaz de pantalla LCD

Figura 3: Pantalla LCD y funciones de los botones.
- Botón MENÚ: Short press to switch between display interfaces. Long press (3-5 seconds) to enter or exit parameter setting mode.
- Botón de arriba: In parameter setting mode, press once to increase the parameter value.
- Botón ABAJO/ENCENDIDO/APAGADO: In parameter setting mode, press once to decrease the parameter value. In normal display mode, press to turn the load on or off.
The LCD displays various information including voltage, ampere-hour, load output status, battery status, and solar panel charging light indicators (On: Direct/Boost Charge; Slowly Flash: Float Charge).
3.2. Configuración de parámetros
To adjust parameters, long press the MENÚ button for 3-5 seconds to enter the setting interface. Use the UP y ABAJO buttons to modify values. Long press the MENÚ button again to save and exit, or long press ABAJO to restore default parameters.

Figure 4: Parameter Setting Flow.
The common adjustable parameters include:
- Flotador Voltage: El voltage en el que se mantiene la batería después de la carga completa.
- Descarga Reconexión Voltage: El voltage at which the load will reconnect after low voltagy desconexión.
- Volumen de parada de descargatage: El voltage en el cual se desconectará la carga para proteger la batería de una descarga excesiva.
- Modo de trabajo: Configures how the load operates (e.g., 24 hours, dusk to dawn, timed).
- Tipo de batería: Select the battery type (e.g., B01 for GEL, B02 for Sealed, B03 for Flood). This controller is only applicable to lead-acid batteries (Open type, VRLA, GEL, etc.).
4. Mantenimiento
El mantenimiento regular garantiza un rendimiento óptimo y la longevidad de su controlador de carga solar.
- Limpieza: Mantenga el controlador limpio y libre de polvo y residuos. Utilice un paño seco para limpiarlo.
- Conexiones: Periodically check all wiring connections to ensure they are tight and free from corrosion. Loose connections can cause overheating and damage.
- Ventilación: Asegúrese de que las aberturas de ventilación no estén bloqueadas para permitir una disipación adecuada del calor.
- Condiciones ambientales: Verify that the controller is operating within its specified temperature and humidity ranges.
- Estado de la batería: Monitorea la salud y el volumen de tu bateríatage regularly. A healthy battery is crucial for the overall system performance.
5. Solución de problemas y protecciones de seguridad
The Thlevel solar charge controller is equipped with multiple safety features to protect itself and your solar power system. Understanding these protections can help in basic troubleshooting.

Figure 5: Built-in Security Protections.
- Protección contra cortocircuitos: Automatically disconnects if a short circuit is detected in the load or solar panel circuit. Check wiring for shorts.
- Protección contra sobrecarga: Disconnects the load if the current exceeds the rated capacity (20A). Reduce the load or use a higher-rated controller.
- Protección contra la sobretensión: Similar to overload, protects against excessive current flow.
- Protección de sobrecarga: Stops charging the battery once it reaches the set overcharge voltage, previniendo daños.
- Bajo voltagy Protección: Desconecta la carga cuando el volumen de la bateríatage drops below the set under-voltage threshold, protecting the battery from deep discharge.
- exceso de volumentagy Protección: Protects the system from excessively high voltage insumos.
- Protección contra polaridad inversa: Protects the controller from damage if the battery or solar panel connections are reversed. However, always ensure correct polarity during installation.
Problemas comunes:
- Sin pantalla/Sin energía: Verifique las conexiones de la batería y asegúrese de que la batería tenga suficiente carga.
- La batería no se carga: Verify solar panel connections, ensure panels are receiving sunlight, and check for any shading. Confirm battery type setting is correct.
- La carga no funciona: Check load connections, ensure the load is within the controller's current limits, and verify the load work mode settings. The battery might be too low (under-voltage protección activada).
6. Especificaciones técnicas
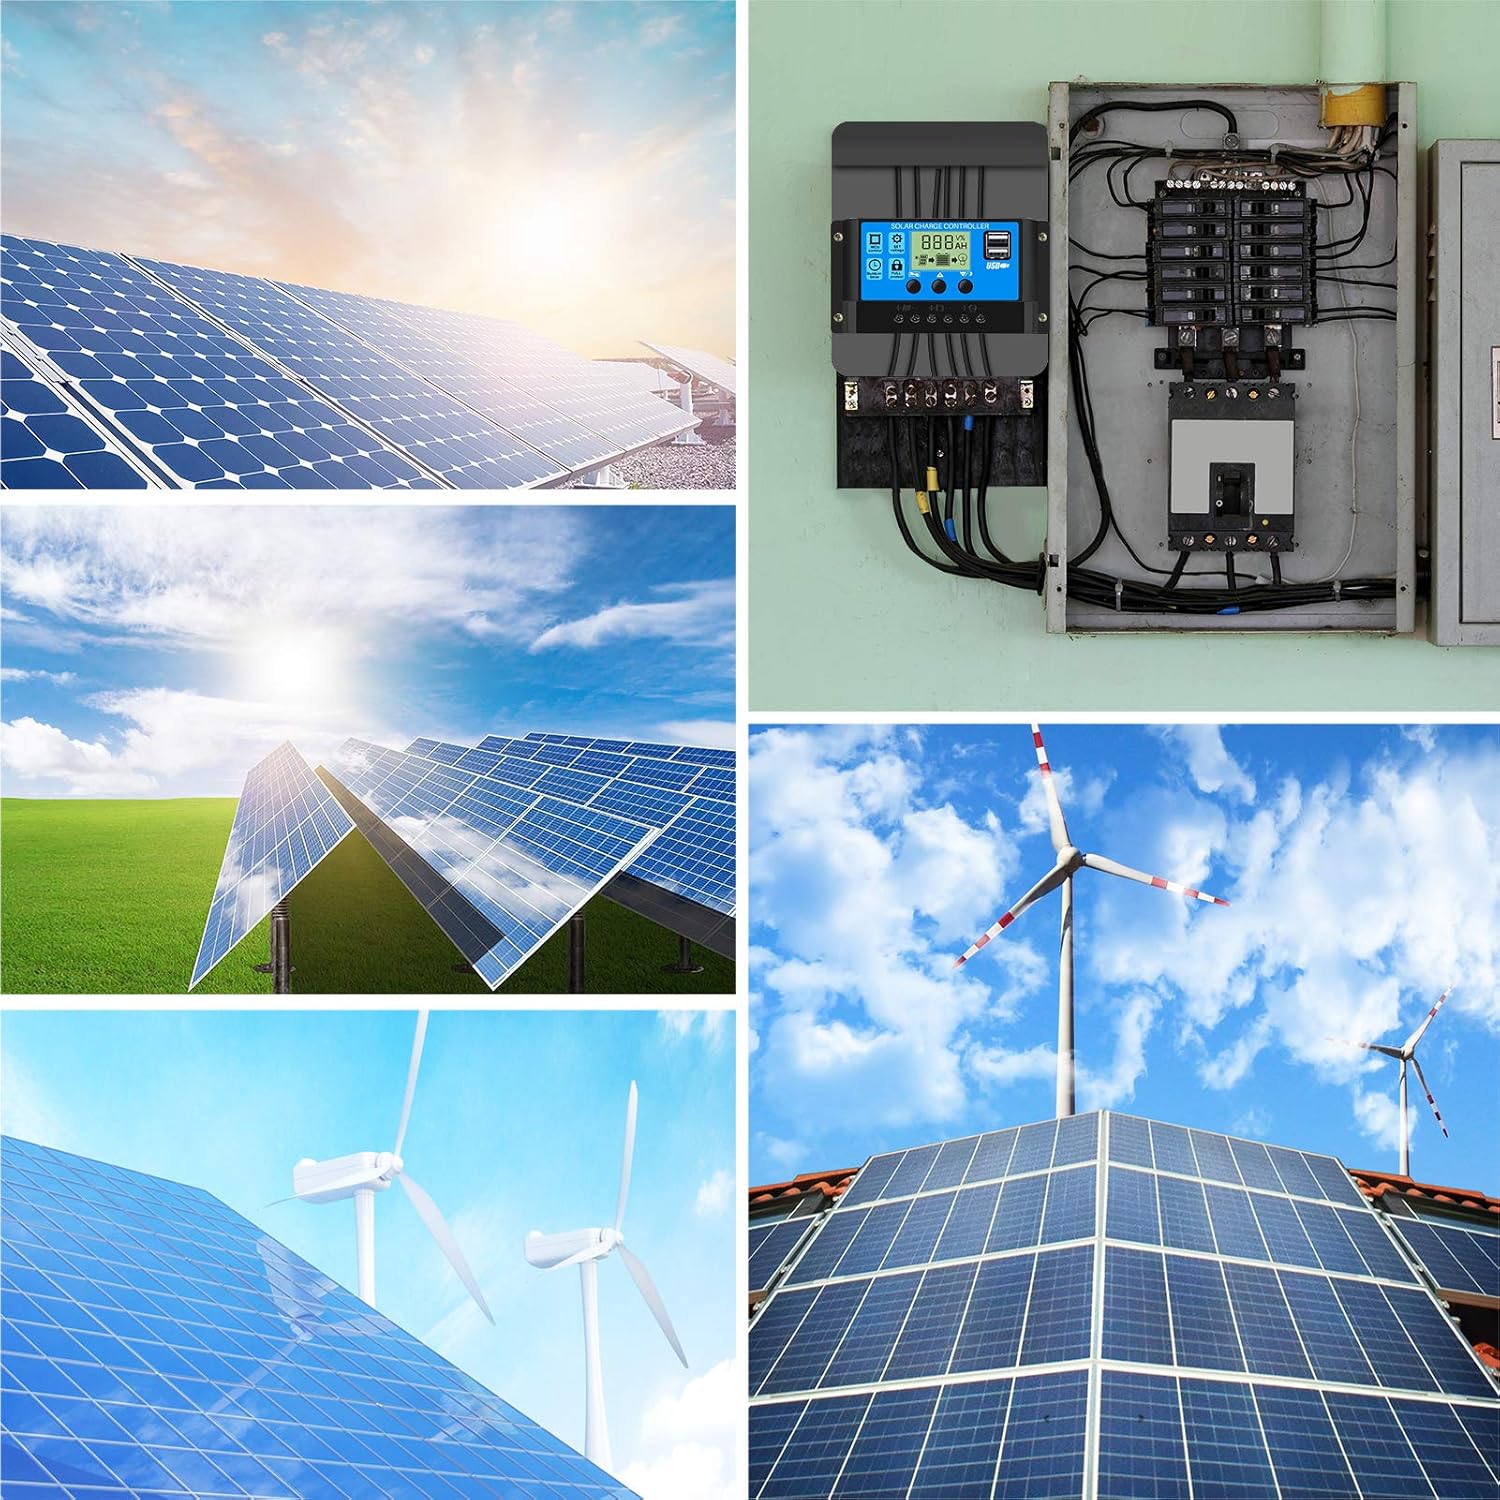
Figura 6: Dimensiones del producto.
| Característica | Especificación |
|---|---|
| Corriente de carga nominal | 20A |
| Salida USB | 5 V/2 A (máx.) |
| Volumen de la bateríatage | 12V/24V (Auto-identification) |
| Volumen máximo de entrada de PVtage | 50 V |
| Potencia máxima de entrada fotovoltaica | 260 W (12 V), 520 W (24 V) |
| Dimensiones (L x An x Al) | 13.3 x 7 x 3.5 cm (5.23 x 2.75 x 1.38 pulgadas) |
| Peso | 132 gramos |
| Material | Plástico |
| Tipo de pantalla | Pantalla LCD |
| Temperatura de funcionamiento | -35°C a +60°C |
7. Información de seguridad
Please read and follow all safety instructions carefully before installation and operation.
- This controller is designed for 12V/24V lead-acid batteries only (GEL, Sealed, Flooded). Do not use with other battery types (e.g., Lithium-ion) unless explicitly stated by the manufacturer.
- Ensure all wiring is correctly polarized before connecting. Incorrect polarity can damage the controller and other components.
- Install the controller in a well-ventilated, dry, and cool environment, away from flammable materials and corrosive gases.
- No intente desmontar ni reparar el controlador usted mismo. Para obtener servicio técnico, contacte con personal cualificado.
- Mantenga a los niños alejados de los componentes del sistema de energía solar.
- Utilice equipo de protección personal (EPP) adecuado, como guantes y protección para los ojos, durante la instalación.
8. Garantía y soporte
This product is manufactured by Thlevel. For warranty information or technical support, please refer to the retailer or contact Thlevel customer service directly. Keep your purchase receipt as proof of purchase.
While specific warranty details are not provided in this manual, most electronic devices come with a standard manufacturer's warranty covering defects in materials and workmanship under normal use.