
1. Introducción
This manual provides detailed instructions for the installation, operation, and maintenance of your Phonocar VM494 9.7" Full HD Mirror Dash Cam. This device integrates a front-facing camera, a rear camera, and a full HD display into a rearview mirror, offering enhanced safety and recording capabilities for your vehicle. Please read this manual thoroughly before using the product to ensure proper function and longevity.
2. Contenido del paquete
Verifique que todos los siguientes elementos estén incluidos en su paquete:
- 1 x Phonocar VM494 Mirror Dash Cam
- 1 x Rear Camera with 15-meter cable
- 1 x 12V Power Adapter (for cigarette lighter socket)
- 2 x Rubber Supports for fixing
- 1 x Manual de instrucciones (este documento)
3. Producto terminadoview
The Phonocar VM494 is a multifunctional rearview mirror with an integrated front camera and a separate rear camera. It features a 9.7-inch Full HD touchscreen display for intuitive control and clear viewEn.
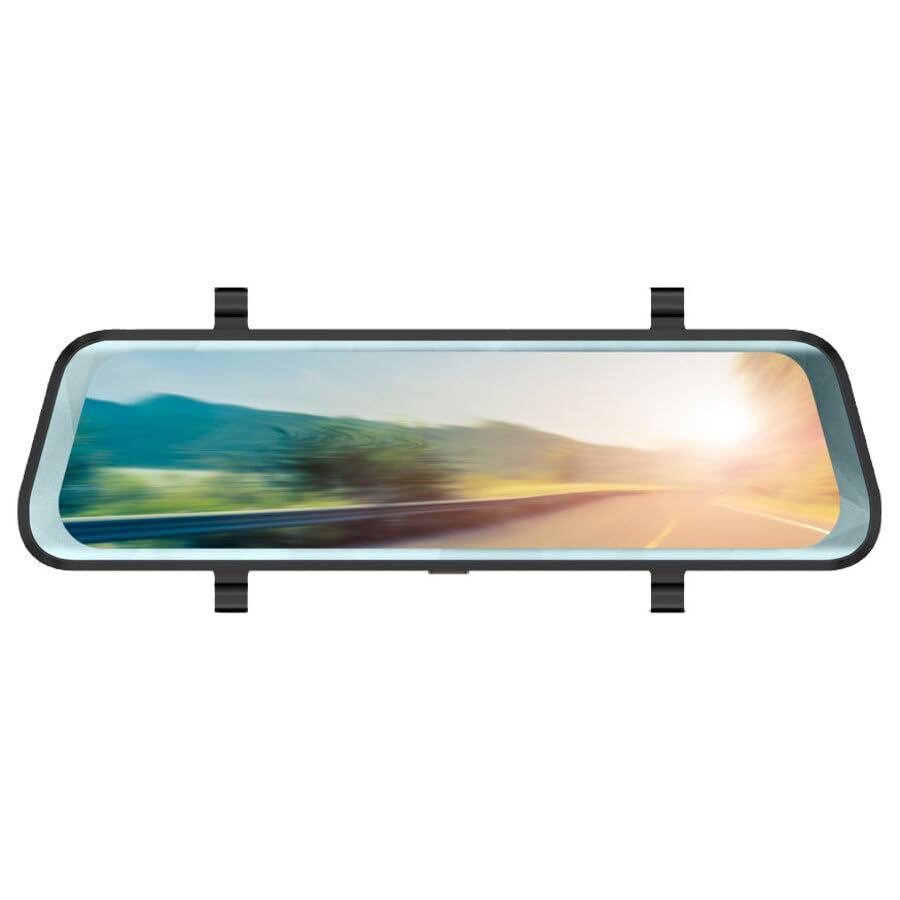
Figura 1: Phonocar VM494 Mirror Dash Cam. This image illustrates the main unit, highlighting the 9.7-inch Full HD display, the integrated front camera, and the rear camera connection. Key features such as Full HD recording, cycle recording, G-Sensor, emergency lock, touchscreen, and 144-degree wide angle are also indicated.
Componentes clave:
- 9.7" Full HD Touchscreen Display: Proporciona una clara view of recordings and real-time camera feeds, with touch control for settings.
- Integrated Front Camera: Adjustable in width, records in Full HD 1080P with a 144° wide-angle view.
- Entrada de cámara trasera: Connects the included external rear camera for simultaneous recording and parking assistance.
- Altoparlante: Integrated 1 Watt mono loudspeaker.
- Micrófono: Standard full-direction microphone for audio recording.
- Power/Stand-by Button: Located on the unit for power control.
4. Instalación
The VM494 is designed for universal compatibility with 12V vehicles. Follow these steps for proper installation:
- Montaje de la cámara de tablero con espejo:
Attach the VM494 mirror dash cam over your vehicle's original rearview mirror using the provided rubber supports. Ensure it is securely fastened and does not obstruct your view.
- Conexión de la fuente de alimentación:
Connect the 12V power adapter cable to the dash cam and plug the other end into your vehicle's cigarette lighter socket. Route the cable neatly to avoid interference with driving controls.
- Instalación de la cámara trasera:
Mount the rear camera at the back of your vehicle, typically above the license plate or inside the rear window, ensuring a clear view. Connect the 15-meter cable from the rear camera to the designated input on the VM494 mirror dash cam. Route the cable carefully through the vehicle's interior trim.
- Ajuste de la cámara frontal:
Adjust the integrated front camera's position to ensure it captures the desired field of view through your windshield.
5. Operación
5.1 Power On/Off and Stand-by
- To power on the device, press the Power/Stand-by button.
- To put the device in stand-by mode or turn it off, press and hold the Power/Stand-by button.
5.2 DVR and G-Sensor Function
Once powered on, the device automatically begins recording with the front camera. It records in Full HD (1080P) with both the front and rear cameras simultaneously. The recording is continuous, utilizing a cycle recording feature with options for 1, 3, or 5-minute segments.
- Grabación de ciclo: The dash cam records video in continuous loops, overwriting the oldest footage cuando la tarjeta de memoria está llena.
- Sensor G: En caso de un impacto o colisión repentina, el sensor G incorporado detecta automáticamente el evento y bloquea el video actual. file, preventing it from being overwritten during cycle recording. This ensures critical incident footage se conserva.
- Bloqueo de emergencia: Manually lock a recording by pressing the emergency lock button (if available, or via touchscreen menu) to protect it from being overwritten.
5.3 Automatic Rear Camera Display
When you engage reverse gear, the VM494 automatically displays the rear camera feed on the 9.7-inch screen, providing a clear view Para estacionar y maniobrar con seguridad.
5.4 Automatic Screen Off (Traditional Mirror Mode)
The screen will automatically turn off after 1 minute of inactivity. This allows the device to function as a traditional rearview mirror while the DVR recording functions (front and rear cameras) continue to operate in the background. The mirror features anti-glare blue glass when the screen is off.
5.5 Control de pantalla táctil
Navigate through the device's settings and functions using the intuitive 9.7-inch touchscreen display.
6. Especificaciones técnicas
- Tamaño de pantalla: 9.7 pulgadas
- Resolución de pantalla: 1280x480 píxeles
- Cámara frontal: Adjustable in width
- Viewángulo de inclinación: 144° (wide angle, also during recording)
- Resolución de grabación de video: Full HD 1080P
- Formato de vídeo: 1080P, MOV 30 FPS
- Cycle Recording Options: 1, 3, 5 minutos
- Formato de la foto: JPG/TIFF/PNG
- Tipo de espejo: Anti-glare blue glass (when screen is off)
- Activación de la cámara trasera: Automatic upon engaging reverse gear
- Altoparlante: 1 Watt mono
- Micrófono: Standard full-direction
- Dimensiones: 7 x 25.5 centímetros
- Fuente de alimentación: 12 V
- Características especiales: G-Sensor, Touch Control
7. Solución de problemas
If you encounter issues with your Phonocar VM494, please refer to the following common solutions:
- El dispositivo no se enciende: Ensure the 12V power adapter is securely connected to both the dash cam and the vehicle's cigarette lighter socket. Check the vehicle's fuse for the cigarette lighter.
- Problemas de grabación: Verify that a compatible memory card is inserted and properly formatted. Check if the memory card is full; if so, it may need to be formatted or replaced. Ensure cycle recording is enabled.
- La cámara trasera no muestra: Check the connection of the rear camera cable to the main unit. Ensure the rear camera is properly installed and powered.
- Screen is black/off: The screen may be in automatic screen-off mode. Tap the screen to reactivate it. Ensure the device is powered on.
- La pantalla táctil no responde: Intenta reiniciar el dispositivo. Si el problema persiste, asegúrate de que la pantalla esté limpia y sin residuos.
8. Mantenimiento
To ensure optimal performance and longevity of your VM494:
- Limpieza: Utilice un paño suave y seco para limpiar la pantalla y la lente. Evite limpiadores abrasivos o disolventes.
- Temperatura: Evite exponer el dispositivo a temperaturas extremas, luz solar directa durante períodos prolongados o alta humedad.
- Tarjeta de memoria: Periodically format the memory card (e.g., once a month) to maintain optimal recording performance and prevent data corruption. Back up any important recordings before formatting.
- Conexiones de cable: Asegúrese de que todos los cables estén conectados de forma segura y no estén pellizcados ni dañados.
9. Garantía y soporte
For technical assistance, warranty information, or service inquiries, please contact Phonocar customer support. Refer to the contact details below:
Phonocar SpAVia F.lli Cervi, 167 / C
42124 Reggio Emilia (Italia)
Teléfono: +39 0522 941621
Fax: +39 0522 1602093
Correo electrónico: info@phonocar.it
Websitio: www.fonocar.com
Conserve su comprobante de compra para reclamos de garantía.