
1. Introducción
The RTNLIT 20 Keys 5V Music Infrared Remote Controller is an advanced micro control unit designed for RGB LED strip lights. It offers convenient control over brightness, static colors, and various color-changing effects. A key feature is its sound-control mode, allowing LED colors to synchronize with music rhythms, enhancing your lighting experience. This controller is suitable for a wide range of LED lighting applications, including LED light bars, modules, light boxes, and luminous characters.
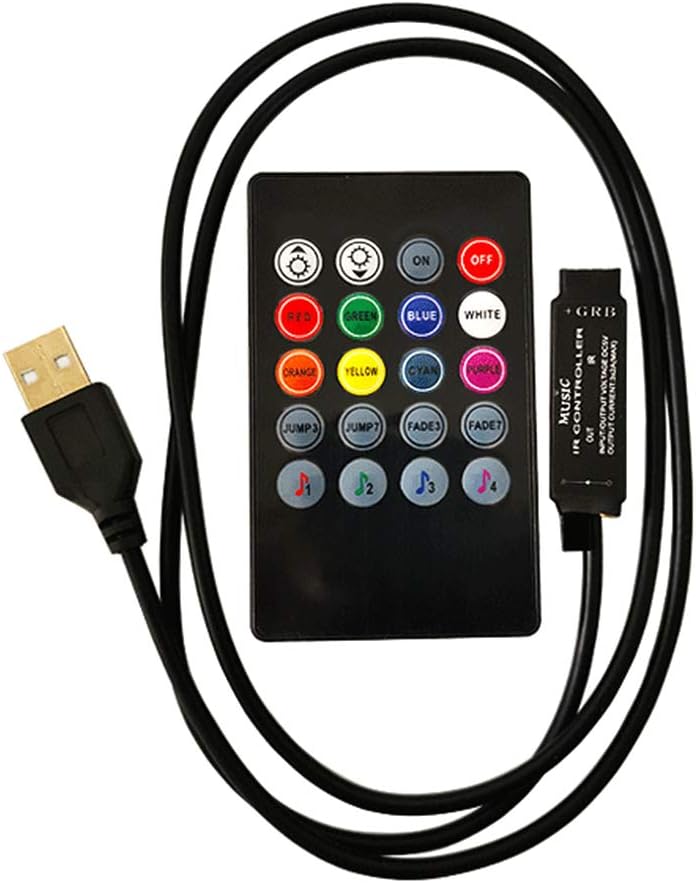
Image: The RTNLIT 20 Keys 5V Music Infrared Remote Controller with its USB power cable.
2. Información de seguridad y notas importantes
- This product should be debugged and installed by qualified personnel to ensure proper function and safety.
- Este producto es No impermeable. Avoid exposure to direct sun and rain. If outdoor installation is necessary, use a waterproof enclosure to protect the controller.
- Ensure good heat dissipation conditions to prolong the life of the LED controller. Install the product in a well-ventilated environment.
- Verifique que el volumen de salidatage of your LED power supply meets the product's voltage range requirements (5V).
- The wire diameter used for connections must be sufficient to handle the load of the connected LED lamps. Ensure all wiring is firm and secure to prevent overheating or poor contact, which could lead to accidents.
- Before powering on the device for debugging or operation, double-check all wiring connections to prevent damage to the LED lamps or the controller due to incorrect wiring.
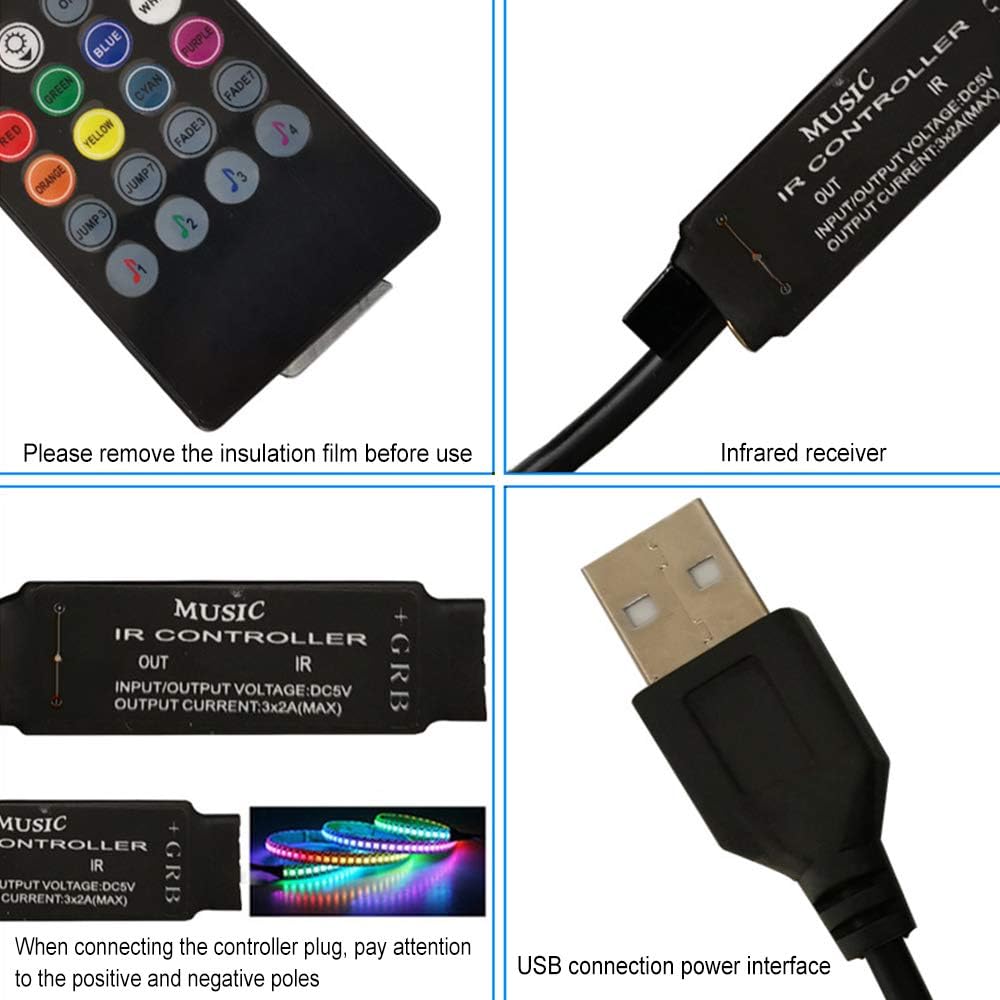
Imagen: Detallada view of the controller's components, including the infrared receiver and USB connection. Remember to remove the insulation film from the remote's battery compartment before use.
3. ¿Qué hay en la caja?
Su paquete debe contener los siguientes artículos:
- 1 x 20 Key IR Music LED Controller
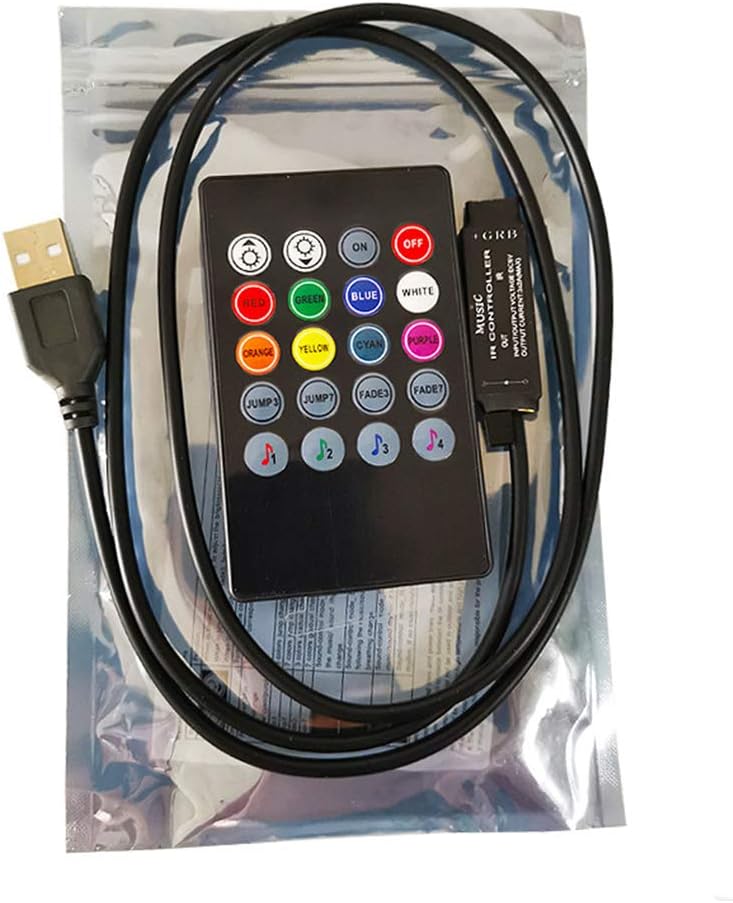
Image: The RTNLIT controller as it appears in its retail packaging.
4. Producto terminadoview y componentes
4.1 Disposición del control remoto
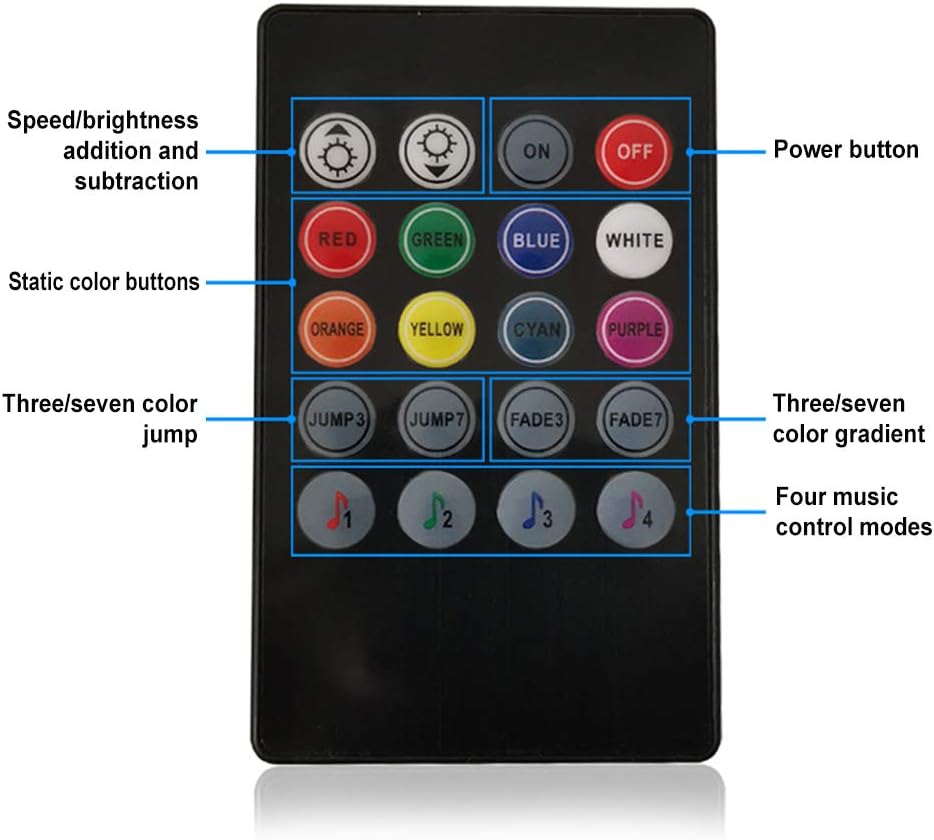
Image: The 20-key infrared remote control with labels indicating button functions.
- Botón de encendido: ENCENDIDO / APAGADO
- Ajuste de brillo/velocidad: Increase or decrease brightness in static modes, or speed in dynamic modes.
- Static Color Buttons: RED, GREEN, BLUE, WHITE, ORANGE, YELLOW, CYAN, PURPLE for direct color selection.
- Modos dinámicos:
- SALTO3: 3-color jump effect.
- SALTO7: 7-color jump effect.
- FUNDIDO3: 3-color gradient effect.
- FUNDIDO7: 7-color gradient effect.
- Music Control Modes (♫1, ♫2, ♫3, ♫4): Four distinct modes where LED colors change in response to music rhythm.
4.2 Controller Module
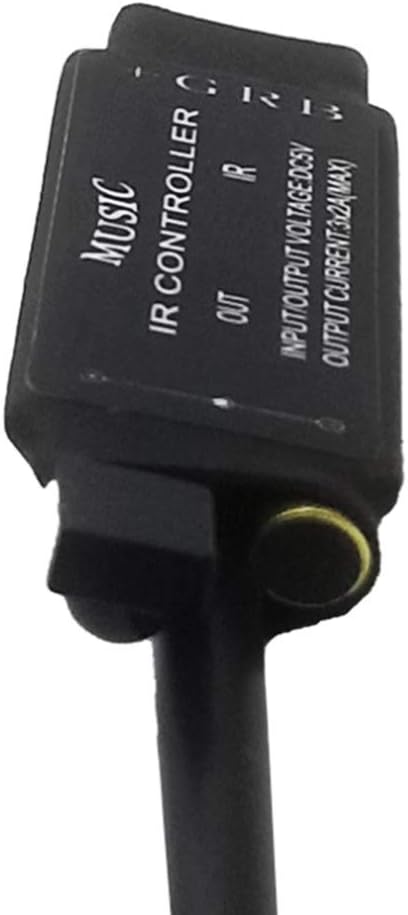
Imagen: Detallada view of the controller module, highlighting its input and output connections.
- Conexión USB: Provides 5V power input to the controller.
- Receptor de infrarrojos (IR): Receives signals from the remote control. Ensure this is not obstructed.
- Salida RGB: Connects to the RGB LED strip light. Pay attention to the common anode connection (G, R, B, +).
5. Configuración e instalación
5.1 Conexión del controlador
- Preparar la tira de LED: Ensure your RGB LED strip light is compatible with a 5V common anode controller.
- Connect LED Strip to Controller: Carefully connect the RGB LED strip to the controller's output terminals. Match the G (Green), R (Red), B (Blue), and + (Common Anode) pins correctly. Incorrect polarity can damage the LED strip or controller.
- Conecte la electricidad: Insert the USB plug of the controller into a 5V USB power source (e.g., a USB wall adapter, power bank, or computer USB port).
- Position IR Receiver: Ensure the infrared receiver on the controller is visible and not obstructed, as it needs a clear line of sight to the remote control.
- Remove Remote Insulation: If applicable, remove the clear plastic insulation film from the battery compartment of the remote control before first use.
Image: Visual guide for connecting the controller to your LED strip and USB power source. Always ensure correct positive and negative pole connections.
6. Instrucciones de funcionamiento
Once the controller is properly connected and powered, use the 20-key infrared remote control to operate your LED strip lights.
6.1 Funcionamiento básico
- Encendido/apagado: Presione el APAGADO button to turn off the lights, and the ON button to turn them on.
- Ajuste de brillo: Utilice el Brillo arriba y Brillo hacia abajo buttons (sun icons) to adjust the intensity of the light in static color modes.
Selección de 6.2 colores
- Colores estáticos: Press any of the dedicated color buttons (RED, GREEN, BLUE, WHITE, ORANGE, YELLOW, CYAN, PURPLE) to instantly switch the LED strip to that specific color.
6.3 modos dinámicos
- Modos de salto:
- Prensa SALTAR3 for a rapid transition between 3 primary colors.
- Prensa SALTAR7 for a rapid transition through 7 different colors.
- Fade Modes:
- Prensa FUNDIDO3 for a smooth, gradual transition between 3 primary colors.
- Prensa FUNDIDO7 for a smooth, gradual transition through 7 different colors.
- Ajuste de velocidad: In dynamic modes, the brightness adjustment buttons may function as speed controls, allowing you to increase or decrease the transition speed.
6.4 Music Control Modes
The controller features four distinct music modes, allowing the LED lights to react to ambient sound. Select the mode that best suits your music or environment:
- Press ♫1, ♫2, ♫3, or ♫4 to activate different music synchronization effects. The specific behavior of each mode may vary, offering different visual interpretations of the sound.
7. Mantenimiento
- Limpieza: Gently wipe the controller and remote with a dry, soft cloth. Do not use harsh chemicals or abrasive cleaners.
- Humedad: Keep the controller and remote dry. Avoid exposure to water or high humidity, as this product is not waterproof.
- Calor: Ensure the controller is installed in a well-ventilated area to prevent overheating, which can shorten its lifespan.
- Reemplazo de batería: If the remote control's range decreases or it stops responding, replace the LR44 battery (1 required).
8. Solución de problemas
| Asunto | Posible causa | Solución |
|---|---|---|
| Las luces no se encienden. | No power, incorrect wiring, remote battery dead. | Check USB power connection. Verify LED strip wiring polarity. Replace remote battery. Ensure IR receiver is unobstructed. |
| El control remoto no responde. | Remote battery dead, IR receiver obstructed, remote too far. | Replace remote battery. Ensure clear line of sight between remote and IR receiver. Operate remote within effective range. |
| Colors are incorrect or flickering. | Incorrect wiring, faulty LED strip. | Double-check the G, R, B, and + connections on the LED strip. Test with a different LED strip if possible. |
| Controller feels hot. | Poor ventilation, overloaded LED strip. | Ensure the controller is in a well-ventilated area. Verify the total wattage of your LED strip does not exceed the controller's maximum output (3x2A max). |
| El modo música no funciona. | No sound detected, sound too low. | Ensure there is audible music or sound near the controller. Increase the volume of the sound source. |
9. Especificaciones
| Característica | Especificación |
|---|---|
| Vol de entradatage | 5V |
| Canales de salida | 3 canales (RGB) |
| Modo de conexión | Ánodo común |
| Consumo de energía estática | <1 W |
| Temperatura de trabajo | -20℃ ~ +60℃ |
| Método de control | Mando a distancia por infrarrojos (IR) |
| Teclas remotas | 20 teclas |
| Fuente de poder | Eléctrico con cable (USB 5V) |
| Material | Metal |
| Peso del artículo | 1.44 onzas |
| Dimensiones del paquete | 6.34 x 4.13 x 0.51 pulgadas |
| Pilas necesarias | 1 batería LR44 (incluida) |
10. Garantía y soporte
Information regarding product warranty and customer support was not available in the provided data. Please refer to the product packaging or the seller's websitio para obtener detalles sobre la cobertura de la garantía y cómo obtener soporte.
11. Vídeos oficiales del producto
No official product videos were found in the provided data for this item.