
Introducción
This manual provides detailed instructions for the SSK Aluminum Dual Bay USB 3.0 to SATA Hard Drive Docking Station. This device allows for easy connection of 2.5-inch and 3.5-inch SATA HDDs and SSDs to your computer via USB 3.0, and features an offline cloning function for disk duplication without a computer connection.
Contenido del paquete
- Estación de acoplamiento para disco duro de doble bahía SSK
- Cable USB 3.0 tipo B a tipo A
- Adaptador de corriente de 12 V/3 A
- Manual de usuario
Características del producto
- Diseño de doble bahía: Supports two 2.5-inch or 3.5-inch SATA I/II/III HDDs/SSDs simultaneously.
- Soporte de alta capacidad: Each bay supports up to 20TB drives, for a total of 40TB.
- USB 3.0 with UASP: Provides fast data transfer speeds up to 5Gbps, enhanced by UASP for improved performance.
- Función de clonación sin conexión: Duplicate hard drives without connecting to a computer.
- Instalación sin herramientas: Easy plug-and-play setup for hard drives.
- Amplia compatibilidad: Compatible con los sistemas operativos Windows, macOS y Linux.
- Construcción duradera: Features an aluminum alloy shell for heat dissipation and durability.
- Operating Status Indicators: LED lights indicate power, activity, and cloning progress.

Imagen: Más alláview of the SSK Dual Bay Docking Station, highlighting its compatibility with various drive sizes and operating systems. A laptop screen shows a file transfer in progress, demonstrating its use as an external drive reader.

Imagen: Detallada views of the SSK docking station's physical features, including its aluminum alloy casing, LED indicator, rear interface with USB 3.0 and power input, and the anti-skid footpad for stability.
Configuración
- Conecte la electricidad: Connect the provided 12V/3A power adapter to the DC-12V port on the back of the docking station and then plug it into a power outlet. The power LED will illuminate.
- Insertar discos duros: Gently insert your 2.5-inch or 3.5-inch SATA HDD/SSD into the drive slots (Slot A and Slot B) until they are securely seated. Ensure the SATA connectors align correctly.
- Conectarse a la computadora (para transferencia de datos): If you intend to use the docking station for data transfer, connect the USB 3.0 cable from the Micro USB 3.0 port on the docking station to an available USB 3.0 port on your computer.
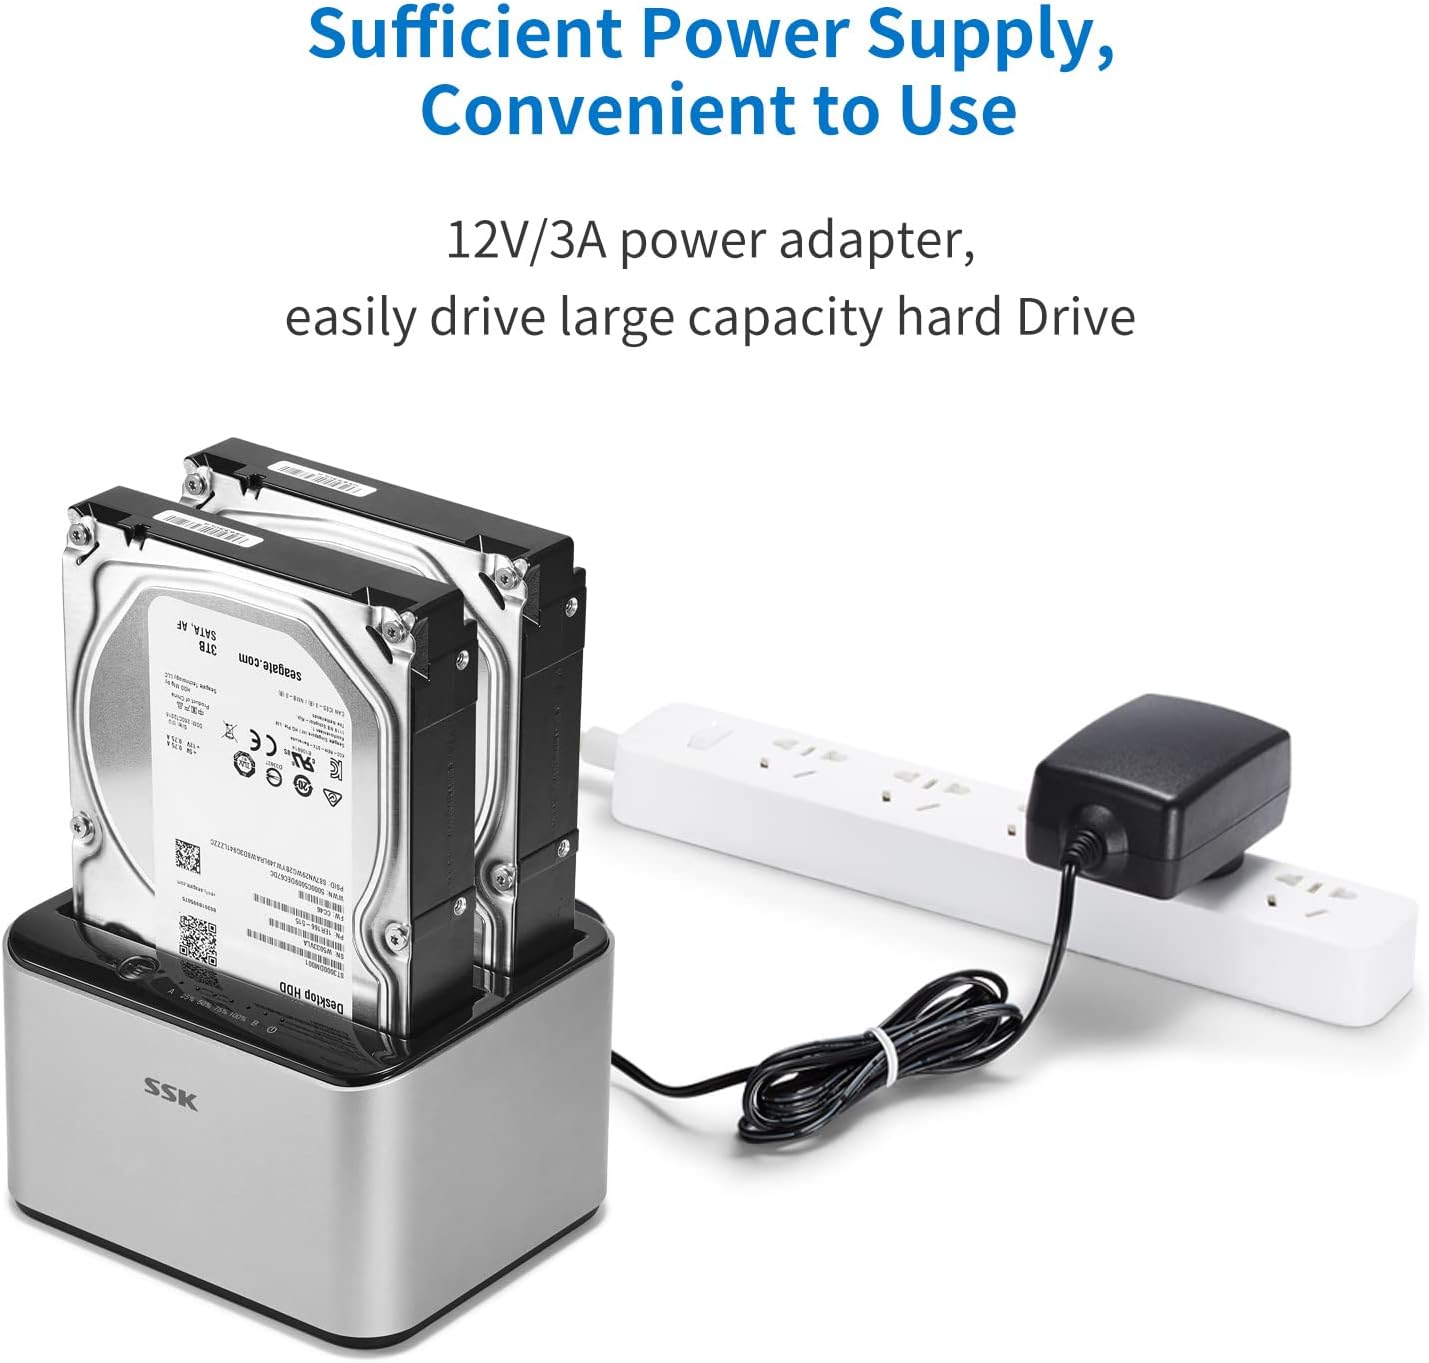
Image: The SSK docking station with two hard drives installed, demonstrating the connection of the 12V/3A power adapter to a power strip, ensuring sufficient power for large capacity drives.
Instrucciones de funcionamiento
A. Data Transfer Mode
- Asegúrese de que la estación de acoplamiento esté encendida y conectada a su computadora a través del cable USB 3.0.
- Insert the SATA HDD/SSD into the desired slot(s).
- Your computer's operating system should automatically detect the drives. You may need to initialize and format new drives via Disk Management (Windows) or Disk Utility (macOS) before use.
- Access the drives as external storage devices to transfer files.

Image: A visual representation of the speed advantage of USB 3.0 with UASP compared to traditional USB 3.0, illustrating faster data transfer rates for both reading and writing, with a hard drive docked in the station.
B. Offline Cloning Mode
The offline cloning function allows you to duplicate a source hard drive to a target hard drive without a computer connection. Warning: All data on the target disk will be erased during the cloning process. Ensure you have backed up any important data from the target disk before proceeding.
- Desconectarse de la computadora: Ensure the USB cable is disconnected from the docking station and your computer. The docking station should only be connected to its power adapter.
- Insertar disco de origen: Insert the Source Disk (the disk you want to copy FROM) into Slot A (Source).
- Insert Target Disk: Insert the Target Disk (the disk you want to copy TO) into Slot B (Target). The Target Disk must have a capacity equal to or greater than the Source Disk.
- Iniciar la clonación: Press and hold the 'Clone' button (usually located on the back or top panel) for approximately 3-5 seconds until the cloning progress LEDs begin to flash.
- Monitorear el progreso: The LED indicators (e.g., 25%, 50%, 75%, 100%) will illuminate sequentially to show the cloning progress. When all LEDs are solid, the cloning process is complete.
- Terminación: Once cloning is complete, power off the docking station and safely remove the drives.

Image: The SSK docking station in offline cloning mode, illustrating the placement of the Source Disk in Slot A and the Target Disk in Slot B. The progress LEDs on the right indicate the cloning status, from 25% to 100% completion.
Mantenimiento
- Limpieza: Utilice un paño suave y seco para limpiar el exterior de la estación de acoplamiento. No utilice limpiadores líquidos ni disolventes.
- Almacenamiento: Guarde la estación de acoplamiento en un lugar fresco y seco, alejado de la luz solar directa y de temperaturas extremas.
- Manejo de la unidad: Always handle hard drives with care. Avoid dropping or subjecting them to physical shock.
- Eliminación segura: When connected to a computer, always use the 'Safely Remove Hardware' option (Windows) or 'Eject' function (macOS) before disconnecting the USB cable or powering off the docking station to prevent data corruption.
Solución de problemas
- Unidad no reconocida:
- Asegúrese de que el adaptador de corriente esté conectado de forma segura y que la estación de acoplamiento esté encendida.
- Verify the USB 3.0 cable is firmly connected to both the docking station and your computer.
- Check if the hard drive is properly seated in the slot.
- For new drives, ensure they are initialized and formatted in your operating system's disk management utility.
- Try connecting the docking station to a different USB port on your computer or a different computer.
- La clonación falla o no se inicia:
- Asegúrese de que el cable USB esté desconectado de la computadora durante la clonación sin conexión.
- Verify the Source Disk is in Slot A and the Target Disk is in Slot B.
- Confirm the Target Disk's capacity is equal to or greater than the Source Disk's capacity.
- Ensure both drives are securely inserted.
- Try powering off and on the docking station before initiating cloning.
- Velocidad de transferencia de datos lenta:
- Asegúrese de estar conectado a un puerto USB 3.0 en su computadora. Los puertos USB 2.0 funcionarán a velocidades más lentas.
- Verifique que su sistema operativo y controladores sean compatibles con UASP.
- La velocidad del disco duro en sí puede ser un factor limitante.
Presupuesto
| Marca | SSK |
| Modelo | B098CWGYSR |
| Interfaz de hardware | USB, USB 3.0 |
| Tipos de unidades compatibles | HDD/SSD SATA I/II/III de 2.5 y 3.5 pulgadas |
| Supported Drive Quantity | 2 |
| Max Capacity Per Bay | 20TB |
| Velocidad de transferencia de datos | Hasta 5 Gbps (USB 3.0) |
| Plataforma de hardware | Windows, macOS, Linux |
| Material | Aluminio |
| Peso del artículo | 0.47 kilogramos |
| Fuente de alimentación | Adaptador de corriente de 12 V/3 A |
Información de seguridad
- No exponga el dispositivo al agua, la humedad o temperaturas extremas.
- Evite dejar caer o someter el dispositivo a impactos fuertes.
- No intente desmontar ni modificar el dispositivo. Esto anulará la garantía.
- Utilice únicamente el adaptador de corriente incluido. Usar un adaptador incorrecto podría dañar el dispositivo.
- Asegúrese de que haya una ventilación adecuada alrededor de la estación de acoplamiento durante el funcionamiento.
Garantía y soporte
SSK products are designed for reliability and performance. For warranty information or technical support, please refer to the warranty card included with your product or visit the official SSK website. If you encounter any issues not covered in this manual, please contact SSK customer service for assistance.