
1. Instrucciones de seguridad importantes
Please read these instructions carefully before using the appliance to prevent damage, fire, or injury. Keep this manual for future reference.
- Asegúrese siempre de que el aparato esté colocado sobre una superficie estable y resistente al calor.
- No sumerja el aparato, el cable o el enchufe en agua u otros líquidos.
- Desenchufe el aparato del tomacorriente cuando no esté en uso, antes de ensamblar o desmontar piezas y antes de limpiarlo.
- No opere ningún aparato con un cable o enchufe dañado, o después de que el aparato funcione mal o haya sufrido algún daño de cualquier tipo.
- Keep children away from the appliance during operation. The surface can become hot.
- No utilice accesorios no recomendados por el fabricante.
- Este aparato es sólo para uso doméstico.
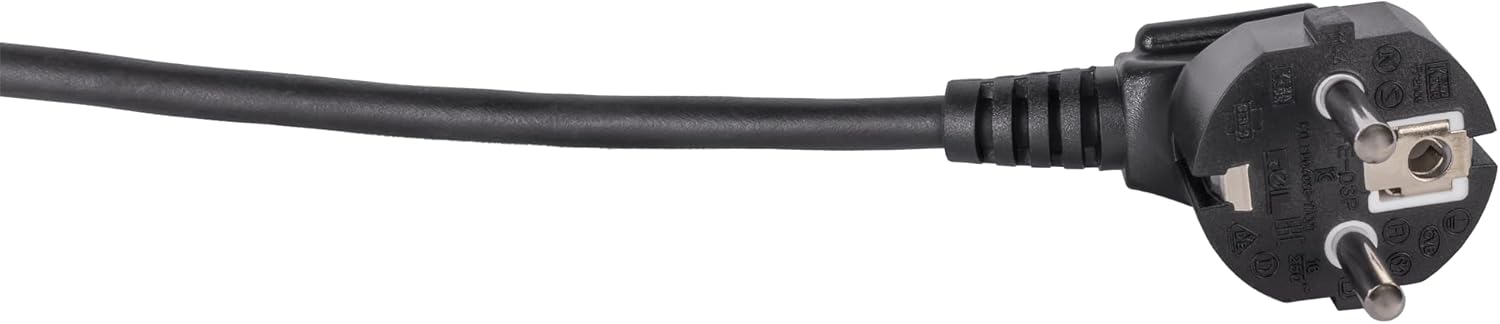
Image: Standard European power plug. Ensure the plug is fully inserted into a grounded outlet.
2. Producto terminadoview
2.1 Componentes
The Steba BM 3 Bread Maker includes the following main components:
- Unidad principal con panel de control y pantalla
- Removable Baking Pan with Non-stick Coating
- Paleta de amasar
- Taza medidora
- Cuchara medidora
- Gancho para retirar la paleta amasadora
- Tapa con Viewventana de ing

Imagen: Frente view of the Steba BM 3 Bread Maker, showing its compact design.
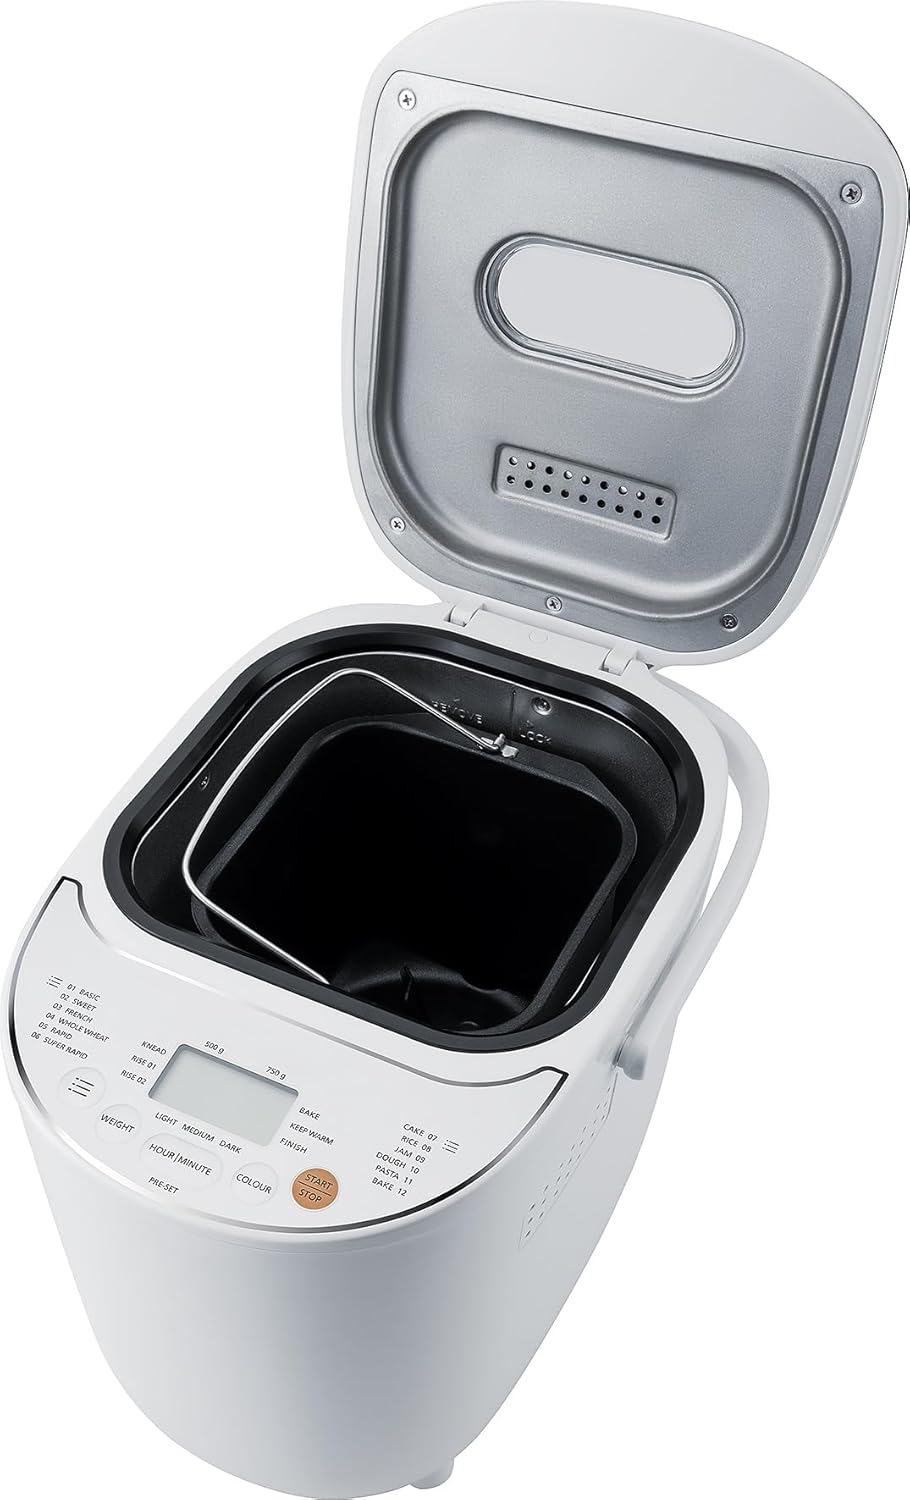
Image: The bread maker with its lid open, revealing the removable baking pan inside.
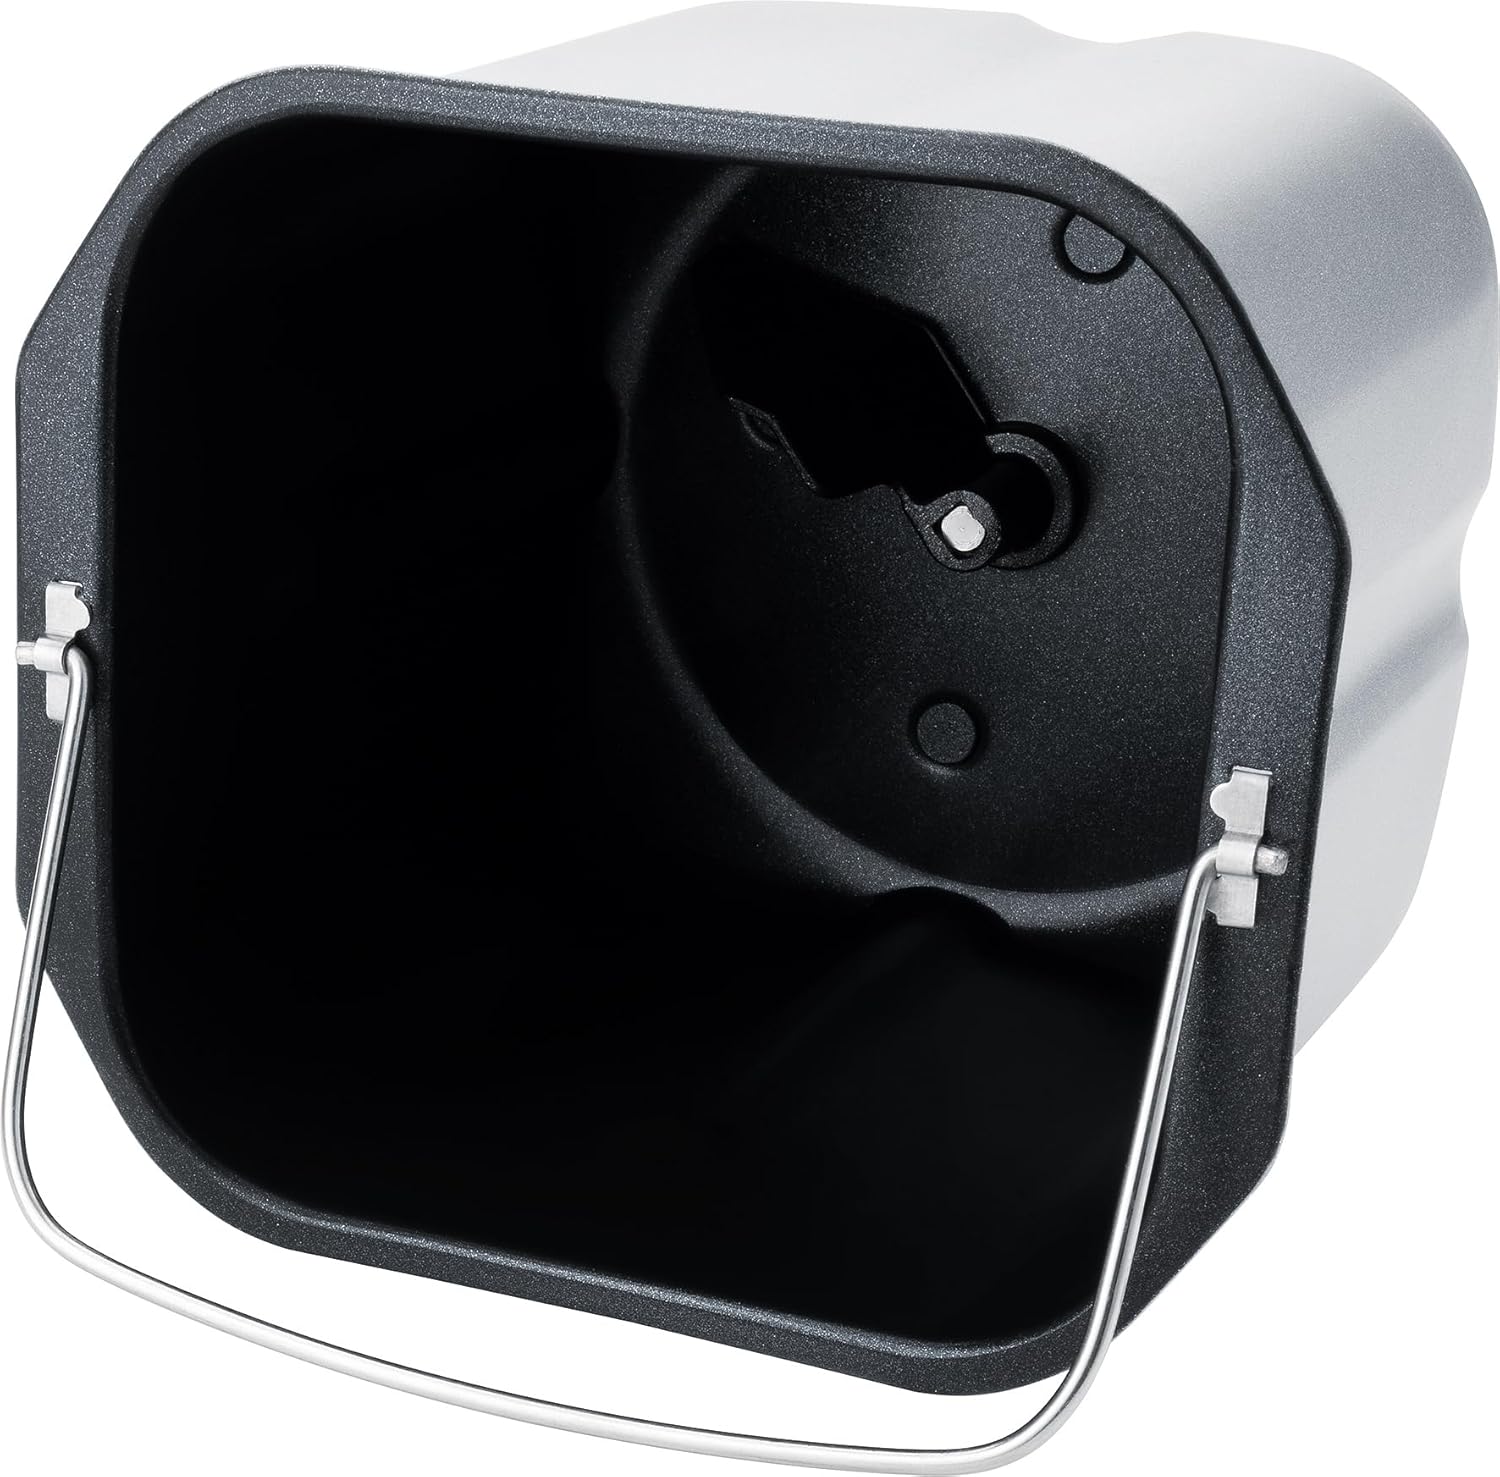
Imagen: Detallada view of the non-stick baking pan with the kneading paddle shaft.

Image: Included accessories: a measuring cup, a double-sided measuring spoon, and a hook for removing the kneading paddle.
2.2 Panel de control y pantalla
The intuitive Touch-Control panel allows for easy program selection and setting adjustments.

Image: Close-up of the control panel, showing the digital display, program list, and control buttons for weight, time, color, and start/stop.
Controles clave:
- Mostrar: Shows selected program, time, and settings.
- Selección de programas: Choose from 12 automatic programs (Basic, Sweet, French, Whole Wheat, Rapid, Super Rapid, Cake, Rice, Jam, Dough, Pasta, Bake).
- Weight Button: Adjust bread weight (500g or 750g).
- Colour Button: Select crust browning level (Light, Medium, Dark).
- Hour/Minute (Pre-set) Buttons: Set delay timer for up to 13 hours.
- Botón de inicio / parada: Initiate or cancel a program.
3. Configuración y primer uso
3.1 Desembalaje
- Retire con cuidado la panificadora y todos los accesorios del embalaje.
- Retire cualquier película o pegatina protectora del aparato.
- Wash the baking pan, kneading paddle, measuring cup, and spoon in warm, soapy water. Rinse thoroughly and dry completely. The main unit should only be wiped with a damp paño.
3.2 Uso inicial
- Place the bread maker on a clean, dry, and stable surface.
- Insert the baking pan into the main unit and twist it clockwise until it locks into place.
- Attach the kneading paddle onto the shaft inside the baking pan.
- For the first use, it is recommended to run a short 'Bake' cycle (Program 12) without ingredients for about 10 minutes to burn off any manufacturing residues. Ensure good ventilation during this process.
- Allow the appliance to cool down completely before cleaning and proceeding with actual baking.
4. Operación
4.1 Pasos básicos para hacer pan
- Añadir ingredientes: Follow a recipe and add liquid ingredients first, then dry ingredients, and finally yeast. Ensure yeast does not come into direct contact with liquids or salt.
- Seleccionar programa: Plug in the bread maker. The default program (usually 'Basic') will appear on the display. Press the 'Program' button repeatedly to cycle through the 12 available programs until your desired program is selected.
- Set Weight: Press the 'Weight' button to choose between 500g or 750g loaf size, if applicable for the selected program.
- Set Crust Colour: Press the 'Colour' button to select Light, Medium, or Dark crust.
- Comience a hornear: Press the 'Start/Stop' button. The bread maker will begin the selected program.
- Terminación: Once the program finishes, the bread maker will beep and automatically switch to a 1-hour 'Keep Warm' function.
- Quitar el pan: Unplug the appliance. Using oven mitts, carefully remove the baking pan by twisting it counter-clockwise and lifting it out. Invert the pan to release the bread onto a wire rack to cool. If the kneading paddle remains in the bread, use the provided hook to remove it.
4.2 Función de temporizador de retardo
The delay timer allows you to set the bread maker to finish baking at a later time, up to 13 hours. This is ideal for fresh bread in the morning.
- Añade todos los ingredientes al molde para hornear.
- Select your desired program, weight, and crust colour.
- Press the 'Hour' and 'Minute' buttons to set the desired delay time. The displayed time includes the baking cycle duration.
- Press 'Start/Stop'. The timer will count down, and the bread maker will start automatically when the delay time expires.
Nota: No utilice el temporizador de retardo con recetas que contengan ingredientes altamente perecederos como leche, huevos o fruta fresca, ya que pueden echarse a perder.

Image: An assortment of various types of freshly baked bread, illustrating the potential output of the bread maker.
5. Mantenimiento y limpieza
Una limpieza y un mantenimiento adecuados garantizan la longevidad y el rendimiento óptimo de su panificadora.
5.1 Limpieza
- Siempre desenchufe el aparato y deje que se enfríe completamente antes de limpiarlo.
- Molde para hornear y paleta para amasar: These parts are non-stick and should be washed by hand with warm, soapy water. Avoid abrasive cleaners or scouring pads that could damage the non-stick coating. Rinse thoroughly and dry completely.
- Unidad principal: Limpie el exterior de la panificadora con un paño suave y seco.amp Paño. No utilice productos químicos agresivos ni sumerja la unidad en agua.
- Tapa: La tapa se puede limpiar con un paño.amp tela. El viewing window can be cleaned with a mild glass cleaner if necessary.
5.2 Almacenamiento
Store the bread maker in a dry, clean place, away from direct sunlight and out of reach of children.
6. Solución de problemas
Si tiene problemas con su panificadora, consulte los siguientes problemas y soluciones comunes:
| Problema | Posible causa | Solución |
|---|---|---|
| El pan no sube | Levadura caducada, temperatura del agua incorrecta, demasiada sal/azúcar, programa incorrecto. | Check yeast expiry, use lukewarm water, ensure correct ingredient ratios, select appropriate program. |
| El pan es demasiado denso | Too much flour, not enough liquid, yeast issue. | Measure ingredients precisely, ensure proper liquid-to-flour ratio, check yeast activity. |
| Paleta de amasar atascada en el pan | Ocurrencia normal. | Utilice el gancho provisto para retirar con cuidado la paleta después de que el pan se haya enfriado un poco. |
| El aparato no arranca | Not plugged in, program not selected, 'Start/Stop' not pressed. | Ensure power connection, select a program, press 'Start/Stop'. |
7. Especificaciones
Technical details for the Steba BM 3 Bread Maker:
- Número de modelo: 188300
- Marca: Esteba
- Volumentage: 230 voltios
- Quétage: 540 vatios
- Capacidad: Hasta 750 gramos
- Dimensiones del producto (Pr x An x Al): 34 cm de profundidad x 27.5 cm de ancho x 24 cm de alto
- Peso del artículo: 4 kilogramos
- Material: Plástico
- Número de programas: 12
- Instrucciones de cuidado: Lavar únicamente a mano (para piezas desmontables)
- Disponibilidad de repuestos en la UE: 2 años

Image: Diagram showing the dimensions of the Steba BM 3 Bread Maker: 34 cm depth, 27.5 cm width, and 24 cm height.
8. Garantía y soporte
For warranty claims, technical support, or service inquiries, please contact your retailer or the manufacturer directly. Keep your proof of purchase for warranty validation.