
1. Información de seguridad
Please read and understand all safety information before operating this digital multimeter. Failure to follow these instructions may result in electric shock, fire, or damage to the device.
- Asegúrese siempre que el multímetro esté configurado en la función y rango correctos antes de realizar cualquier medición.
- No exceda los valores de entrada máximos especificados para cada función.
- Tenga cuidado al trabajar con vol.tages superior a 30 V CA RMS, 42 V pico o 60 V CC, ya que representan un peligro de descarga eléctrica.
- Inspeccione los cables de prueba para detectar daños antes de cada uso. No los utilice si el aislamiento está dañado.
- ADVERTENCIA: Before opening the case for battery or fuse replacement, always remove the test leads from the object being measured and disconnect from any power source to avoid electric shock.
- This device features F0.5A/600V fuse overload protection. Replace fuses only with specified types and ratings.
2. Producto terminadoview
The ANENG AN101 is a portable digital multimeter designed for measuring AC voltage, AC current, DC voltage, DC current, and resistance. It features an easy-to-read LCD display with 1999 counts and supports both automatic and manual ranging for versatile use in various electrical and electronic applications.
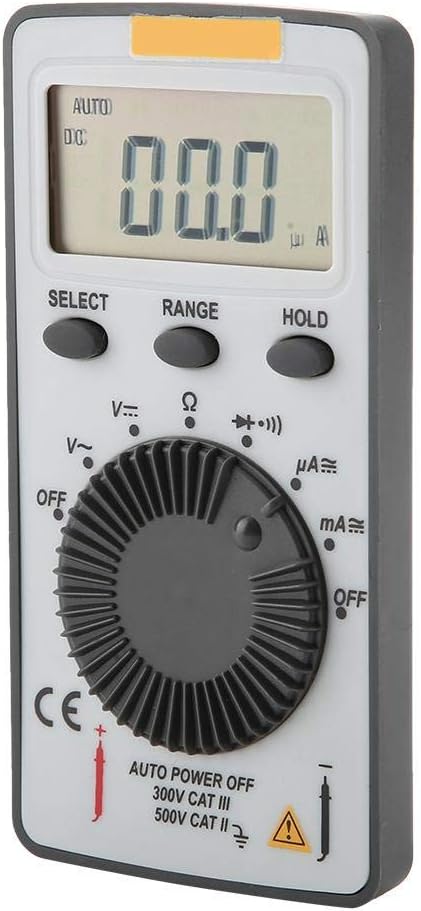
Figura 2.1: Frente view of the ANENG AN101 Digital Multimeter. This image displays the device's LCD screen, the central rotary function dial, and the 'SELECT', 'RANGE', and 'HOLD' buttons.
3. Configuración
3.1 Instalación de la batería
- Asegúrese de que el multímetro esté apagado y desconecte todos los cables de prueba.
- Localice el compartimento de la batería en la parte posterior del dispositivo.
- Utilice un destornillador para abrir la tapa del compartimento de la batería.
- Insert two 3V CR2032 batteries, observing the correct polarity.
- Vuelva a colocar la tapa del compartimiento de la batería y asegúrela con el tornillo.

Figura 3.1: Atrás view of the ANENG AN101 Digital Multimeter. This image shows the battery compartment cover and a safety warning regarding opening the case.
3.2 Conexión de cables de prueba
- Insert the red test lead into the 'VΩmA' input jack.
- Inserte el cable de prueba negro en el conector de entrada “COM”.
- Ensure the connections are firm before proceeding with measurements.
4. Instrucciones de funcionamiento
4.1 Encendido y apagado
Rotate the central dial from 'OFF' to any measurement function to power on the device. To power off, rotate the dial back to 'OFF'. The multimeter also features an auto power-off function to conserve battery life.
4.2 Selección de función
Turn the rotary dial to select the desired measurement function (e.g., DC Voltage (V=), AC Voltage (V~), Resistance (Ω), DC Current (μA=, mA=), AC Current (μA~, mA~)).
4.3 Selección de rango (automático/manual)
The AN101 supports both automatic and manual ranging. In auto-ranging mode, the meter automatically selects the best range for the measurement. Press the 'RANGE' button to switch between auto and manual ranging. In manual mode, press 'RANGE' repeatedly to cycle through available ranges.
4.4 Medición del volumen de CCtage
- Set the rotary dial to 'V='.
- Conecte el cable de prueba rojo al lado positivo del circuito y el cable de prueba negro al lado negativo.
- Leer el vol.tage value on the LCD display. The polarity will be indicated automatically.
4.5 Medición del volumen de CAtage
- Set the rotary dial to 'V~'.
- Conecte los cables de prueba a través del voltaje de CA.tagy fuente.
- Leer el vol.tage valor en la pantalla LCD.
4.6 Medición de corriente CC
- Set the rotary dial to 'μA=' or 'mA=' depending on the expected current.
- ADVERTENCIA: To measure current, the multimeter must be connected in series with the circuit. Do not connect it in parallel across a voltagy fuente.
- Break the circuit and connect the multimeter in series, ensuring the red lead is towards the higher potential and the black lead towards the lower potential.
- Lea el valor actual en la pantalla LCD.
4.7 Medición de corriente alterna
- Set the rotary dial to 'μA~' or 'mA~'.
- ADVERTENCIA: Conecte el multímetro en serie con el circuito.
- Break the circuit and connect the multimeter in series.
- Lea el valor actual en la pantalla LCD.
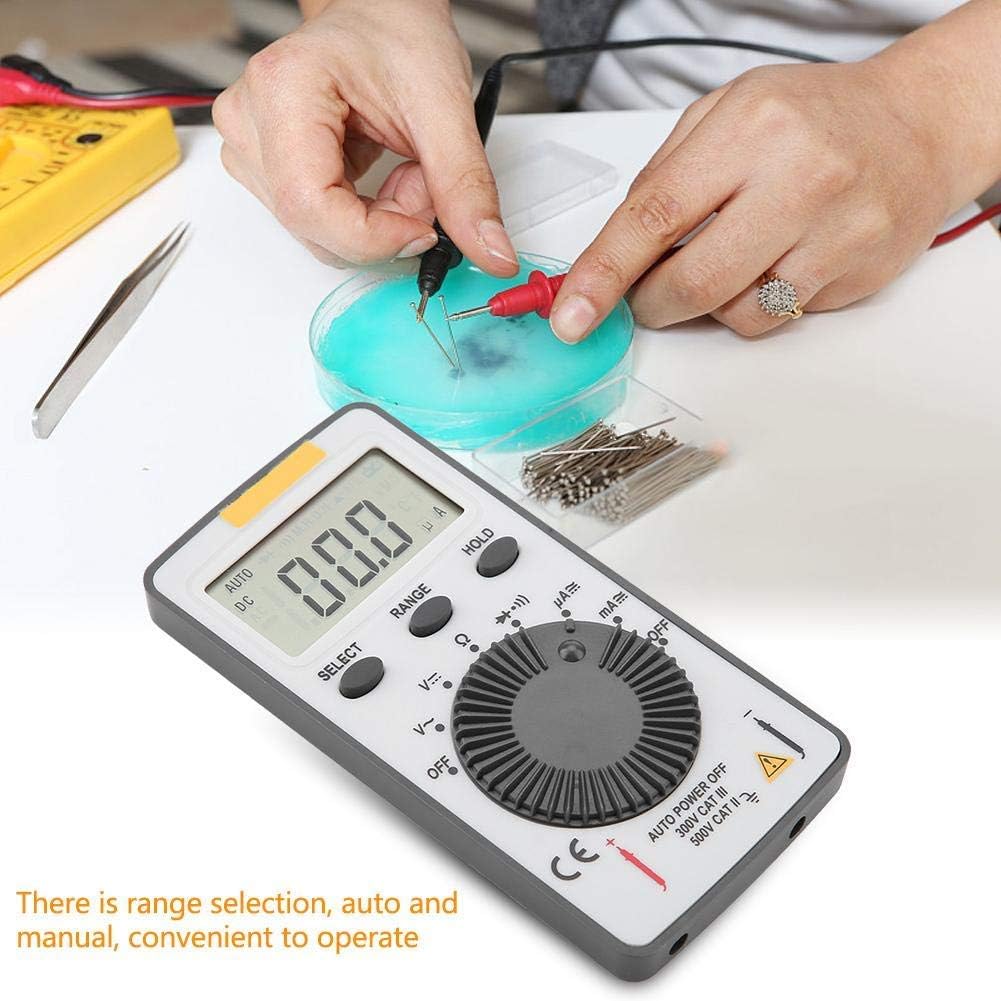
Figure 4.1: The ANENG AN101 Digital Multimeter in use, demonstrating its application for measuring electrical components. The image highlights the ease of operation with auto and manual range selection.
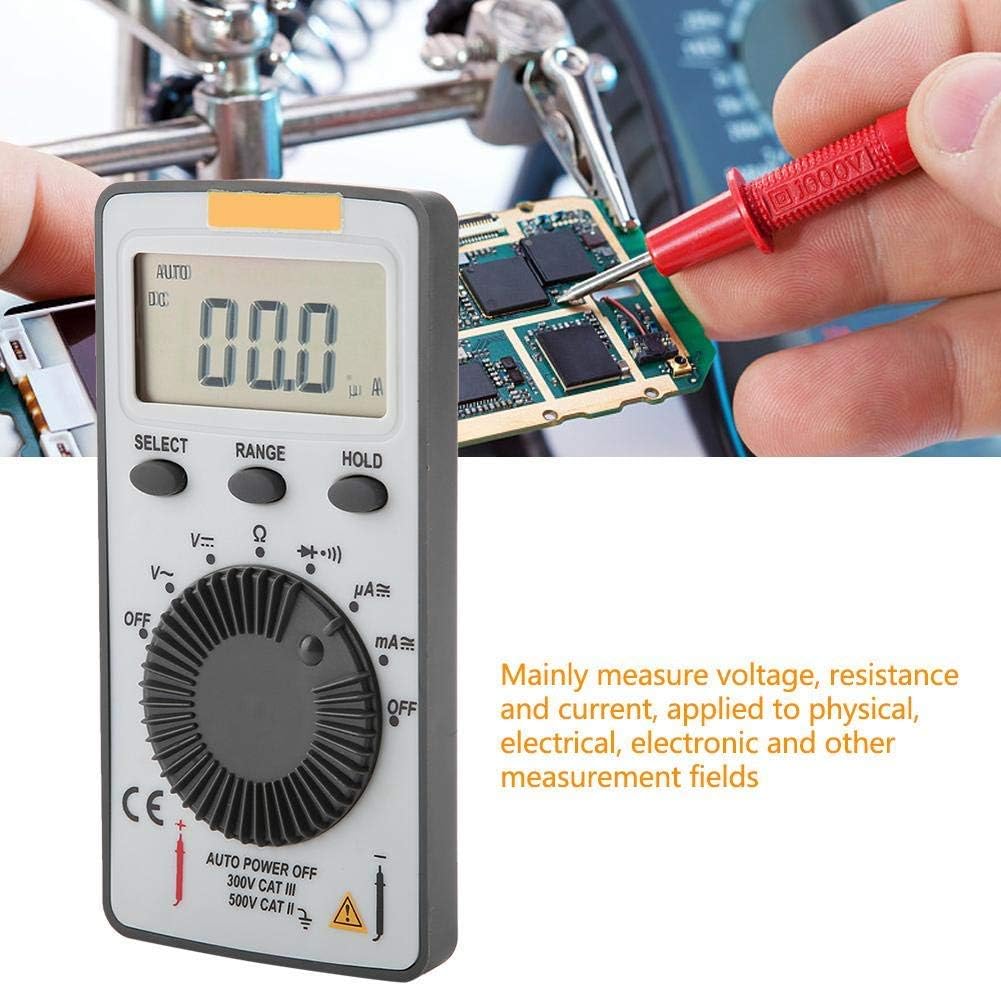
Figure 4.2: The ANENG AN101 Digital Multimeter being used to measure voltage or current on a circuit board. This illustrates its primary function in physical, electrical, and electronic measurement fields.
4.8 Función de retención
Pulse el botón "HOLD" para congelar la lectura actual en la pantalla. Vuelva a pulsarlo para desactivar la función de retención y reanudar las mediciones en tiempo real.
5. Mantenimiento
5.1 Limpieza
Wipe the device with a dry, soft cloth. Do not use abrasive cleaners or solvents. Keep the device free from dust and moisture.
5.2 Reemplazo de batería
When the battery indicator appears on the display, replace the batteries as described in Section 3.1. Always use two new 3V CR2032 batteries.
5.3 Reemplazo de fusibles
If the current measurement functions stop working, the fuse may need replacement. Refer to the safety warnings in Section 1 before attempting to open the case. Replace the fuse only with a F0.5A/600V type.
6. Solución de problemas
- Sin pantalla: Verifique la instalación de la batería y asegúrese de que las baterías no estén agotadas.
- "OL" mostrado: This indicates an over-range condition. Either the measured value exceeds the selected range, or the circuit is open (for resistance/current measurements). Select a higher range or check circuit continuity.
- Lecturas incorrectas: Ensure test leads are properly connected, the correct function and range are selected, and the circuit connections are secure.
- La medición actual no funciona: Compruebe el fusible como se describe en la Sección 5.3.
7. Especificaciones
| Característica | Especificación |
|---|---|
| Marca | ANENG |
| Modelo | AN101 |
| Mostrar | LCD, 1999 cuentas |
| Frecuencia de actualización | 2 veces / segundo |
| Tamaño de la pantalla LCD | 40 * 20 milímetros |
| Indicación de polaridad | Automatic '-' |
| Indicación de sobrerrango | 'OL' |
| Selección de rango | Automático o manual |
| Temperatura de funcionamiento | 0℃ to 40℃, Relative Humidity: <80% RH |
| Temperatura de almacenamiento | -10℃ to 50℃, Relative Humidity: <85% RH |
| Tipo de batería | 2 * 3V, CR2032 size (not included) |
| Vol DCtage Impedancia de entrada | 10 MΩ |
| Vol DCtage Protección de sobrecarga | 600 VCC/CA RMS |
| máx. Volumen CCtage Entrada | 600 V CC |
| DC Current Overload Protection | F0.5A / 600V Fuse |
| Max. DC Current Input | 500 mA |
| AC Current Overload Protection | F0.5A / 600V Fuse |
| Max. AC Current Input | 500 mA |
| AC Current Frequency Range | 40Hz - 400Hz |
| Vol. CAtage Impedancia de entrada | 10 MΩ |
| Vol. CAtage Rango de frecuencia | 40Hz - 400Hz |
| Vol. CAtage Protección de sobrecarga | 600 VCC/CA RMS |
| máx. Vol CAtage Entrada | 600 V CA RMS |
| Peso | Aprox. 102 g/3.6 oz |
| Dimensiones | Approx. 110 * 55 * 10 mm / 4.3 * 2.2 * 0.4 in |
| Contenido del paquete | 1 * Digital Multimeter, 2 * Test Leads |

Figure 7.1: Dimensions of the ANENG AN101 Digital Multimeter, showing its compact size for portability.
8. Garantía y soporte
Para obtener información sobre la garantía y asistencia técnica, consulte la documentación proporcionada al momento de la compra o póngase en contacto con su vendedor. Conserve el recibo de compra como comprobante.