PXN Wireless Controller for Nintendo Switch and PC Instruction Manual
Introducción
Welcome to your new PXN Wireless Controller. This manual provides detailed instructions for setting up, operating, and maintaining your controller. Enjoy an enhanced gaming experience on your Nintendo Switch and PC.
Características principales
NFC/Amiibo Support
The controller includes NFC functionality, allowing you to use Amiibo figures for in-game content and features on compatible Nintendo Switch games.
Image: The PXN Wireless Controller displaying its NFC functionality, surrounded by several Amiibo figures, indicating compatibility.
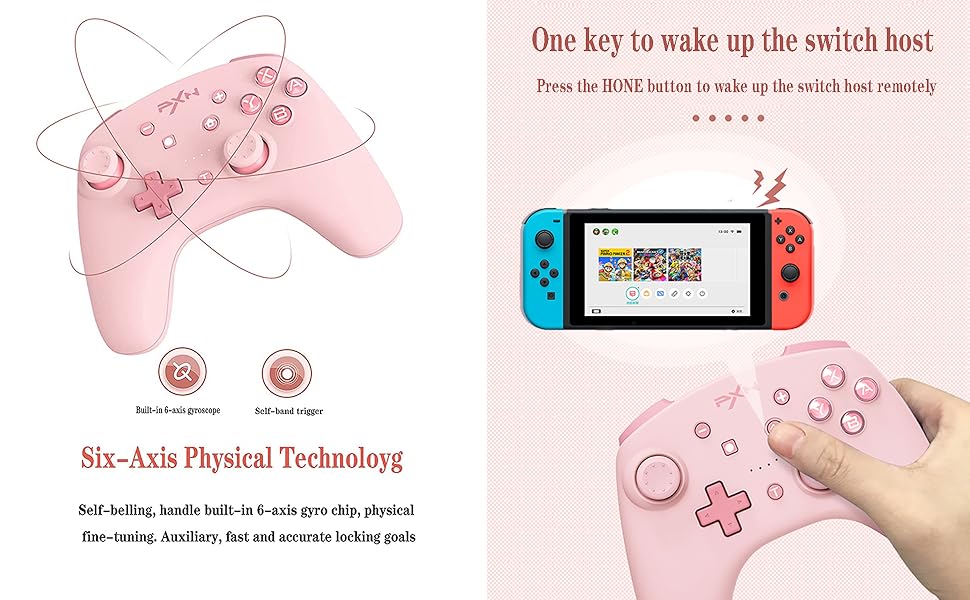
Giroscopio de seis ejes
Experience precise motion control with the built-in 6-axis gyro chip, providing accurate aiming and immersive gameplay.
Image: A visual representation of the controller's 6-axis gyroscope, showing how it detects movement and orientation for enhanced gameplay.
Motores de vibración dual asimétricos
Enjoy adjustable vibration feedback with dual motors, enhancing immersion through various in-game effects like impacts, explosions, and environmental cues. Vibration intensity can be adjusted.
Image: The PXN Wireless Controller with an illustration pointing to the internal asymmetric dual vibration motors, indicating their placement and function.
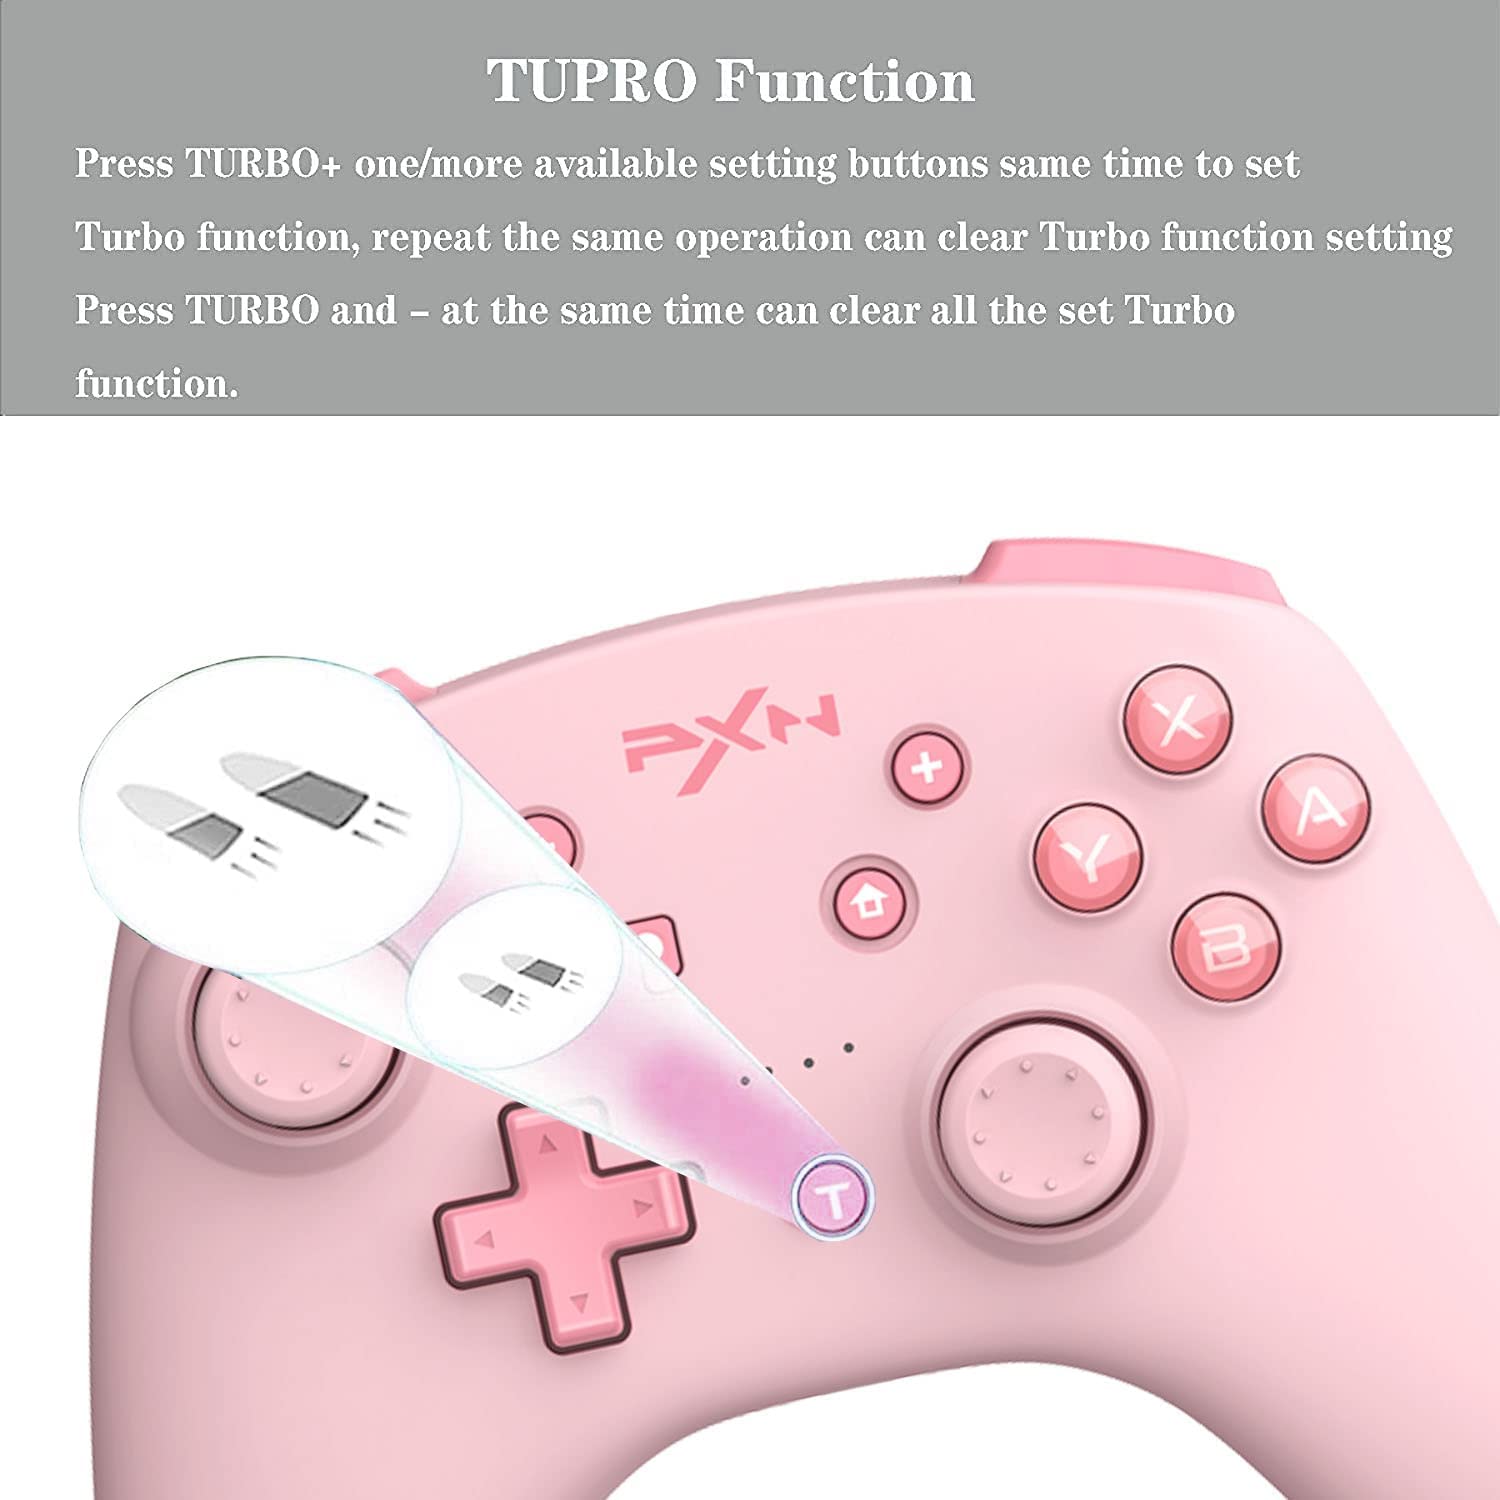
Función Turbo
The Turbo function allows for rapid, repeated button presses, giving you an advantage in games requiring quick inputs.
Image: The PXN Wireless Controller with a magnified view of the 'T' (Turbo) button, illustrating its rapid-fire capability.
Compatibilidad multiplataforma
This controller is compatible with both Nintendo Switch and PC, offering versatile gaming options.
Image: The PXN Wireless Controller positioned between a Nintendo Switch console and a PC monitor, demonstrating its multi-platform compatibility.
Batería de larga duración
Equipped with a high-performance 550 mAh lithium battery, the controller offers approximately 20 hours of continuous use after a 2-hour charge. It also features a smart sleep/wake-up function to conserve power.
Image: The PXN Wireless Controller with an overlay showing battery capacity (550 mAh), charging time (2 hours), and continuous use time (20 hours).
Configuración y conexión
Emparejamiento con Nintendo Switch
Conexión inicial:
On your Nintendo Switch, navigate to the HOME Menu, then select Controladores > Cambiar agarre/orden.
On the PXN controller, press and hold the T botón y el Hogar button simultaneously until the LED indicators begin to flash rapidly.
Once paired, the LED indicators will stop flashing and remain solid on the assigned player number.
Waking the Switch:
Presione el Hogar button on the controller to remotely wake up your Nintendo Switch console from sleep mode.
Image: The PXN Wireless Controller demonstrating its ability to wake up a Nintendo Switch console remotely by pressing the Home button.
Conectando a PC
The controller can be connected to a PC via a Type-C USB cable for a wired connection or wirelessly via Bluetooth. For wireless connection, ensure your PC has Bluetooth capabilities and follow standard Bluetooth pairing procedures in your operating system settings.
Instrucciones de funcionamiento
Usando la función Turbo
Configuración Turbo: Presione el T button and one or more desired action buttons (A, B, X, Y, L, R, ZL, ZR) simultaneously to activate the Turbo function for those buttons.
Clearing Turbo for a specific button: Repita la misma operación (presione T + action button) to deactivate Turbo for that specific button.
Clearing all Turbo settings: Presione el T botón y el - (minus) button simultaneously to clear all active Turbo functions.
NFC Function (Amiibo)
To use Amiibo, simply place your Amiibo figure on the NFC detection area of the controller (typically the center top part) during compatible game sequences. Ensure NFC is enabled in your game settings if required.
Ajuste de la intensidad de la vibración
The controller offers three levels of vibration intensity. Specific button combinations for adjustment are not detailed in the provided information; please refer to your game's settings or the controller's official product page for potential software-based adjustments.
Función de captura de pantalla
Press the dedicated Screenshot button (usually indicated by a camera icon, located near the Home button) to capture screenshots during gameplay on your Nintendo Switch.
Gyro Axis Control
In games that support motion controls, the built-in 6-axis gyroscope will automatically provide responsive control based on the controller's physical movement and orientation.
Mantenimiento
Limpieza: Utilice un paño suave y seco para limpiar el controlador. Evite utilizar productos químicos agresivos, disolventes o materiales abrasivos, ya que pueden dañar la superficie y los componentes internos.
Almacenamiento: Guarde el controlador en un lugar fresco y seco, alejado de la luz solar directa, temperaturas extremas y alta humedad.
Cuidado de la batería: To prolong battery life, avoid fully discharging the controller frequently. Charge it regularly, even if not in constant use, to maintain battery health. Do not attempt to replace the battery yourself.
Solución de problemas
El controlador no se conecta/empareja:
Asegúrese de que el controlador esté suficientemente cargado.
Verify the Nintendo Switch is in the correct pairing mode ("Change Grip/Order").
Try resetting the controller by pressing the T botón y el Hogar button simultaneously until the LEDs flash, then attempt pairing again.
If issues persist, try clearing all setup functions by pressing T y - simultaneously, then re-pair.
Joystick Drift/Unresponsiveness:
This can sometimes be resolved by recalibrating the joysticks through the Nintendo Switch system settings (System Settings > Controllers and Sensors > Calibrate Control Sticks).
Ensure the controller's firmware is up to date by checking the official PXN website for any available updates and instructions.
Botones que no responden:
Asegúrese de que el controlador esté completamente cargado.
Clean around the buttons to ensure no debris is interfering with their movement.
If a specific button feels soft or consistently unresponsive, it may indicate wear. If the product is within its warranty period, contact customer support.
For detailed warranty information, technical support, and customer service, please refer to the official PXN website or contact the retailer from whom you purchased the product. It is recommended to keep your proof of purchase for any warranty claims.
Ask a question about this manual
Ask about setup, troubleshooting, compatibility, parts, safety, or missing instructions. Manuals+ will review the question and use this page’s manual context to help answer it.