1. Introducción
This manual provides comprehensive instructions for the installation, operation, and maintenance of your GROHE Even Flush Plate (Model 38966KF0). This flush plate is designed for use with concealed GD2 cisterns, offering water-saving dual flush or start-and-stop actuation. Please read these instructions carefully before installation and use to ensure proper function and longevity of the product.
2. Información de seguridad
- Asegúrese de que todas las líneas de suministro de agua estén cerradas antes de comenzar la instalación.
- Si no está seguro de algún paso, consulte con un plomero calificado.
- Utilice herramientas adecuadas y use equipo de protección durante la instalación.
- Mantenga las piezas pequeñas fuera del alcance de los niños.
- No utilice limpiadores abrasivos ni solventes en la superficie de la placa de descarga, ya que esto puede dañar el acabado.
3. Contenido del paquete
Verifique que todos los componentes estén presentes antes de comenzar la instalación:
- GROHE Even Flush Plate (Model 38966KF0)
- Marco de montaje
- Actuation rods
- Fastening materials (screws, anchors)
- Plantilla de instalación
4. Configuración e instalación
The GROHE Even Flush Plate is designed for vertical and horizontal installation with a concealed GD2 cistern. Follow these steps for proper installation:
4.1 Preparación
- Ensure the concealed GD2 cistern is already installed and accessible.
- Identify the flush plate opening in the wall.
- Refer to the technical drawing for dimensions and ensure adequate space.

Figura 1: Technical drawing showing the dimensions of the GROHE Even Flush Plate (156mm width, 197mm height, 10-12mm depth).
4.2 Mounting the Frame
- Position the mounting frame into the cistern opening.
- Secure the mounting frame using the provided screws and anchors. Ensure it is level and flush with the wall surface.
4.3 Connecting Actuation Rods
- Attach the actuation rods to the flush mechanism within the cistern. Refer to the cistern's manual for specific connection points.
- Adjust the length of the actuation rods as necessary to ensure proper engagement with the flush plate buttons.
4.4 Installing the Flush Plate
- Carefully align the flush plate with the mounting frame and the actuation rods.
- Press the flush plate firmly into place until it clicks securely onto the mounting frame.
- Test both flush buttons to ensure smooth operation and proper water flow.
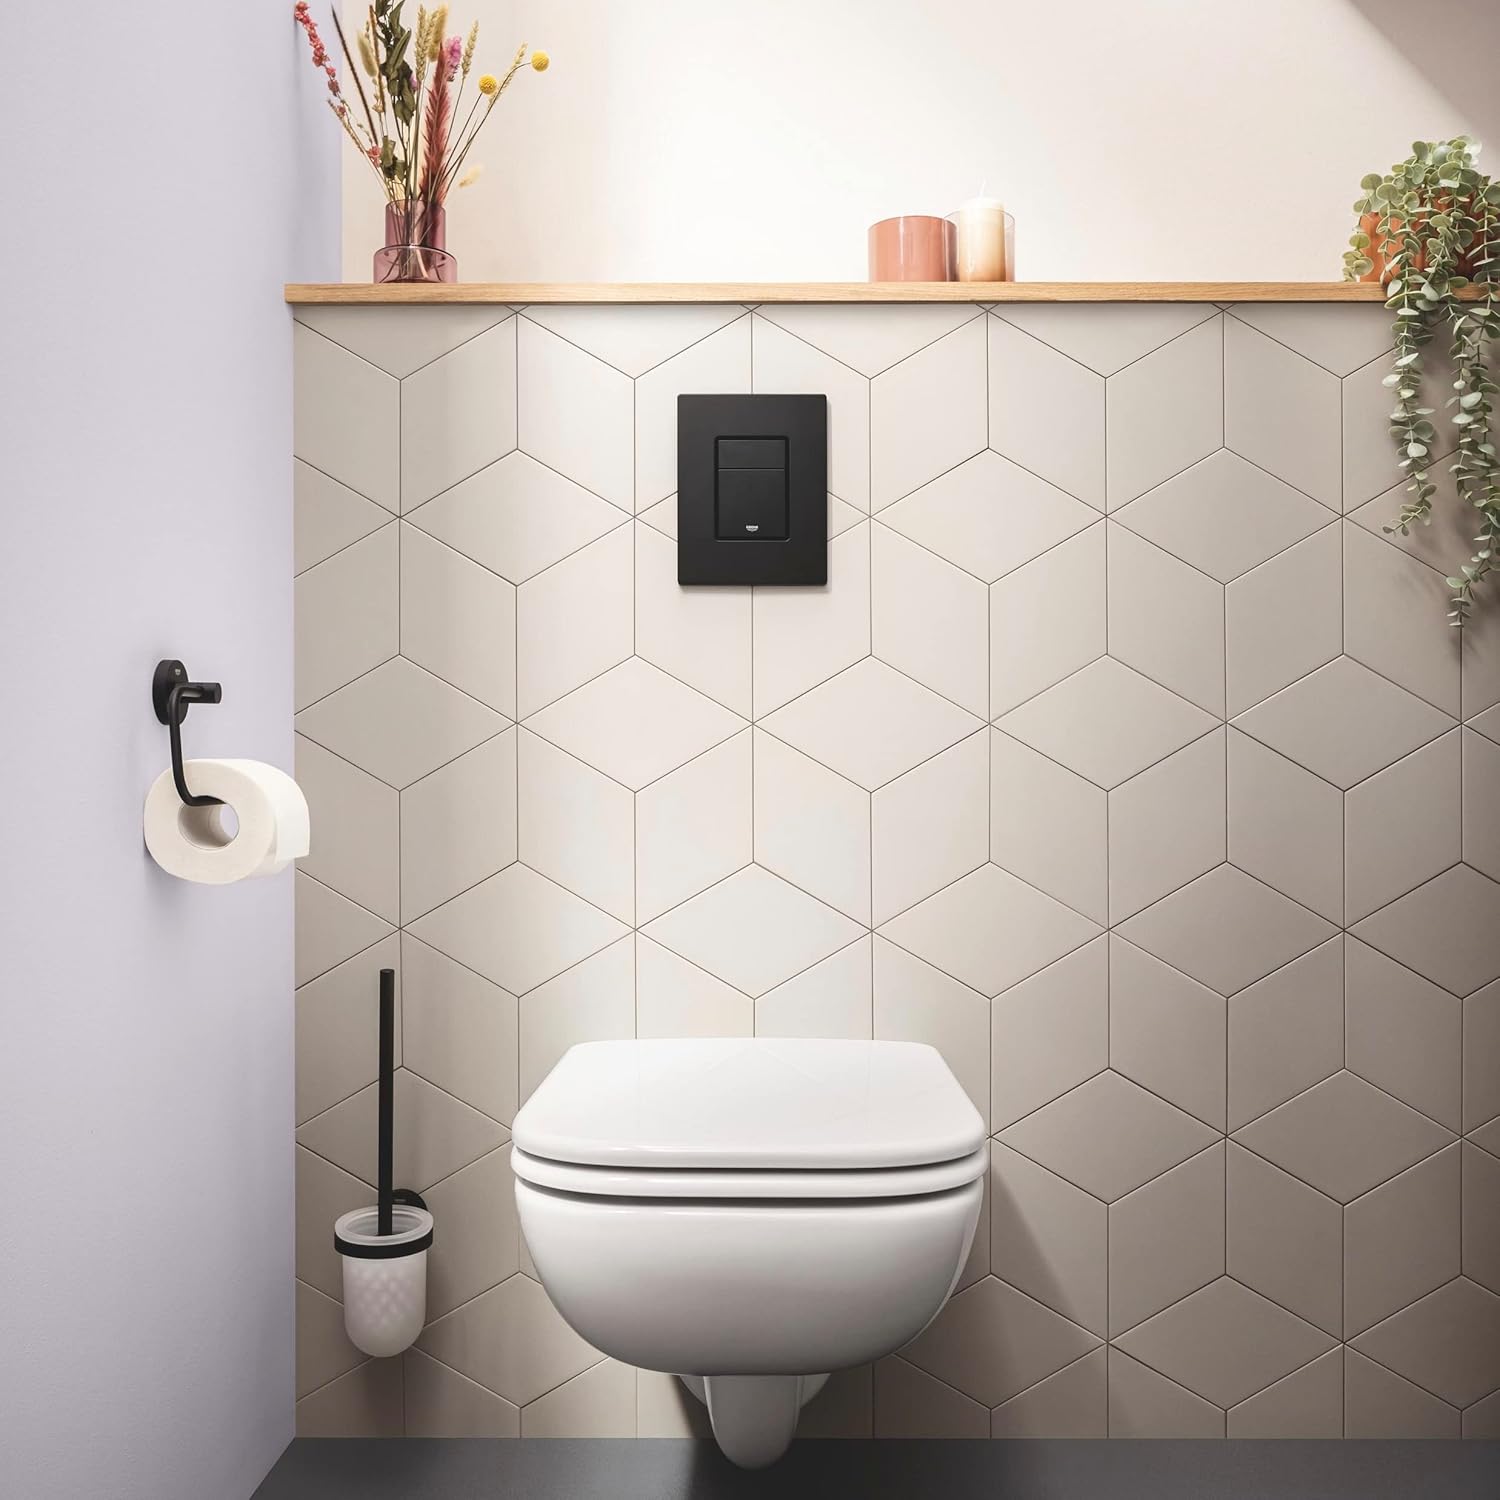
Figura 2: The GROHE Even Flush Plate seamlessly integrated into a bathroom wall above a toilet.
5. Instrucciones de funcionamiento
The GROHE Even Flush Plate offers two primary flushing options: dual flush and start-and-stop actuation.
5.1 Dual Flush Function
The flush plate features two distinct buttons for water-saving flushing:
- Botón pequeño: Activates a reduced flush volume for liquids, conserving water.
- Botón grande: Activates a full flush volume for solids.

Figura 3: The GROHE Even Flush Plate with its two distinct buttons for dual flush operation.
5.2 Start-and-Stop Actuation
For systems configured with start-and-stop actuation, the flush plate operates as follows:
- Press the flush button once to start the water flow.
- Press the same button again to stop the water flow at any desired point, allowing for precise water usage control.
6. Mantenimiento
Regular cleaning and proper care will help maintain the appearance and functionality of your GROHE Even Flush Plate.
6.1 Instrucciones de limpieza
- Clean the flush plate with a soft cloth and mild soap or a non-abrasive bathroom cleaner.
- Enjuague bien con agua limpia y seque con un paño suave para evitar manchas de agua.
- Avoid using abrasive sponges, scouring pads, or cleaners containing alcohol, ammonia, or harsh chemicals, as these can damage the GROHE StarLight finish and anti-fingerprint surface.
6.2 Anti-Fingerprint Surface
The flush plate features an anti-fingerprint surface. To maintain this property, clean gently and avoid harsh rubbing.
7. Solución de problemas
Si tiene problemas con su placa de descarga, consulte los siguientes problemas y soluciones comunes:
| Problema | Posible causa | Solución |
|---|---|---|
| Los botones de descarga están rígidos o no responden. | Actuation rods are misaligned or too long/short. | Remove the flush plate and adjust the length or position of the actuation rods. Ensure they move freely. |
| El agua continúa corriendo después de tirar de la cadena. | Flush mechanism in the cistern is faulty or obstructed. | Inspect the cistern's internal mechanism. Clean any debris or replace faulty components. Consult the cistern's manual. |
| Flush plate does not sit flush with the wall. | Mounting frame is not properly installed or wall surface is uneven. | Re-check the mounting frame installation. Ensure it is level and securely fastened. |
8. Especificaciones
- Modelo: GROHE Even Flush Plate 38966KF0
- Material: Acrilonitrilo butadieno estireno (ABS)
- Color: Fantasma negro
- Tipo de acabado: Polished with GROHE StarLight and anti-fingerprint surface
- Dimensiones (ancho x alto): 156 mm x 197 mm (6.14"W x 6.14"H)
- Tipo de instalación: Atornillar
- Actuación: Dual flush or start & stop actuation for pneumatic drop valve AV1
- Compatibilidad: Concealed GD2 Cisterns
9. Garantía y soporte
GROHE products are manufactured to the highest standards and undergo rigorous quality checks. For warranty information, please refer to the documentation provided with your purchase or visit the official GROHE website. For technical support or replacement parts, please contact GROHE customer service.
Websitio: www.grohe.es


