Introducción
Thank you for choosing the TECASA 32 Inch Workstation Kitchen Sink. This manual provides essential information for the safe and efficient installation, operation, and maintenance of your new kitchen sink. Please read these instructions carefully before beginning installation or use, and retain them for future reference.
Configuración e instalación
The TECASA 32 Inch Workstation Kitchen Sink is designed for undermount installation. Proper installation is crucial for optimal performance and longevity.
Dimensiones y requisitos del gabinete:
- Sink Size: 18" de profundidad x 32" de ancho x 10" de alto
- Internal Bowl Size: 16" D x 30" W x 9-5/8" H
- Tamaño mínimo del gabinete: 34 inches (for proper fit and clearance)

Pasos de instalación:
- Prepare la encimera: If installing into a new countertop without pre-drilled holes, use a hole saw to create openings for the faucet and any other accessories as needed.
- Aplicar sellador: Apply a continuous bead of 100% silicone sealant around the rim of the sink where it will meet the countertop. This creates a waterproof seal.
- Coloque el fregadero: Carefully position the sink into the countertop opening, ensuring it is flush and aligned correctly.
- Secure with Undermount Clips: Use the provided undermount clips to secure the sink to the underside of the countertop. For granite countertops, drill holes and glue in the provided mounting clips, then use bolts to fasten. For wood countertops, use screws to fasten the clips.
- Instalar el conjunto de drenaje: Install the drain assembly into the sink's drain opening. Ensure both an inside and outside rubber gasket are used to create a watertight seal.
- Connect Faucet and Plumbing: Connect your faucet and the rest of the plumbing according to their respective manufacturer's instructions.
Operating Your Workstation Sink
The TECASA Workstation Kitchen Sink is designed to enhance your kitchen tasks with its integrated ledge and versatile accessories.
Key Features and Accessories:
- Spacious Single Bowl: The large 32" L x 18" W x 10" D single bowl provides ample space for washing large pots, pans, and dishes.
- Integrated Ledge: Allows for sliding accessories across the sink, creating a dynamic workspace.
- Wooden Cutting Board: Use for chopping, slicing, and dicing directly over the sink or on the countertop.
- Roll-Up Dish Drying Rack: Ideal for drying dishes, rinsing produce, or as an extension of your countertop space.
- Colador de acero inoxidable: Perfect for washing fruits and vegetables, or draining pasta.
- Dish Grid & Drain Cover: Protects the sink bottom and helps manage drainage.
- Right-Side Drain Design: Maximizes storage space in your cabinet by freeing up central and left-side areas.


Cuidado y mantenimiento
To maintain the brilliance and functionality of your TECASA stainless steel sink, follow these care instructions:
Limpieza diaria:
- Clean the sink with warm soapy water immediately after use.
- Limpie las superficies con un paño suave.
- For stains, gently spot-clean the surface with a dampened sponge or cloth and baking soda, rubbing along the brushed grain direction.
- Rinse completely with water after applying cleaner, and dry any overspray that lands on nearby surfaces.
Additional Features for Easy Maintenance:
- Esquinas redondeadas: Prevent debris build-up, making cleaning easier.
- X-Shape Sloped Bottom and Channel Grooves: Thoughtfully designed for efficient drainage, preventing water from pooling.
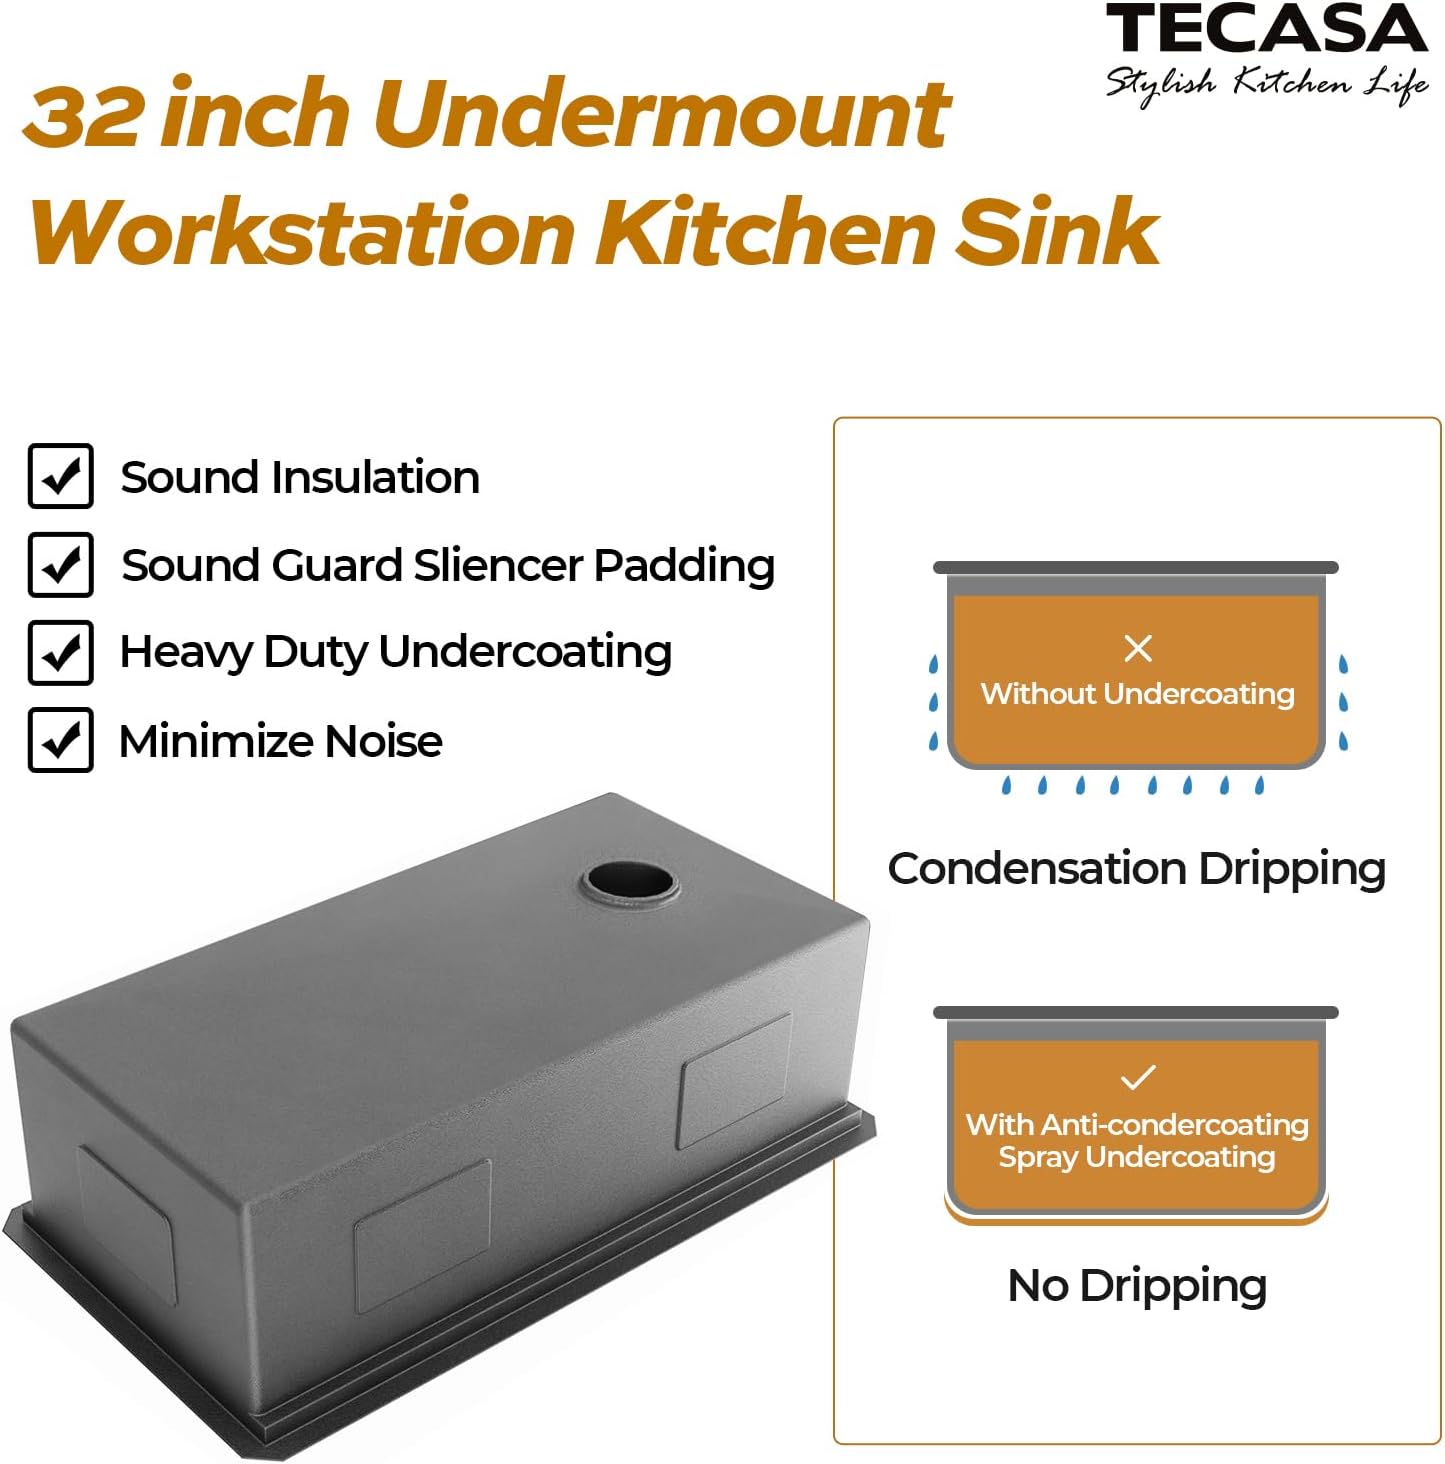
- Tecnología de reducción de ruido: Features 0.1 inch sound guard undercoating and thick rubber padding for ultra-quiet operation. Anti-condensation thickening noise reduction coating absorbs sound and isolates condensate.

Solución de problemas
This section addresses common issues you might encounter with your TECASA kitchen sink. For more complex problems, please contact customer support.
- Acumulación de agua: Ensure the sink is installed level. The X-shape sloped bottom is designed for efficient drainage; if water still pools, check for obstructions in the drain or proper installation of the drain assembly.
- Ruido excesivo: The sink features sound-dampening technology. If you experience unusual noise, verify that the sound pads and undercoating are intact and that the sink is securely mounted.
- Arañazos: Stainless steel can scratch. Use the provided dish grid to protect the bottom of the sink from heavy pots and pans. Avoid abrasive cleaners or scrubbers.
- Manchas: Refer to the "Daily Cleaning" instructions. For stubborn stains, a paste of baking soda and water can be effective, always rubbing with the grain.
Especificaciones del producto
| Característica | Detalle |
|---|---|
| Marca | TECASA |
| Número de modelo | YC-S-TKSPWW131A-Y01 |
| Color | Acero inoxidable |
| Material | Acero inoxidable |
| Dimensiones del producto (Pr. x An. x Al.) | 18" de profundidad x 32" de ancho x 10" de alto |
| Estilo | 32" x 18" Workstation Sink |
| Tipo de instalación | debajo del montaje |
| Tipo de acabado | Cepillado |
| Forma | Rectangular |
| Tipo de drenaje | Red |
| Peso del artículo | 22.9 libras |
| Ancho de la base | 32 pulgadas |
| Recuento de hoyos | 1 |
| Componentes incluidos | Dish grid x 1, Drain assembly x 1, Sink x 1, Strainer x 1, Wooden cutting board x 1, Roll-up dish drying rack x 1, Stainless steel colander x 1 |
Información de garantía
TECASA products are crafted for long-lasting durability and quality. For specific warranty details regarding your 32 Inch Workstation Kitchen Sink, please refer to the warranty card included with your purchase or contact TECASA customer support directly.
Atención al cliente
Should you have any questions, require assistance with installation, or need to report an issue, please contact TECASA customer support. You can typically find contact information on the product packaging, the official TECASA websitio, o a través de su minorista.
Para obtener recursos adicionales e información sobre el producto, visite el TECASA Store on Amazon.