1. Introducción
Thank you for choosing the Speaka Professional SP-TMS-200 Monitor Stand. This manual provides essential information for the safe and efficient installation, operation, and maintenance of your monitor stand. Please read these instructions carefully before assembly and retain them for future reference.
Información de seguridad
- Asegúrese de que todos los componentes estén presentes y sin daños antes del montaje.
- Do not exceed the maximum weight capacity or screen size specified for this stand.
- Utilice siempre herramientas adecuadas y siga los pasos de montaje con precisión.
- Mantenga alejados a los niños y las mascotas durante el montaje.
- If you encounter any difficulties, consult a qualified professional.
2. Características del producto
The Speaka Professional SP-TMS-200 Monitor Stand offers enhanced ergonomics and organization for your workspace. Key features include:
- 10 Height Adjustments: Lograr un resultado óptimo viewing height for improved comfort.
- 360° Rotatable VESA Plate: Allows for flexible screen orientation (landscape or portrait).
- Ajuste sin herramientas: Easily modify settings without additional tools.
- Almohadillas de silicona antideslizantes: Provides enhanced stability and protects your desk surface.
- Clip para cable: Organizes cables for a tidy and professional appearance.
3. Contenido del paquete
Please verify that all parts are included in your package. Refer to the product packaging for a detailed list of components and hardware.

Imagen 1: Frente view of the Speaka Professional SP-TMS-200 Monitor Stand, showing the base, adjustable pole, and VESA mounting plate.
4. Instrucciones de configuración
Follow these general steps to assemble your monitor stand. Specific hardware and detailed steps may vary; always refer to the included assembly guide for precise instructions.
- Desempaquetar componentes: Retire con cuidado todas las piezas del embalaje y colóquelas sobre una superficie limpia y plana.
- Adjuntar base: Secure the vertical pole to the base using the provided screws and tools. Ensure it is firmly tightened.
- Mount VESA Plate: Attach the VESA mounting plate to the back of your monitor using the appropriate screws for your display. Ensure the screws are not overtightened.
- Instalar Monitor: Carefully slide the monitor (with the attached VESA plate) onto the top of the vertical pole. Secure it in place according to the stand's design, typically with a locking screw or mechanism.
- Sistema de organización de cables: Route your monitor cables through the integrated cable clip on the stand's pole for a neat setup.

Imagen 2: En ángulo view of the monitor stand, highlighting the height adjustment markings on the vertical pole.
5. Instrucciones de funcionamiento
Once assembled, the monitor stand allows for various adjustments to optimize your viewExperiencia de aprendizaje.
Ajuste de altura
The stand features 10 height settings. To adjust the height, loosen the locking mechanism on the vertical pole, slide the monitor to your desired height, and then securely tighten the locking mechanism. Ensure the monitor is stable after adjustment.
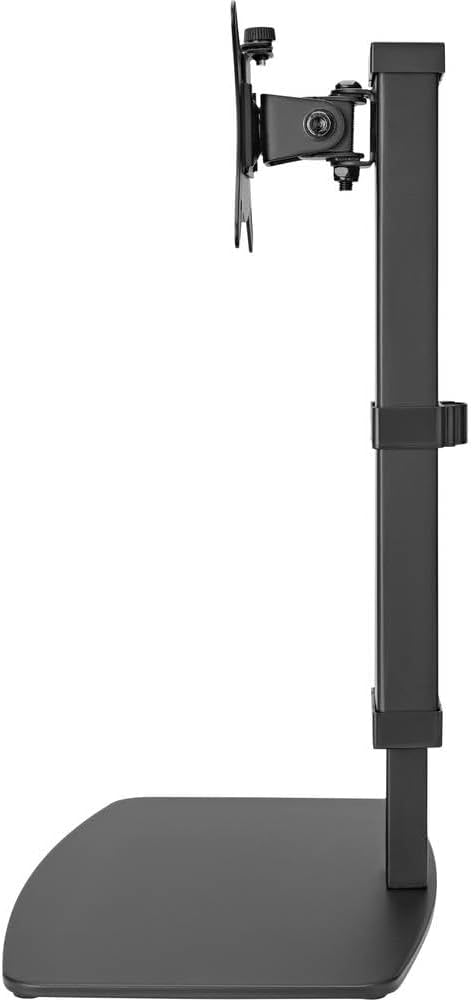
Imagen 3: Lateral view of the monitor stand, illustrating the range of height adjustment possible with the vertical pole.
Tilt and Swivel Adjustment
The VESA plate allows for tilting and swiveling your monitor. Gently adjust the monitor to your preferred angle. The 360° rotation feature enables easy switching between landscape and portrait orientations.
Gestión de cables
Utilize the integrated cable clip on the rear of the stand's pole to route and secure your monitor and power cables. This helps maintain a clean and organized workspace.
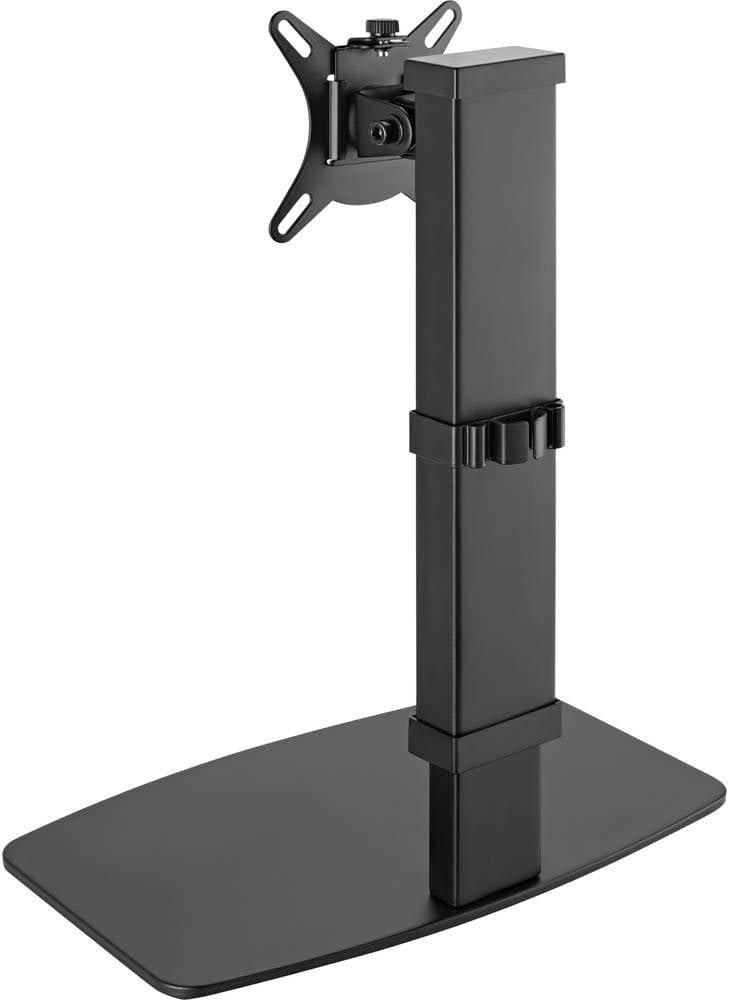
Imagen 4: Trasera view of the monitor stand, showing the cable management clip on the vertical pole.
6. Mantenimiento
El mantenimiento regular garantiza la longevidad y el rendimiento óptimo de su soporte de monitor.
- Limpieza: Limpie el soporte con un paño suave y seco. Para manchas difíciles, utilice un paño ligeramente seco.amp Se puede usar un paño con jabón suave y secarlo. Evite limpiadores abrasivos o disolventes.
- Inspecciones: Revise periódicamente todos los tornillos y conexiones para asegurarse de que estén bien apretados. Vuelva a apretarlos si es necesario.
- Movimiento: Ensure the height adjustment mechanism moves smoothly. Do not force any adjustments.
7. Solución de problemas
If you encounter issues with your monitor stand, consider the following common solutions:
- El soporte es inestable: Ensure all assembly screws are securely tightened. Verify the monitor's weight and size are within the stand's specifications. Check that the anti-slip pads on the base are intact and making full contact with the surface.
- Dificultad para ajustar la altura: Ensure the height locking mechanism is fully disengaged before attempting to adjust. Do not apply excessive force. Check for any obstructions.
- Monitor not level: Check that the VESA plate is securely attached to both the monitor and the stand. Adjust the tilt mechanism if necessary.
Si los problemas persisten, comuníquese con el servicio de atención al cliente.
8. Especificaciones
| Marca | Speaka Profesional |
| Número de modelo | SP-10092880 |
| Dispositivos compatibles | Monitors (17" to 32") |
| Ajuste de altura | 10 configuraciones |
| VESA Plate Rotation | 360° |
| Color | Various (typically black) |
9. Garantía y soporte
This Speaka Professional product comes with a 1 año de garantía for spare parts, as per the manufacturer's terms.
For technical support, warranty claims, or further assistance, please refer to the contact information provided with your purchase or visit the official Speaka Professional websitio.