
COTLIN HX-160BR
COTLIN 24-Inch Built-in Outdoor Refrigerator User Manual
Model: HX-160BR
1. Introducción
This manual provides essential information for the safe and efficient operation of your COTLIN 24-inch Built-in Outdoor Refrigerator. Please read all instructions carefully before installation and use, and retain this manual for future reference.
2. Información de seguridad
Su seguridad y la seguridad de los demás son muy importantes. Hemos incluido muchos mensajes de seguridad importantes en este manual y en su electrodoméstico. Lea y respete siempre todos los mensajes de seguridad.
- Seguridad eléctrica: Asegúrese de que el aparato esté conectado a una toma de corriente con conexión a tierra. No utilice cables alargadores.
- Refrigerante inflamable: Este aparato utiliza refrigerante R600a, que es inflamable. Manéjelo con cuidado y asegúrese de que haya una ventilación adecuada.
- Ventilación: Do not block any ventilation openings on the appliance or in the built-in structure.
- Seguridad de los niños: Supervise a los niños para asegurarse de que no jueguen con el aparato.
- Desecho: Dispose of the appliance according to local regulations for flammable refrigerants.
3. Configuración e instalación
3.1 Desembalaje
Carefully remove all packaging materials, including foam and adhesive tape. Inspect the refrigerator for any shipping damage. Keep packaging materials away from children.
3.2 Colocación
This refrigerator is designed for both built-in under-counter and freestanding applications, suitable for indoor or outdoor use. Ensure the installation location has adequate ventilation and is protected from direct sunlight and extreme weather conditions.

Image: The refrigerator integrated into an outdoor kitchen counter, demonstrating its suitability for outdoor environments.
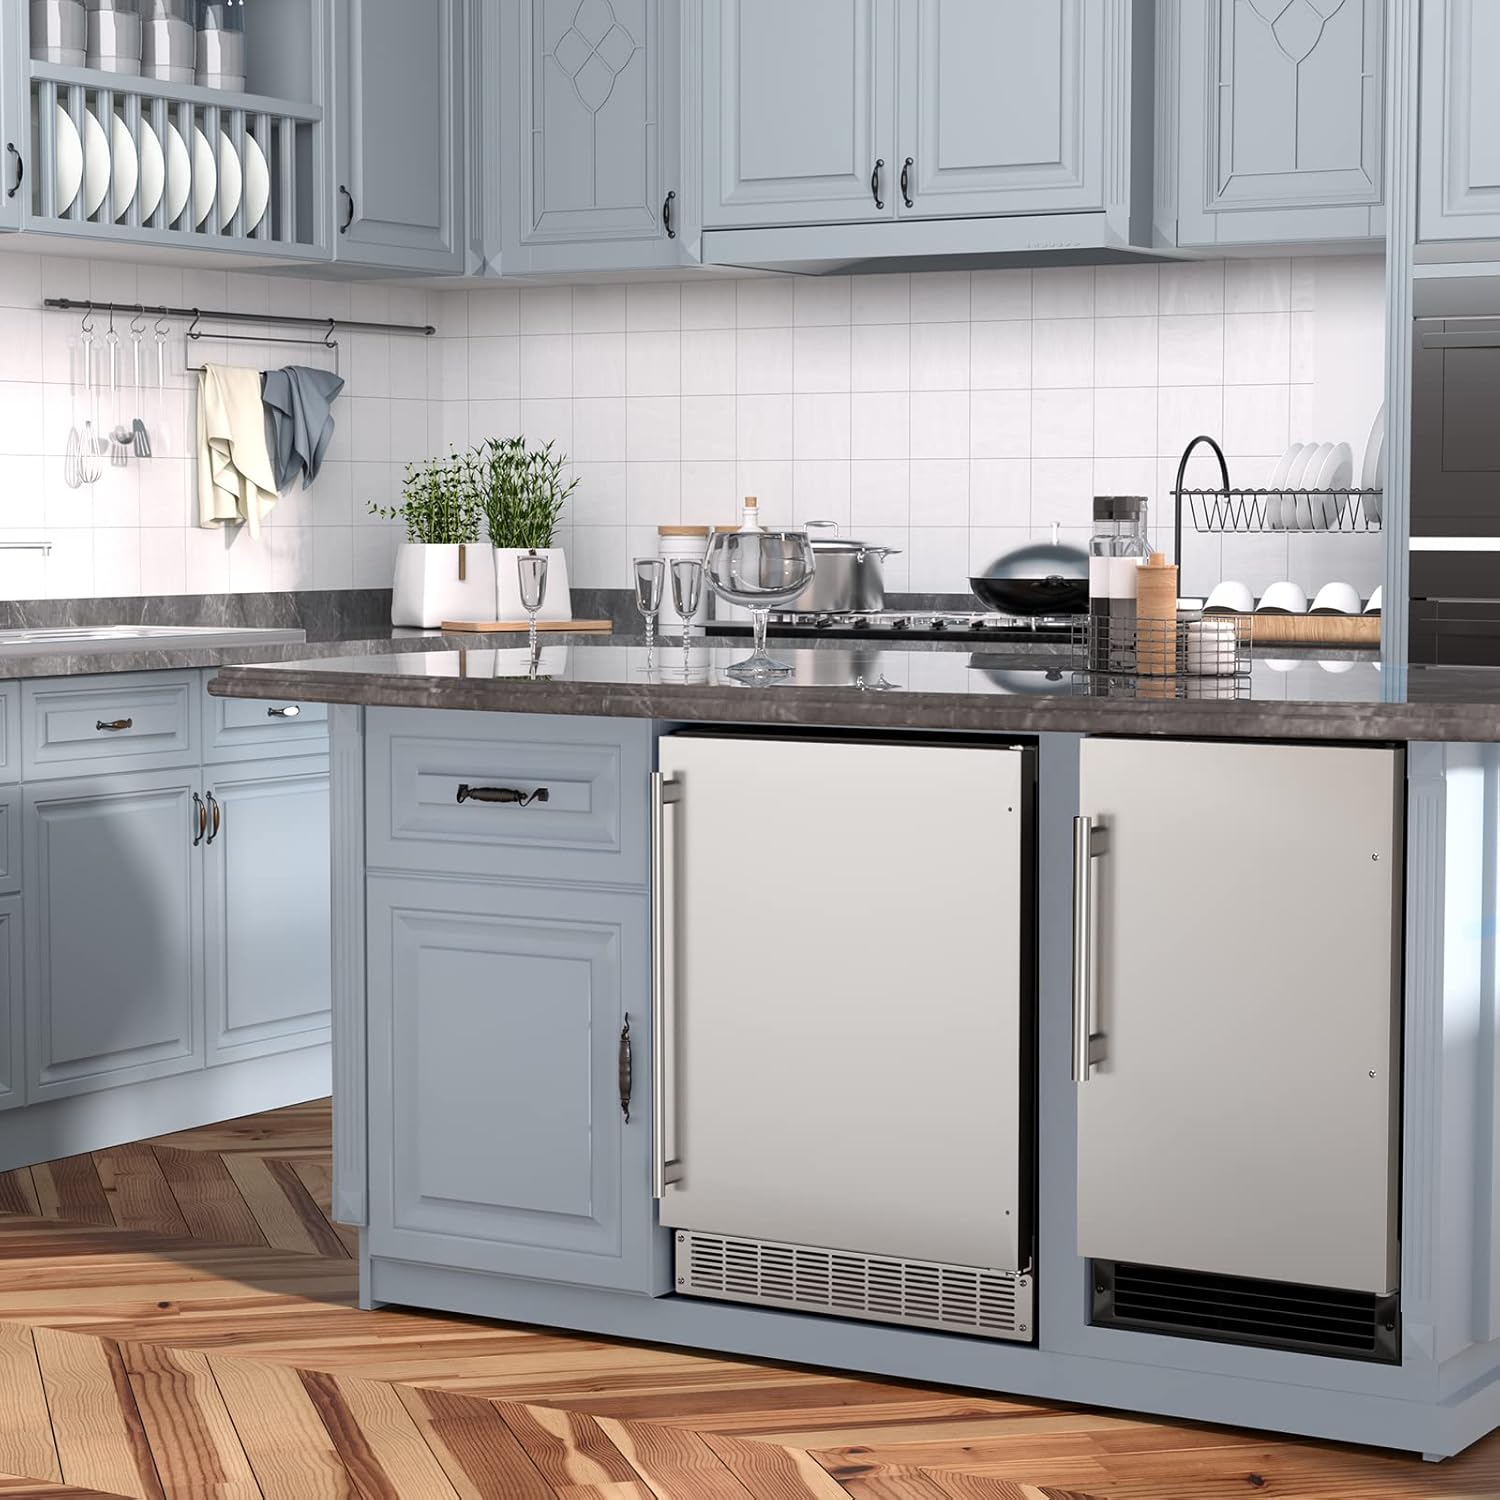
Image: The refrigerator seamlessly installed under an indoor kitchen counter, highlighting its versatility for indoor use.
For built-in installation, ensure the cutout dimensions are 24 inches (W) x 24 inches (D) x 34.6 inches (H). Allow sufficient clearance for proper ventilation, especially at the front vent.

Image: A diagram illustrating the required cutout dimensions for built-in installation, including clearances for the back and sides.
3.3 Conexión eléctrica
Connect the refrigerator to a dedicated 115V AC, 60Hz, 15A grounded electrical outlet. Do not use a two-prong adapter or an extension cord. If the power cord is damaged, it must be replaced by a qualified service technician.
3.4 Inversión de puertas
The door and hinge are reversible, allowing you to choose between left or right-hand opening. Refer to the detailed instructions in the separate door reversal guide (if provided) or contact customer support for assistance. This process typically involves removing the top hinge, transferring the door, and reattaching hinges on the opposite side.
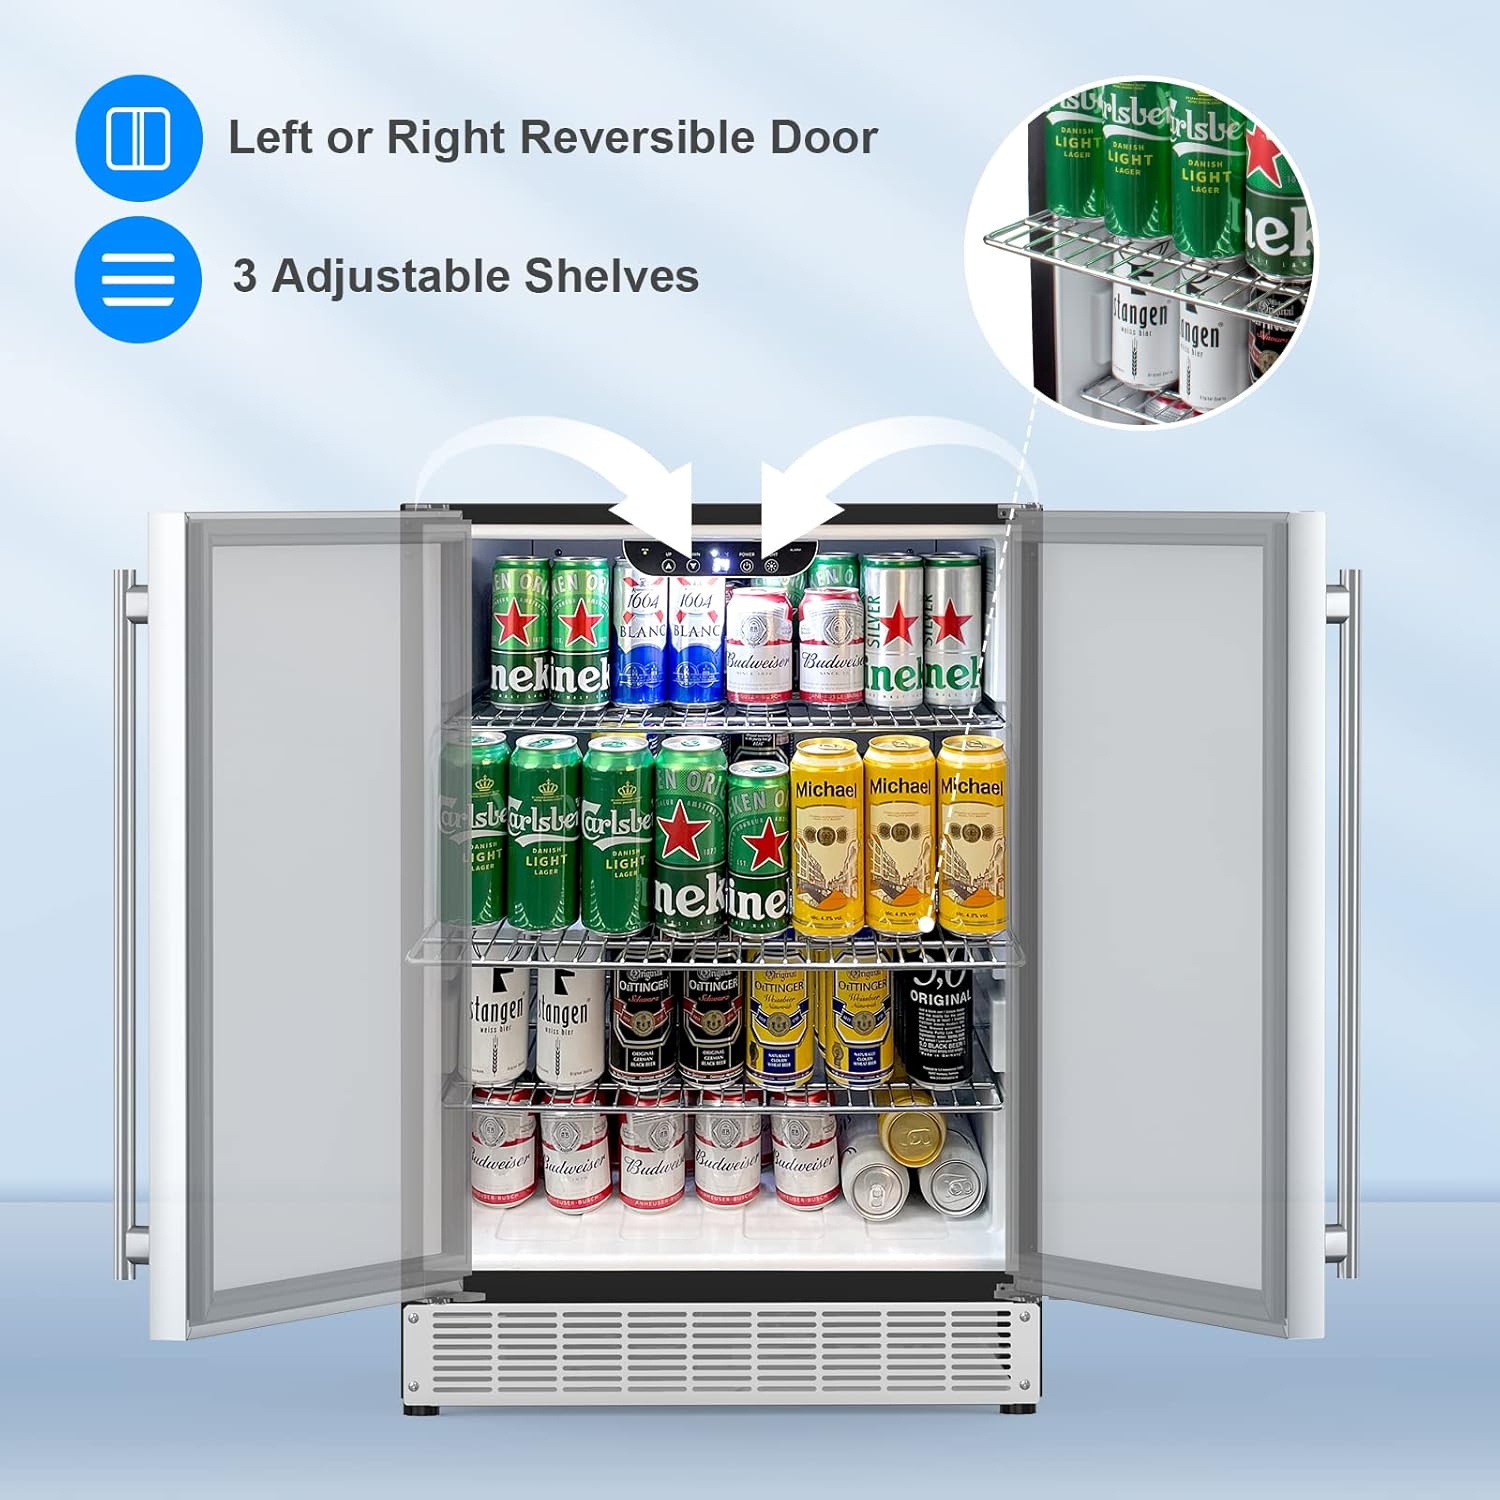
Image: The refrigerator interior with arrows demonstrating the reversible door feature and the flexibility of adjustable shelves.
3.5 Instalación de estantes
Your refrigerator comes with 3 adjustable wire shelves. These can be positioned at various heights to accommodate different sizes of beverages and food items. To adjust, simply lift the shelf, pull it out, and reinsert it into the desired slots.

Image: The refrigerator interior displaying various configurations of adjustable shelves to fit different beverage sizes.
4. Instrucciones de funcionamiento
4.1 Arranque inicial
After installation, allow the refrigerator to stand upright for at least 2-4 hours before plugging it in. This allows the refrigerant to settle. Once plugged in, let the unit run for several hours to reach its set temperature before loading it with items.
4.2 Control de temperatura
The refrigerator features a digital temperature display and controls located inside the unit. The temperature range is adjustable from 34°F to 65°F (1°C to 18°C). Use the "UP" and "DOWN" buttons to set your desired temperature. The display will show the current internal temperature.
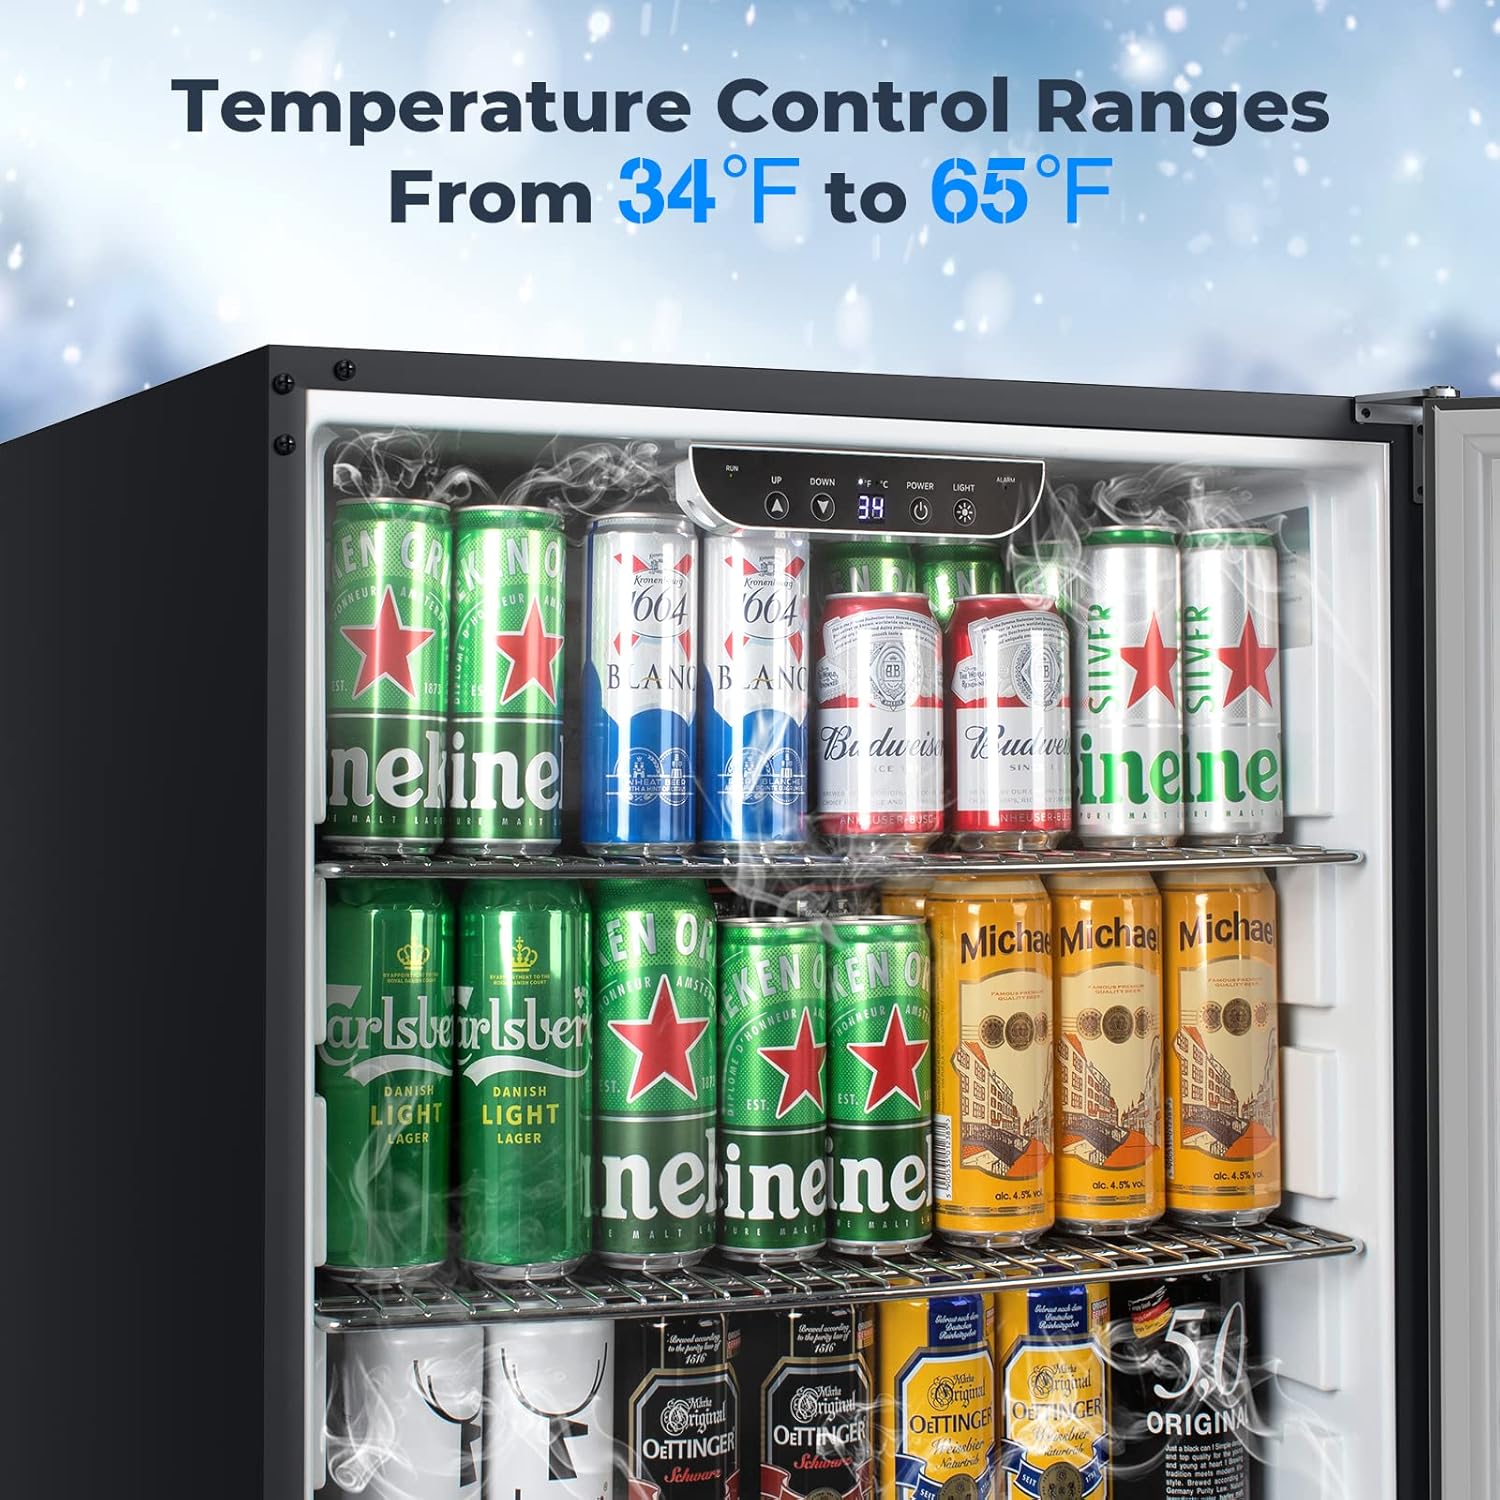
Imagen: Un detalle view of the internal digital control panel, showing temperature display and adjustment buttons.
4.3 iluminación LED
The interior LED lighting automatically turns on when the door is opened, providing clear visibility of contents. There may also be a manual light control button on the panel.
4.4 Capacidad de carga
The 5.4 Cu.Ft capacity can hold up to 175 standard 12 oz cans. Arrange items to allow for proper air circulation, which helps maintain consistent temperatures.

Image: The refrigerator interior fully stocked with various beverage cans, demonstrating its large storage capacity.
5. Mantenimiento
5.1 Descongelación automática
This appliance features an automatic defrost system, which minimizes ice buildup. During the defrost cycle, frost on the evaporator will melt and drain into a drip tray, where it evaporates. This reduces the need for manual defrosting.
5.2 Limpieza
- Interior: Clean the interior regularly with a mild detergent and warm water. Avoid abrasive cleaners or harsh chemicals. Remove shelves and clean them separately.
- Exterior: Wipe the stainless steel exterior with a soft cloth and a stainless steel cleaner. Do not use abrasive pads.
- Junta de la puerta: Limpie la junta de la puerta periódicamente para garantizar un sellado hermético.
- Bobinas del condensador: Periodically clean the condenser coils located behind the front grille to ensure efficient operation. Unplug the unit before cleaning.
6. Solución de problemas
Antes de ponerse en contacto con el servicio de atención al cliente, consulte la siguiente guía de solución de problemas para problemas comunes:
| Problema | Posible causa | Solución |
|---|---|---|
| El refrigerador no funciona. | No hay energía, se disparó el disyuntor, cable de alimentación suelto. | Verifique la fuente de alimentación, reinicie el disyuntor y asegúrese de que el cable esté bien enchufado. |
| La temperatura no es lo suficientemente fría. | Door not closed properly, excessive door openings, high ambient temperature, blocked air vents, temperature setting too high. | Ensure door is sealed, reduce door openings, move unit to cooler location if possible, clear vents, lower temperature setting. |
| La unidad es ruidosa. | Unit not level, vibrating against wall, normal compressor operation. | Adjust leveling feet, ensure clearance from walls, some noise from compressor is normal. |
| Agua en el suelo. | Tubo de drenaje obstruido o desalojado. | Clear drain tube, ensure it is correctly positioned in the drip tray. |
7. Especificaciones
| Característica | Detalle |
|---|---|
| Número de modelo | HX-160BR |
| Capacidad | 5.4 Cubic Feet (approx. 175 x 12 oz cans) |
| Dimensiones (D x W x H) | 23.4" de profundidad x 23.6" de ancho x 33.6" de alto |
| Dimensiones del recorte (An x Pr x Al) | 24" de ancho x 24" de profundidad x 34.6" de alto |
| Peso | 88 libras |
| Rango de temperatura | 34 °F a 65 °F (1 °C a 18 °C) |
| Volumentage | 115 voltios (CA) |
| Sistema de descongelación | Automático |
| Estantes | 3, Adjustable Wire |
| Orientación de la puerta | Reversible |
| Material | Acero inoxidable |
| Certificaciones | ETL, Departamento de Energía |

Image: A diagram illustrating the overall dimensions of the refrigerator, including height, width, and depth.
8. Garantía y soporte
Garantía: This product comes with a 1-year warranty from the date of purchase. This warranty covers manufacturing defects and malfunctions under normal use. Please retain your proof of purchase for warranty claims.
Atención al cliente: For technical assistance, warranty claims, or any questions regarding your COTLIN refrigerator, please contact our customer support team. Refer to your purchase documentation or the manufacturer's websitio para detalles de contacto.
Note: Shipping damage cannot always be avoided. If your unit arrives damaged, please contact us promptly for assistance.
Ask a question about this manual
Ask about setup, troubleshooting, compatibility, parts, safety, or missing instructions. Manuals+ will review the question and use this page’s manual context to help answer it.