
1. Introducción
Thank you for choosing the TMEZON 4G LTE Solar Wireless Outdoor Security Camera. This manual provides detailed instructions for the installation, operation, and maintenance of your camera. Please read this manual thoroughly before use to ensure proper functionality and to maximize the camera's performance.
This camera is designed for outdoor surveillance in areas without Wi-Fi access, utilizing 4G LTE connectivity. It features a built-in rechargeable battery and a solar panel for continuous power, 2K resolution, 355° pan and 90° tilt capabilities, color night vision, PIR motion detection, and two-way audio communication.
2. Contenido del paquete
Por favor, revise el contenido del paquete al recibirlo. Si falta algún artículo o está dañado, contacte con atención al cliente.
- TMEZON 4G LTE Solar Wireless Outdoor Security Camera
- Panel solar
- Soporte de montaje
- Tornillos y anclajes de montaje
- Cable de carga USB
- Manual de usuario
- Pre-installed 100MB SIM Card
3. Producto terminadoview
Familiarícese con los componentes de la cámara.

Imagen: Frente view of the TMEZON 4G LTE Solar Wireless Outdoor Security Camera, showing the main camera unit, solar panel, and antennas. This camera operates using 4G LTE signal, eliminating the need for Wi-Fi.
- Lente de la cámara: Captura vídeo footage.
- LED infrarrojos: Para visión nocturna en blanco y negro.
- Focos: Para visión nocturna en color e iluminación de alarma.
- Sensor PIR: Detecta movimiento basándose en firmas de calor.
- Micrófono: Captura audio para comunicación bidireccional y grabación.
- Vocero: Emite audio para comunicación bidireccional y alarmas.
- Antenas: Para recepción de señal 4G LTE.
- Panel solar: Carga la batería interna utilizando la luz solar.
- Ranura para tarjeta SIM: For the 4G LTE SIM card.
- Ranura para tarjeta micro SD: Para almacenamiento de vídeo local (hasta 128 GB, no incluido).
- Botón de reinicio: Se utiliza para restablecer la cámara a la configuración de fábrica.
- Puerto de carga USB: For initial charging or manual charging.
4. Configuración
4.1 Carga inicial
Before first use, fully charge the camera's built-in battery using the provided USB cable and a 5V/2A power adapter (not included). The charging indicator light will turn solid blue when fully charged.
4.2 SIM Card & Micro SD Card Installation
The camera comes with a pre-installed 100MB SIM card. If you wish to use your own SIM card or install a Micro SD card for local storage, follow these steps:
- Locate the SIM card and Micro SD card slots on the camera body. These are typically protected by a rubber cover.
- Abra con cuidado la cubierta de goma.
- Insert the Nano SIM card into the SIM card slot with the gold contacts facing down and the notched corner oriented correctly. Push until it clicks into place.
- Insert a Micro SD card (Class 10 or higher, up to 128GB, not included) into the Micro SD card slot with the gold contacts facing down. Push until it clicks into place.
- Ensure both cards are securely seated.
- Close the rubber cover firmly to maintain the camera's IP65 waterproof rating.

Imagen: Primer plano view of the camera's card slots, showing how to insert a Nano SIM card (included) and a Micro SD card (not included).
4.3 Instalación de la aplicación y creación de una cuenta
The camera operates with the UBox app. Download it from your smartphone's app store (iOS App Store or Google Play Store).
- Buscar "UBox" in your app store and download the application.
- Open the UBox app and register a new account using your email address.
- Siga las instrucciones en pantalla para completar el proceso de registro e inicio de sesión.
4.4 Emparejamiento de cámaras
- Ensure your camera is powered on and fully charged.
- Open the UBox app and tap the "+" icon to add a new device.
- Select "4G Camera" or "Add 4G Device" from the options.
- Escanee el código QR ubicado en la cámara o en su embalaje.
- Follow the app's prompts to connect the camera. The camera will emit a voice prompt when successfully connected.
- Ponle un nombre a tu cámara para una fácil identificación.
4.5 Montaje de la cámara
Choose a suitable location for mounting the camera. Consider areas with good 4G signal reception and sufficient sunlight exposure for the solar panel.
- Seleccionar ubicación: Identify a mounting spot that provides the desired viewing angle and receives direct sunlight for several hours daily.
- Marcar los agujeros de perforación: Use the mounting bracket as a template to mark the positions for drilling holes on the wall or surface.
- Perforar agujeros: Drill holes at the marked positions. Insert wall anchors if mounting on masonry or concrete.
- Adjuntar soporte: Fije el soporte de montaje a la pared utilizando los tornillos proporcionados.
- Adjuntar cámara: Mount the camera onto the bracket. Adjust the angle of the solar panel to maximize sun exposure.
- Conexiones seguras: Ensure all cables (solar panel to camera) are securely connected and protected from weather.

Image: The TMEZON camera mounted outdoors with its solar panel, illustrating its wire-free, solar-powered operation.

Image: The camera being sprayed with water, highlighting its IP65 waterproof rating, suitable for outdoor use in various weather conditions.
5. Instrucciones de funcionamiento
5.1 en vivo View y control de panorámica/inclinación
Acceda a la transmisión de video en vivo y controle el movimiento de la cámara a través de la aplicación UBox.
- Abra la aplicación UBox y seleccione su cámara de la lista de dispositivos.
- Aparecerá la transmisión de video en vivo.
- Use the directional controls (pan/tilt) on the app interface to rotate the camera horizontally (355°) and vertically (90°).

Imagen: Un teléfono inteligente que muestra la transmisión en vivo. view from the camera, with on-screen controls for 355° horizontal and 90° vertical rotation.
5.2 Detección de movimiento y alertas
The camera uses PIR (Passive Infrared) detection to identify human movement and send alerts.
- Enable motion detection in the camera settings within the UBox app.
- Ajuste los niveles de sensibilidad según sea necesario para minimizar las falsas alarmas.
- Cuando se detecta movimiento, la cámara enviará una notificación de alerta a su teléfono inteligente.
- The camera can also activate its spotlights and siren as an alarm.

Image: A smartphone screen showing a "Motion Detection" alarm message from the UBox app, indicating a person detected by the camera.

Image: The camera's alarm siren and flashes activating in response to an intruder, with a smartphone notification showing "Person is detected from Device 01."
5.3 Audio bidireccional
Comuníquese con los visitantes o disuada a los intrusos utilizando el micrófono y el altavoz integrados en la cámara.
- mientras esta en vivo view, tap the microphone icon in the UBox app to speak.
- Tu voz se transmitirá a través del altavoz de la cámara.
- Release the microphone icon to listen to the audio from the camera's location.
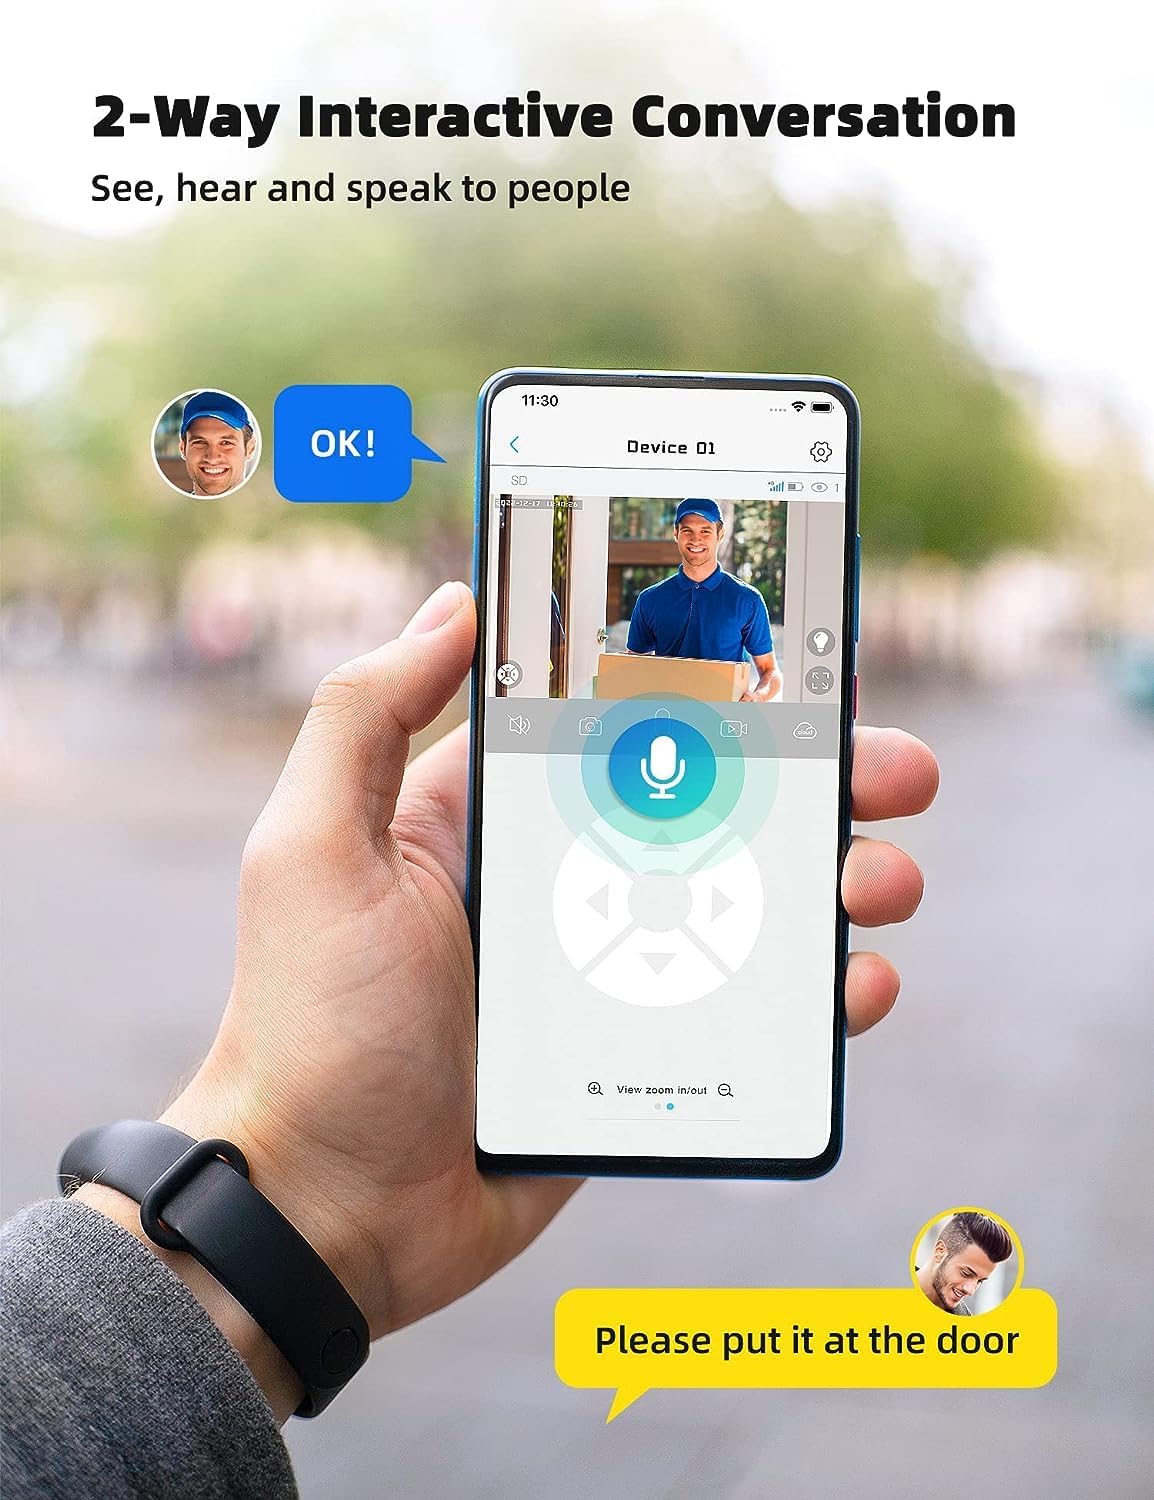
Image: A smartphone displaying the UBox app interface for two-way communication, showing a person speaking through the camera to a delivery person.

Image: A user communicating in real-time with a delivery person via the camera's two-way audio feature, instructing them to place a package by the door.
5.4 Grabación y reproducción
The camera supports both Micro SD card storage and cloud storage (subscription may be required).
- Motion-triggered events are automatically recorded.
- A view recordings, navigate to the "Playback" section in the UBox app.
- Seleccione la fecha y hora para volver aview comida grabadatage.
- If the Micro SD card is full, older recordings will be overwritten by new ones.
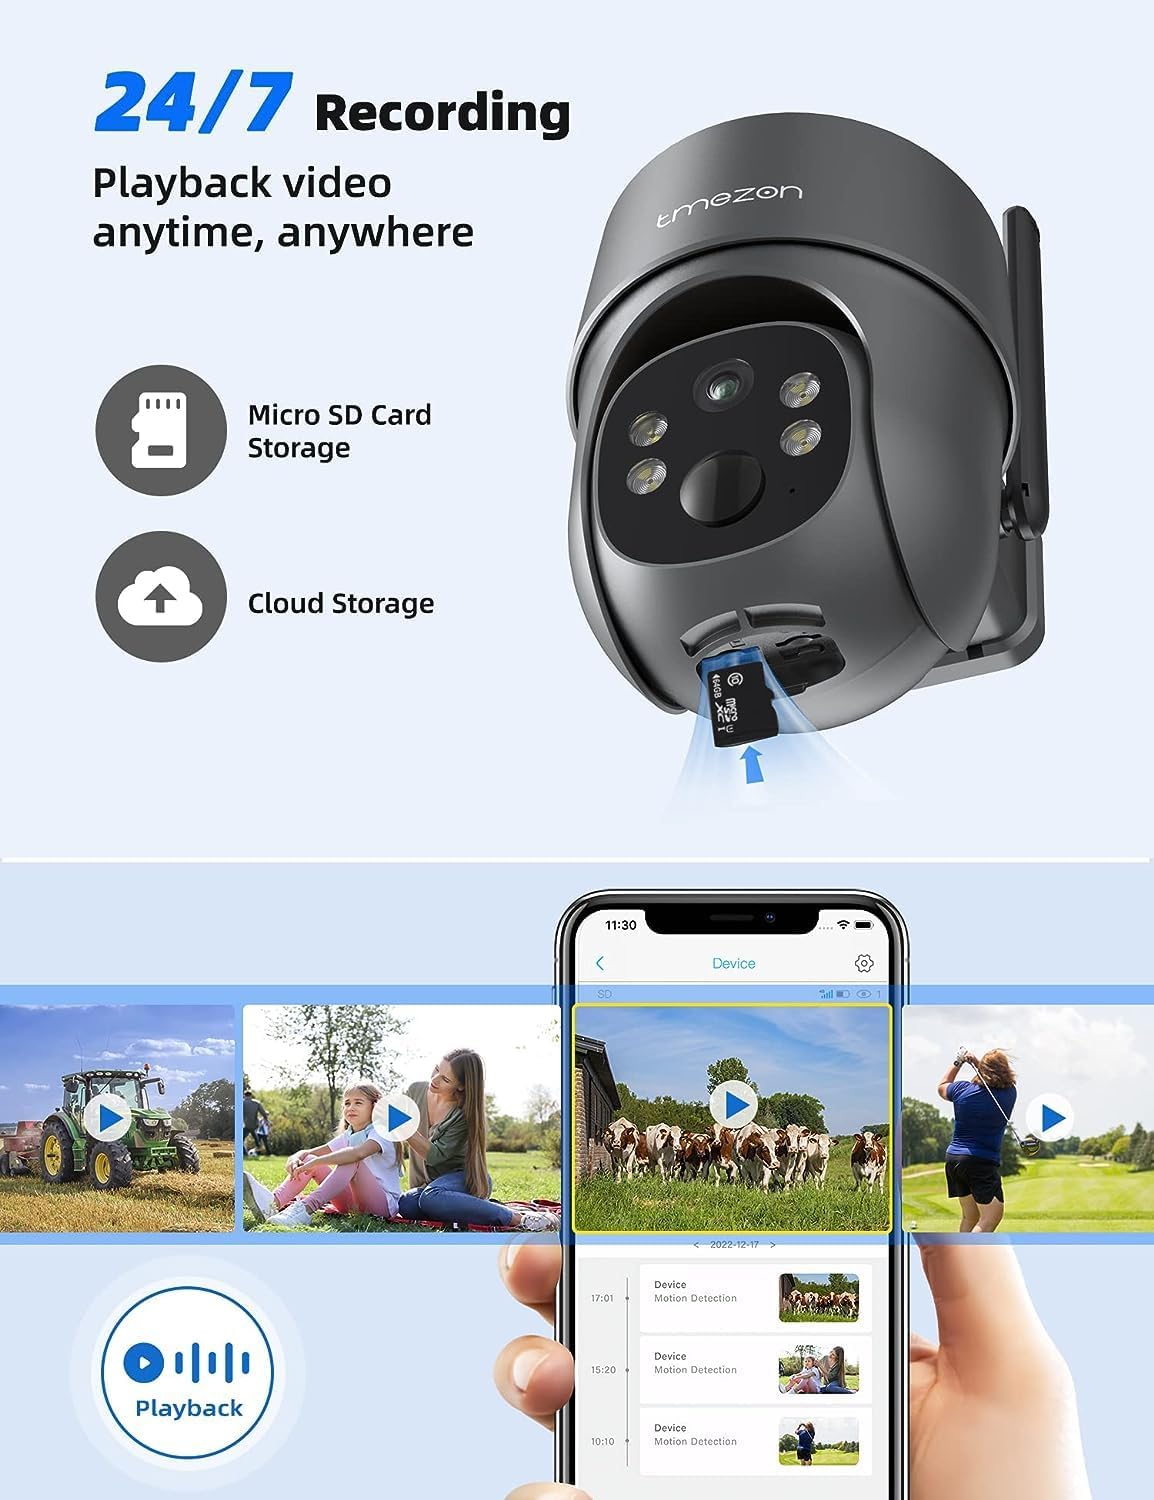
Image: A smartphone displaying the UBox app's playback interface, showing a timeline of recorded events and various video clips.
5.5 Modos de visión nocturna
La cámara ofrece dos modos de visión nocturna:
- Visión nocturna infrarroja (IR): Proporciona vídeo nítido en blanco y negro en condiciones de poca luz.
- Visión nocturna en color: Activates the camera's spotlights to provide full-color video even in darkness. This mode can be enabled in the app settings.
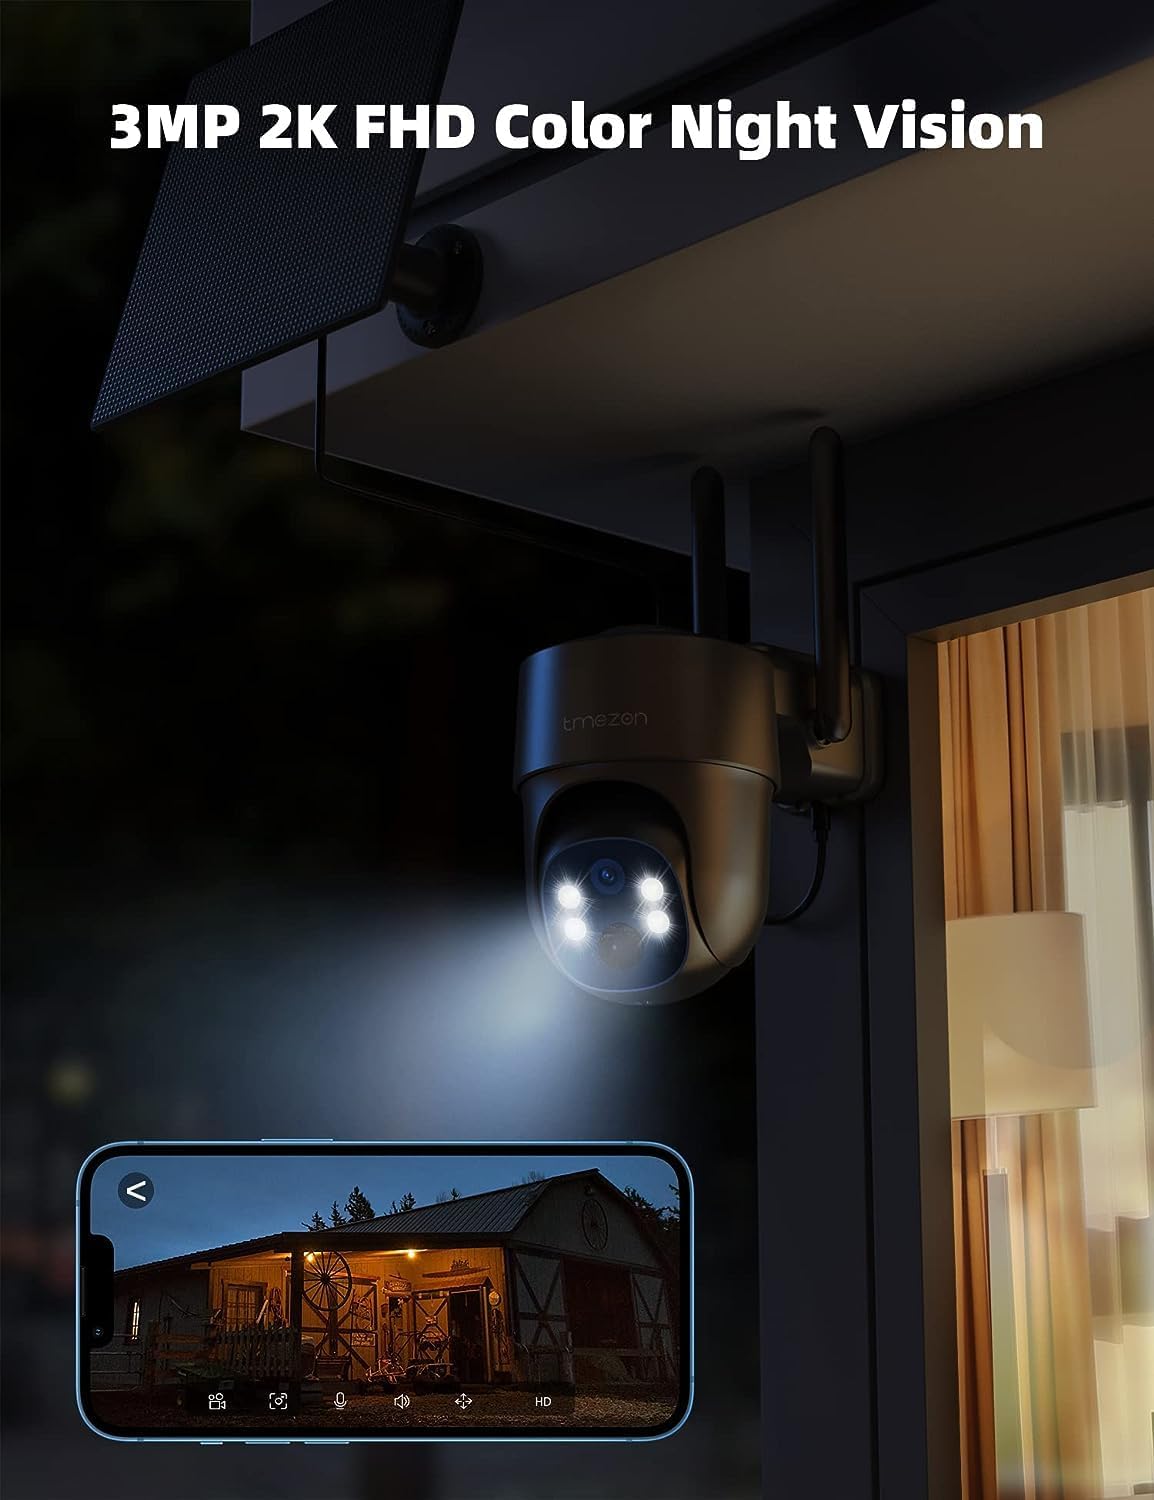
Image: The TMEZON camera operating at night with its spotlights on, providing clear 2K color night vision of the surrounding area.

Image: A split image demonstrating the difference between night vision with spotlights off (monochrome) and spotlights on (color), showcasing the camera's 2K color night vision capability.
6. Mantenimiento
6.1 Battery & Solar Panel Care
- Regularly check the battery level in the UBox app.
- Ensure the solar panel is clean and free from dust, dirt, or obstructions (e.g., leaves, snow) to ensure efficient charging.
- Coloque el panel solar para que reciba la máxima luz solar directa durante todo el día.
- If the camera's battery level is consistently low due to insufficient sunlight, consider manually charging it via the USB port.
6.2 Limpieza
- Utilice un paño suave y seco.amp cloth to clean the camera lens and body.
- Do not use harsh chemicals or abrasive cleaners, as these can damage the camera's finish or lens.
- Ensure the rubber covers for the card slots and charging port are securely closed after any maintenance to maintain waterproofing.
7. Solución de problemas
7.1 Camera Not Connecting to 4G Network
- Asegúrese de que la tarjeta SIM esté insertada y activada correctamente.
- Compruebe si la tarjeta SIM tiene un plan de datos activo.
- Verify 4G signal strength at the camera's location. Move the camera to an area with better signal if necessary.
- Restart the camera by pressing the reset button or power cycling it.
7.2 Desconexiones frecuentes
- Poor 4G signal strength can cause disconnections. Relocate the camera or consider a 4G signal booster.
- Ensure the camera's battery is sufficiently charged.
7.3 La detección de movimiento no funciona o hay demasiadas falsas alarmas
- Check motion detection settings in the UBox app. Ensure it is enabled.
- Adjust PIR sensitivity levels. Lower sensitivity for fewer false alarms, higher for more sensitive detection.
- Ensure there are no objects (e.g., tree branches, reflective surfaces) that might trigger false alarms in the detection zone.
7.4 Cannot View Grabaciones
- Ensure a Micro SD card is inserted correctly and formatted (if applicable) in the app.
- Check if cloud storage is active and your subscription is valid.
- Verify that motion detection recording is enabled in the app settings.
7.5 La cámara no se carga mediante el panel solar
- Asegúrese de que el panel solar esté limpio y libre de obstrucciones.
- Verifique que el cable del panel solar esté conectado de forma segura a la cámara.
- Check if the solar panel is receiving direct sunlight for several hours daily.
- En caso de tiempo nublado prolongado, puede ser necesaria la carga manual a través de USB.
8. Especificaciones
| Característica | Detalle |
|---|---|
| Número de modelo | MZ-C8-4G-EU |
| Tecnología de conectividad | Inalámbrico (4G LTE) |
| Resolución | 2K (2000 Pixels effective capture) |
| Ángulo de giro | 355 grados |
| Ángulo de inclinación | 90 grados |
| Visión nocturna | Visión nocturna en color |
| Características especiales | Motion Detector, Two-Way Audio |
| Fuente de poder | Solar Powered (with 9,600 mAh rechargeable battery) |
| Tipo de batería | 2 batería de iones de litio (incluida) |
| Volumentage | 5 voltios |
| Quétage | 5 vatios-hora |
| Clasificación IP | IP65 (impermeable) |
| Almacenamiento | Micro SD Card (up to 128GB, not included), Cloud Storage (subscription optional) |
| Tipo de controlador | Android (UBox App) |
| Tipo de montaje | Montaje en pared |
9. Garantía y soporte
9.1 Información de garantía
Los productos TMEZON suelen incluir una garantía estándar del fabricante. Consulte la tarjeta de garantía incluida en el paquete o visite el sitio web oficial de TMEZON. webConsulte el sitio web para conocer los términos y condiciones detallados de la garantía. Conserve su recibo de compra como comprobante para reclamaciones de garantía.
9.2 Atención al cliente
If you encounter any issues or have questions regarding your TMEZON 4G LTE Solar Wireless Outdoor Security Camera, please contact TMEZON customer support. Contact information can usually be found on the official websitio o en el embalaje del producto.
- Soporte en línea: Visit the TMEZON official webSitio para preguntas frecuentes, guías de solución de problemas y formularios de contacto.
- Soporte por correo electrónico: Consulte la documentación de su producto para obtener la dirección de correo electrónico de atención al cliente.