
Introducción
The XTUGA PR6X is a professional 6-channel audio mixing console designed for various audio applications, including studio recording, live performances, and events. It features advanced functionalities such as a 99 DSP effects processor, a 7-band graphic equalizer, independent +48V phantom power for condenser microphones, Bluetooth connectivity, and USB recording capabilities. This manual provides comprehensive instructions for the proper setup, operation, and maintenance of your PR6X mixer.
Características del producto
- Entrada de 6 canales: Includes 4 mono MIC inputs and 2 stereo inputs (5/6).
- Alimentación fantasma de +48 V: Independent phantom power available for each microphone channel, supporting condenser microphones.
- 99 DSP Effects Processor: Integrated high-quality digital signal processing with 99 selectable effects for enhanced audio.
- Ecualizador gráfico de 7 bandas: Provides precise control over the overall sound output.
- Funcionalidad Bluetooth: Allows wireless audio streaming from compatible smart devices.
- Interfaz USB: Supports U-DISK MP3 input for playback and recording directly to a USB flash drive.
- Botón de silencio: Individual mute control for each channel.
- AUX SEND Controls: Para efectos externos o mezclas de monitores.
Configuración
Follow these steps to set up your XTUGA PR6X mixer:
- Conexión de energía: Connect the provided power adapter to the DC IN adapter connector (31) on the rear panel and plug it into a suitable power outlet. Press the POWER switch (30) to turn on the mixer.
- Conexión de micrófono: Connect dynamic or condenser microphones to the XLR or 1/4" COMBI inputs (1) for channels 1-4. For condenser microphones, activate the +48V phantom power switch (2) for the respective channel.
- Stereo Input Connection: Connect stereo line-level devices (e.g., keyboards, media players) to the L/MONO 5/6 inputs (3).
- Conexión de salida: Conecte sus altavoces principales o amplifier to the L & R OUTPUT jacks (24). For monitoring, connect headphones to the PHONE jack (18) or monitor speakers to the AUX1 MON output (9).
- Conexión USB/computadora: For USB playback or recording, insert a USB flash drive into the USB port (14) or connect the mixer to a computer using a USB cable.

Imagen: Parte trasera y superior view of the XTUGA PR6X mixer with all controls and ports labeled for easy identification. This diagram shows the power input, various audio inputs (XLR, 1/4"), USB port, and output connections.
Instrucciones de funcionamiento
Controles de canal
- GANANCIA (4): Adjusts the input sensitivity for each channel. Set this to an appropriate level to prevent clipping.
- HIGH (6), MID (7), LOW (8): 3-band equalizer controls for adjusting the treble, midrange, and bass frequencies of each individual channel.
- EFF (10): Controla la cantidad de señal enviada desde el canal al procesador de efectos DSP interno.
- VOL (11): Ajusta el nivel de volumen de salida para cada canal.
- Botón de silencio: Press to mute or unmute the corresponding channel.
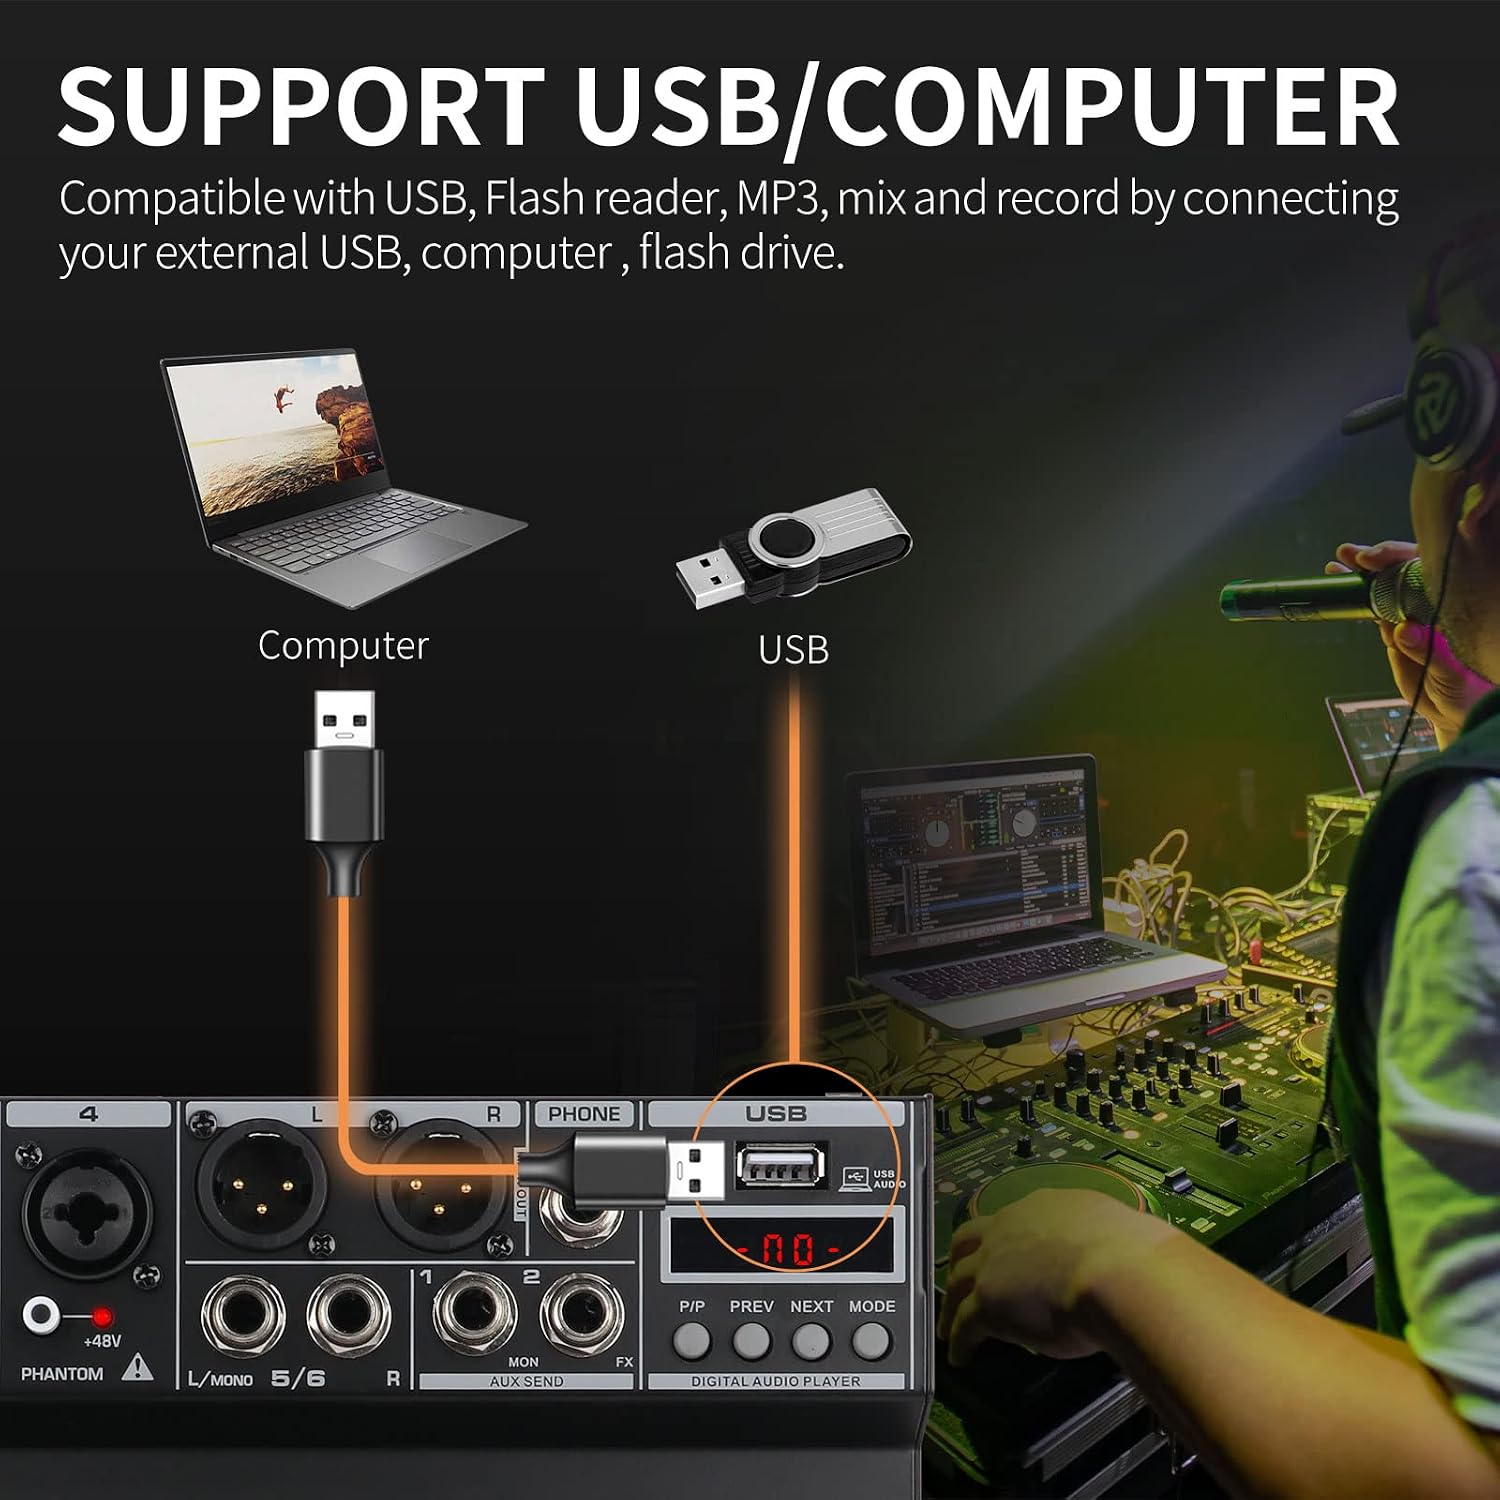
Imagen: De cerca view of the 3-band EQ knobs (HIGH, MID, LOW) for individual channels on the XTUGA PR6X mixer. This image highlights the range of adjustment for each frequency band, allowing for precise tonal shaping.
Procesador de efectos DSP
The PR6X features 99 built-in DSP effects. To use them:
- Girar el PROGRAM/PARAMETER (26) knob to select the desired effect number (01-99). The selected effect number will be displayed on the digital screen.
- Presione el PROGRAM/PARAMETER (26) knob to confirm the selection and activate the effect.
- Ajustar el EFF VOL (28) knob to control the overall level of the applied effect.
- Utilice el FX TO AUX1 (23) knob to send the effect signal to the AUX1 output for monitoring or external processing.

Imagen: Section of the XTUGA PR6X mixer showing the digital display for DSP effects and the PROGRAM/PARAMETER knob. The image illustrates how to rotate the knob to select an effect type and press it to apply the effect, with a visual representation of the 99 DSP reverb effects.
Ecualizador gráfico de 7 bandas
The 7-band stereo graphic equalizer (20) allows for fine-tuning of the main mix's frequency response. Adjust the sliders for each frequency band (63Hz, 160Hz, 400Hz, 1kHz, 2.5kHz, 6.3kHz, 16kHz) to boost or cut specific frequencies, shaping the overall sound to your preference.

Imagen: Detallado view of the 7-band stereo graphic equalizer on the XTUGA PR6X mixer. This image shows the frequency bands and their respective sliders, along with example frequency response curves for high, mid, and low EQ adjustments.
Función de Bluetooth
Para conectar un dispositivo Bluetooth:
- Asegúrese de que el mezclador esté encendido.
- On your smart device (phone, tablet), enable Bluetooth and search for available devices.
- Select "AUDIO MP3" from the list of devices to pair.
- Una vez conectado, puede transmitir audio de forma inalámbrica al mezclador.

Imagen: The XTUGA PR6X mixer displaying "BT" on its digital screen, indicating Bluetooth mode. A smartphone is shown connected, illustrating wireless music streaming capability. The image also shows the Bluetooth search name "AUDIO MP3".
Reproducción y grabación USB
The mixer supports USB flash drives for MP3 playback and recording.
- Reproducción: Inserte una unidad flash USB que contenga MP3 files into the USB port (14). Use the P/P (Play/Pause), PREV (Previous), NEXT (Next), and MODE buttons to control playback.
- Grabación: The mixer can record audio directly to a USB flash drive. Refer to the specific recording instructions in the full manual for detailed steps on initiating and managing recordings.

Imagen: Illustration of the XTUGA PR6X mixer connected to a computer via USB and a USB flash drive inserted. This image demonstrates the mixer's compatibility with USB devices for mixing and recording audio, showing a user interacting with a computer setup.
Headset and Microphone Connection
The mixer includes a dedicated 3.5mm HEADSET input for connecting a headset with an integrated microphone, improving compatibility for recording devices.

Imagen: A user wearing headphones and speaking into a microphone connected to the XTUGA PR6X mixer. The image highlights the 3.5mm HEADSET input, indicating improved compatibility for various recording devices.
Mantenimiento
To ensure the longevity and optimal performance of your XTUGA PR6X mixer:
- Limpieza: Utilice un paño suave y seco para limpiar el exterior de la batidora. Evite usar limpiadores líquidos o disolventes, ya que pueden dañar el acabado o los componentes internos.
- Almacenamiento: Guarde la batidora en un lugar fresco y seco, alejado de la luz solar directa, temperaturas extremas y polvo excesivo.
- Manejo: Avoid dropping or subjecting the mixer to strong impacts. Disconnect all cables before moving the unit.
- Apagado: Apague siempre la batidora y desconéctela de la fuente de alimentación cuando no la utilice durante períodos prolongados.
Solución de problemas
If you encounter issues with your XTUGA PR6X mixer, refer to the following common problems and solutions:
- Sin salida de sonido:
- Verifique todas las conexiones de cables (entrada, salida, alimentación).
- Ensure channel volume (VOL) and main output volume (L MAIN R) knobs are turned up.
- Verify that channels are not muted.
- Check the connected speakers/amplifier for power and proper function.
- Sonido distorsionado:
- Reduce the GAIN knob for the input channel to prevent clipping.
- Lower the channel volume (VOL) or main output volume.
- Check input source for distortion.
- Bluetooth no se conecta:
- Ensure Bluetooth is enabled on your smart device and the mixer is in Bluetooth mode.
- Asegúrese de que ningún otro dispositivo esté emparejado actualmente con el mezclador.
- Try restarting both the mixer and your smart device.
- La energía fantasma no funciona:
- Ensure the +48V phantom power switch (2) is activated for the specific channel.
- Verify that the microphone cable is an XLR type, as phantom power is typically delivered via XLR connections.
Presupuesto
| Característica | Especificación |
|---|---|
| Marca | XTUGA |
| Modelo | PR6X |
| Número de canales | 6 (4 Mono MIC + 2 Stereo) |
| Efectos DSP | 99 efectos incorporados |
| Igualada | 7-Band Stereo Graphic EQ, 3-Band Channel EQ |
| Potencia Phantom | Independent +48V per MIC channel |
| Conectividad | Bluetooth, USB (U-DISK MP3 input/recording) |
| Nombre del tipo de producto | Mezclador de audio |
| Dimensiones del paquete | 30.5 x 26.5 x 10.5 cm |
| Peso | 1.97 kilogramos |
Garantía y soporte
XTUGA Audio products come with a 12-month manufacturer assurance. For technical support, warranty claims, or further assistance, please contact XTUGA customer service through their official channels. Keep your purchase receipt as proof of purchase for warranty services.