CDIYTOOL Replacement Trimmer Spool
Instruction Manual: CDIYTOOL Replacement Trimmer Spool
Model: Replacement Trimmer Spool (Compatible with various Hy-per Tough models)
Brand: CDIYTOOL
Producto terminadoview
This manual provides instructions for the CDIYTOOL Replacement Trimmer Spool, designed for use with specific Hy-per Tough 20V Max Cordless String Trimmers. These spools are pre-wound with durable nylon thread and come with replacement caps, facilitating easy and quick replacement for continuous trimming operations.
Material: ABS plastic spool with durable nylon thread.
Color: Black spool with white line, red cap.
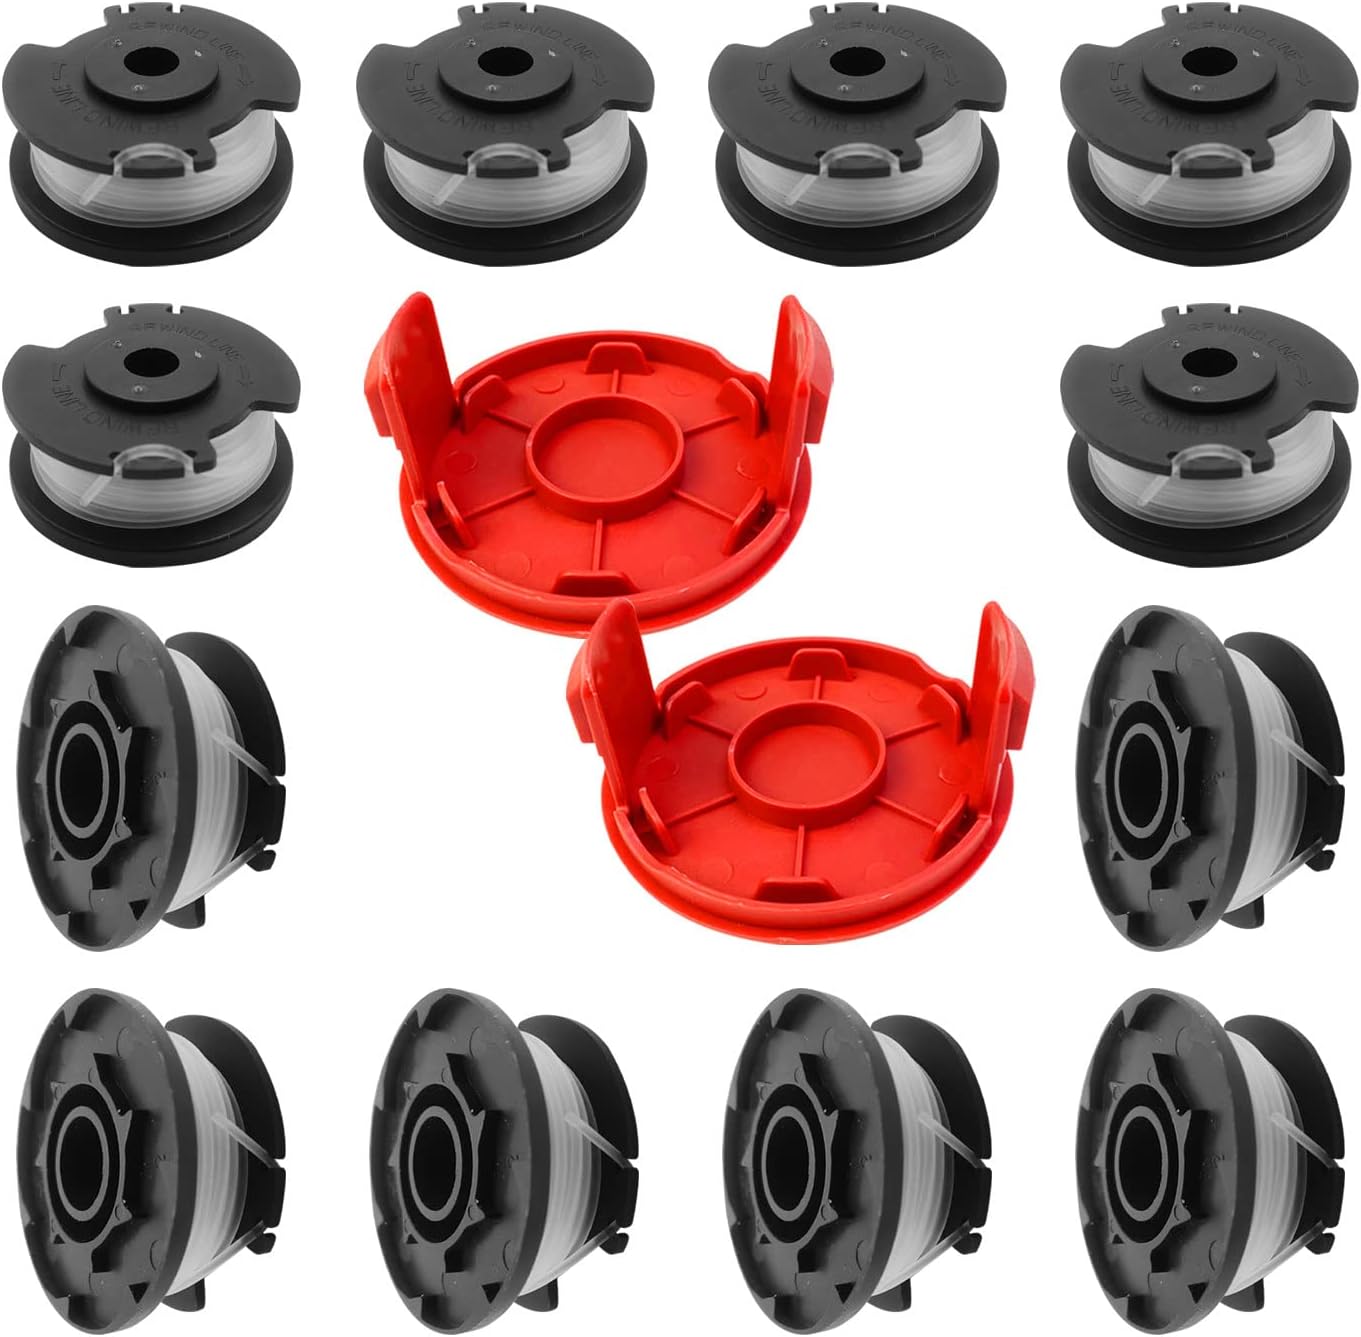
Image: A collection of black replacement trimmer spools, pre-wound with white line, alongside two red replacement caps. This image displays the full contents of the product package.
Presupuesto
| Atributo | Detalle |
|---|---|
| Diámetro del carrete | 56.8 mm (2.24 pulgadas) |
| Altura del carrete | 24 mm (0.94 pulgadas) |
| Diámetro de la tapa | 75 mm (2.95 pulgadas) |
| Cap Height | 33 mm (1.3 pulgadas) |
| Diámetro de línea | 0.06 pulgadas (1.6 mm) |
| Line Length per Spool | 17 pies (5.2 metros) |
| Material | ABS Spool, Durable Nylon Thread |
| Peso del artículo | 6.4 onzas (paquete total) |
| Dimensiones del paquete | 3 x 1 x 1 pulgadas |

Image: A detailed diagram illustrating the precise measurements of both the replacement trimmer spool and the cap in millimeters and inches, providing clear dimensional specifications.

Image: A black trimmer spool with a section of its white nylon line uncoiled, clearly indicating the line's diameter (0.06in/1.6mm) and total length (17FT/5.2M).
Compatibilidad
These replacement trimmer spools and caps are compatible with the following Hy-per Tough string trimmer models:
- Hy-per Tough 20V Max Cordless 13-inch Battery Powered String Trimmer, HT22-401-03-05
- Hy-per Tough 20V MAX Cordless 12-Inch String Trimmer, HT19-401-003-06
- Hy-per Tough 20V MAX Cordless Trimmer Sweeper Combo, HT19-401-003-07
- Hy-per Tough 20V Max Cordless 12-Inch String Trimmer, HT21-401-003-02
- Hy-per Tough 20V MAX Cordless 13-inch String Trimmer, HT21-401-003-03
- Hy-per Tough 4.6-Amp 13in Electric String Trimmer HT21-401-002-04

Imagen: Un primer plano view of a replacement trimmer spool and cap positioned on a Hy-per Tough string trimmer, set against a vibrant green lawn, demonstrating the product's intended use and compatibility.

Image: A replacement trimmer spool displayed next to a Hy-per Tough string trimmer, with a superimposed text overlay listing the various compatible Hy-per Tough trimmer models.
Contenido del paquete
Each package contains the following components, depending on the set purchased:
- Conjunto 1: 8 pieces of pre-wound trimmer spools + 2 pieces of replacement caps
- Conjunto 2: 12 pieces of pre-wound trimmer spools + 2 pieces of replacement caps
The well-matched combination ensures you have sufficient replacements for extended use.
Configuración e instalación
Replacing the trimmer spool and cap is a straightforward process designed for quick installation without the need for additional tools. Follow these steps:
- Garantizar la seguridad: Before beginning, ensure your string trimmer is turned off and disconnected from its power source (battery removed for cordless models, unplugged for corded models) to prevent accidental startup.
- Remove Old Cap and Spool: Locate the spool housing at the bottom of your trimmer head. Press the tabs or release buttons on the sides of the cap and carefully pull the old cap off. Then, remove the old spool from the housing.
- Vivienda limpia (opcional): Inspect the spool housing for any debris, grass clippings, or tangled line. Clean it thoroughly to ensure the new spool fits correctly and operates smoothly.
- Instalar nuevo carrete: Take a new pre-wound replacement spool. Align the ends of the trimmer line with the eyelets or guides on the trimmer head. Place the new spool into the housing, ensuring it sits securely and the line feeds correctly through the guides.
- Attach New Cap: Place the new replacement cap over the spool and housing. Press down firmly until it clicks into place, ensuring all tabs are securely engaged.
- Verificar instalación: Gently pull on the trimmer line to ensure it feeds freely. Reconnect the power source to your trimmer.
The pre-wound auto-feed system replacement spools are designed to simplify this process, eliminating the tedious work of hand-winding.

Image: A Hy-per Tough string trimmer with its spool and cap detached, illustrating the components involved in the replacement process. The new spool and cap are shown ready for installation.
Instrucciones de funcionamiento
Once the replacement spool and cap are correctly installed, your trimmer is ready for operation. These spools are designed to work with your trimmer's auto-feed system.
- Avance de línea automático: During operation, the trimmer's auto-feed mechanism will automatically advance the line as it wears down. This ensures a consistent cutting diameter and efficient trimming.
- Rendimiento optimizado: The durable nylon thread and ABS spool construction are designed to reduce drag and facilitate fast, efficient cutting.
- Gestión de línea: Avoid intentionally hitting hard surfaces (like concrete or rocks) with the line, as this will accelerate wear and require more frequent line advancement.

Image: A composite image showing four different individuals actively using string trimmers in various outdoor settings, demonstrating the practical application of the replacement spools in real-world trimming tasks.
Mantenimiento
Proper maintenance of your trimmer spools can extend their lifespan and ensure consistent performance:
- Almacenamiento: Store unused spools in a cool, dry place away from direct sunlight and extreme temperatures. This helps preserve the integrity and flexibility of the nylon line.
- Inspección: Before each use, inspect the installed spool and line for any signs of damage, excessive wear, or tangles. Replace the spool if the line is severely frayed or damaged.
- Limpieza: Periodically clean the spool housing and the area around the line exit points on your trimmer head to prevent buildup of grass and debris, which can impede line feed.
Solución de problemas
If you encounter issues with your trimmer spool, consider the following common problems and solutions:
- La línea no avanza:
- Compruebe si hay enredos: Remove the spool and inspect the line for any tangles or overlaps. Re-wind the line neatly if necessary.
- Debris in Housing: Clear any grass, dirt, or debris from the spool housing and line exit eyelets.
- Line Stuck: The line might be fused due to heat. Try pulling the line manually or re-winding a small section.
- Instalación incorrecta: Ensure the spool is seated correctly and the cap is securely fastened.
- Saltos de línea frecuentes:
- Técnica de corte: Avoid "bumping" the line excessively on hard surfaces. Use a sweeping motion.
- Obstáculos: Be mindful of fences, rocks, and concrete, which can quickly wear down or break the line.
- Estado de la línea: Ensure the line is not brittle from improper storage (e.g., exposure to extreme heat).
- Carrete no encaja:
- Verificar compatibilidad: Double-check that your trimmer model is listed in the compatibility section of this manual.
- Orientación: Ensure the spool is inserted in the correct orientation as per your trimmer's instructions.
Información de seguridad
Always prioritize safety when working with power tools and their accessories. Adhere to the safety guidelines provided in your string trimmer's original instruction manual, in addition to the following:
- Always wear appropriate personal protective equipment (PPE), including eye protection, gloves, long pants, and sturdy footwear, when operating a string trimmer.
- Ensure the trimmer is powered off and the battery removed (or unplugged) before performing any maintenance, installation, or inspection of the spool or trimmer head.
- Keep bystanders, especially children and pets, at a safe distance from the work area.
- Use only replacement parts that are compatible with your specific trimmer model.
- Do not modify the trimmer spool or line.
Garantía y soporte
Specific warranty information for this replacement trimmer spool is not provided in the product details. For any inquiries regarding product performance, compatibility, or support, please contact the manufacturer, CDIYTOOL, directly through their official channels or the retailer from whom the product was purchased.
Para obtener información general sobre el producto, puede visitar el CDIYTOOL Store on Amazon.