
1. Introducción
Thank you for choosing the HOROW Wall-Hung Ceramic Toilet. This manual provides essential information for the safe installation, operation, and maintenance of your new toilet. Please read these instructions carefully before beginning installation and retain them for future reference.
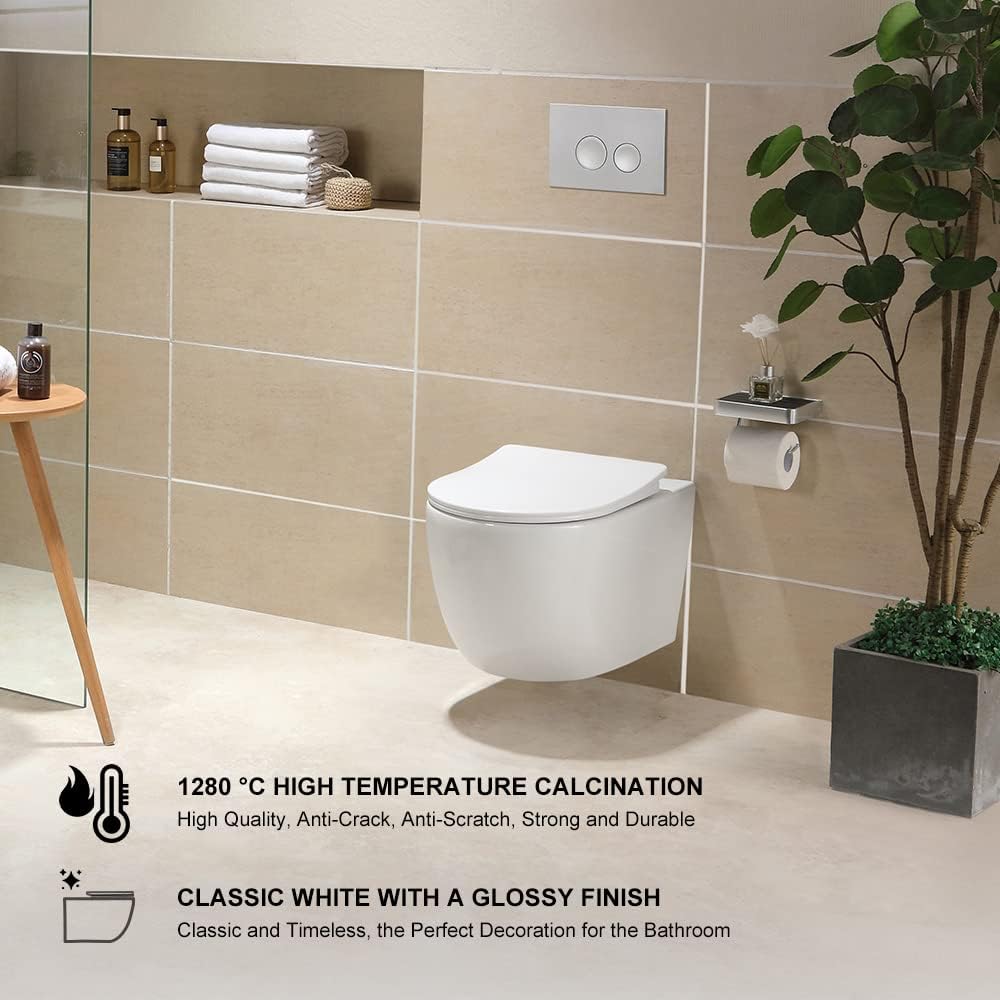
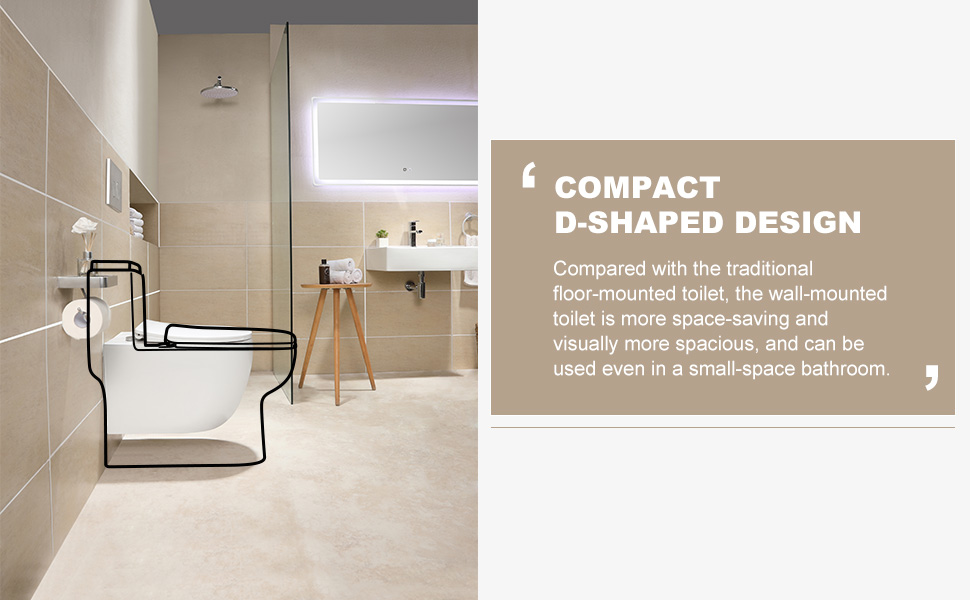
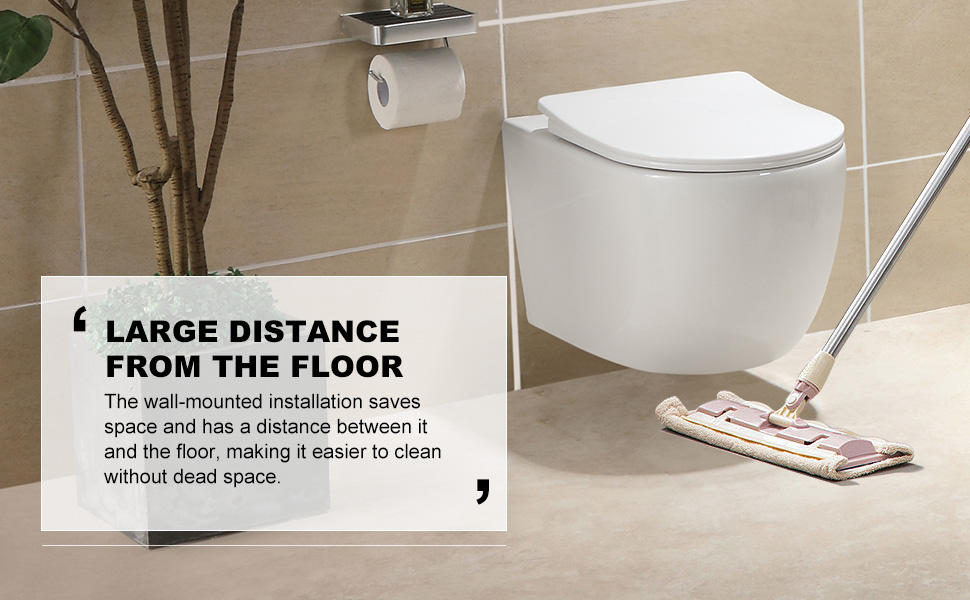
This wall-hung toilet features high-quality ceramic construction, a nano-coating for easy cleaning, a compact D-shaped design, a soft-close seat, and a powerful rimless flushing system.
2. Información de seguridad
- La instalación debe ser realizada por un profesional calificado de acuerdo con los códigos de construcción y plomería locales.
- Ensure all water supply lines are turned off before installation.
- Use equipo de protección personal (EPP) adecuado durante la instalación, incluidos guantes y protección para los ojos.
- The toilet is heavy. Use proper lifting techniques or seek assistance to prevent injury.
- Do not use abrasive cleaners or harsh chemicals on the ceramic surface or seat, as this may damage the finish.
- Regularly inspect all connections for leaks.
3. Contenido del paquete
Verifique que todos los componentes estén presentes y sin daños antes de continuar con la instalación.
- HOROW Wall-Hung Ceramic Toilet Bowl
- D-Shaped Soft-Close Toilet Seat with Quick Release Function
- Kit de hardware de montaje
Note: The in-wall cistern and flush plate are not included and must be purchased separately.
4. Especificaciones
| Característica | Especificación |
|---|---|
| Marca | HORO |
| Modelo | B0BZ826LS6 |
| Material | High-Quality Ceramic (Toilet Bowl), Plastic (Seat) |
| Color | Blanco |
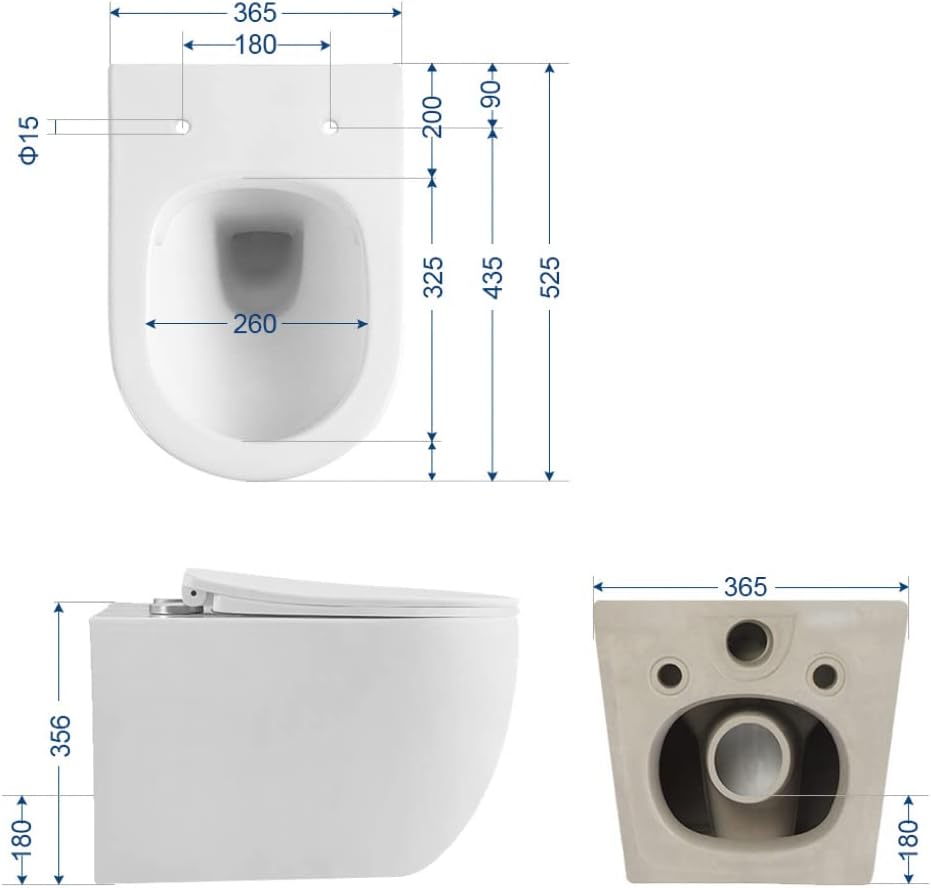
| Dimensiones (L x An x Al) | 52.5 x 36.5 x 35.6 cm (20.7 x 14.4 x 14 pulgadas) |
| Peso | 25.3 kg (55.8 libras) |
| Tipo de instalación | Montado en la pared |
| Tipo de trampa | P-Trap 180 mm |
| Características del asiento | Soft-Close, Quick Release, D-Shape |
| Sistema de lavado | Rimless, Powerful Flush |
| Tratamiento de superficies | Nano-Coating, High-Temperature Calcined Glaze |
5. Configuración e instalación
This wall-hung toilet requires an in-wall cistern and frame for installation, which are not included. Follow the instructions provided with your chosen cistern and frame for their installation first. Once the frame is securely installed and plumbed, proceed with the toilet bowl installation.
5.1 Preparación para la instalación
- Ensure the in-wall cistern and mounting frame are correctly installed and secured according to their manufacturer's instructions.
- Verify that the water supply and waste connections are accessible and correctly positioned.
- Check the mounting bolts on the frame are at the correct spacing for the toilet bowl.
5.2 Installing the Toilet Bowl
- Attach the plastic sleeves and washers to the mounting bolts protruding from the wall frame.
- Carefully lift the toilet bowl and align the mounting holes with the bolts. Slide the toilet onto the bolts.
- Secure the toilet bowl using the provided nuts and caps. Do not overtighten, as this can crack the ceramic. Tighten until snug, then add a quarter turn.
- Connect the waste pipe and water supply pipe to the toilet bowl, ensuring all seals are correctly seated and tightened to prevent leaks.
- Turn on the water supply and check for any leaks. Flush the toilet several times to ensure proper operation and check for leaks again.
5.3 Instalación del asiento del inodoro
- Insert the seat hinges into the designated holes on the toilet bowl.
- Align the seat with the bowl and press down firmly until the quick-release mechanism clicks into place.
- Test the soft-close function by gently lowering the seat and lid.
6. Instrucciones de funcionamiento
The HOROW wall-hung toilet operates like a standard toilet but offers enhanced features for hygiene and comfort.
6.1 Enjuague
- To flush, press the appropriate button on your flush plate (typically a larger button for a full flush and a smaller button for a half flush).
- The rimless design ensures a powerful and thorough 360-degree flush, cleaning the entire bowl surface without leaving dead corners.

6.2 Soft-Close Seat
- The toilet seat and lid are equipped with a soft-close mechanism. Gently push the seat or lid downwards, and it will close slowly and silently on its own.
- Evite forzar el asiento o la tapa hacia abajo, ya que esto puede dañar el mecanismo de cierre suave.
7. Mantenimiento
Regular cleaning and maintenance will ensure the longevity and hygienic performance of your HOROW toilet.
7.1 Cleaning the Toilet Bowl
- The high-quality ceramic with nano-coating is stain-resistant and easy to clean.
- Utilice un paño suave o una esponja con un limpiador de baño suave, no abrasivo.
- For stubborn stains, a toilet brush can be used with a suitable toilet bowl cleaner. Ensure the cleaner is safe for ceramic and glazes.
- Enjuague bien con agua después de limpiar.

7.2 Cleaning the Toilet Seat
- The toilet seat is made of UF material, which is scratch-resistant and does not yellow.
- To clean the seat, use a soft cloth with mild soap and water. Avoid harsh chemicals or abrasive pads.
- For thorough cleaning, the quick-release function allows for easy removal of the seat. Press the buttons at the hinge connection and lift the seat upwards.
7.3 Cuidados generales
- Regularly check all connections for tightness and signs of wear.
- Do not place heavy objects on the toilet or seat.
8. Solución de problemas
| Problema | Posible causa | Solución |
|---|---|---|
| Toilet leaks at connections | Loose connections, damaged seals, incorrect installation. | Turn off water supply. Check and tighten all connections. Replace damaged seals if necessary. Consult a plumber if issue persists. |
| rubor débil | Low water pressure, obstruction in cistern mechanism, partial blockage in drain. | Check water supply valve is fully open. Consult the cistern manufacturer's manual for adjustment or troubleshooting. Clear any visible blockages. |
| Toilet seat does not soft-close | Soft-close mechanism damaged or obstructed. | Ensure no debris is obstructing the hinges. If damaged, the seat may need replacement. |
| Toilet is clogged | Excessive waste, foreign objects. | Use a toilet plunger. If unsuccessful, a plumbing snake may be required. Avoid flushing non-biodegradable items. |
9. Garantía y soporte
HOROW products are designed for quality and durability. This product is covered by standard legal guarantees.
- Devoluciones: You may be eligible for returns within 30 days of purchase, subject to the retailer's return policy.
- Legal Guarantees: This product benefits from applicable legal guarantees for conformity and hidden defects.
- Atención al cliente: For technical assistance, warranty claims, or spare parts inquiries, please contact HOROW specialized customer support through your purchase platform or the official HOROW websitio.
Conserve su comprobante de compra para cualquier reclamo de garantía.