
1. Introducción
This manual provides comprehensive instructions for the assembly, operation, and maintenance of your Outsunny 7FT Metal Garden Arch with Planter Boxes. Please read these instructions carefully before assembly and retain for future reference. This garden arch is designed to enhance your outdoor space, providing support for climbing plants and a decorative entryway.
2. Información de seguridad
- Asegúrese de que todos los componentes estén presentes y sin daños antes del montaje. No continúe con el montaje si alguna pieza falta o está rota.
- Assemble the arch on a flat, stable surface to prevent tipping.
- Always use appropriate tools and wear protective gloves during assembly.
- For optimal stability, especially in windy conditions, ensure the arch's feet are securely buried in the ground or weighted down.
- Do not climb on the arch or allow children to hang from it.
- Regularly inspect the arch for loose connections or signs of wear and tear. Tighten fasteners as needed.
3. Contenido del paquete
Verifique que todos los siguientes componentes estén incluidos en su paquete:
- Arch sections (curved top pieces and vertical side frames)
- Connecting bars/crossbars
- 2 Planter Boxes (integrated into the base of the arch)
- Herrajes de montaje (tornillos, tuercas, arandelas)
- Wrench or Allen key (may be included)

Imagen 3.1: Example of various components for assembly.
4. Instrucciones de instalación y montaje
Follow these steps to assemble your garden arch:
- Desembalaje e identificación de las piezas: Carefully unpack all components and lay them out. Refer to the parts list (if provided separately) to ensure all pieces are present.
- Ensamblar los marcos laterales: Begin by connecting the vertical side frame sections. Use the provided screws and nuts to secure them. Do not fully tighten all fasteners until the entire structure is assembled.
- Colocar jardineras: Connect the planter box frames to the base of the vertical side frames. Ensure they are oriented correctly as shown in the diagrams.
- Connect Arch Top: Carefully lift and attach the curved arch sections to the top of the vertical side frames. This step may require two people. Secure with the provided hardware.
- Install Crossbars/Support Bars: Attach any horizontal or decorative crossbars between the main arch structure. These often provide additional stability and support for climbing plants.
- Ajuste final: Once all parts are loosely assembled and the arch is standing upright, gradually tighten all screws and nuts. Ensure the arch is level and stable.
- Fijar a tierra: For best stability, especially in outdoor environments, bury the feet of the arch into the ground. Alternatively, place heavy objects inside the planter boxes or use ground stakes (not included) to anchor the arch.
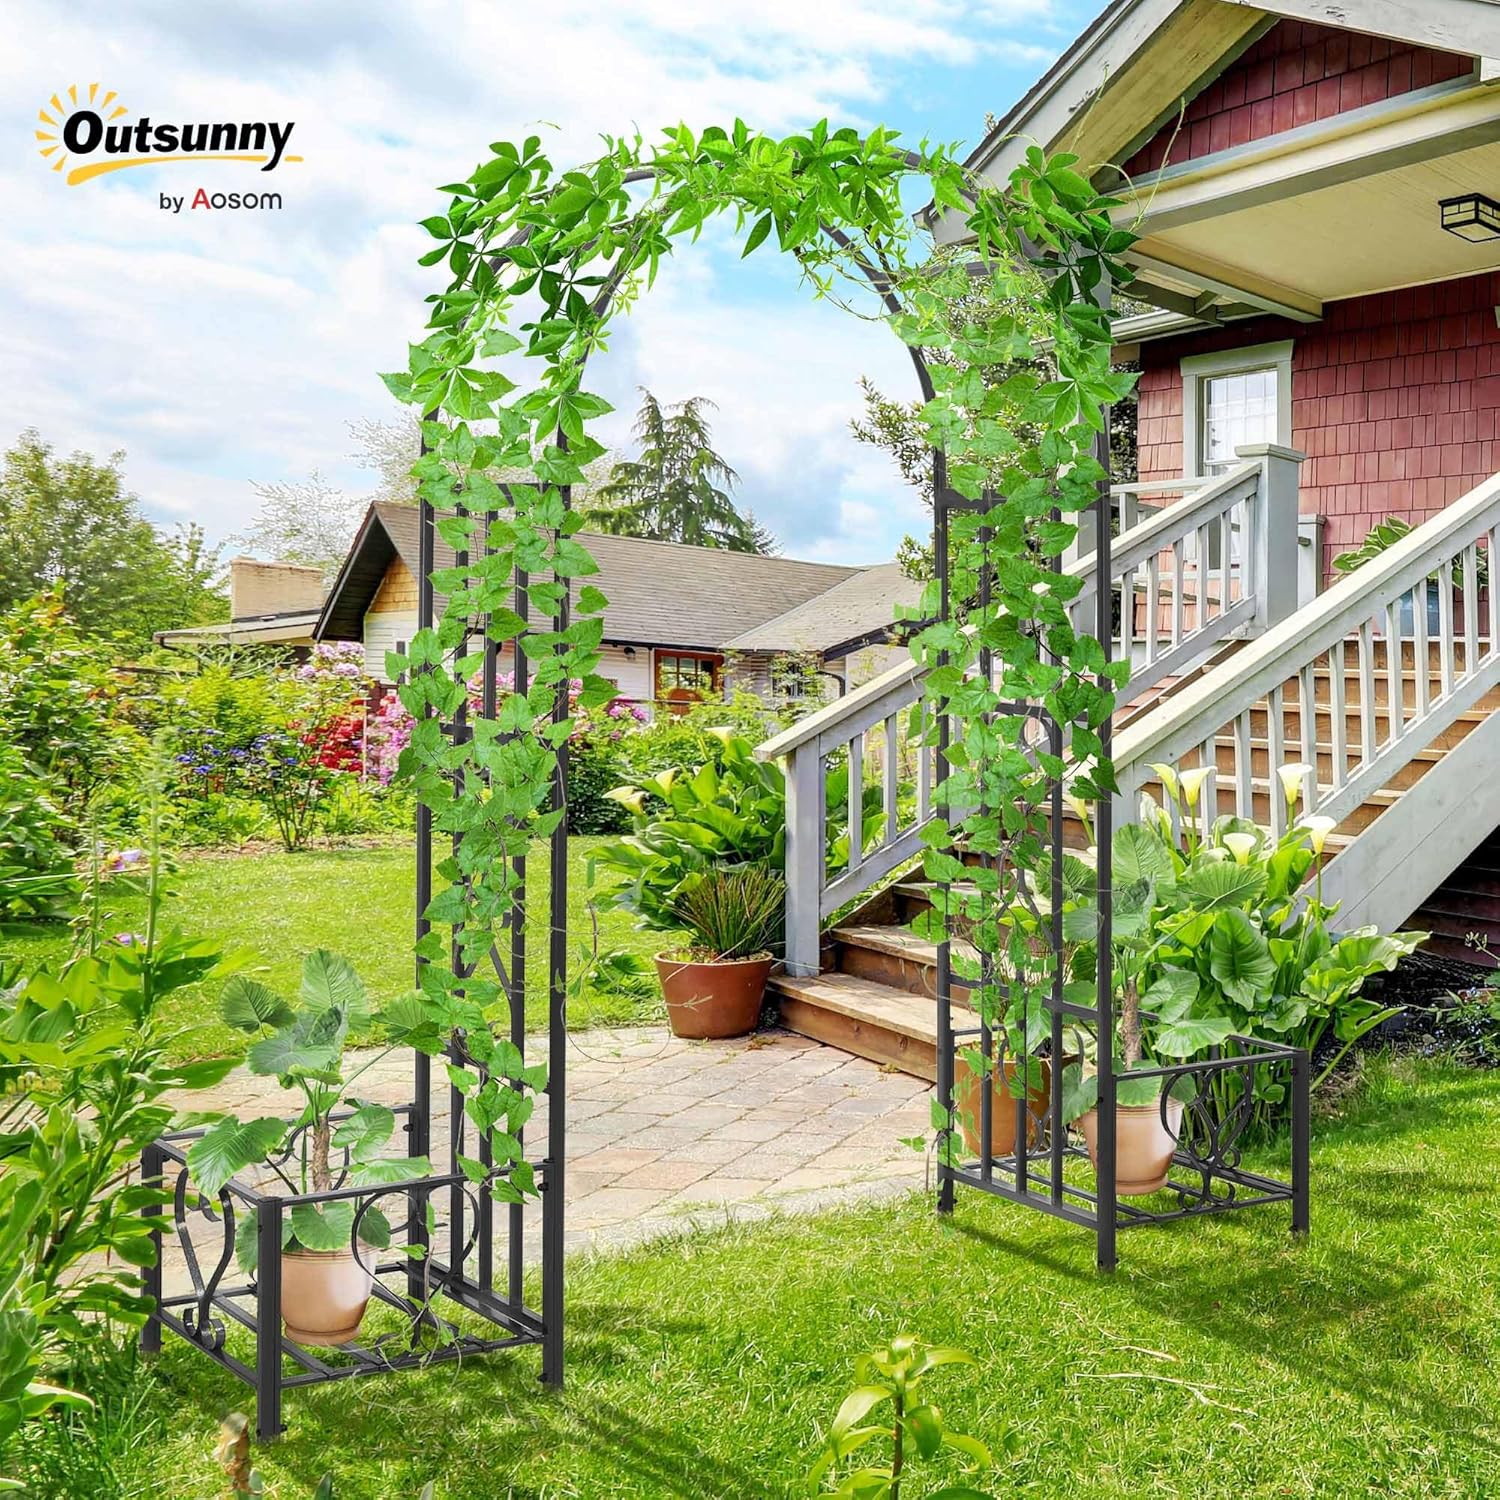
Image 4.1: Fully assembled garden arch with planter boxes.

Imagen 4.2: Detallada view of arch features and planter box.

Image 4.3: Fixing tips for securing the arch in the ground.
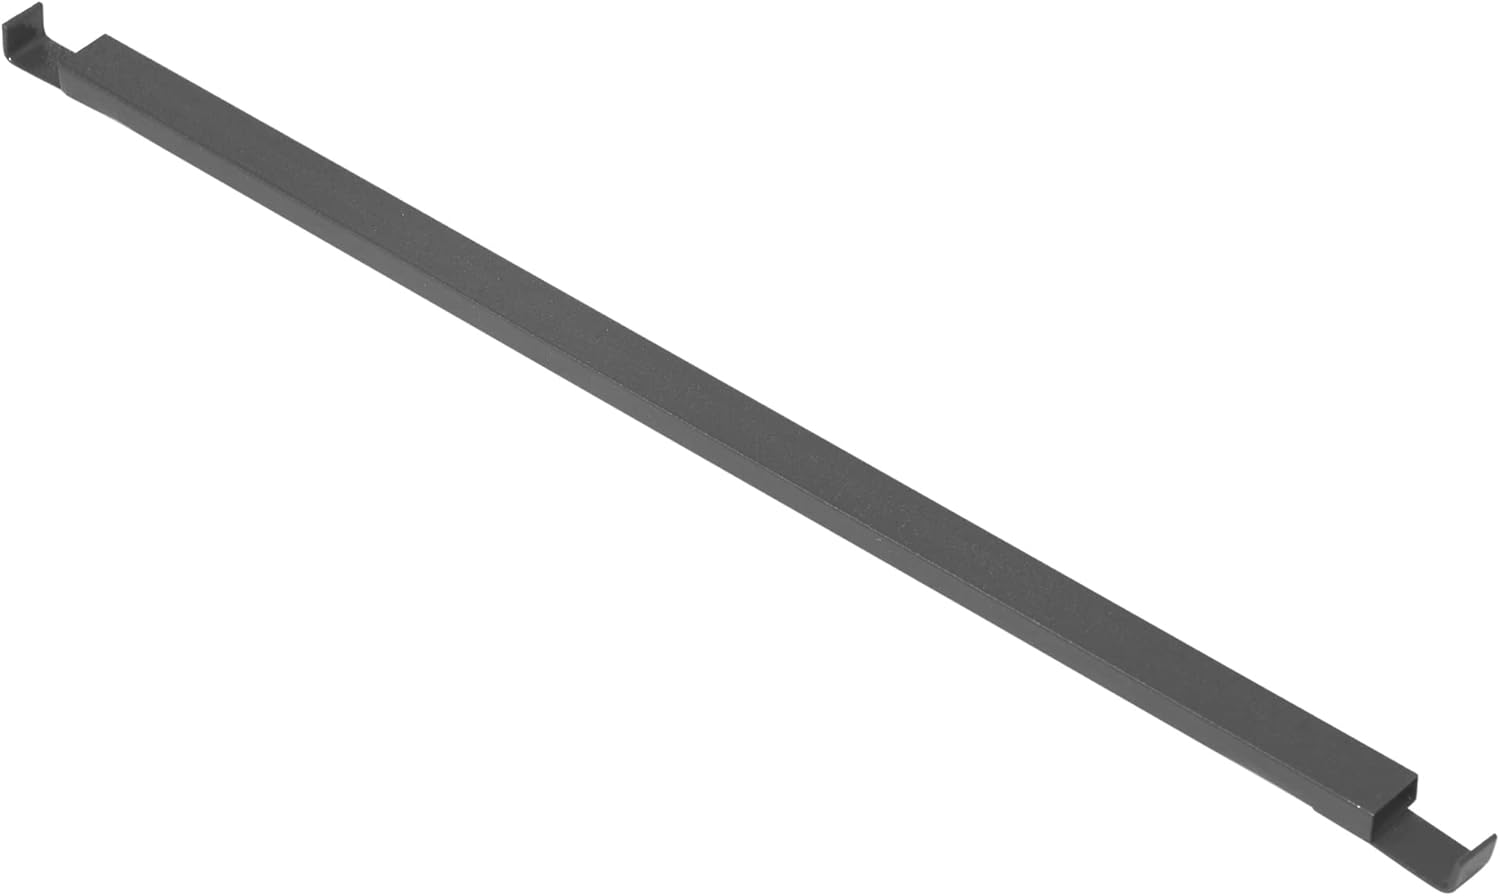
Imagen 4.4: Example of a connecting bar.

Image 4.5: Detail of a bolted connection.
5. Instrucciones de funcionamiento
The Outsunny Garden Arch is designed for various decorative and functional uses:
- Plantas trepadoras: Utilize the arch structure to support climbing vines, roses, clematis, or other suitable plants. Guide the plant stems through the archwork as they grow.
- Decorative Walkway: Position the arch over a garden path or entrance to create an inviting walkway.
- Decoración de eventos: Decorate the arch with balloons, flowers, tulle, or lights for special occasions such as weddings, parties, or garden ceremonies.
- Planter Boxes: The integrated planter boxes can be used to grow flowers, herbs, or small shrubs. Consider adding a liner (wood, burlap, etc.) to the planter boxes before filling with soil and plants.

Image 5.1: Multiple decoration options for the garden arch.
6. Mantenimiento
Para garantizar la longevidad y la apariencia de su arco de jardín, siga estas pautas de mantenimiento:
- Limpieza regular: Limpie el marco de metal con publicidad.amp cloth to remove dirt, dust, and debris. Avoid abrasive cleaners that could damage the powder-coated finish.
- Inspeccionar las conexiones: Periodically check all bolted connections to ensure they remain tight. Re-tighten any loose fasteners to maintain structural integrity.
- Prevención de óxido: Although the arch has a powder-coated finish, inspect for any scratches or chips that could expose the metal to moisture and lead to rust. Touch up any damaged areas with rust-inhibiting paint if necessary.
- Cuidados de invierno: In areas with harsh winters, consider disassembling and storing the arch indoors or covering it to protect it from extreme weather conditions.
7. Solución de problemas
If you encounter issues with your garden arch, consider the following:
- Arch is Unstable:
- Asegúrese de que todos los pernos estén completamente apretados.
- Verify that the arch is placed on a level surface.
- Bury the feet deeper into the ground or add weight to the planter boxes.
- Las piezas no se alinean:
- Loosen all bolts slightly, adjust the alignment of the parts, then re-tighten.
- Ensure you are using the correct parts for each step as per the assembly diagrams.
- Hardware faltante:
- Double-check the packaging and surrounding area for any small parts.
- Contact customer support for replacement parts if necessary.
8. Especificaciones
| Característica | Detalle |
|---|---|
| Número de modelo | 844-088V00CG |
| Dimensiones generales | 82.7" de ancho x 19.7" de profundidad x 81.1" de alto (210 x 50 x 206 cm) |
| Material | Acero |
| Tipo de acabado | Recubierto de polvo |
| Color | Gris oscuro |
| Peso del artículo | 13.72 kilogramos |
| Componentes incluidos | 2 Planter Boxes |

Imagen 8.1: Dimensiones del producto.
9. Garantía y soporte
Garantía: This Outsunny Garden Arch is covered by a 90-day warranty against manufacturer defects. This warranty covers defects in materials and workmanship under normal use. It does not cover damage resulting from improper assembly, misuse, neglect, accidents, or normal wear and tear.
Atención al cliente: For any questions, missing parts, or warranty claims, please contact the manufacturer:
- Fabricante: Aosom Canadá
- Domicilio social: Markham, Ontario, California
- Teléfono: 1-416-792-6088


