
ORDENADOR Q20RF
COMPUTHERM Q20RF Wireless Programmable Room Thermostat
Manual de usuario
1. Introducción
Thank you for choosing the COMPUTHERM Q20RF Wireless Programmable Room Thermostat. This device is designed to provide precise and efficient control over your heating and air conditioning systems. It features daily independent programming, temporary manual modes, and a clear backlit display for optimal comfort and energy savings. Please read this manual carefully before installation and operation to ensure proper use and to maximize the benefits of your new thermostat.
2. Información de seguridad
- Seguridad eléctrica: Installation and wiring should only be performed by a qualified electrician or service technician. Ensure the main power supply to the heating/cooling system is turned off before any wiring work.
- Manejo de la batería: The thermostat unit requires 2 AA batteries. Do not mix old and new batteries, or different types of batteries. Dispose of used batteries responsibly according to local regulations.
- Colocación: Install the thermostat in a location away from direct sunlight, drafts, or heat sources that could affect temperature readings.
- Limpieza: Utilice un paño suave y seco para limpiar. No utilice limpiadores abrasivos ni disolventes.
- Niños: Keep the device out of reach of children to prevent accidental tampriendo
3. Contenido del paquete
Verifique que todos los componentes estén presentes en el paquete:
- COMPUTHERM Q20RF Thermostat Unit (Transmitter)
- COMPUTHERM Q20RF Receiver Unit
- Mounting Support / Stand for Thermostat Unit
- Connection Cables/Wires
- Manual de usuario (este documento)
- 2 AA Batteries (may be included or sold separately)
4. Configuración e instalación
4.1. Thermostat Unit (Transmitter)
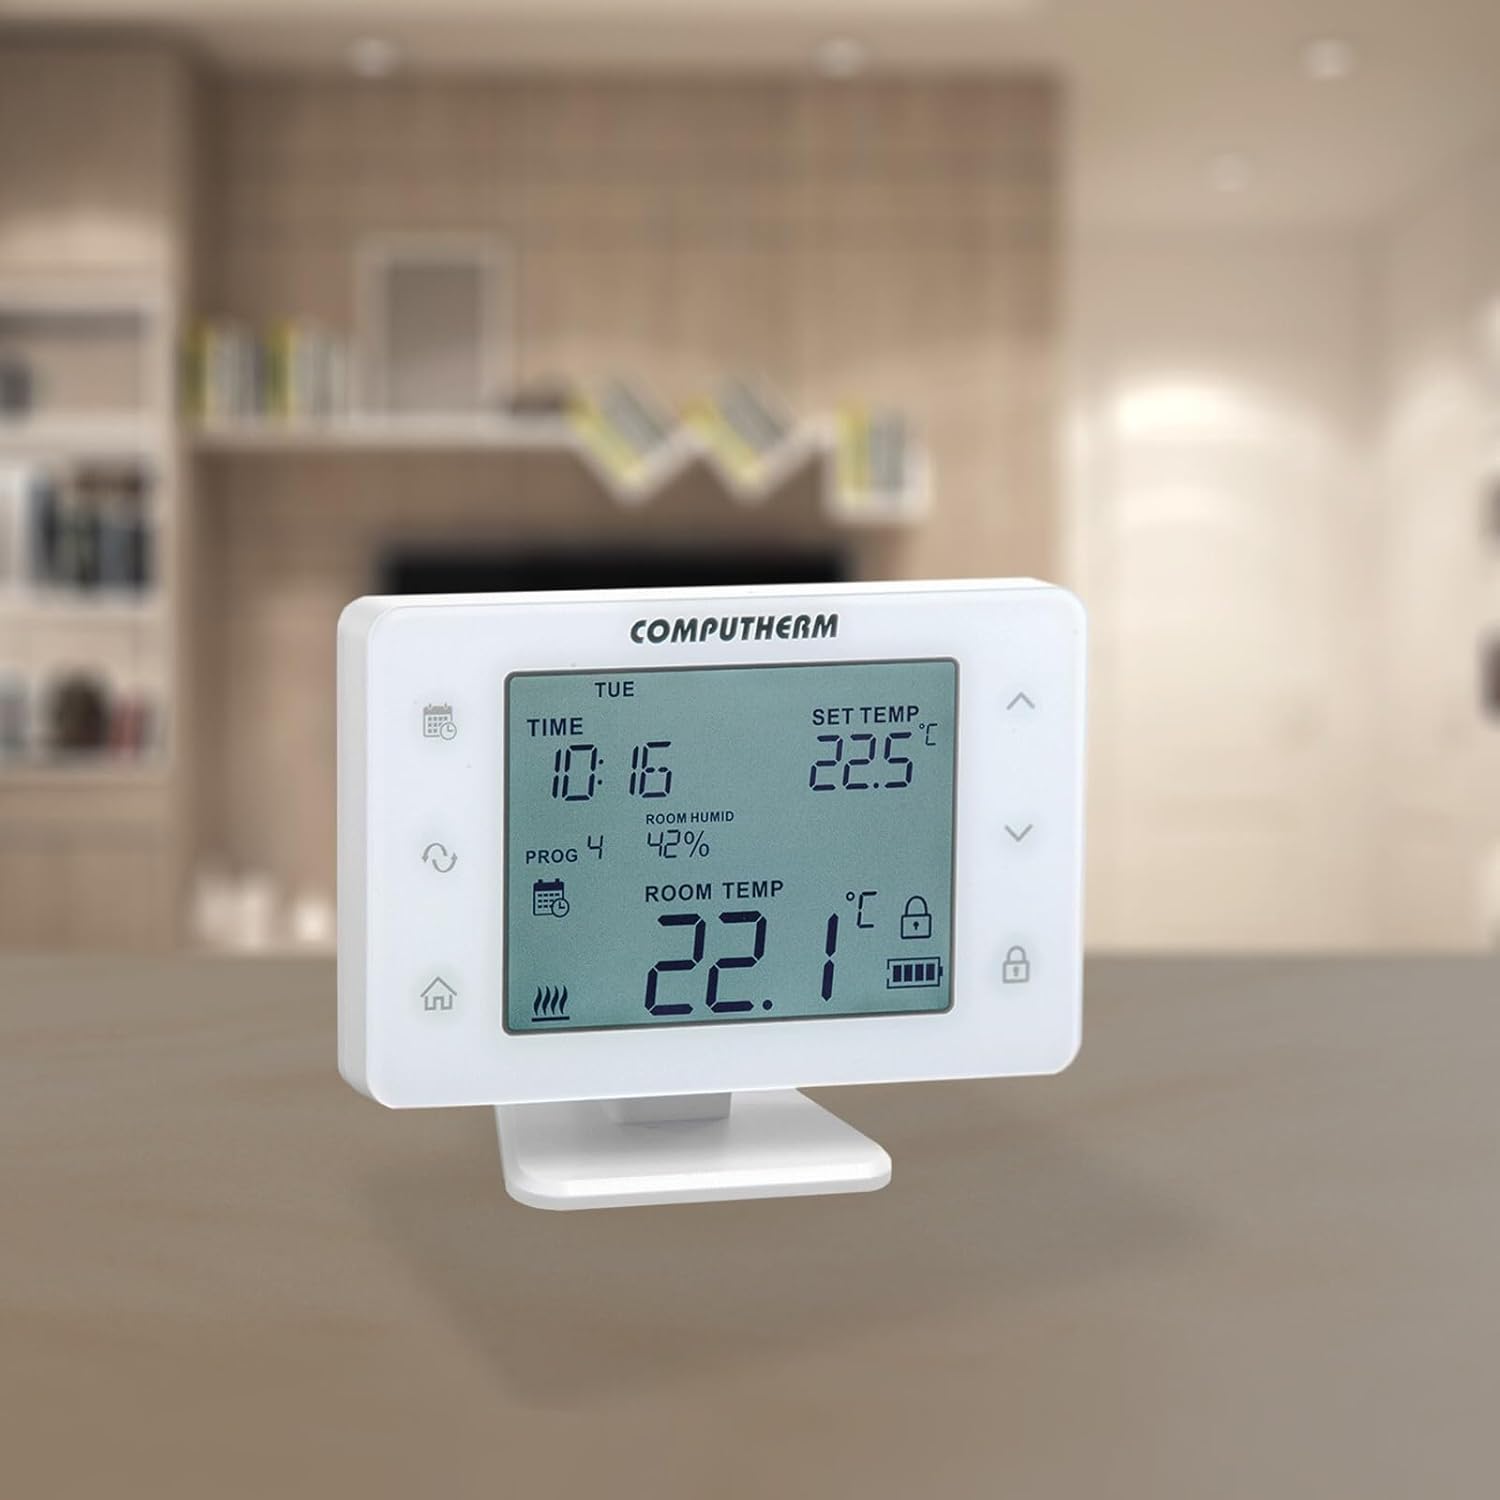
The thermostat unit is portable and can be placed on its mounting stand in any room where you want to measure and control the temperature. It requires 2 AA batteries for operation.
- Inserte las baterías: Open the battery compartment on the back of the thermostat unit and insert 2 AA batteries, observing the correct polarity.
- Colocación: Place the thermostat unit on its stand in a central location in the room, away from direct heat sources, drafts, or direct sunlight.

4.2. Instalación de la unidad receptora
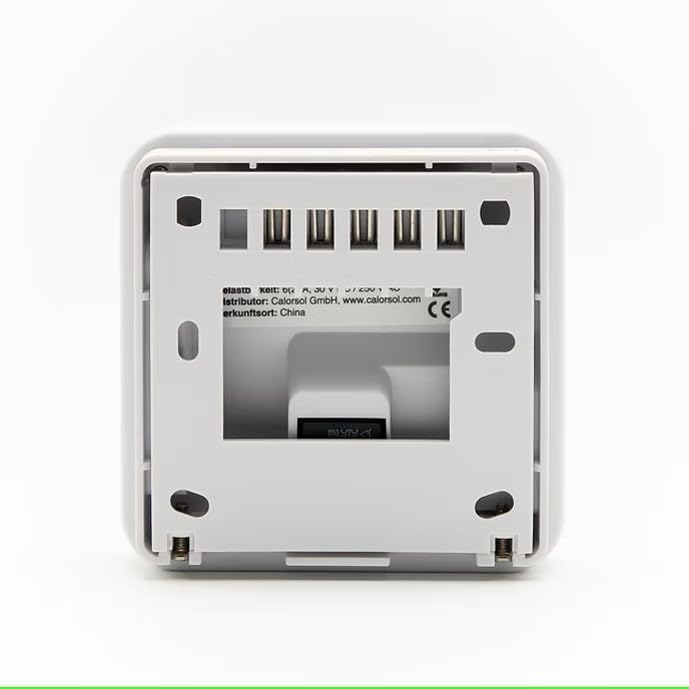
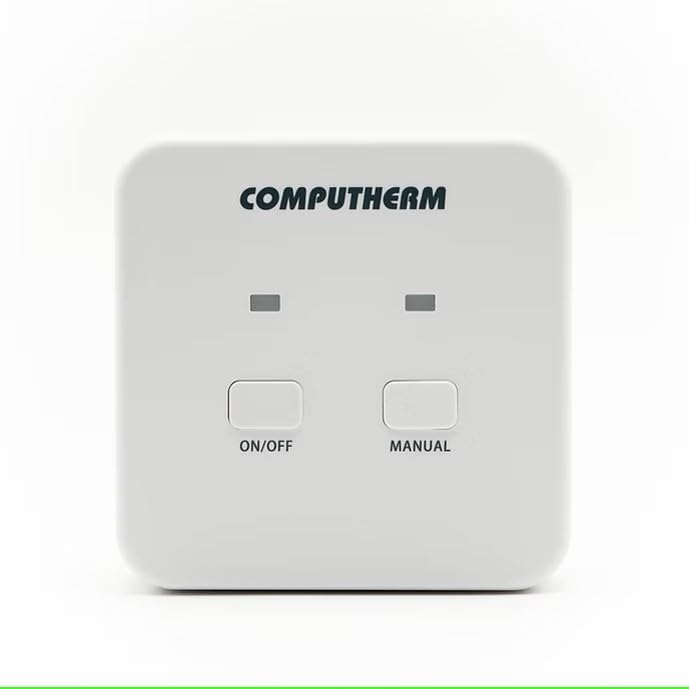
The receiver unit connects directly to your heating or cooling system. This installation should be performed by a qualified professional.
- Apagado: Ensure the main power supply to your heating/cooling system is completely turned off before proceeding.
- Montaje: Mount the receiver unit in a suitable location near your heating/cooling system, ensuring good signal reception from the thermostat unit.
- Alambrado: Connect the receiver unit to your heating/cooling system using the provided connection cables according to the wiring diagram specific to your system. Refer to the detailed wiring instructions provided with your heating/cooling appliance or consult a professional. The receiver unit operates on 230 Volts.
- Encendido: Once wiring is complete and secure, restore power to your heating/cooling system.
4.3. Pairing (Wireless Connection)
The thermostat unit and receiver unit are typically pre-paired at the factory. If they are not communicating, follow the pairing instructions in the full manual or contact support.
5. Instrucciones de funcionamiento
5.1. Pantalla y botones
The large display shows current time, set temperature, room humidity, and room temperature. The display features a backlight with adjustable brightness. Buttons activate an acoustic signal when touched.
5.2. Modos de funcionamiento
The thermostat allows easy switching between various modes:
- Modo de calefacción: Activa el sistema de calefacción cuando la temperatura ambiente desciende por debajo de la temperatura establecida.
- Modo de enfriamiento: Activa el sistema de enfriamiento cuando la temperatura ambiente supera la temperatura establecida.
- Modo de humidificación: Controls a humidifier to increase room humidity.
- Modo de deshumidificación: Controls a dehumidifier to reduce room humidity.
The thermostat also features a humidity limit for cooling. This function allows you to set a humidity level above which the thermostat will stop cooling to prevent condensation.
5.3. Programming Daily Schedules
You can create independent daily programs for each day of the week. For each day, in addition to a fixed switching time, 10 freely adjustable switching times can be set. A different temperature and humidity can be assigned to each switching time.
- Access the programming menu (refer to the full manual for specific button sequences).
- Seleccione el día de la semana que desea programar.
- Set up to 10 switching times and their corresponding desired temperature and humidity levels.
- Repeat for other days as needed.
5.4. Manual Modes
- Modo manual temporal: Allows you to override the current program setting for a specified duration (1 to 99 hours or 1 to 99 days) until the next programmed switching time.
- Permanent Manual Mode: Maintains a constant temperature setting, overriding all programmed schedules until manually changed.
5.5. Configuración avanzada
- Selectable Switching Sensitivity: Adjust the temperature differential before the system activates (e.g., 0.1°C, 0.2°C).
- Temperature and Humidity Sensor Calibration: Allows for fine-tuning the sensor readings if they appear inaccurate.
- Pump Protection Function: Periodically activates the pump to prevent seizing during long periods of inactivity.

6. Mantenimiento
6.1. Reemplazo de la batería
The thermostat unit will indicate low battery power on its display. Replace the 2 AA batteries promptly to ensure continuous operation. Always use new, high-quality alkaline batteries.
6.2. Limpieza
Wipe the thermostat and receiver units with a soft, dry, or slightly damp cloth. Do not use chemical cleaners, abrasives, or solvents, as these can damage the plastic casing y componentes electrónicos.
7. Solución de problemas
If you encounter issues with your COMPUTHERM Q20RF thermostat, try the following steps:
- No hay pantalla/la unidad no responde: Check if the batteries in the thermostat unit are correctly inserted and have sufficient charge. Replace them if necessary.
- Calefacción/refrigeración no activada:
- Ensure the receiver unit has power.
- Verify the thermostat is in the correct operating mode (Heating/Cooling).
- Check the set temperature; it must be above (for heating) or below (for cooling) the current room temperature to trigger the system.
- Confirm the thermostat and receiver units are paired and within wireless range.
- Lectura de temperatura inexacta: Consider calibrating the temperature sensor through the advanced settings menu. Ensure the thermostat is not exposed to drafts, direct sunlight, or other heat sources.
- Problemas de programación: Review the programming steps in the manual. Ensure the current time and day are set correctly.
Si los problemas persisten después de intentar estas soluciones, comuníquese con el servicio de atención al cliente.
8. Especificaciones
| Marca | COMPUTADORA |
| Número de modelo | Q20RF |
| Color | Blanco |
| Dimensiones del producto (L x An x Al) | 225 x 5 x 14 cm (Thermostat unit); 351 grams |
| Volumentage (Receptor) | 230 voltios |
| Fuente de alimentación (receptor) | Cable eléctrico |
| Batteries (Thermostat) | Se requieren 2 pilas AA |
| Tecnología de conectividad | Inalámbrico (RF) |
| Tipo de control | Programable |
| Tipo de control de temperatura | Calefacción, refrigeración |
| Característica especial | Ajustable |
| Usos específicos del producto | Electric or gas heating or cooling |
| Fabricante | Quantrax LTD |
9. Garantía
COMPUTHERM products are designed for reliability and user-friendliness. This product is covered by a manufacturer's warranty against defects in materials and workmanship under normal use. The specific terms and duration of the warranty may vary by region. Please retain your proof of purchase for warranty claims.
Information regarding the availability of spare parts is not provided. For detailed warranty information, please refer to the documentation included with your purchase or contact the manufacturer directly.
10. Atención al cliente
For further assistance, technical support, or warranty inquiries, please contact the manufacturer:
- Fabricante: Quantrax LTD
- Websitio: Please visit the official COMPUTHERM webSitio para obtener detalles de contacto y recursos adicionales.
- Distribuidor: CalorSol GmbH (for specific regions, check your purchase details)
When contacting support, please have your product model number (Q20RF) and proof of purchase readily available.
Ask a question about this manual
Ask about setup, troubleshooting, compatibility, parts, safety, or missing instructions. Manuals+ will review the question and use this page’s manual context to help answer it.