
1. Introducción
This manual provides detailed instructions for the installation, operation, and maintenance of your Inter-Tech GD-MS013 M.2 Hard Drive Enclosure. Please read this manual thoroughly before using the product to ensure proper functionality and to prevent damage.
2. Contenido del paquete
- Inter-Tech GD-MS013 M.2 Hard Drive Enclosure
- USB SuperSpeed 10Gbps Cable (Type-C to Type-A or Type-C to Type-C, depending on model variant)
- Estuche de transporte pequeño
- Manual de usuario (este documento)
3. Características
- Compact and elegant aluminum design.
- USB SuperSpeed 10Gbps interface for high-speed data transfer.
- Tool-free installation and removal of M.2 SSDs (lengths from 30mm to 80mm).
- Includes a protective carrying case for portability.
4. Especificaciones
| Característica | Detalle |
|---|---|
| Modelo | GD-MS013 |
| Dimensiones (L x An x Al) | 113 x 37 x 12 mm (4.45" x 1.46" x 0.47") |
| Peso | 0.05 kilogramos/1.76 onzas |
| Material | Aluminio |
| Interfaz | USB SuperSpeed 10Gbps (USB 3.1 Gen 2) |
| SSD compatibles | M.2 SSDs (2230, 2242, 2260, 2280 lengths) |
| Tasa máxima de transferencia de datos | 10 gigabits por segundo |
| Dispositivos compatibles | Laptops, Desktops, other USB-enabled devices |
5. Setup: M.2 SSD Installation
Follow these steps to install your M.2 SSD into the GD-MS013 enclosure. Ensure the enclosure is disconnected from any power source or computer before proceeding.
- Abra el recinto: Gently slide the end cap of the enclosure to reveal the internal tray. The enclosure is designed for tool-free access.
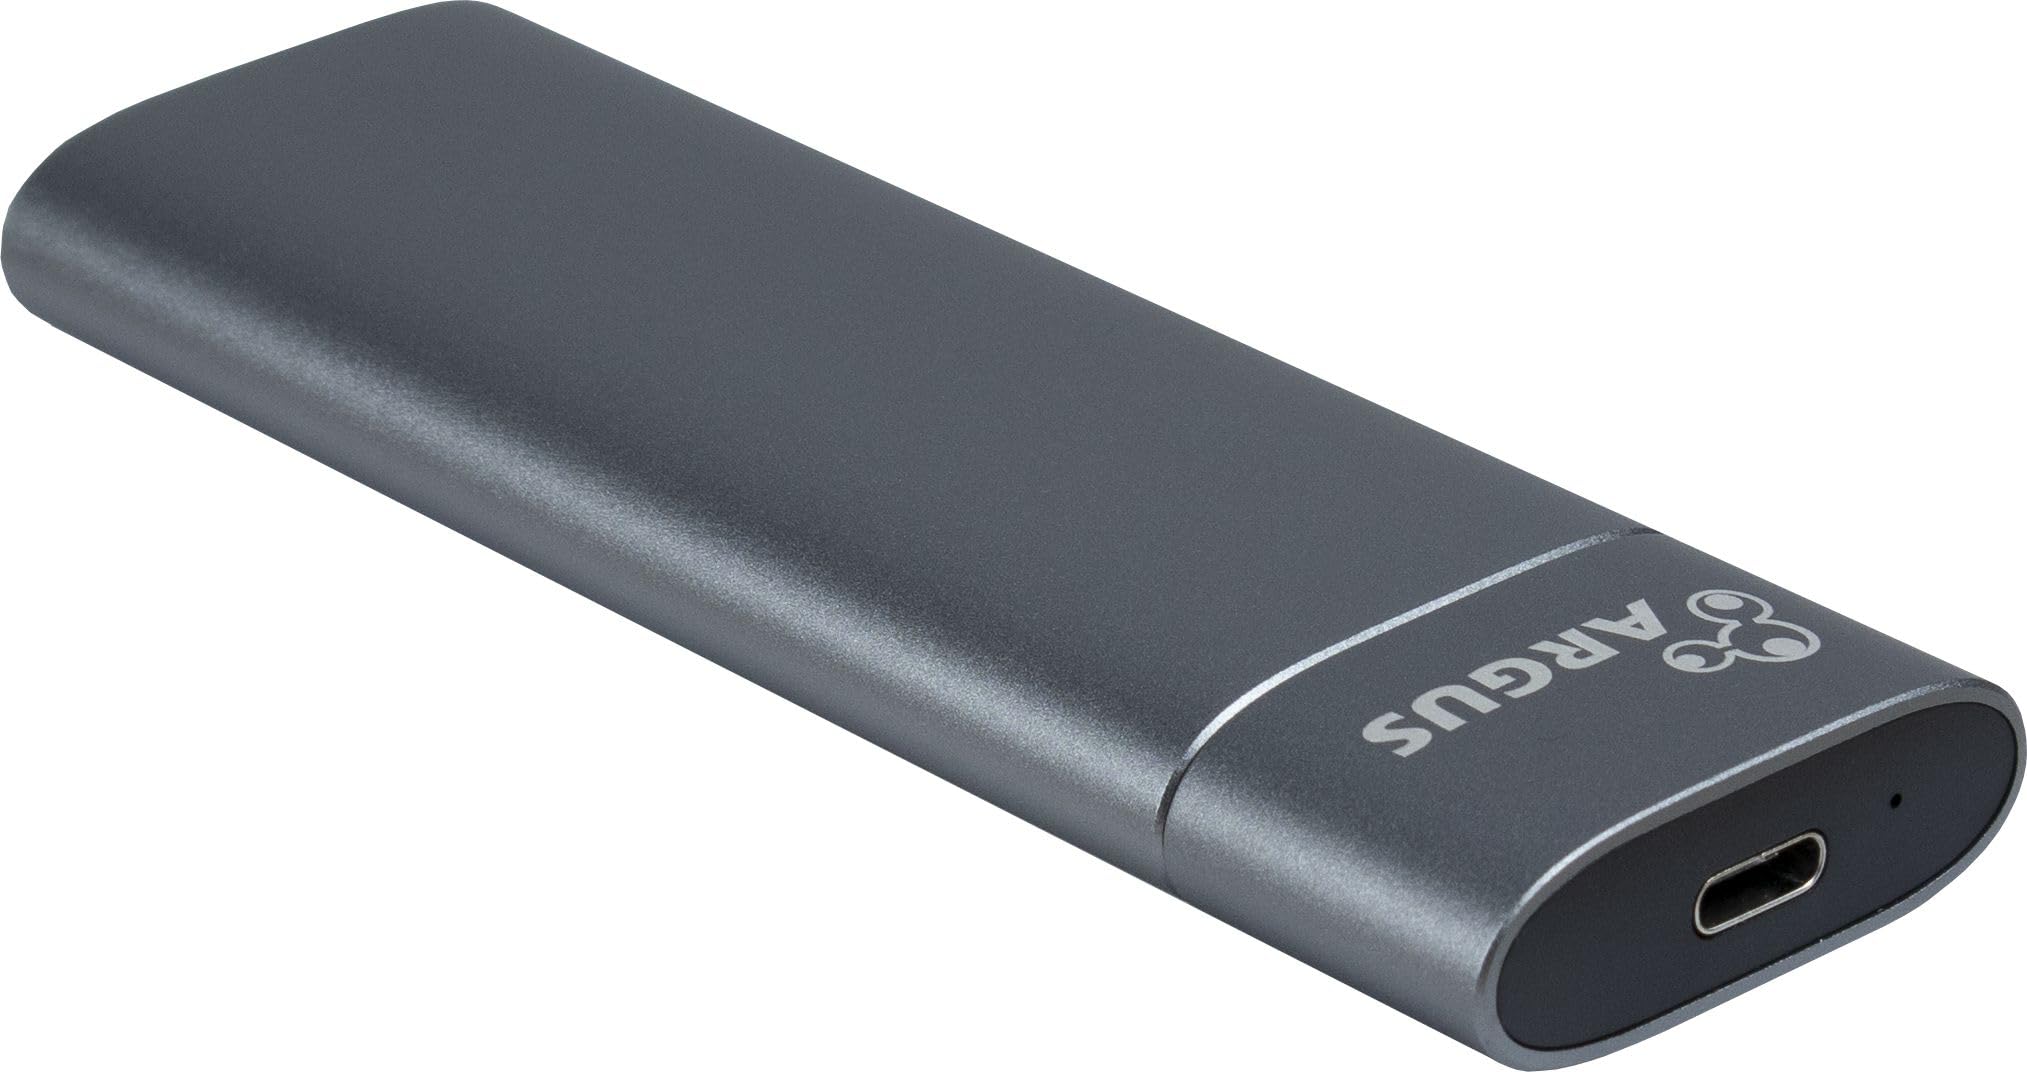
Image: Enclosure with the end cap removed, showing the M.2 connector.
- Insertar SSD M.2: Carefully align your M.2 SSD with the M.2 slot on the internal PCB. Insert the SSD firmly into the slot at an angle.

Image: Internal tray of the enclosure, ready for M.2 SSD insertion.
- Asegure el SSD: Once inserted, gently push the SSD down until it is flat. Secure it using the provided rubber fastener or clip, matching the length of your M.2 SSD (2230, 2242, 2260, or 2280).
- Cerrar el recinto: Slide the end cap back onto the enclosure until it clicks securely into place.

Image: The GD-MS013 enclosure in its fully assembled state.
Your M.2 SSD is now installed and ready for connection.
6. Instrucciones de funcionamiento
- Conectar a la computadora: Use the provided USB SuperSpeed 10Gbps cable to connect the enclosure to an available USB port on your computer. For optimal performance, use a USB 3.1 Gen 2 (10Gbps) compatible port.
- Instalación del controlador: The enclosure is plug-and-play and typically does not require additional drivers for Windows, macOS, or Linux operating systems. Your computer should automatically detect the device.
- Initialize/Format SSD (New SSDs Only): If you are using a brand new M.2 SSD, it may need to be initialized and formatted before it can be used.
- Ventanas: Open Disk Management (Right-click Start button > Disk Management). Locate the new disk, right-click it, and select "Initialize Disk." Follow the prompts to create a new simple volume and format it (e.g., NTFS).
- Mac OS: Open Disk Utility (Applications > Utilities > Disk Utility). Select the new disk, click "Erase," choose a format (e.g., APFS or Mac OS Extended), and click "Erase."
- Transferencia de datos: Once recognized and formatted, the M.2 SSD in the enclosure will appear as a removable drive. You can now drag and drop files, copy, or move data to and from the drive as you would with any other external storage device.
- Eliminación segura: Siempre expulse de forma segura la unidad de su sistema operativo antes de desconectar el cable USB para evitar la corrupción de datos.
- Ventanas: Haga clic en el ícono "Quitar hardware de forma segura y expulsar medio" en la bandeja del sistema y luego seleccione la unidad.
- Mac OS: Drag the drive icon to the Trash or right-click the drive icon and select "Eject."
7. Mantenimiento
- Limpieza: Utilice un paño suave y seco para limpiar el exterior de la carcasa. Evite limpiadores líquidos o disolventes.
- Almacenamiento: When not in use, store the enclosure in its provided carrying case to protect it from dust and scratches.
- Temperatura: Avoid exposing the enclosure to extreme temperatures or direct sunlight.
- Manejo: Handle the enclosure with care. Avoid dropping it or subjecting it to strong impacts.
8. Solución de problemas
- Issue: Enclosure not detected by computer.
- Asegúrese de que el cable USB esté conectado de forma segura tanto al gabinete como a la computadora.
- Pruebe con un puerto USB diferente en su computadora.
- Pruebe con un cable USB diferente.
- Verify that the M.2 SSD is correctly installed and seated firmly in the enclosure's slot.
- If it's a new SSD, check Disk Management (Windows) or Disk Utility (macOS) to see if it needs initialization and formatting.
- Test the enclosure with another computer if possible.
- Problema: velocidades de transferencia de datos lentas.
- Ensure you are connecting the enclosure to a USB 3.1 Gen 2 (10Gbps) compatible port on your computer. Older USB 2.0 or 3.0 ports will result in lower speeds.
- Verify that your M.2 SSD itself supports high transfer speeds.
- The performance can also be affected by the computer's hardware and operating system.
- Issue: Enclosure gets warm during use.
- It is normal for the aluminum enclosure to become warm during extended use, especially during large data transfers, as it acts as a heatsink for the M.2 SSD. This is part of its design for heat dissipation.
- Asegúrese de que haya un flujo de aire adecuado alrededor del recinto.
9. Información de garantía
Inter-Tech products are designed for reliability and performance. For specific warranty terms and conditions, please refer to the warranty card included with your product or visit the official Inter-Tech webSitio. Conserve su comprobante de compra para reclamaciones de garantía.
10. Atención al cliente
If you encounter any issues not covered in this manual or require further assistance, please contact Inter-Tech customer support. Contact details can typically be found on the official Inter-Tech websitio o en el embalaje del producto.
Websitio: www.inter-tech.de