1. Producto terminadoview
The Dpofirs Dash Cam is a dual-channel car recording system designed to capture video footage from the front and rear of your vehicle. It features 1080P Full HD front recording, a 2-inch display, wide-angle lenses, loop recording, and G-sensor functionality for comprehensive vehicle monitoring.
Las características principales incluyen:
- Synchronized HD recording from front, interior, and rear cameras.
- Loop recording to ensure continuous recording by overwriting older files.
- 6-layer high transparency glass lens for clear image quality.
- Wide vision angles: 170° front, 110° cabin, and 110° rear.
- Wide Dynamic Range (WDR) image processing for optimal recording in various lighting conditions.
2. Contenido del paquete
Verifique que todos los artículos enumerados a continuación estén incluidos en su paquete:
- 1 x Dpofirs Dash Cam (Main Unit)
- 1 trasero.view Cámara con cable
- 1 x Cargador de coche con cable
- 1 x soporte de ventosa
- 2 tornillos (para montaje de la cámara trasera)
- 1 x Adhesive Tape (for rear camera mounting)
- 1 x Manual de usuario
Note: A Micro SD memory card (up to 32GB) is required for recording and is not included in the package.

Image: Dpofirs Dash Cam main unit, rear camera, car charger, suction cup mount, screws, and adhesive tape.
3. Configuración e instalación
3.1 Inserción de la tarjeta de memoria
- Asegúrese de que la cámara del tablero esté apagada.
- Locate the Micro SD card slot on the side of the main unit.
- Inserte una tarjeta Micro SD de clase 10 o superior (hasta 32 GB) en la ranura hasta que encaje en su lugar.
- Para quitarla, empuje suavemente la tarjeta nuevamente hasta que salga.
3.2 Montaje de la cámara de tablero frontal
- Limpie el área del parabrisas donde desea montar la cámara del tablero.
- Attach the suction cup bracket to the dash cam.
- Press the suction cup firmly against the windshield, ensuring it does not obstruct your view.
- Ajuste el ángulo de la cámara para garantizar una imagen clara. view del camino por delante.

Imagen: Frente view of the Dpofirs Dash Cam with its suction cup mount.
3.3 Instalación de la cámara trasera
- Identify a suitable location on your rear windshield or license plate area for the rear camera.
- Use the provided adhesive tape or screws to securely mount the rear camera.
- Connect the rear camera cable to the main dash cam unit. Route the cable neatly along the vehicle's interior trim to avoid interference.

Image: Dpofirs Dash Cam main unit and the rear camera, illustrating the dual camera setup.
3.4 Conexión de la alimentación
- Conecte el cargador de automóvil a la toma de corriente de 12 V de su vehículo (toma del encendedor de cigarrillos).
- Connect the other end of the car charger cable to the USB power input port on the dash cam.
- La cámara del tablero se encenderá automáticamente y comenzará a grabar cuando se encienda el encendido del vehículo.
4. Instrucciones de funcionamiento
4.1 Controles básicos
The dash cam features several buttons for navigation and control:
- Botón de encendido: Press and hold to turn the device on/off. Short press to toggle screen display.
- Botón de menú (M): Press to enter the menu settings. Press again to cycle through menu options.
- Botón OK: Confirm selections in the menu or start/stop recording.
- Botones arriba / abajo: Navegue por las opciones del menú o ajuste la configuración.

Imagen: Frente view of the Dpofirs Dash Cam showing the display screen and control buttons (OK, M, Power, Up, Down).
4.2 Modos de grabación
The dash cam supports various recording functionalities:
- Grabación en bucle: This feature automatically overwrites the oldest video files when the memory card is full, ensuring continuous recording without manual intervention. Video segments are typically recorded in 1, 3, or 5-minute intervals.
- Sensor G (bloqueo de emergencia): The built-in G-sensor detects sudden impacts or collisions. When triggered, the current video segment is automatically locked and saved to prevent it from being overwritten by loop recording.
- Monitor de estacionamiento: When enabled, the dash cam will automatically start recording if it detects motion or impact while the vehicle is parked. This feature requires a constant power supply (e.g., hardwire kit, not included) to function continuously.

Image: Visual explanation of Loop Recording, Emergency Lock (G-Sensor), and Parking Monitor functions.

Image: Icons representing Gravity Sensor (G-Sensor) and Loop Recording features.
4.3 Configuración de fecha y hora
- Presione el Menú (M) botón para entrar en el menú de configuración.
- Utilice el Arriba/Abajo buttons to navigate to the 'Date/Time' setting.
- Prensa OK para entrar en la configuración.
- Usar Arriba/Abajo para ajustar valores y OK para pasar al siguiente campo.
- Una vez configurado, presione Menú (M) Para salir.
4.4 Reproducción de video
- Stop recording by pressing the OK button if currently recording.
- Presione el Modo button (often labeled 'M' or a specific mode button) to switch to playback mode.
- Utilice el Arriba/Abajo buttons to select the desired video file.
- Prensa OK para reproducir el vídeo seleccionado.
4.5 Understanding Camera Views

Image: Illustration of the comprehensive recording capabilities from the front, interior, and rear lenses.
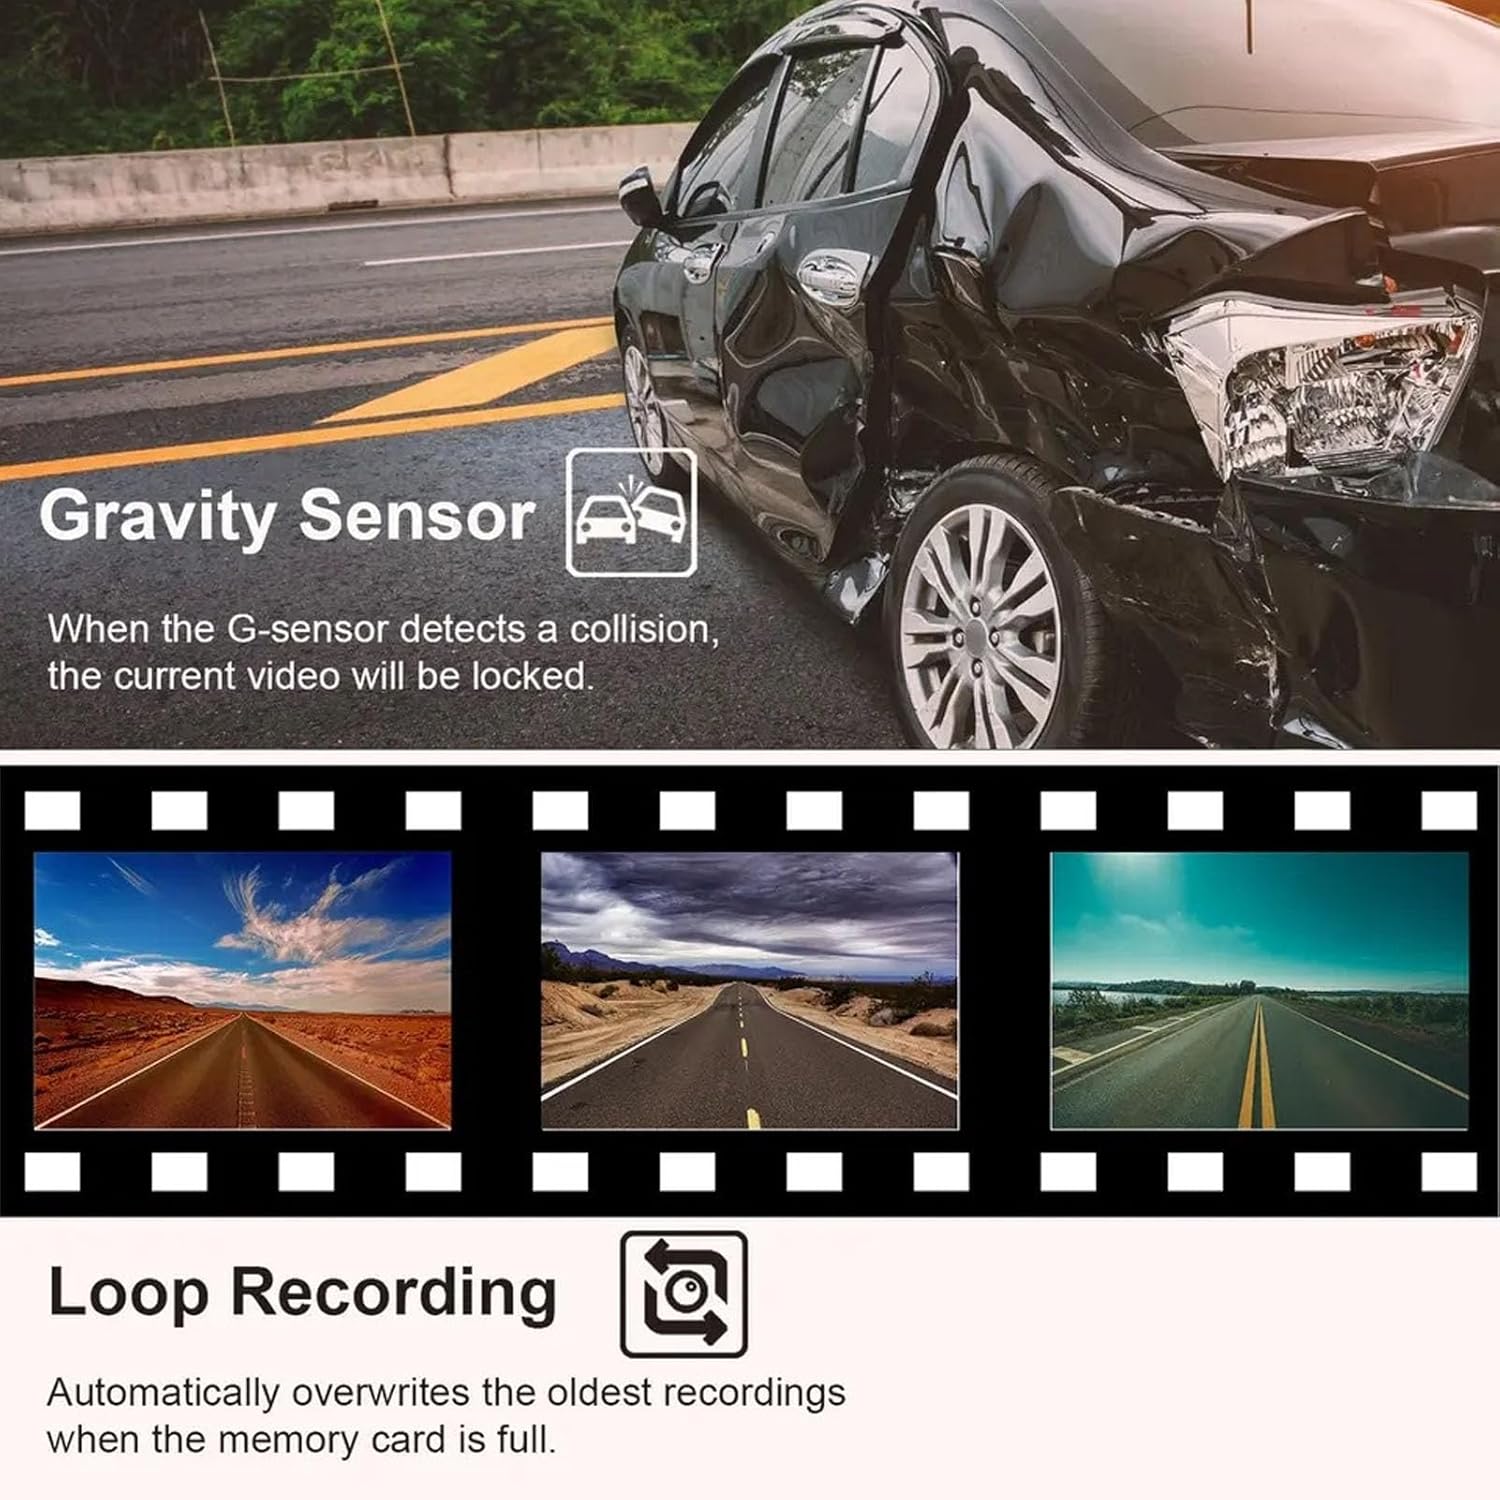
Image: Specific details on the 170° front (1080P), 110° inside (480P), and 110° rear (480P) camera views.
5. Mantenimiento
5.1 Limpieza de las lentes y la pantalla
- Use a soft, lint-free cloth to gently wipe the camera lenses and the display screen.
- Para manchas difíciles, un poco deampen the cloth with lens cleaning solution. Avoid harsh chemicals.
- Ensure lenses are clean for optimal video quality.
5.2 Gestión de tarjetas de memoria
- It is recommended to format the Micro SD card periodically (e.g., once a month) to maintain optimal performance and prevent data corruption.
- To format, navigate to the 'Format' option in the dash cam's menu settings and confirm.
- Replace the memory card if you experience frequent recording errors or data loss.
6. Solución de problemas
6.1 La cámara del tablero no se enciende
- Asegúrese de que el cargador del automóvil esté conectado de forma segura tanto a la cámara del tablero como a la toma de corriente de 12 V del vehículo.
- Check if the vehicle's 12V power outlet is functioning correctly (e.g., by testing with another device).
- Verify that the vehicle's ignition is on, as the dash cam typically powers on with the ignition.
6.2 Recording Stops or Fails
- Check if the Micro SD card is full. Format the card if necessary (back up important files primero).
- Ensure you are using a Class 10 or higher Micro SD card. Lower class cards may not support continuous recording.
- The memory card may be faulty. Try replacing it with a new, compatible card.
- Asegúrese de que la grabación en bucle esté habilitada en la configuración.
6.3 Mala calidad de video
- Limpie las lentes de la cámara para eliminar cualquier suciedad o manchas.
- Asegúrese de que se haya quitado la película protectora de las lentes.
- Check video resolution settings in the menu; ensure it is set to 1080P FHD for the front camera.
- Verify that the camera is securely mounted and not vibrating excessively.
7. Especificaciones
| Main Control Model | 3292 |
| Sensor de imagen | GC1054 / 0308 |
| Mostrar | Pantalla a color de 2.0 pulgadas |
| Resolución de vídeo | Front: 1080P FHD; Interior/Rear: 480P |
| Video File Formato | Avión |
| Formato de la fotografía | JPG |
| Detección de movimiento | Apoyado |
| Función de grabación | Apoyado |
| Parking Wake Up | Apoyado |
| Tiempo Tag | Apoyado |
| Soporte para tarjetas de memoria | Micro SD, up to 32GB (Class 10 or higher recommended) |
| Tipo de batería | Batería de polímero de litio incorporada de 180 mAh |
| Tecnología de conectividad | USB |
| Dimensiones del paquete | 5.91 x 4.33 x 2.76 pulgadas |
8. Garantía y soporte
Información de garantía: Consulte la documentación de compra o la del minorista. website for specific warranty details and terms applicable to your Dpofirs Dash Cam.
Atención al cliente: For technical assistance, troubleshooting not covered in this manual, or any other inquiries, please contact Dpofirs customer service through the retailer's platform or the official Dpofirs websitio.