
1. Introducción
The SINGER® HD0400S Heavy Duty Overlock Serger Sewing Machine is designed for durable performance and professional finishes. This machine offers speed, strength, and precision for various sewing projects, from finishing seams to creating decorative edges. It features a heavy metal frame, 2/3/4 thread capability, and a high stitching speed of up to 1,300 stitches per minute.
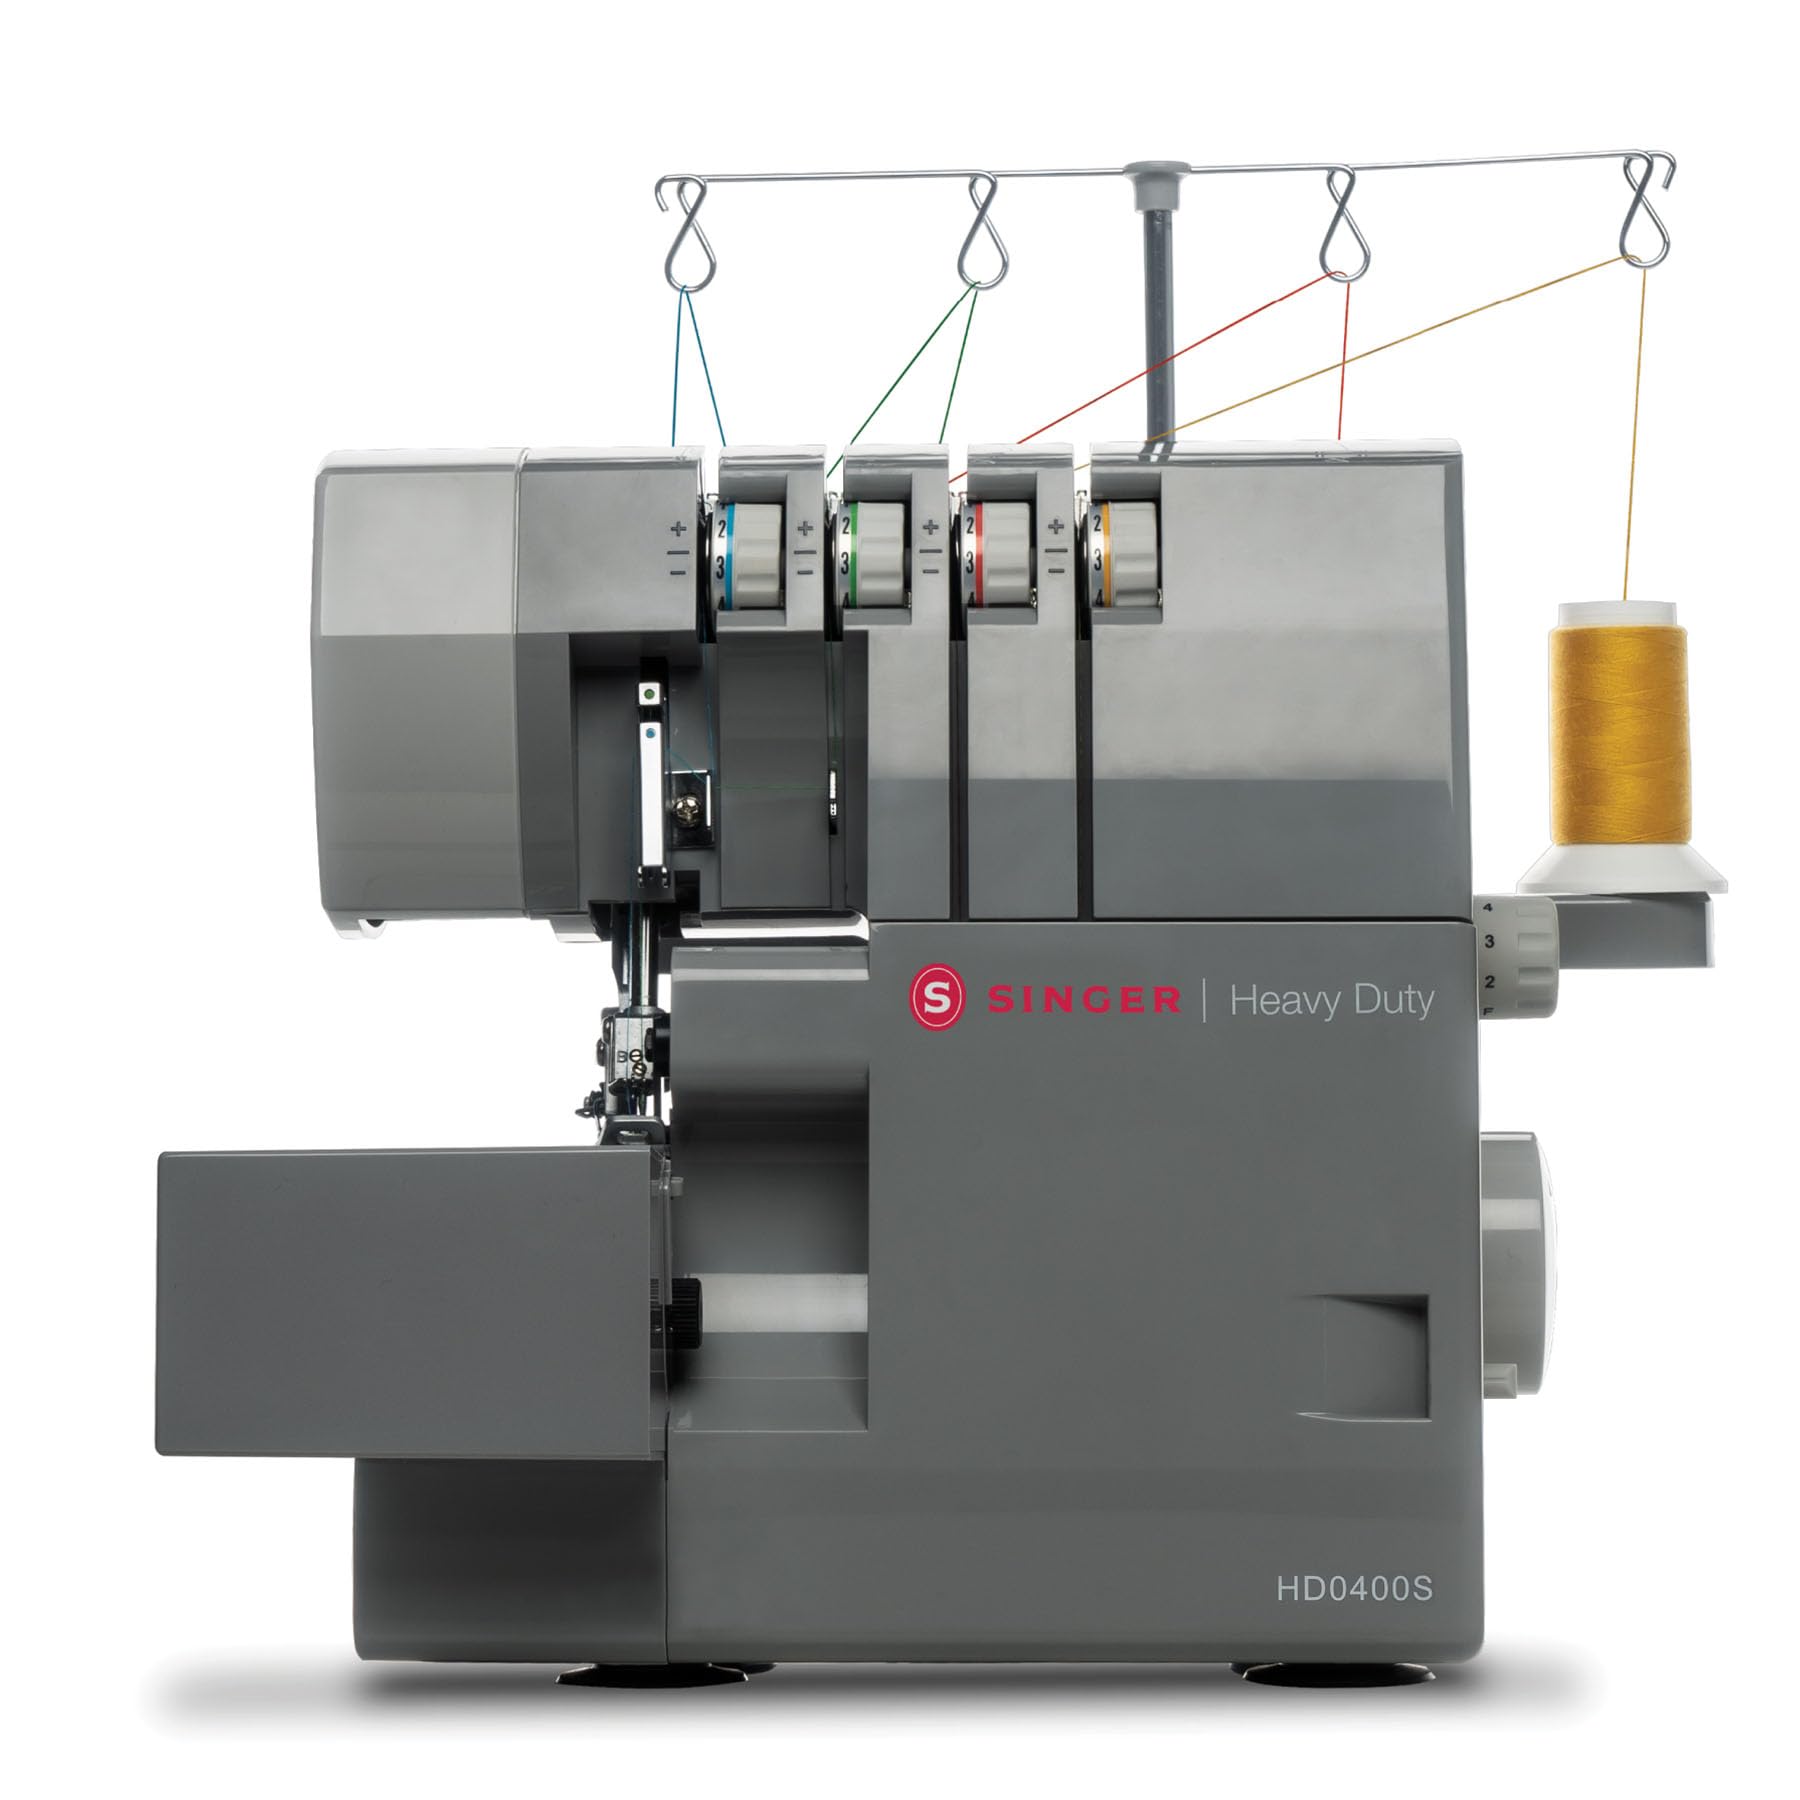
Figura 1: The SINGER HD0400S Heavy Duty Overlock Serger Sewing Machine, showcasing su diseño robusto.
This manual provides instructions for setting up, operating, and maintaining your SINGER HD0400S serger to ensure optimal performance and longevity.
2. Instrucciones de seguridad importantes
Before using the SINGER HD0400S serger, please read all instructions. Keep this manual for future reference.
- Desenchufe siempre la máquina del tomacorriente inmediatamente después de usarla y antes de limpiarla, quitar cubiertas o realizar cualquier ajuste de servicio por parte del usuario.
- No permita que los niños operen la máquina sin supervisión.
- Utilice este aparato únicamente para el uso previsto, tal como se describe en este manual.
- Nunca opere la máquina si tiene un cable o enchufe dañado, si no funciona correctamente o si se ha caído o dañado.
- Keep fingers away from all moving parts. Special care is required around the serger needles and cutting knife.
- Utilice siempre la placa de aguja adecuada. Una placa incorrecta puede provocar que la aguja se rompa.
- No tire ni empuje la tela mientras cose. Esto podría desviar la aguja y romperla.
- Turn the serger off when making any adjustments in the needle area, such as threading the needle, changing the needle, or changing the presser foot.
3. Machine Components and Included Accessories
3.1 Máquina terminadaview
Familiarize yourself with the main parts of your SINGER HD0400S serger.

Figura 2: Encimaview of the SINGER HD0400S serger with key components labeled, including tension indicators, stitch length display, and differential feed adjustment.
- Right Needle Thread Tension Selector (Green): Adjusts tension for the right needle thread.
- Left Needle Thread Tension Display (Blue): Displays tension for the left needle thread.
- Upper Looper Thread Tension Indicator (Orange): Indicates tension for the upper looper thread.
- Lower Looper Thread Tension Indicator (Yellow): Indicates tension for the lower looper thread.
- Stitch Length Display: Shows the current stitch length setting.
- Differential Feed Adjustment Lever/Button: Controls the differential feed ratio.
- Cloth Plate: The working surface where fabric is placed.
3.2 Accesorios incluidos
The following accessories are included with your SINGER HD0400S serger:
- 4 Thread Spool Holders
- Pie multiusos
- pelusa cepillo
- Agujas
- Scrap Bag
- Destornillador
- Spare Lower Knife
- Esparcidor
- Compartimento de almacenamiento
- Pinzas
4. Configuración
4.1 Desembalaje y colocación
- Retire con cuidado la remalladora de su embalaje.
- Coloque la máquina sobre una superficie plana y estable.
- Ensure there is adequate space around the machine for fabric handling and accessory storage.
- Conecte el cable de alimentación a la máquina y luego a una toma eléctrica adecuada.
4.2 Enhebrado de la máquina
The SINGER HD0400S features a color-coded threading system and on-machine diagrams to simplify the threading process.

Figura 3: The color-coded threading paths on the SINGER HD0400S serger, designed for ease of use.
- Levante el prensatelas y gire el volante hacia usted para elevar las agujas a su posición más alta.
- Follow the color-coded guides on the machine for each thread (blue for left needle, green for right needle, orange for upper looper, yellow for lower looper).
- Use the included tweezers to assist with guiding threads through small openings.
- Ensure all threads are correctly seated in their tension discs and guides.
Refer to the detailed threading diagrams printed on the machine for precise instructions.
5. Instrucciones de funcionamiento
5.1 Basic Operation and Stitch Options
The HD0400S offers 2, 3, or 4 thread stitch options for various professional finishes.

Figura 4: Key operational features of the SINGER HD0400S, including high-speed stitching, the larger cutting knife, and versatile thread capacity.
- Stitching Speed: The machine operates at up to 1,300 stitches per minute, allowing for efficient completion of projects.
- 2/3/4 Thread Capability: Select the appropriate number of threads for your desired stitch type (e.g., 4-thread overlock for strong seams, 3-thread for general finishing, 2-thread for delicate rolled hems).
- Ajuste de la longitud de la puntada: Use the stitch length dial to set the desired stitch length for your fabric and project.
5.2 Differential Feed Control
The differential feed system controls the movement ratio between the front and back sections of the feed teeth. This feature is crucial for managing various fabric types.

Figura 5: A hand adjusting the differential feed dial, which helps prevent fabric stretching or puckering.
- Preventing Puckering: For lightweight or stretchy fabrics, adjust the differential feed to a higher ratio (e.g., above 1.0) to prevent puckering.
- Preventing Stretching: For knit fabrics or bias-cut materials, adjust to a lower ratio (e.g., below 1.0) to prevent stretching.
- Even Stitching: For most woven fabrics, a 1:1 ratio (1.0) is suitable for even stitching.
5.3 Dobladillo enrollado incorporado
The HD0400S features a built-in rolled hem plate, allowing for quick conversion to rolled hem stitching without changing the stitch plate.
- Locate the lever for the rolled hem conversion.
- Flip the lever to engage the rolled hem setting.
- Adjust tension settings as recommended for rolled hems (refer to the full user manual for specific tension guidelines).
5.4 Free Arm Design
The free arm design facilitates sewing tubular items such as cuffs, sleeves, and small openings.
- Remove the accessory storage compartment to expose the free arm.
- Deslice el artículo de tela tubular sobre el brazo libre.
- Proceed with stitching, ensuring the fabric moves smoothly around the free arm.
5.5 Dual LED Lighting
Two integrated LED lights illuminate the work area, reducing shadows and improving visibility, especially when working with dark fabrics or in low-light conditions.

Figura 6: A user operating the SINGER HD0400S, demonstrating the illuminated work area provided by the dual LED lights.
6. Mantenimiento
Regular maintenance ensures the smooth operation and longevity of your serger.
6.1 Limpieza
- Apagado: Siempre apague y desenchufe la máquina antes de limpiarla.
- Quitar pelusa: Use the included lint brush to remove lint and thread scraps from the feed dogs, looper area, and under the needle plate.
- Scrap Bag: Regularly empty the scrap bag to prevent accumulation of fabric trimmings.
- Limpieza exterior: Limpie las superficies exteriores con un paño suave y seco. No utilice productos químicos agresivos ni limpiadores abrasivos.
6.2 Replacing the Lower Knife
The serger includes a spare lower knife. Replace the knife when it becomes dull to ensure clean fabric cuts.
- Seguridad ante todo: Asegúrese de que la máquina esté desenchufada.
- Access Knife: Open the front cover to access the lower knife.
- Remove Old Knife: Use the screwdriver to loosen the screw holding the lower knife in place and carefully remove it.
- Install New Knife: Insert the spare lower knife, ensuring it is correctly positioned, and tighten the screw securely.
- Prueba: Close the cover and perform a test stitch on scrap fabric to verify proper cutting.
7. Solución de problemas
Esta sección aborda problemas comunes que pueden surgir. Para obtener información más detallada sobre la solución de problemas, consulte el manual del usuario completo.
| Problema | Posible causa | Solución |
|---|---|---|
| Puntadas saltadas | Aguja incorrecta, aguja doblada, enhebrado incorrecto, tensión incorrecta. | Reemplace la aguja con el tipo/tamaño correcto, vuelva a enhebrar la máquina con cuidado y ajuste la configuración de tensión. |
| Rotura de hilo | Alta tensión, hilo de mala calidad, rebabas en la ruta del hilo, enhebrado incorrecto. | Reducir la tensión, utilizar hilo de calidad, comprobar el recorrido del hilo para ver si hay obstrucciones y volver a enhebrar. |
| Fruncido/estiramiento de la tela | Incorrect differential feed setting. | Adjust differential feed ratio according to fabric type (see Section 5.2). |
| La máquina no arranca | Cable de alimentación no conectado, interruptor de encendido apagado, funciones de seguridad activadas. | Check power connections, ensure switch is on, verify all covers are closed. |
8. Especificaciones
| Característica | Detalle |
|---|---|
| Marca | SINGER |
| Número de modelo | HD0400S |
| Color | Gris |
| Material | Metal (Heavy Duty Frame) |
| Dimensiones del producto (Pr. x An. x Al.) | 14" de profundidad x 11" de ancho x 11.5" de alto |
| Fuente de poder | Eléctrico |
| Opciones de puntada | 2/3/4 Thread |
| Stitches Per Minute (SPM) | Hasta 1300 |
| Cuchillo de corte | 60% Larger than standard models |
| Alimentación diferencial | Ajustable |
| dobladillo enrollado | Placa empotrada |
| Tipo de brazo | Brazo libre |
| Iluminación | Luces led dual |
| Portabilidad | Asa de transporte integrada. |
| GTIN (UPC) | 037431887269 |
9. Garantía y soporte
For detailed warranty information, please refer to the official SINGER warranty documentation included with your purchase.
For comprehensive instructions, advanced techniques, and further troubleshooting, please download the complete User Manual (PDF) from the official SINGER website or via the link provided during purchase.
Descargar Manual de Usuario (PDF)
For customer support, visit the official SINGER websitio o comuníquese con su departamento de servicio al cliente.