
Lámpara de sol 41906-SU
Manual del usuario del regulador de intensidad LED Sunlite
Model: 41906-SU
Introducción
This manual provides comprehensive instructions for the installation, operation, and maintenance of your Sunlite LED Dimmer Switch. Designed for both residential and commercial applications, this dimmer switch offers precise control over various lighting types, including dimmable LED, CFL, incandescent, and halogen bulbs. Please read this manual thoroughly before installation and use to ensure safe and proper operation.
Información de seguridad
WARNING: RISK OF ELECTRIC SHOCK. Improper installation can lead to serious injury or death. Always turn off power at the circuit breaker before installation or servicing.
- Asegúrese de que la energía esté desconectada en el disyuntor antes de comenzar cualquier trabajo eléctrico.
- Installation should be performed by a qualified electrician if you are unsure about any steps.
- No utilizar con bombillas no regulables.
- Este dispositivo está diseñado únicamente para uso en interiores.
- Cumplir con todos los códigos eléctricos locales y nacionales.
Contenido del paquete
Verifique que todos los componentes estén presentes antes de la instalación:
- Sunlite LED Dimmer Switch (Quantity: 4)
- White Wallplate (Quantity: 4)
- Herrajes de instalación (tornillos)
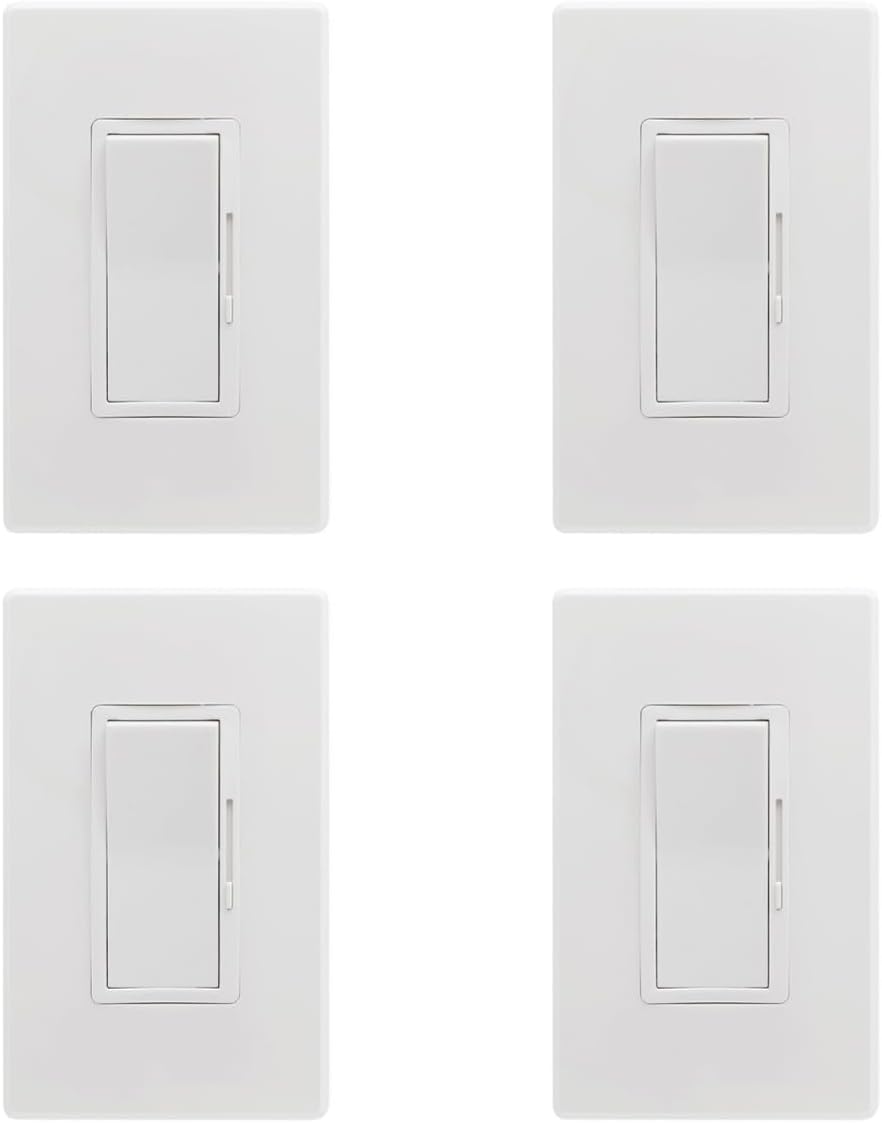
Image: Four Sunlite LED Dimmer Switches, each with a white wallplate, arranged in a 2x2 grid. This illustrates the typical package contents for the 4-pack.
Producto terminadoview y dimensiones
The Sunlite LED Dimmer Switch features a sleek design with a large rocker switch for ON/OFF control and a sliding bar for dimming. It is designed for easy integration into standard electrical boxes.

Image: A technical diagram illustrating the dimensions of the Sunlite LED Dimmer Switch and its accompanying screwless wall plate. Key measurements are provided in inches: switch body (1.70 in width, 4.10 in height, 0.90 in depth) and wall plate (2.90 in width, 4.70 in height).
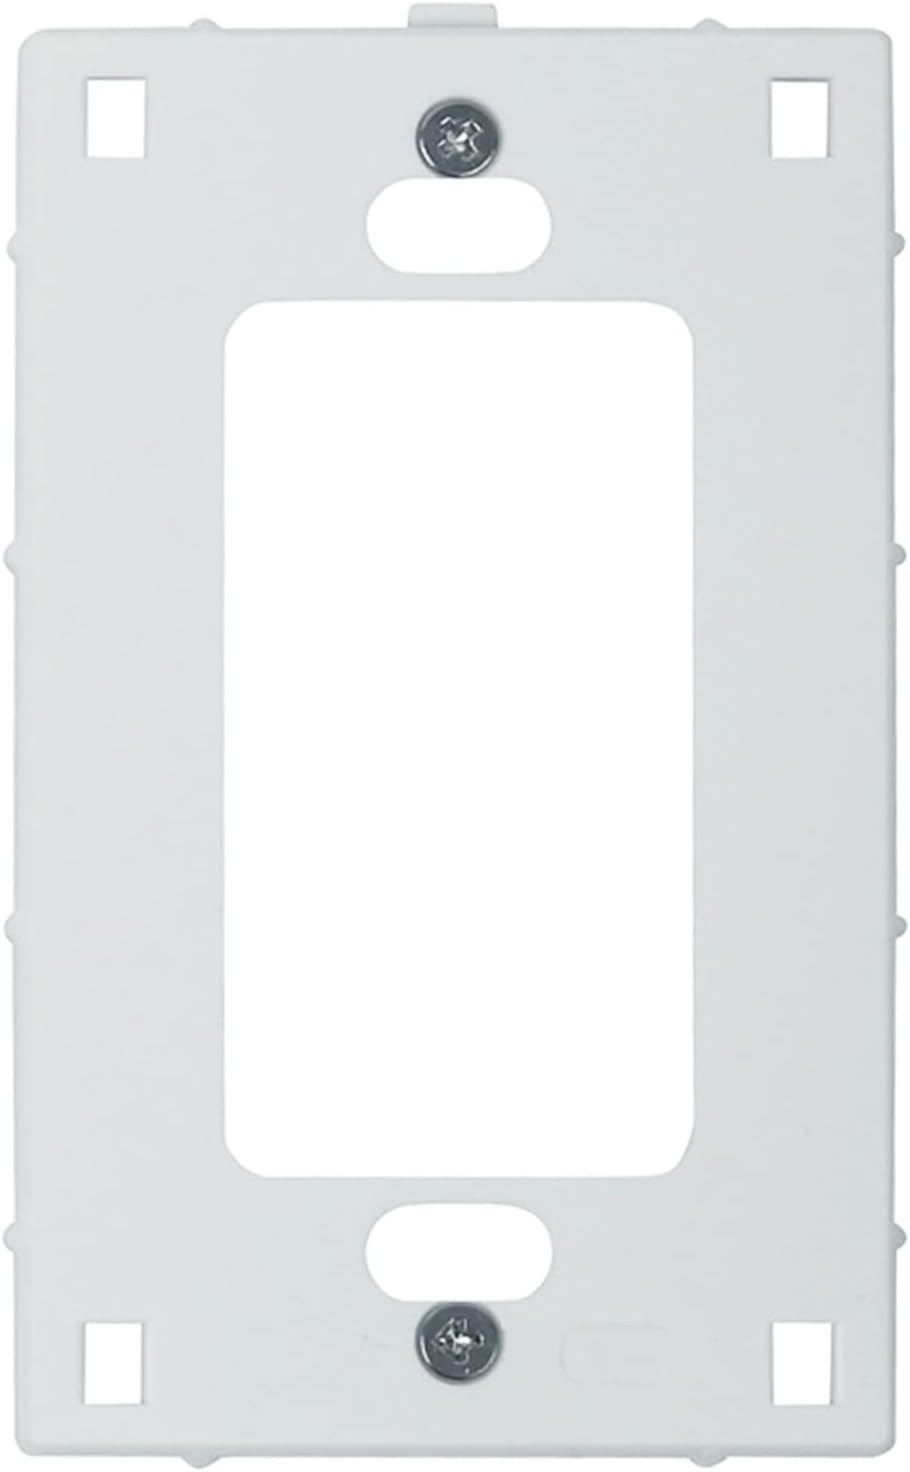
Imagen: Primer plano view of the Sunlite LED Dimmer Switch module without the wallplate, showing the rocker switch and the side-mounted slide dimmer control.

Image: A standalone white screwless wallplate, designed to cover the dimmer switch once installed, providing a clean and modern finish.
Presupuesto
| Característica | Especificación |
|---|---|
| Modo de operación | APAGADO-NINGUNO-ENCENDIDO |
| Calificación actual | 5 Amps |
| Vol de funcionamientotage | 120-277 Voltios |
| Tipo de contacto | Normalmente abierto |
| Tipo de conector | Clamp |
| Terminal | Tornillo |
| Dimensiones del artículo (largo x ancho x alto) | 1.14 x 2.9 x 4.71 pulgadas |
| Tipo de circuito | 3 vías |
| Tipo de actuador | Balancín |
| Material de contacto | Metal |
| Calificación de protección internacional | IP65 |
| Número de posiciones | 2 |
| Clasificación de temperatura superior | 104 grados Fahrenheit |
| Método de control | Tocar |
| Protocolo de conectividad | X-10 |
| Color | Blanco |
| Quétage (Carga máxima) | 600 watts (Incandescent), 200 watts (LED) |
| Carga mínima | 3W (LED), 15W (Incandescent) |
| Frecuencia | 60 Hz |
| Estilo | Moderno |
| Fabricante | Sunshine Lighting |
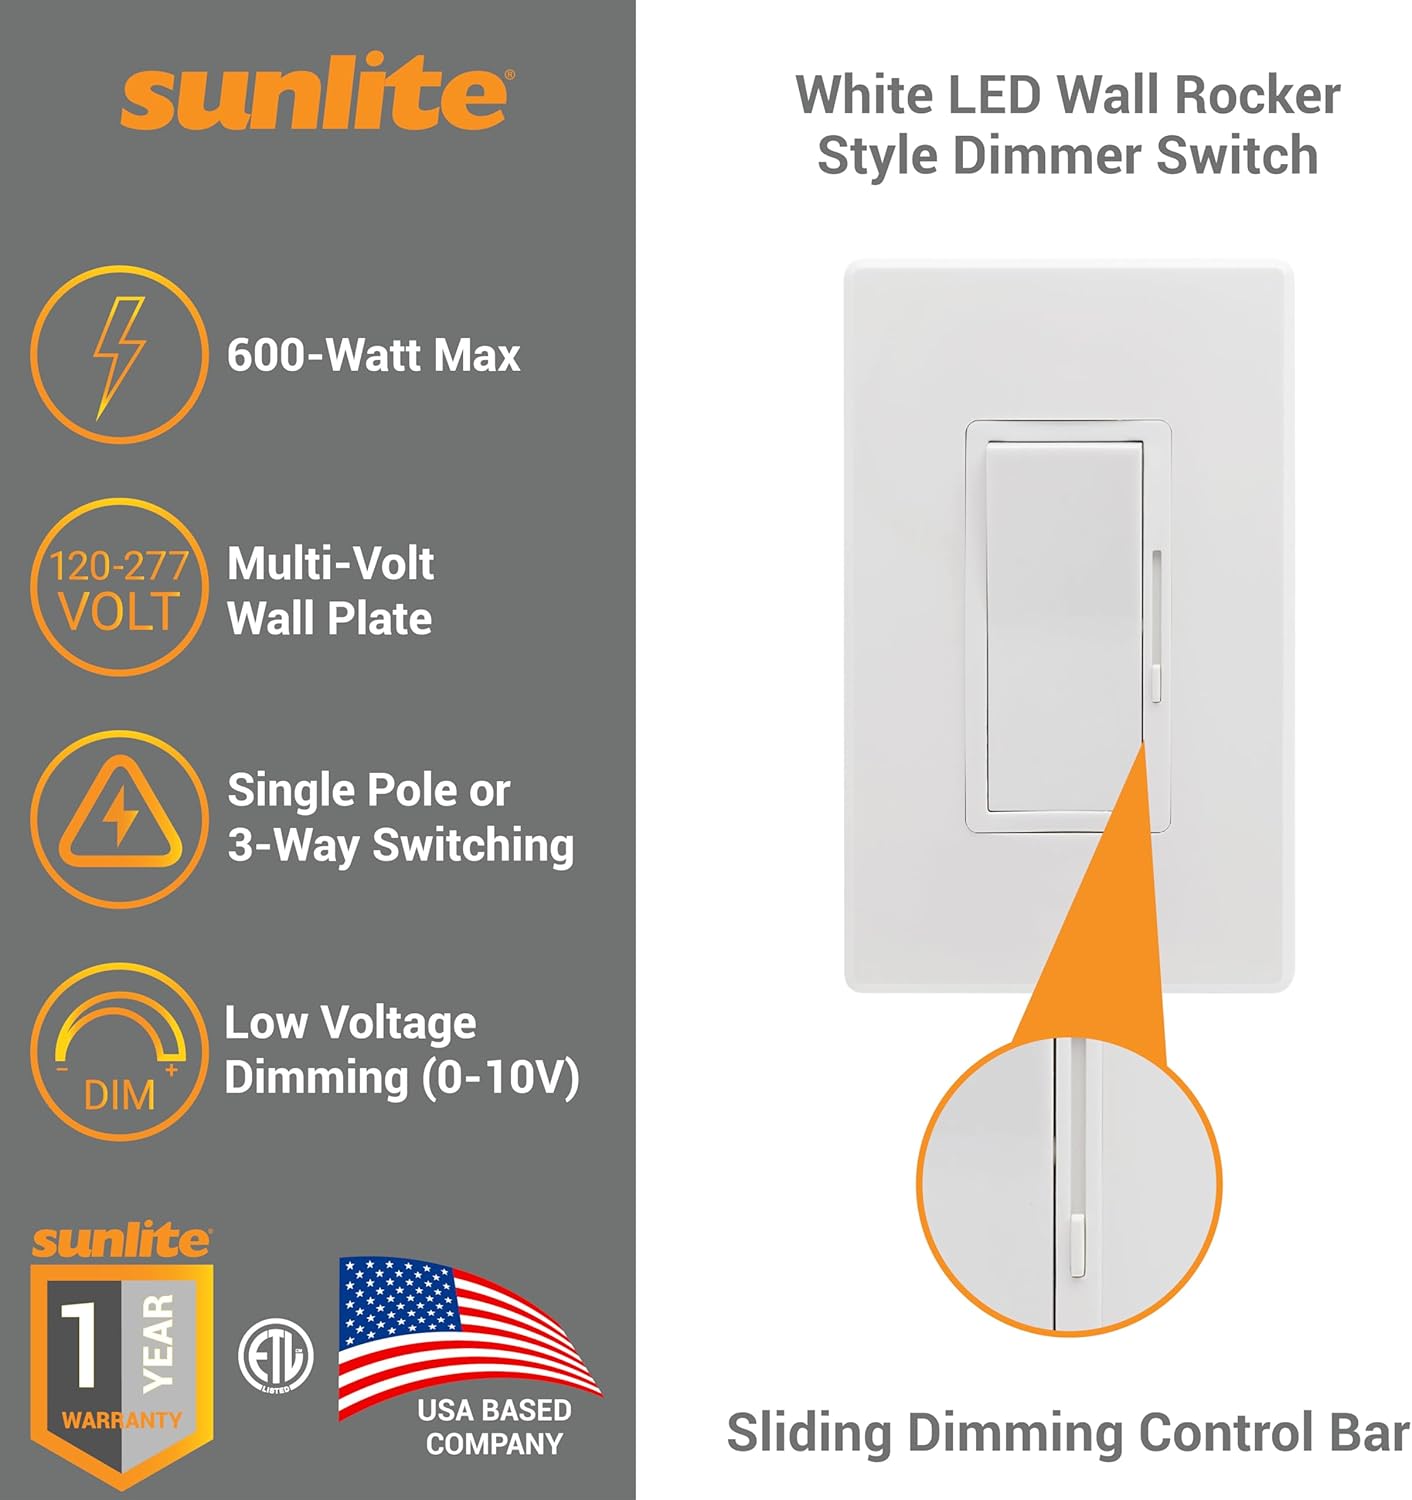
Image: Visual summary of key features including 600-Watt Max load, 120-277 Multi-Volt compatibility, Single Pole or 3-Way switching, and 0-10V Low Voltage Dimming.
Configuración e instalación
The Sunlite LED Dimmer Switch is designed for easy installation in standard switch boxes. It supports both single pole and 3-way switching configurations.
Antes de comenzar:
- Apague la energía en el disyuntor o en la caja de fusibles del circuito en el que está trabajando.
- Confirm power is off by testing the existing switch or outlet with a voltage probador.
- Gather necessary tools: screwdriver, wire strippers, electrical tape, voltage probador.
Pasos de instalación:
- Remove the existing wall plate and switch from the electrical box.
- Carefully disconnect the wires from the old switch. Note which wire is connected to which terminal (e.g., Line, Load, Traveler, Ground).
- Connect the wires to the new Sunlite dimmer switch according to the wiring diagram for your specific setup (single pole or 3-way). Refer to the official installation manual for detailed wiring diagrams.
- Secure the dimmer switch into the electrical box using the provided screws.
- Attach the screwless wall plate.
- Restablezca la energía en el disyuntor.
- Test the dimmer switch to ensure proper operation.

Image: A Sunlite dimmer switch installed in a wall, illustrating its compatibility with both single pole and 3-way wiring configurations.

Image: A graphic encouraging users to consult the product guides and documents for detailed installation instructions, with arrows pointing downwards to where such resources would typically be found.
For detailed wiring diagrams and complete installation instructions, please refer to the official Installation Manual (PDF): Descargar manual de instalación
Instrucciones de funcionamiento
The Sunlite LED Dimmer Switch is designed for intuitive operation:
- Control de encendido/apagado: Press the large rocker switch to turn the lights ON or OFF.
- Control de atenuación: Use the small sliding bar on the side of the rocker switch to adjust the light intensity. Slide up to increase brightness and down to decrease brightness.
- The 0-10V dimming control ensures smooth and precise adjustment of light levels.

Image: A Sunlite dimmer switch installed in a room, emphasizing its LED dimming control feature. The accompanying text explains that the sliding bar (0-10V) provides smooth, precise control for various dimmable bulb types.

Image: An informational graphic comparing TRIAC dimmers and 0-10 Volt dimmers. It explains that 0-10V dimmers offer more controlled dimming, require separate low-voltage wires, and are commonly used in commercial spaces, with a visual representation of light levels from 0V (OFF) to 10V (100%).
Mantenimiento
The Sunlite LED Dimmer Switch requires minimal maintenance:
- Limpieza: Para limpiar el interruptor y la placa de pared, límpielos con un paño suave y seco.amp Paño. No utilice limpiadores abrasivos ni disolventes. Asegúrese de que el aparato esté apagado antes de limpiarlo.
- Inspección: Periodically check the switch for any signs of damage or loose connections. If any issues are found, turn off power at the breaker and consult a qualified electrician.
Solución de problemas
If you encounter issues with your Sunlite LED Dimmer Switch, try the following solutions:
| Problema | Posible causa | Solución |
|---|---|---|
| Las luces no se encienden. | No power to the switch; loose wiring; faulty bulb; circuit breaker tripped. | Check circuit breaker. Ensure all wire connections are secure. Test bulb in another fixture. |
| Las luces no se atenúan ni parpadean. | Non-dimmable bulbs; incompatible bulb type; minimum load not met; loose wiring. | Ensure bulbs are dimmable LED, CFL, incandescent, or halogen. Verify total wattage meets minimum load (3W LED / 15W Incandescent). Check wiring connections. |
| El interruptor del regulador de intensidad está caliente al tacto. | Overload; improper installation. | Asegurar wat totaltage of connected bulbs does not exceed maximum load (200W LED / 600W Incandescent). Turn off power and re-check wiring. If problem persists, consult an electrician. |
| Switch does not fit in electrical box. | Box is too shallow or full of wires. | Ensure proper box depth. Consult an electrician if the box is too crowded. |
Garantía y soporte
Sunlite products are designed for reliability and performance. This dimmer switch comes with a 1-year warranty from the date of purchase, covering defects in materials and workmanship.
For warranty claims or technical support, please contact Sunlite customer service. Keep your proof of purchase for warranty validation.
For additional information or assistance, visit the official Sunlite Store: Tienda Sunlite en Amazon
Ask a question about this manual
Ask about setup, troubleshooting, compatibility, parts, safety, or missing instructions. Manuals+ will review the question and use this page’s manual context to help answer it.