
Leipan LPM7-LP
Manual del usuario del microscopio de monedas Leipan LPM7 de 4.3"
Model: LPM7-LP
Your guide to exploration and detailed observation.
1. Introducción y másview
The Leipan LPM7 4.3" Coin Microscope is an advanced digital microscope featuring a 4.3-inch IPS screen, designed for detailed observation of various objects, from coins to intricate electronic components. It offers a magnification range of 50X to 1000X, enabling users to explore subjects at different levels of detail. This device simplifies the process of capturing high-resolution images and videos of your discoveries.

Figure 1.1: Leipan LPM7 4.3" Coin Microscope.
Las características principales incluyen:
- 4.3 Inches IPS Screen: Provides a generous display area with remarkable clarity and color accuracy, offering a 178° full viewángulo de ing.
- Aumento de 50X-1000X: Allows for exploration of objects from larger structures to intricate microscopic elements.
- One-Click Photo and Video Capture: Effortlessly record high-resolution images or videos.
- High-Speed 32GB TF Card: Ample storage for captured observations.
- Upgraded Battery Life: Extended usage periods for prolonged exploration.
2. ¿Qué hay en la caja?
Upon unboxing your Leipan LPM7 Coin Microscope, please verify that all components listed below are present:
- Microscope Unit with 4.3-inch IPS Screen
- Manual de usuario
- Bracket (Stand Assembly)
- Base
- Cable USB
- Tarjeta 32GB TF
- Calibrating Ruler

Figure 2.1: All-in-One package contents.
3. Instrucciones de configuración
Siga estos pasos para ensamblar y preparar su microscopio para su uso:
- Ensamblar el soporte: Insert the vertical rod of the bracket into the base and secure it.
- Attach the Microscope: Mount the microscope unit onto the bracket. Ensure it is securely fastened.
- Quitar la tapa de la lente: Carefully remove the protective cap from the microscope lens.
- Insertar tarjeta de memoria: Locate the TF card slot on the microscope unit and gently insert the provided 32GB TF card until it clicks into place.
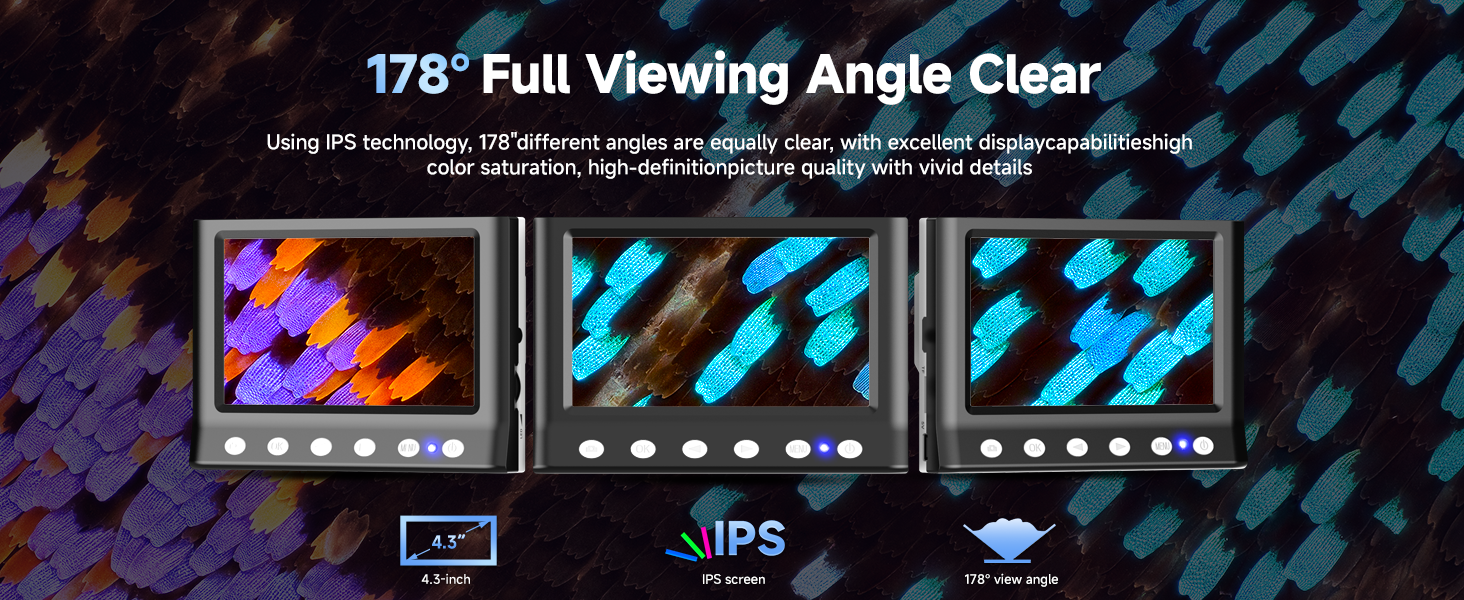
Figure 3.1: Easy assembly steps.
Video 3.1: Installation guide for the LPM7 Digital Microscope with 4.3 Inches Screen.
4. Instrucciones de funcionamiento
To begin using your microscope:
- Encendido: Press and hold the power button on the microscope unit until the screen illuminates.
- Lugar de la muestra: Position the object you wish to observe on the base directly beneath the microscope lens.
- Ajustar altura: Use the adjustment knob on the bracket to raise or lower the microscope unit until the specimen is visible on the screen.
- Enfocar: Rotate the focus wheel on the microscope barrel to achieve a clear and sharp image.
- Ajustar la iluminación: The microscope features 8 LED lights. Adjust their brightness as needed for optimal illumination of your specimen.

Figure 4.1: The 4.3-inch IPS screen provides a clear and wide viewángulo de ing.
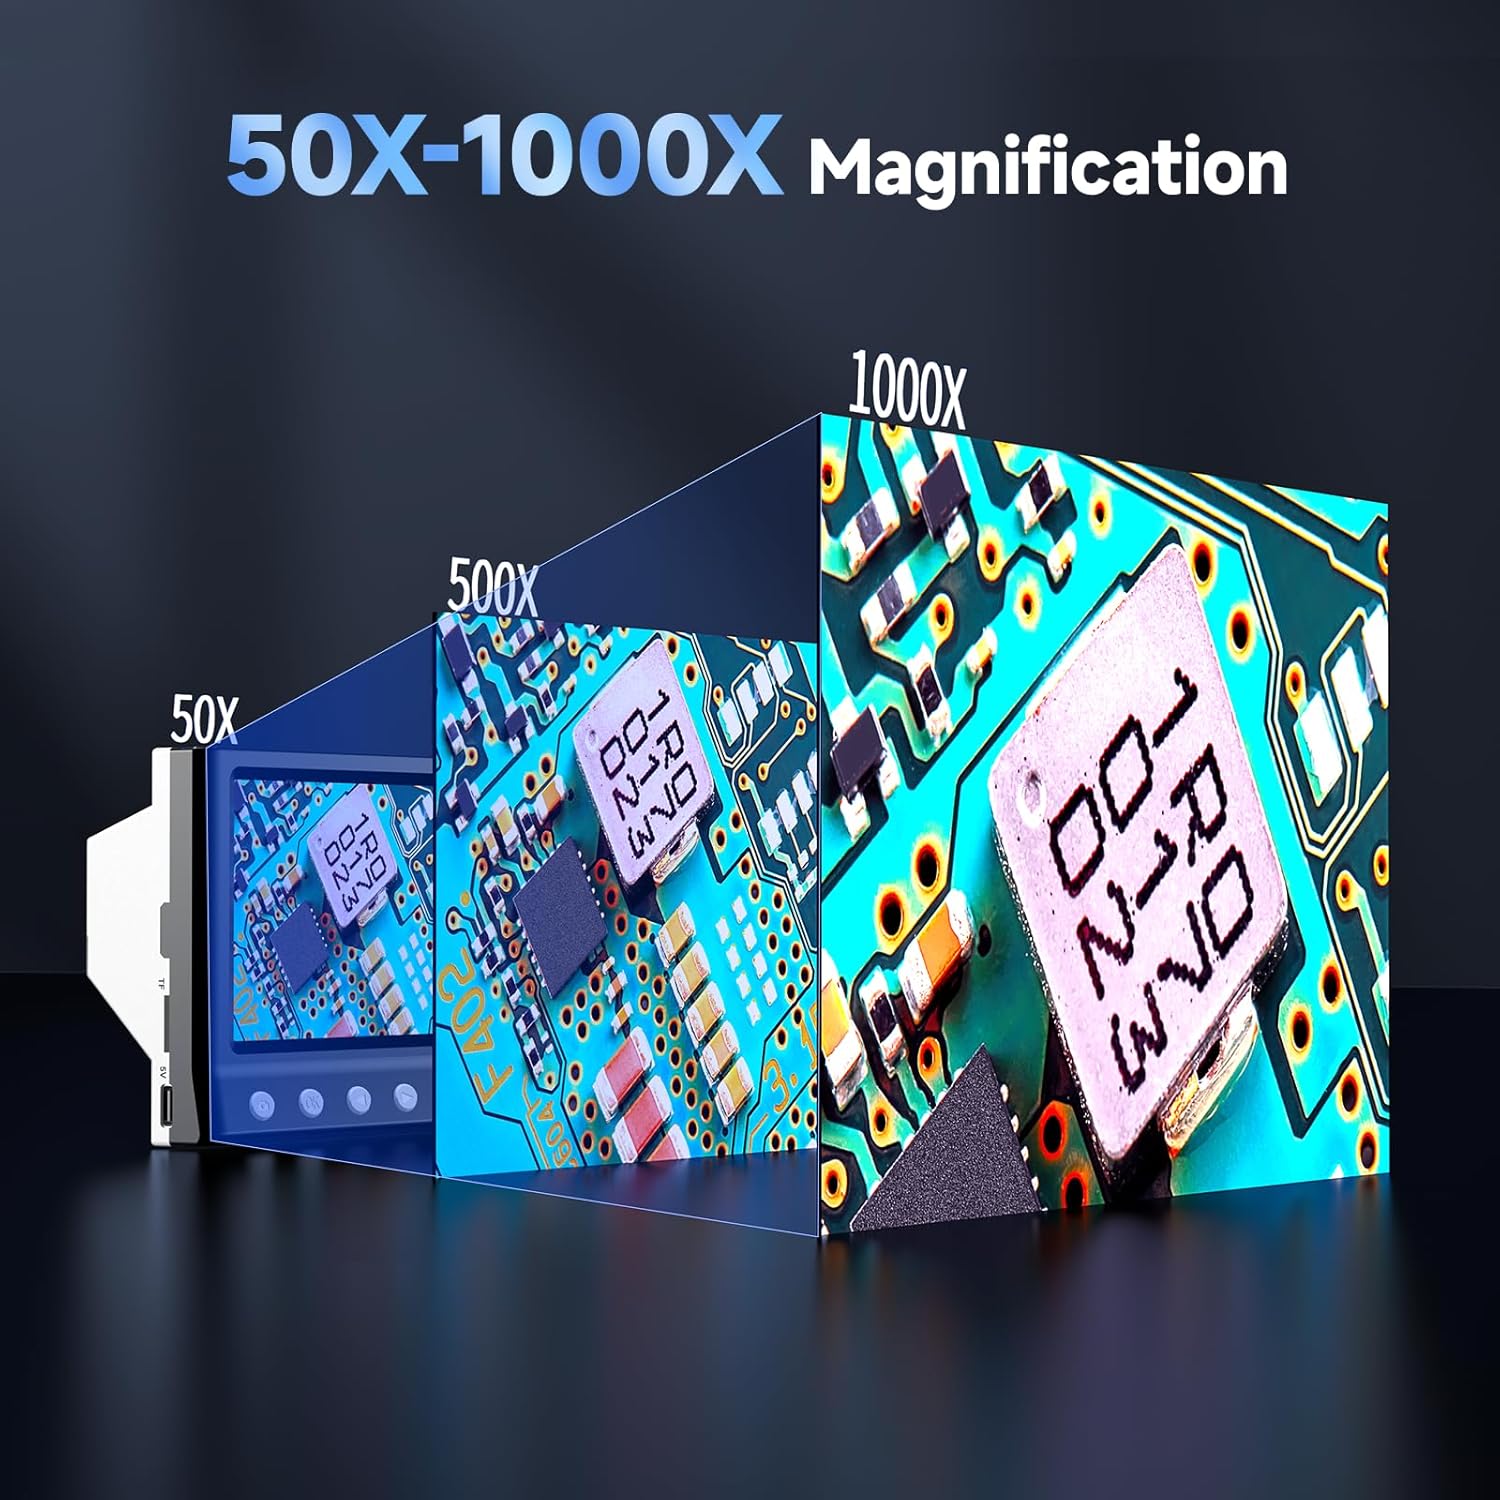
Figure 4.2: Magnification capabilities from 50X to 1000X.
5. Tomar fotos y videos
The LPM7 microscope allows for easy capture of images and videos directly to the inserted 32GB TF card.
- Cambiar modos: Use the 'Mode' button to switch between Video mode and Photo mode.
- Grabar vídeo: In Video mode, press the 'OK' button to start recording. Press 'OK' again to stop recording.
- Tomar foto: En el modo Foto, presione el botón ‘OK’ para capturar una imagen.
- Reproducción: Press the 'Camera' button to switch to Playback mode. You can then view Sus fotos y vídeos capturados.

Figure 5.1: One-click photo and video capture.

Figure 5.2: High-speed 32GB TF card for ampalmacenamiento.
Video 5.1: Demonstrates how to observe, photo, and video with the LPM7 Coin Microscope.
6. Conexión a una computadora
Para un tamaño más grande viewing experience or to save files directly to your computer, you can connect the microscope to a PC.
- Conecte el cable USB: Use the provided USB cable to connect the microscope to an available USB port on your computer.
- Seleccionar el modo de cámara de PC: On the microscope, select the 'PC Camera' mode. The microscope screen may display 'PC Cam'.
- Access on PC: Open your computer's camera application (e.g., 'Camera' app on Windows, 'Photo Booth' on Mac, or third-party microscope software). The microscope's live feed should appear.
- Observe, Photo, and Video: Use your computer's camera software to observe specimens, take photos, and record videos.

Figure 6.1: Work with PC for a larger view.
Video 6.1: Demonstrates how the USB Microscope works with your computer.
7. Mantenimiento
Un mantenimiento adecuado garantiza la longevidad y el rendimiento óptimo de su microscopio.
- Limpieza de la lente: Utilice un paño suave y sin pelusa, especialmente diseñado para lentes ópticas, para limpiar con cuidado la lente del microscopio. Evite materiales abrasivos o productos químicos agresivos.
- Limpieza de la pantalla: Utilice un paño de microfibra para limpiar la pantalla IPS. No rocíe soluciones de limpieza directamente sobre la pantalla.
- Limpieza general: Limpie el cuerpo del microscopio y el soporte con un paño seco o ligeramente húmedo.amp paño.
- Almacenamiento: Guarde el microscopio en un entorno seco y libre de polvo cuando no esté en uso.
- Carga de la batería: The microscope features an upgraded 2000mAh battery. Charge the device using the provided USB cable. It supports four-way fast charging (via power bank, computer, car adapter, or wall adapter).

Figure 7.1: Upgraded battery life and four-way fast charging.
8. Solución de problemas
Si tiene problemas con su microscopio, consulte los siguientes problemas y soluciones comunes:
- No hay imagen en la pantalla:
- Asegúrese de que el microscopio esté encendido.
- Check if the lens cap has been removed.
- Adjust the height and focus knobs.
- Imagen borrosa:
- Ajuste la rueda de enfoque con cuidado.
- Ensure the specimen is flat and properly positioned.
- Verify the microscope is at the correct working distance from the object.
- No se puede conectar a la PC:
- Asegúrese de que el cable USB esté conectado de forma segura tanto al microscopio como a la PC.
- Verify the microscope is in 'PC Camera' mode.
- Pruebe con un puerto USB diferente en su computadora.
- Restart your computer and the microscope.
- Screen Flickering or Unstable Image:
- Ensure the microscope stand is on a stable, flat surface.
- Check for any vibrations in the surrounding environment.
- No se pueden guardar fotos/vídeos:
- Ensure the 32GB TF card is properly inserted.
- Compruebe si la tarjeta TF tiene suficiente espacio libre.
- Format the TF card (this will erase all data, so back up first).
9. Especificaciones
| Característica | Especificación |
|---|---|
| Tamaño de pantalla | Pantalla IPS de 4.3 pulgadas |
| Rango de aumento | 50X - 1000X |
| Fuente de luz | 8 Luces LED |
| Almacenamiento | Tarjeta TF de 32 GB (incluida) |
| Capacidad de la batería | Batería de iones de litio de 2000 mAh (incluida) |
| Dispositivos compatibles | Personal Computer (Windows compatible) |
| Peso del artículo | 1.3 libras |
| Dimensiones | 8.35 x 7.72 x 3.82 pulgadas (paquete) |
| Material | Plástico |
| Color | Negro |

Figure 9.1: Compact size for versatile use.
10. Garantía y soporte
Leipan stands behind the quality and performance of the LPM7 4.3" Coin Microscope with a brand guarantee. We are committed to providing a worry-free after-sales service experience.
For any concerns, inquiries, or technical assistance, please refer to the contact information provided in your product packaging or visit the official Leipan store on Amazon for support resources and frequently asked questions.
Leipan Store: Visit the Leipan Store
Ask a question about this manual
Ask about setup, troubleshooting, compatibility, parts, safety, or missing instructions. Manuals+ will review the question and use this page’s manual context to help answer it.