
1. Introducción
Thank you for choosing the DYONDER Wired PC Controller. This manual provides essential information for the proper setup, operation, and maintenance of your new game controller. Please read this manual thoroughly before use to ensure optimal performance and longevity of the product.

Image 1.1: Users enjoying the DYONDER Wired PC Controller.
2. Producto terminadoview y compatibilidad
The DYONDER Wired PC Controller is designed for a wide range of gaming platforms, offering a reliable and responsive gaming experience. Its plug-and-play functionality ensures quick setup across various systems.
2.1 Amplia compatibilidad
This controller is compatible with Windows operating systems, Vista, PS3 consoles, Android TV boxes, and Tesla systems (Android 4.0 or above with OTG function required for Android devices). No additional drivers are typically needed for basic functionality.

Imagen 2.1: Másview of controller compatibility and key features.
2.2 Características principales
- Vibradores duales: Embedded motors provide distinct feedback, enhancing game immersion.
- Diseño ergonómico: Asymmetrical joystick layout for comfortable thumb positioning during extended play.
- Hall Trigger Buttons: Provides precise and durable trigger input.
- Función turbo: Customize any button for rapid-fire input.
- Conexión por cable: 2-meter (6.5 feet) USB cable for stable, lag-free gaming.
Video 2.1: A brief demonstration of the Pink PC Game Controller's design and features.
3. Instrucciones de configuración
3.1 Conexión del controlador
- Locate an available USB port on your PC, PS3, Android TV Box, or Tesla system.
- Plug the USB connector of the DYONDER Wired PC Controller into the USB port.
- The system should automatically detect and install the necessary drivers. This process may take a few moments.
- Una vez completada la instalación, el controlador está listo para usarse.
Nota: For Android TV Boxes or Tesla systems, ensure the device supports OTG (On-The-Go) functionality for USB peripheral connection.
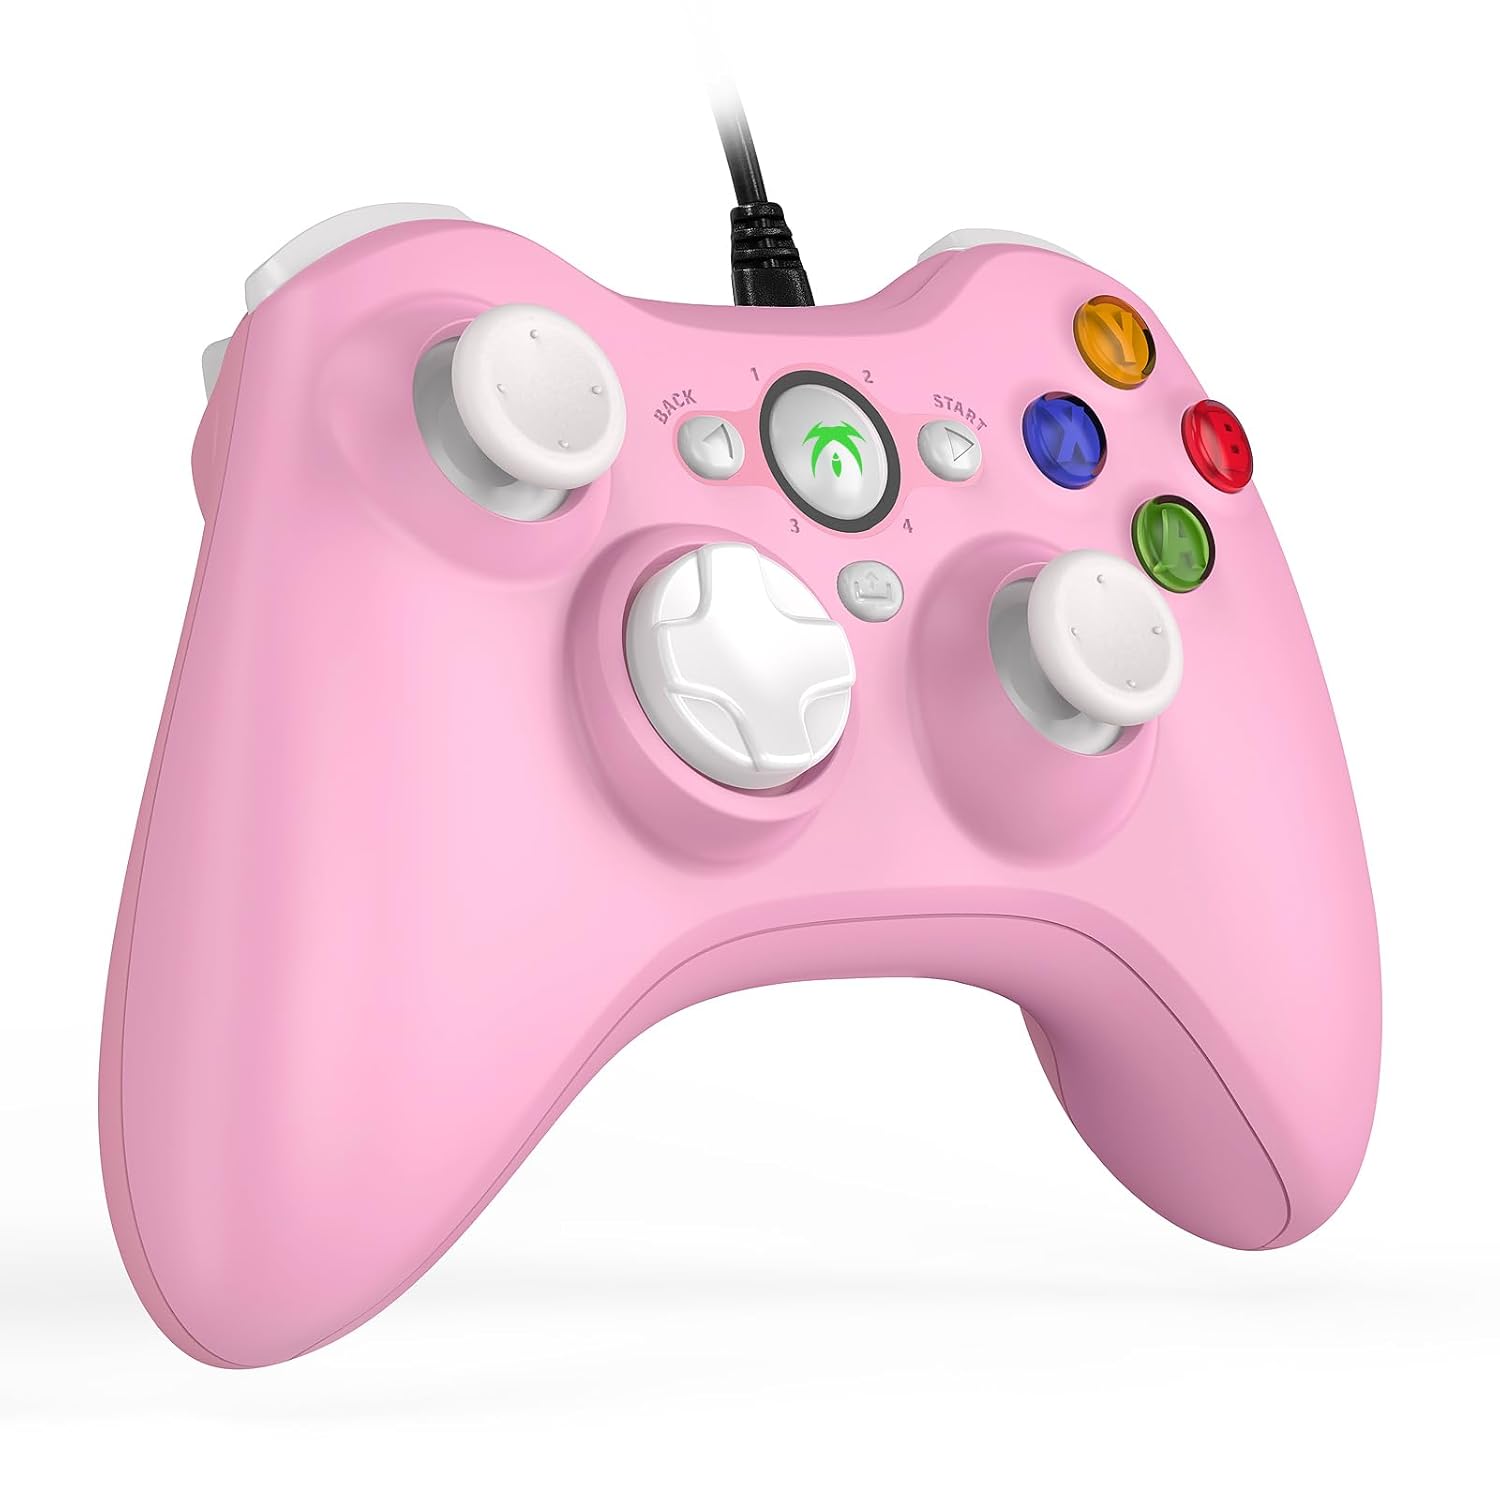
Image 3.1: The DYONDER Wired PC Controller with its USB cable.
4. Instrucciones de funcionamiento
Disposición de 4.1 botones
The controller features a standard layout including two analog sticks, a D-pad, action buttons (A, B, X, Y), shoulder buttons (LB, RB), and triggers (LT, RT), along with Start, Back, and Guide buttons.

Imagen 4.1: Frente view of the controller highlighting button placement.
4.2 Uso de la función Turbo
The Turbo function allows for rapid, repeated input of a button press without continuous manual pressing. To activate:
- Mantenga pulsado el Turbo botón.
- While holding Turbo, press the desired action button (e.g., A, B, X, Y, LB, RB, LT, RT) you wish to set for rapid fire.
- Release both buttons. The selected action button will now activate its Turbo function.
To deactivate the Turbo function for a specific button, repeat the steps above.

Image 4.2: Location of the Turbo button.
4.3 Retroalimentación de vibración dual
The controller features dual vibration motors that provide tactile feedback during gameplay. This enhances realism by simulating in-game events such as impacts, explosions, or engine rumble. Vibration intensity is typically controlled by the game itself.

Image 4.3: Illustration of the dual vibration mechanism.
4.4 Hall Trigger Buttons
The Hall Trigger buttons utilize magnetic sensors for input, offering greater precision and durability compared to traditional mechanical triggers. This results in smoother and more accurate control, especially in racing or shooting games.

Image 4.4: Detail of a Hall Trigger button.

Image 4.5: Hall Trigger vs. standard trigger comparison.
5. Mantenimiento
5.1 Limpieza
- Limpie periódicamente el controlador con un paño suave y seco para eliminar el polvo y la suciedad.
- Para suciedad difícil, ligeramente dampEnjuague el paño con agua o un limpiador suave no abrasivo. Evite la humedad excesiva.
- No utilice productos químicos agresivos, disolventes o materiales abrasivos, ya que pueden dañar el acabado del controlador.
5.2 Almacenamiento
- Guarde el controlador en un lugar fresco y seco, alejado de la luz solar directa y de temperaturas extremas.
- Avoid wrapping the cable too tightly around the controller to prevent damage to the wire or connection points.
6. Solución de problemas
If you encounter issues with your DYONDER Wired PC Controller, please refer to the following common solutions:
6.1 Controlador no reconocido
- Comprobar la conexión USB: Asegúrate de que el cable USB esté bien conectado tanto al mando como al dispositivo. Prueba con otro puerto USB.
- Reiniciar el dispositivo: Sometimes, a simple restart of your PC, console, or TV box can resolve connection issues.
- Prueba en otro dispositivo: If possible, test the controller on another compatible device to determine if the issue is with the controller or the original device.
- Actualizar controladores: For PC, ensure your operating system's USB drivers are up to date. While typically plug-and-play, system updates can sometimes affect peripheral recognition.
6.2 Botones o joysticks que no responden
- Comprobar la configuración del juego: Verify that the game you are playing supports controllers and that the input settings are correctly configured.
- Recalibrate (PC): On Windows, you can recalibrate game controllers through the 'Set up USB game controllers' option in the Control Panel.
- Inspeccionar si hay daños físicos: Check for any visible damage or debris obstructing the buttons or joysticks.
6.3 La vibración no funciona
- Soporte de juego: Confirma que el juego que estás jugando admite la respuesta de vibración.
- Configuración del juego: Check the game's options menu to ensure vibration is enabled.
- Configuración del sistema: On some platforms, vibration can be disabled in system-level controller settings.
7. Especificaciones
| Modelo | B0CNSXM48W |
| Marca | DIONDER |
| Conectividad | USB con cable |
| Longitud del cable | 2 metros (6.5 pies) |
| Compatibilidad | Windows, Vista, PS3, Android TV Box (Android 4.0+ with OTG), Tesla |
| Características | Dual Vibration, Hall Trigger Buttons, Turbo Function, Ergonomic Design |
| Peso del artículo | 8.8 onzas |
| Dimensiones del paquete | 6.5 x 5.04 x 2.83 pulgadas |
8. Garantía y soporte
8.1 Información de garantía
DYONDER products are manufactured with quality and care. For specific warranty details regarding your controller, please refer to the warranty card included with your purchase or visit the official DYONDER webSitio. Conserve su comprobante de compra para reclamaciones de garantía.
8.2 Atención al cliente
If you require further assistance, have questions, or encounter issues not covered in this manual, please contact DYONDER customer support. Contact information can typically be found on the product packaging, the official DYONDER websitio, o a través de su minorista.
Estamos comprometidos a brindar un excelente servicio y soporte para nuestros productos.