
1. Introducción
This manual provides detailed instructions for the installation, operation, and maintenance of your Hikvision 2-Wire Video Intercom Kit, Model 38084. This system is designed for single-family homes, offering enhanced security and convenience through its 7-inch touchscreen monitor, FullHD outdoor camera, and seamless integration with the Hik-Connect mobile application. Please read this manual thoroughly before installation and use to ensure proper functioning and safety.
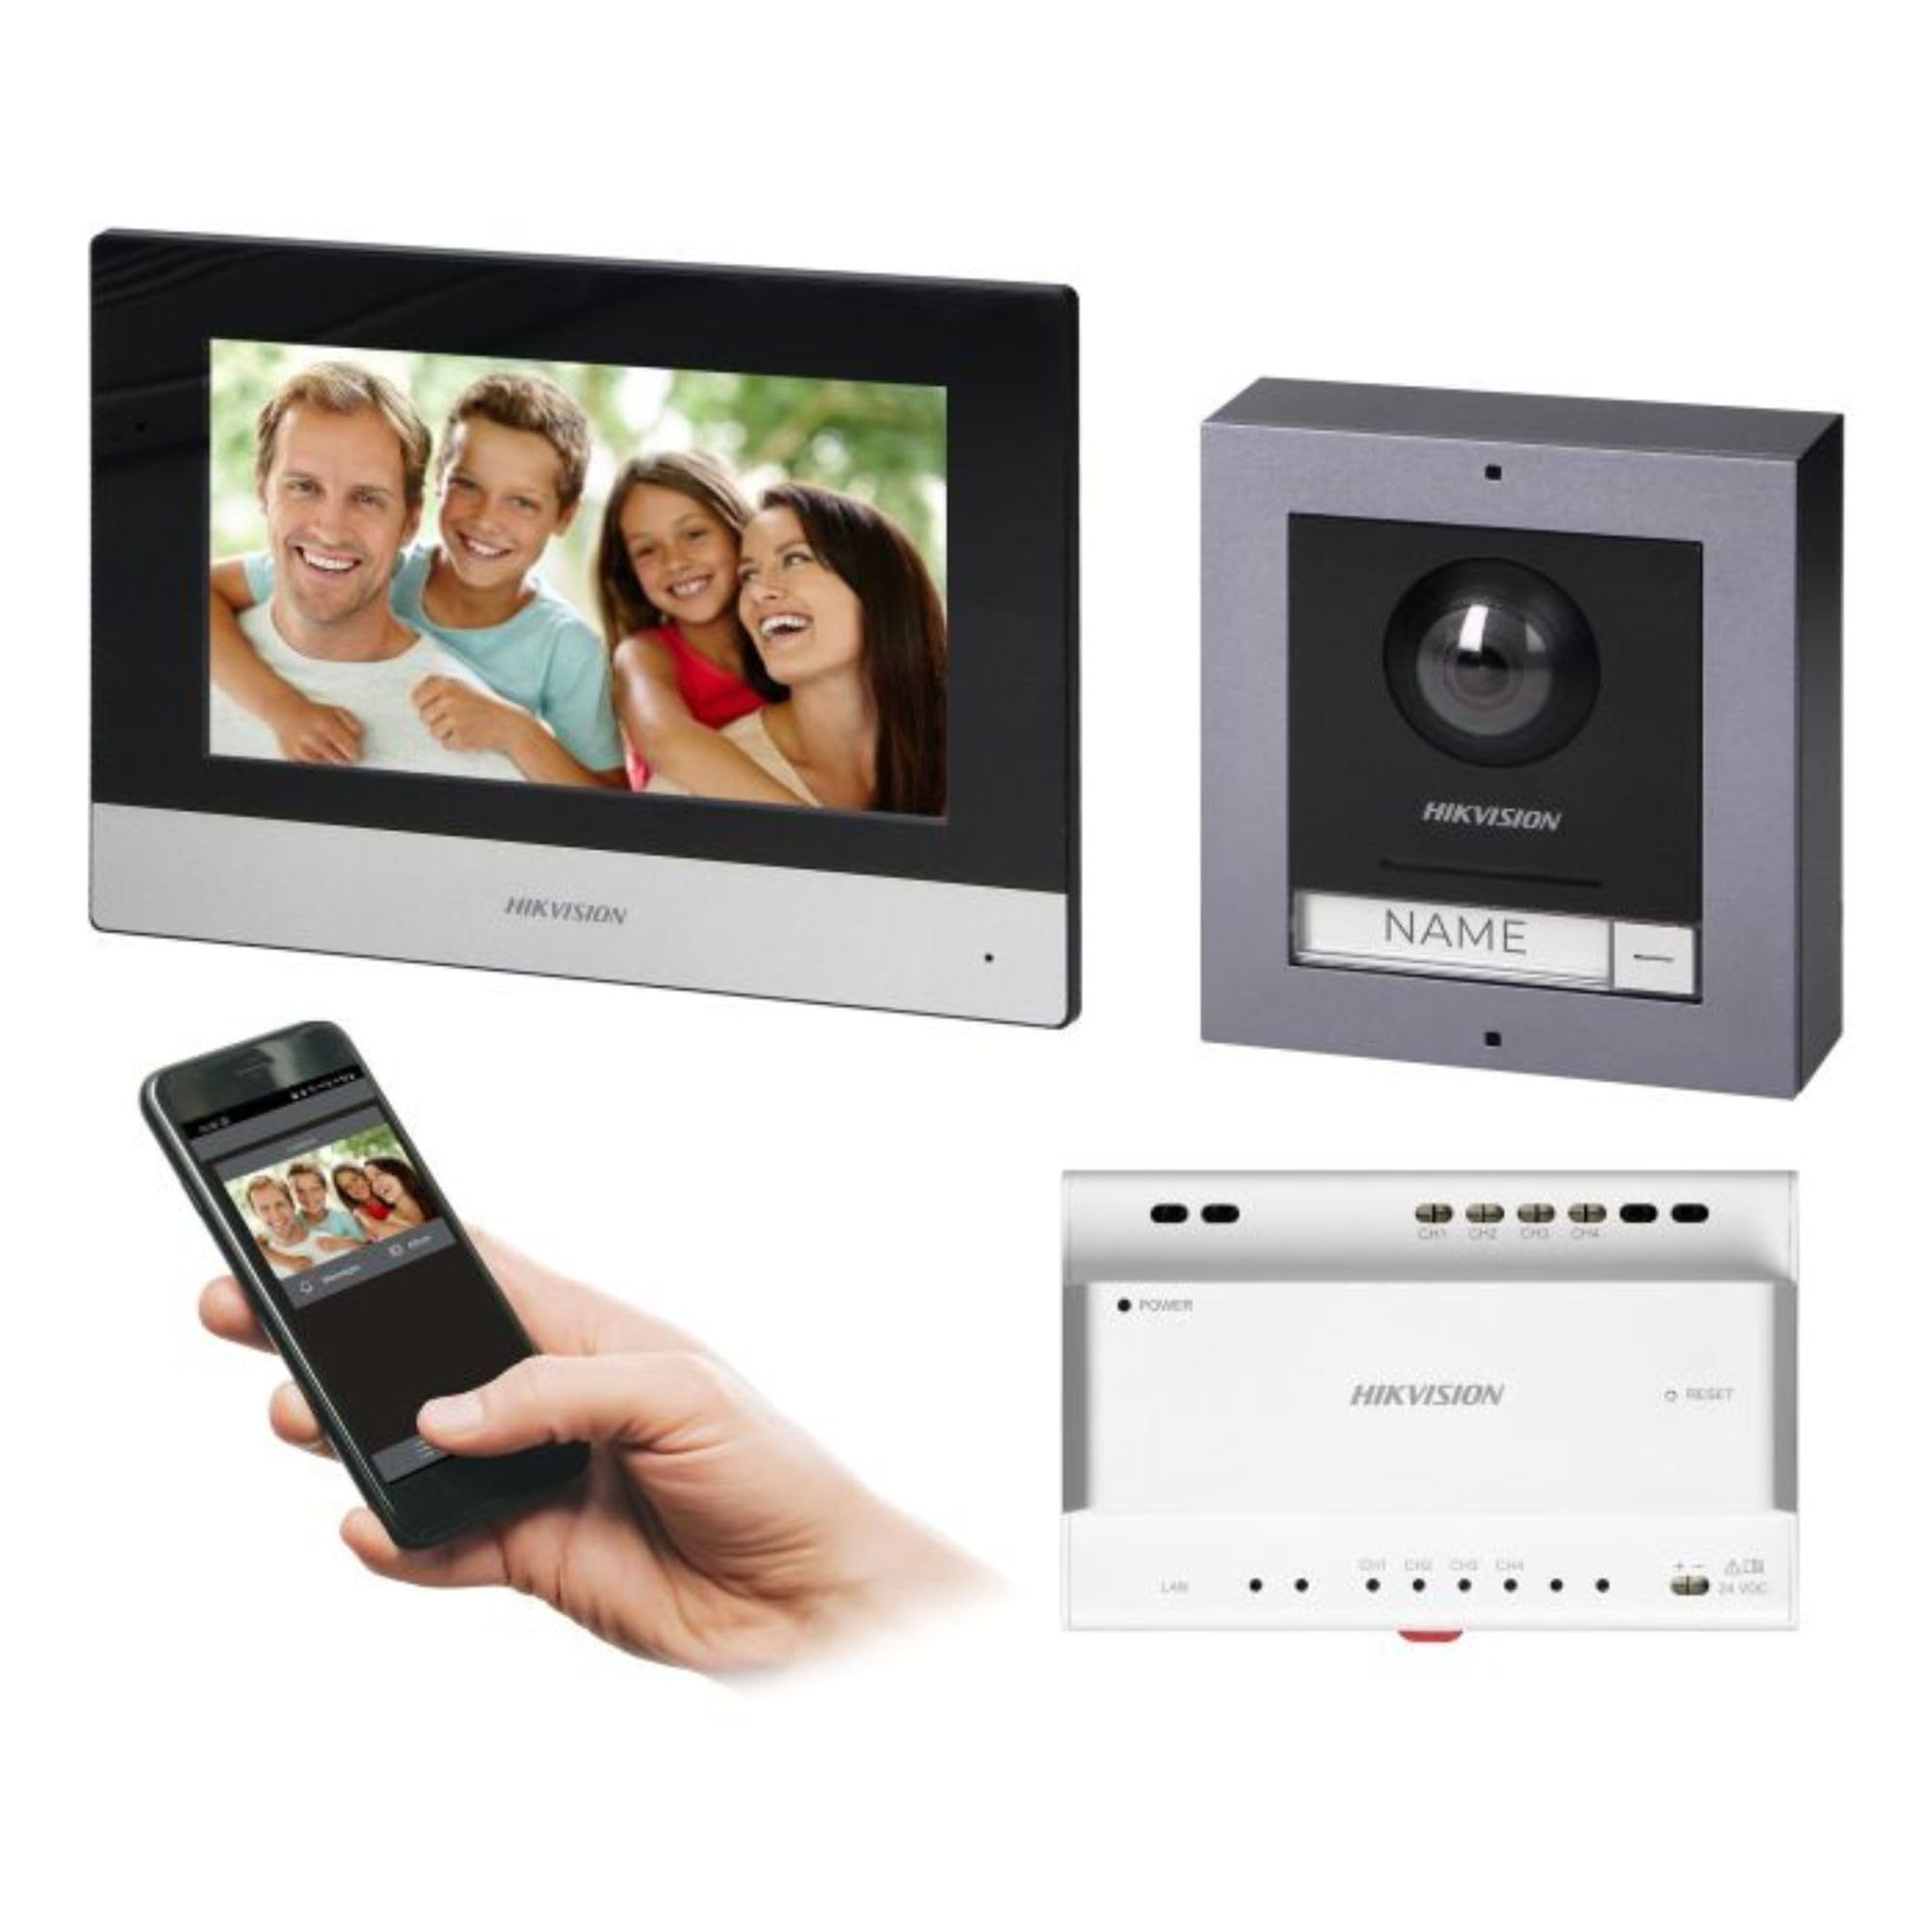
Figure 1: Hikvision 7-inch Video Intercom Monitor (Front View)
The image displays the front view of the Hikvision 7-inch video intercom monitor, featuring a large screen and the Hikvision logo at the bottom.
2. Información de seguridad
Siga siempre las precauciones básicas de seguridad para reducir el riesgo de incendio, descarga eléctrica y lesiones a las personas.
- Seguridad eléctrica: Installation must be performed by qualified personnel in accordance with all local electrical codes. Disconnect power before installation or servicing.
- Agua y humedad: Do not expose the indoor monitor to rain or moisture. The outdoor panel is IP65 rated for weather resistance but should not be submerged.
- Temperatura: Utilice el dispositivo dentro del rango de temperatura especificado.
- Limpieza: Utilice un paño suave y seco para limpiar. No utilice limpiadores líquidos ni en aerosol.
- Interferencia: Avoid installing near sources of strong electromagnetic interference.
3. Contenido del paquete
Verifique que todos los componentes estén presentes en el paquete:
- 7-inch Indoor Monitor (with WiFi)
- FullHD Outdoor Panel (with Camera and Night Vision)
- 4-Channel Distributor
- Accesorios de montaje (tornillos, tacos)
- Manual de usuario (este documento)
- 16 GB MicroSD Card (pre-installed or included for video storage)

Figure 2: Hikvision Outdoor Panel and Mounting Accessories
This image shows the Hikvision outdoor panel alongside its rain shield and a flush-mount box, illustrating the various mounting options available.
4. Configuración e instalación
The Hikvision video intercom system utilizes a 2-wire installation method, simplifying wiring. Both the indoor monitor and outdoor panel are designed for surface mounting.
4.1 Outdoor Panel Installation
- Elegir la ubicación: Select a suitable location near the entrance, ensuring the camera has a clear view of visitors. The panel is IP65 rated for outdoor use.
- Montaje: Use the provided mounting bracket to mark drill holes on the wall. Drill holes, insert wall plugs, and secure the bracket.
- Alambrado: Connect the 2-wire cable from the distributor to the outdoor panel terminals. Ensure correct polarity.
- Panel seguro: Attach the outdoor panel to the mounting bracket.

Figure 3: Hikvision Outdoor Panel (Front View)
This image shows the front of the Hikvision outdoor panel, featuring the FullHD camera, speaker grille, call button, and nameplate area.
4.2 Instalación del monitor interior
- Elegir la ubicación: Select an indoor location where the monitor is easily accessible and visible.
- Montaje: Use the provided mounting plate to mark and drill holes. Secure the mounting plate to the wall.
- Alambrado: Connect the 2-wire cable from the distributor to the indoor monitor terminals.
- Conexión de energía: Connect the monitor to a power source (mains electricity).
- Monitor seguro: Attach the indoor monitor to the mounting plate.

Figure 4: Hikvision Indoor Monitor (Back View) and Mounting Plate
The image displays the rear of the Hikvision indoor monitor, showing its connection ports and the separate mounting plate used for installation.
4.3 Diagrama de cableado del sistema (general)
The 2-wire system connects the outdoor panel, indoor monitor, and the 4-channel distributor. The distributor manages power and data communication between the devices.
- Connect the outdoor panel to the distributor using a 2-wire cable.
- Connect the indoor monitor to the distributor using a 2-wire cable.
- Ensure the distributor is powered.
- For electric lock control, additional power may be required for the lock itself, connected via the outdoor panel.
4.4 Conexión Wi-Fi
After physical installation, power on the monitor. Navigate to the network settings on the 7-inch touchscreen to connect to your 2.4 GHz Wi-Fi network (802.11 b/g/n standard). This enables smartphone communication via the Hik-Connect app.
5. Instrucciones de funcionamiento
5.1 Funciones del monitor interior
- Pantalla táctil: Navigate menus and control functions using the 7-inch touch screen.
- Función de intercomunicador: Communicate with visitors at the outdoor panel or other indoor monitors (if expanded).
- Función de memoria: The monitor supports a memory function, likely for capturing images or short video clips of visitors.
- Lector de tarjetas SD: A 16GB MicroSD card is included for storing recorded video streams.
- Ringtone Management: Choose from 3 available ringtones. Adjust volume or mute the ringtone as needed.
- Control de puerta: Use the monitor to remotely open an electric lock connected to the system.
- CCTV Camera Integration: The system can be expanded to integrate up to 16 CCTV cameras.
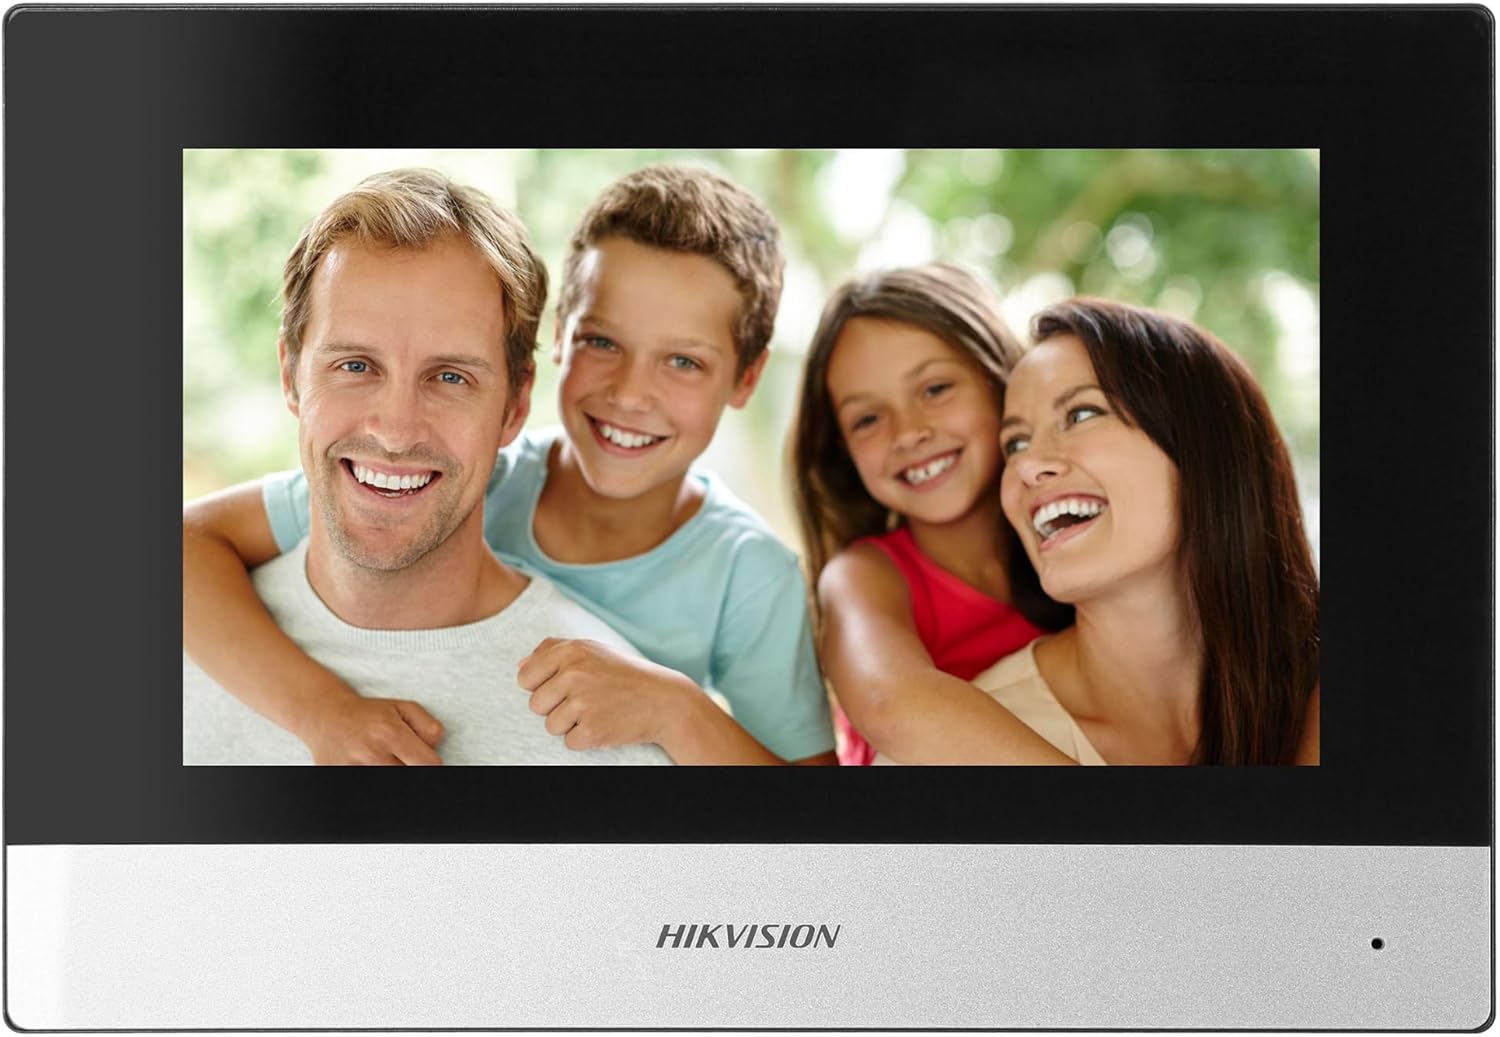
Figure 5: Hikvision Indoor Monitor (Front View)
This image shows the Hikvision 7-inch indoor monitor from the front, highlighting its sleek design and large display area.
5.2 Outdoor Panel Operation
- Botón de llamada: Visitors press the single call button to initiate a call to the indoor monitor.
- FullHD Camera: Provides a 2MP (1920x1080p) video feed with a wide viewing angle (96°/180°).
- Visión nocturna: Integrated IR illumination ensures clear visibility even in low-light conditions.
- Letrero: A space is provided for a nameplate or label.

Figure 6: Hikvision Outdoor Panel (Angled View)
Un ángulo view of the Hikvision outdoor panel, showcasing its robust construction and integrated camera and call button.
5.3 Hik-Connect Mobile Application
Download the Hik-Connect app from your smartphone's app store. Once installed and configured with your system, you can:
- Receive calls from the outdoor panel on your smartphone.
- View live video from the outdoor camera.
- Remotely open the door.
- Acceder a videos grabadostage.
6. Mantenimiento
El mantenimiento regular garantiza la longevidad y el rendimiento óptimo de su sistema de intercomunicación.
- Limpieza: Wipe the monitor screen and outdoor panel with a soft, damp paño. Evite los limpiadores abrasivos.
- Actualizaciones de firmware: Periodically check for firmware updates via the Hik-Connect app or Hikvision's official website to ensure your system has the latest features and security patches.
- Inspección de cables: Periodically inspect all wiring for any signs of wear or damage.
- Outdoor Panel Lens: Keep the camera lens on the outdoor panel clean for clear video quality.
7. Solución de problemas
Si encuentra problemas, consulte los siguientes pasos de solución de problemas comunes:
- Sin energía: Check all power connections and ensure the distributor is receiving power.
- Sin vídeo/audio: Verify the 2-wire connections between the outdoor panel, monitor, and distributor. Ensure correct polarity.
- Problemas de conexión WiFi: Ensure your router is operating on 2.4 GHz. Re-enter WiFi credentials on the monitor. Check signal strength.
- La cerradura de la puerta no se abre: Confirm the electric lock has its own power supply if required. Check wiring from the outdoor panel to the lock.
- Mala visión nocturna: Asegúrese de que la lente de la cámara exterior esté limpia y libre de obstrucciones.
8. Especificaciones
| Tipo | Unifamiliar |
| Función de vídeo | Sí |
| Fuente de alimentación | Electricidad de la red |
| Tipo de transmisión | Cableado (2 cables) |
| Smartphone Communication | Yes (via Hik-Connect app) |
| Frecuencia de Wi-Fi | 2.4 GHz |
| Estándar Wi-Fi | 802.11b/g/n |
| Método de instalación | 2-wire, Surface Mount |
| Máx. Monitores | Ampliable a 3 |
| Max. Outdoor Panels | Ampliable a 1 |
| Max. CCTV Cameras | Ampliable a 16 |
| Control de cerradura eléctrica | Yes (requires additional power for lock) |
| Función día / noche | Sí |
| Método de montaje | Montaje en superficie |
| Hands-free System | Sí |
| Diagonal de la pantalla | 7 pulgadas |
| Resolución | 1024 x 600 |
| Pantalla táctil | Sí |
| Sistema de vídeo | PAL, Color |
| Función de memoria | Sí |
| Lector de tarjetas SD | Yes (16GB card included) |
| Función de intercomunicación | Sí |
| Tonos de llamada | 3 |
| Material | Plástico |
| Color | Negro |
| Dimensiones (An x Al x Pr) | 140 x 200 x 15 mm |
| Botones de llamada | 1 |
| Método de montaje | Montaje en superficie |
| Resolución de la cámara | 2MP, 1920x1080 (FullHD) |
| Cámara Viewángulo de ing | 96°/180° |
| Iluminación nocturna | IR (Infrarrojo) |
| Función PTZ | No |
| Lector de tarjetas de proximidad | No |
| Nameplate Space | Sí |
| A prueba de vandalismo | No |
| Clasificación de protección | IP65 |
| Material | Acero |
| Color | Plata |
| Dimensiones (An x Al x Pr) | 98 x 99.8 x 43.9 mm |
| Dimensiones del producto | 20 x 15 x 10 cm |
| Peso del artículo | 1 kilogramos |
| Número de modelo | 38084 |
9. Garantía y soporte
Para obtener información sobre la garantía y soporte técnico, consulte el sitio web oficial de Hikvision. webSitio web o contacte a su distribuidor local. Conserve el recibo de compra para reclamaciones de garantía.
- Soporte en línea: Visita www.hikvision.com for product documentation, FAQs, and support resources.
- Servicio al cliente: Contact your retailer or authorized Hikvision service center for assistance.