Introducción
Gracias por la compraasing the MUSE M-19 GL Alarm Clock Radio. This manual provides essential information for the safe and efficient operation of your device. Please read it thoroughly before use and retain it for future reference.
Instrucciones de seguridad
- No exponga la unidad a la lluvia ni a la humedad para evitar incendios o descargas eléctricas.
- Asegúrese de que haya una ventilación adecuada; no bloquee ninguna abertura de ventilación.
- Coloque la unidad sobre una superficie estable y plana.
- Evite colocar la unidad cerca de fuentes de calor como radiadores, rejillas de calefacción, estufas u otros aparatos (incluidos ampificadores) que producen calor.
- Utilice únicamente accesorios especificados por el fabricante.
- Desenchufe este aparato durante tormentas eléctricas o cuando no lo utilice durante períodos prolongados.
- Deje todo servicio a personal de servicio calificado.
- Deseche las baterías de forma responsable. No las exponga a calor excesivo.
Contenido del paquete
- MUSE M-19 GL Alarm Clock Radio
- Adaptador de corriente alterna
- Manual de usuario
Producto terminadoview
The MUSE M-19 GL is a compact alarm clock radio featuring a clear 1.8-inch LCD display. It includes an FM tuner and multiple alarm functions, designed for bedside use.
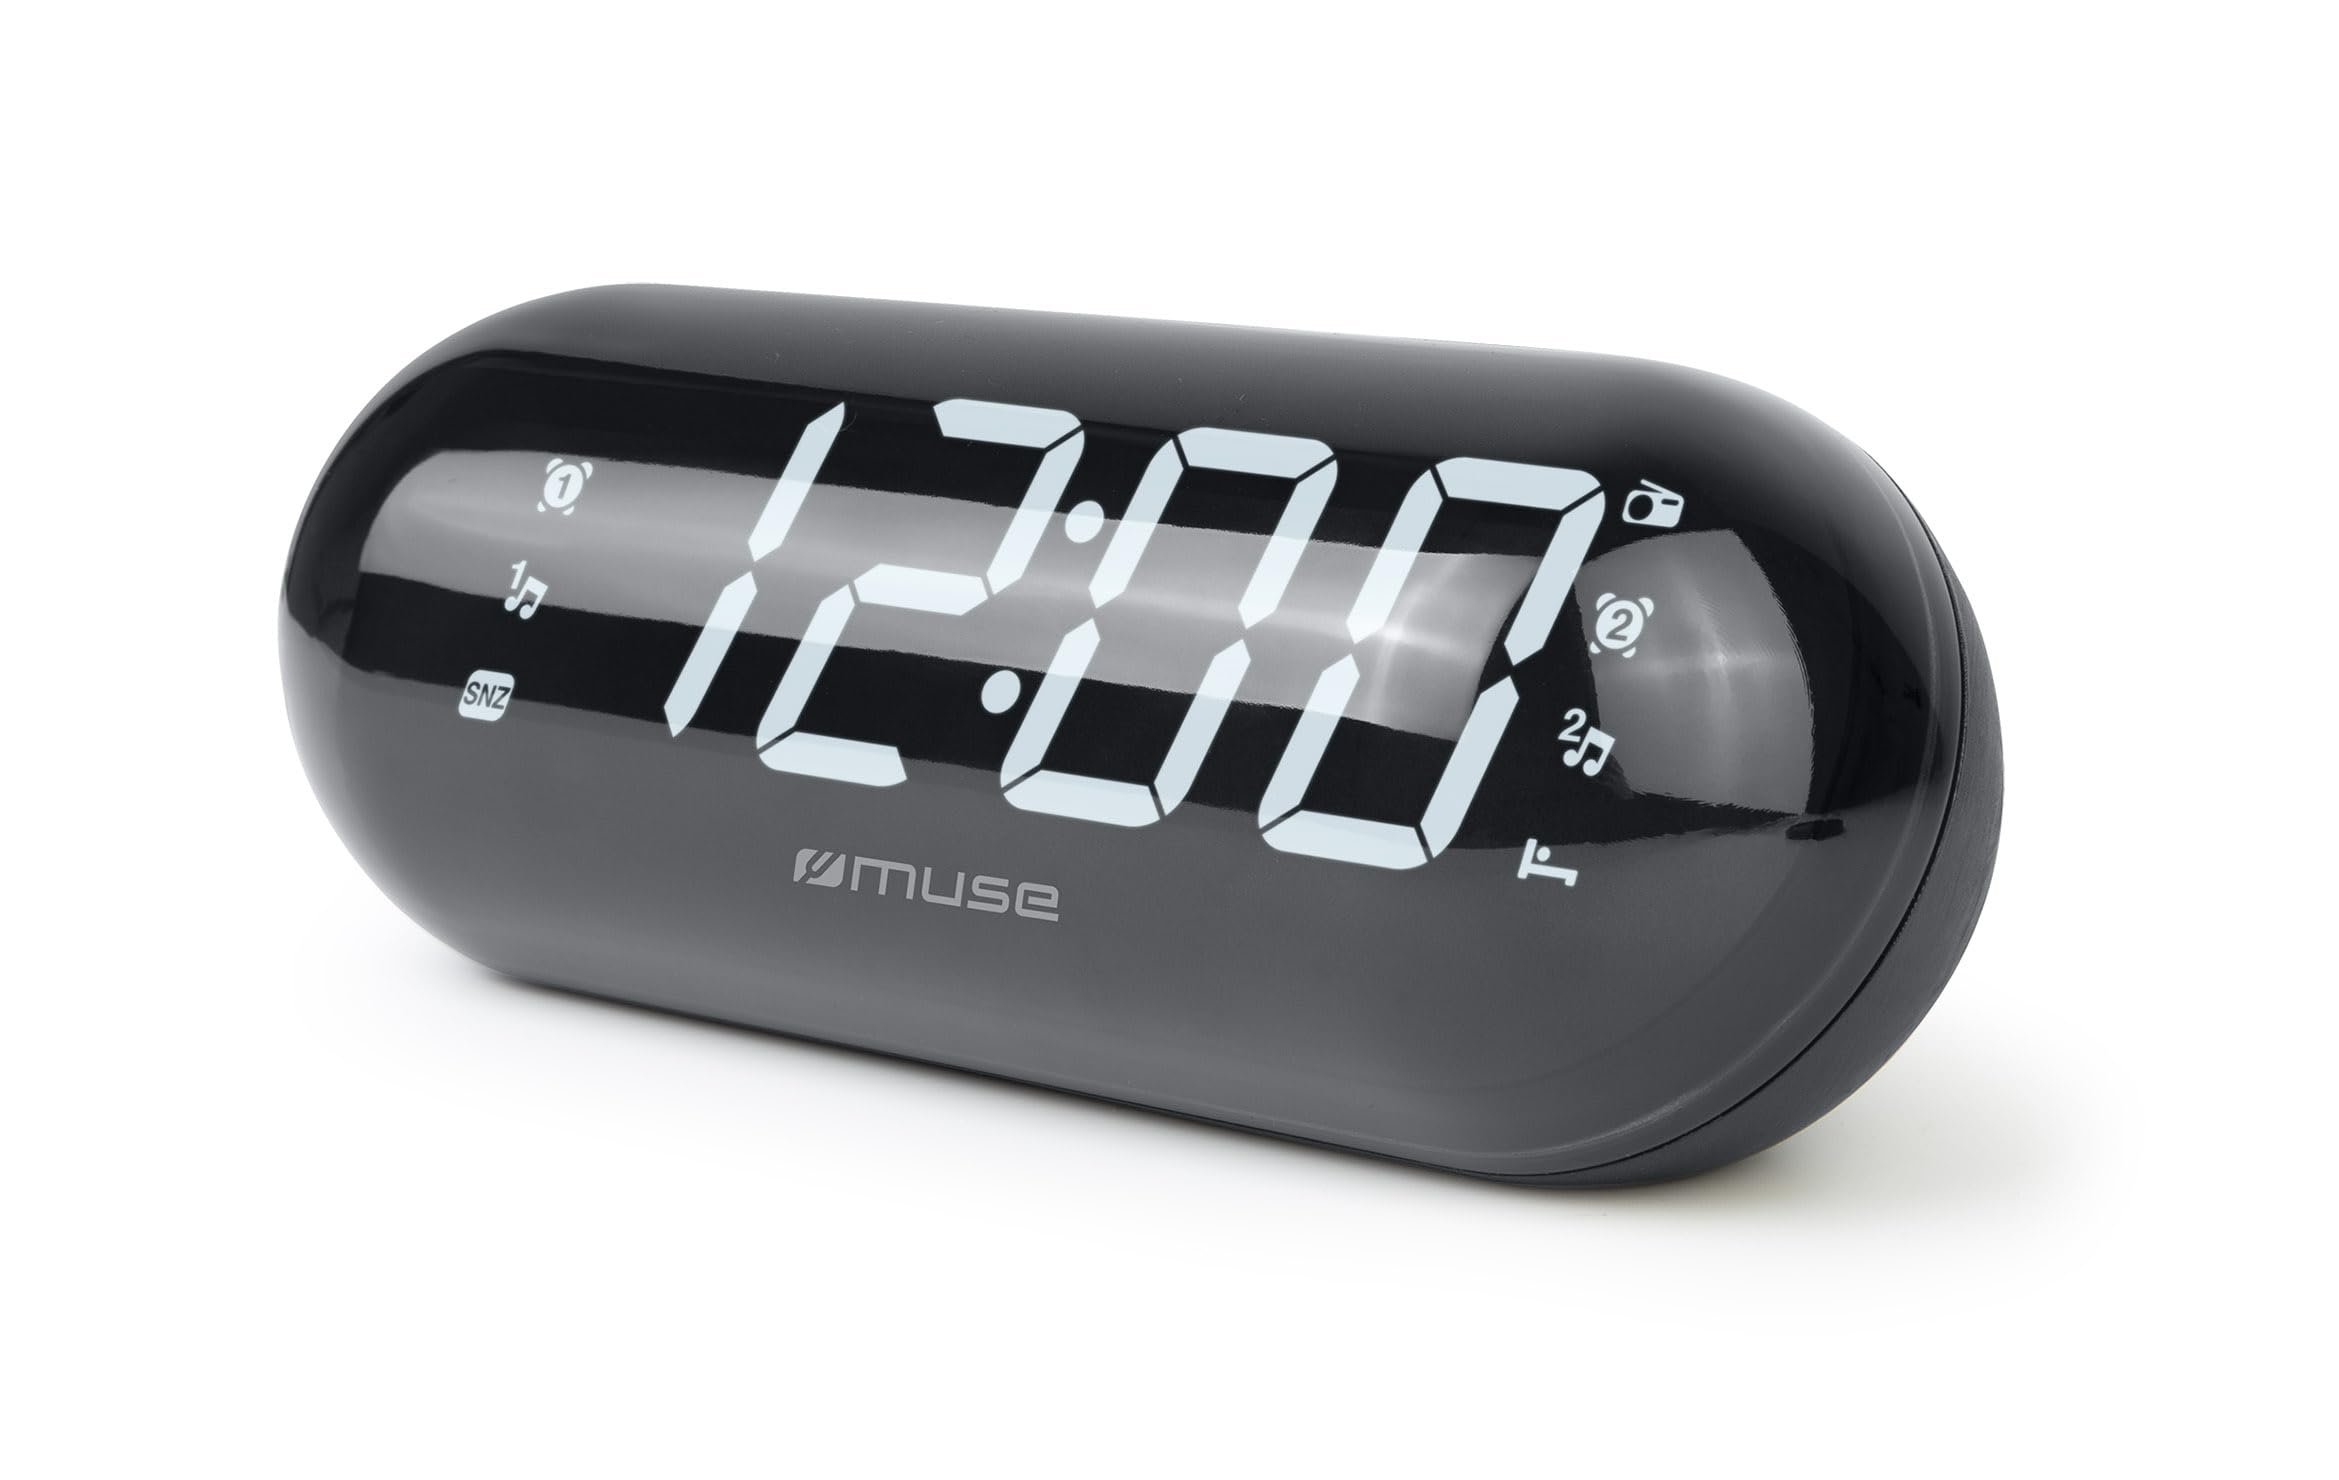
Image: The MUSE M-19 GL Alarm Clock Radio with its digital display showing '12:00', positioned on a wooden bedside table next to a bed.
Familiarize yourself with the buttons and display indicators for optimal use. Specific button functions will be detailed in the 'Operating' section.
Configuración
1. Encender el dispositivo
- Alimentación CA: Connect the provided AC power adapter to the DC IN jack on the back of the unit, then plug the adapter into a standard wall outlet. The display will light up.
- Copia de seguridad de la batería: Para retener la configuración de hora y alarma durante un corte de energíatage, insert 2 x AAA batteries (not included) into the battery compartment on the bottom of the unit. Ensure correct polarity (+/-).
2. Configuración de la hora
- Mantenga pulsado el TIEMPO ESTABLECIDO button (location may vary, refer to device diagram if available) until the hour digits flash.
- Utilice el HORA y MINUTO Botones para ajustar la hora.
- Prensa TIEMPO ESTABLECIDO nuevamente para confirmar y salir del modo de configuración de la hora.
Operante
1. Funcionamiento de la radio (sintonizador FM)
- Encender/Apagar: Presione el ENCENDIDO/APAGADO DE RADIO Botón para encender o apagar la radio.
- Frecuencia de sintonización: Utilice el SINTONIZAR + or SINTONIZAR - buttons to manually adjust the FM frequency. Press and hold for automatic scanning to the next available station.
- Establecer ajustes preestablecidos: Para guardar una estación, sintonice la frecuencia deseada, luego presione y mantenga presionado el botón PROGRAMAR hasta que el número preestablecido parpadee. Utilice SINTONIZAR + or SINTONIZAR - para seleccionar un número preestablecido (1-20), luego presione PROGRAMAR De nuevo para confirmar.
- Recuperar ajustes preestablecidos: Presione brevemente el PROGRAMAR Botón para recorrer las estaciones guardadas.
2. Funciones de alarma
The M-19 GL features dual alarms (Alarm 1 and Alarm 2).
- Configurar una alarma:
- Mantenga pulsado el ALARMA 1 or ALARMA 2 Botón hasta que los dígitos de la hora parpadeen.
- Utilice el HORA y MINUTO Botones para configurar la hora de alarma deseada.
- Presione el ALARMA 1 or ALARMA 2 Presione el botón nuevamente para seleccionar la fuente de alarma (Zumbador o Radio). Aparecerá un indicador en la pantalla.
- Presione el ALARMA 1 or ALARMA 2 Presione el botón una vez más para confirmar y activar la alarma.
- Función de repetición: Cuando suene la alarma, presione el DORMITAR botón para silenciarlo temporalmente durante aproximadamente 9 minutos.
- Detener alarma: Para apagar la alarma del día, presione el botón ALARMA ENCENDIDA / APAGADA Botón. El icono de alarma desaparecerá de la pantalla.
- Disable Alarm Permanently: Presione el ALARMA ENCENDIDA / APAGADA button repeatedly until the alarm icon for the respective alarm (1 or 2) is no longer displayed.
Mantenimiento
Limpieza
Limpie la unidad con un paño suave y seco. No utilice limpiadores abrasivos ni disolventes, ya que pueden dañar el acabado.
Reemplazo de batería
If the time display is blank or incorrect after a power outage, the backup batteries may need replacement. Open the battery compartment on the bottom of the unit, remove the old AAA batteries, and insert new ones, observing correct polarity.
Solución de problemas
| Problema | Posible causa | Solución |
|---|---|---|
| Sin energía/Pantalla apagada | AC adapter not connected or power outage. | Ensure AC adapter is securely plugged in. Check power outlet. Replace backup batteries if needed. |
| La recepción de radio es deficiente | Señal débil o antena no extendida. | Extienda completamente la antena FM. Reubique la unidad para una mejor recepción. |
| La alarma no suena | Alarma no configurada o volumen demasiado bajo. | Verify alarm time and activation (alarm icon on display). Increase radio volume if alarm source is radio. |
| El tiempo es incorrecto | Time not set or backup batteries are depleted. | Reset the time. Replace backup batteries. |
Presupuesto
- Modelo: M19GL
- Mostrar: 1.8-inch LCD, Digital
- Sintonizador de radio: FM with 20 Presets
- Fuente de energía: AC (main), 2 x AAA batteries (backup, not included)
- Dimensiones (L x An x Al): 15 x 3.81 x 10 cm (5.9 x 1.5 x 3.9 pulgadas)
- Peso: 300 gramos (0.66 lbs)
- Material: Plastic (structure), LCD (display)
- Color: Negro
- Características especiales: Alarm, Snooze, Integrated Speaker
Garantía y soporte
This MUSE M-19 GL Alarm Clock Radio comes with a garantía de dos años Contra defectos de fabricación a partir de la fecha de compra. Conserve el comprobante de compra para reclamaciones de garantía.
For technical support or warranty inquiries, please refer to the contact information provided with your purchase documentation or visit the official Muse websitio.