
Introducción
Thank you for choosing the LIORQUE S7509 Projection Alarm Clock. This manual provides detailed instructions for setting up and operating your new device. Please read it carefully to ensure proper use and to fully utilize all features.
Contenido del paquete
Al desembalar, asegúrese de que estén presentes todos los elementos siguientes:
- LIORQUE S7509 Projection Alarm Clock
- Adaptador de corriente
- Cable de alimentación USB
- Manual de usuario

Image: The LIORQUE S7509 Projection Alarm Clock, its power adapter, USB cable, and user manual are displayed next to the product box. Product dimensions are indicated as 18cm (7.1in) width, 9.8cm (3.9in) height, and 5cm (2in) depth.
Características del productoview
The LIORQUE S7509 Projection Alarm Clock is designed to enhance your daily routine with its versatile features:
- Proyección giratoria de 180°: Project the time onto your ceiling or wall with adjustable brightness.
- Gran pantalla LED: Clear time display with 4 adjustable brightness levels.
- Alarmas duales: Set two separate alarms for different schedules.
- Radio FM: Enjoy your favorite radio stations with 15 preset memory slots and 15 adjustable volume levels.
- Función de repetición: Proporciona 9 minutos adicionales de sueño.
- Tiempo de dormir: Automatically turns off the radio after a set duration (5-90 minutes).
- Formato de 12/24 horas: Cambie fácilmente entre formatos de hora.
- Batería incorporada: Para energía de respaldo durante nuestratages.

Image: The LIORQUE S7509 Projection Alarm Clock is shown with its digital display set to 22:30. Surrounding icons highlight key features including 12/24 hour time, adjustable brightness, FM radio, snooze function, dual alarms, time projection, built-in battery, and a sleep timer.
Instrucciones de instalación
1. Conexión de alimentación
Connect the provided USB power cable to the alarm clock and plug the adapter into a standard wall outlet. The display will light up, indicating the device is powered on.

Image: The LIORQUE S7509 Projection Alarm Clock is shown on a bedside table, connected to a wall outlet via its power adapter. The clock displays 8:30, illustrating its readiness for use after power connection.
2. Ajuste de hora inicial
- Mantenga pulsado el TIEMPO ESTABLECIDO button (usually labeled with a clock icon) for 3 seconds to enter time setting mode.
- Utilice el HORA y MINUTO buttons (often labeled with '+' and '-' or arrows) to adjust the current time.
- Prensa TIEMPO ESTABLECIDO nuevamente para confirmar y salir.
3. Formato de 12/24 horas
While in time setting mode, or by a dedicated button (refer to specific button labels on your device), you can toggle between 12-hour (with AM/PM indicator) and 24-hour formats.
Instrucciones de funcionamiento
1. Configuración de alarmas
El reloj admite dos alarmas independientes (Alarma 1 y Alarma 2).
- Mantenga pulsado el ALARMA 1 or ALARMA 2 button for 3 seconds. The alarm time will flash.
- Utilice el HORA y MINUTO Botones para configurar la hora de alarma deseada.
- Presione el ALARMA Presione nuevamente el botón para confirmar la hora.
- You can then select the alarm sound (buzzer or FM radio) and alarm volume.
- Presione el ALARMA button one more time to save settings and activate the alarm. An alarm icon will appear on the display.

Image: Two LIORQUE S7509 Projection Alarm Clocks are displayed side-by-side. One shows an alarm set for 8:30, labeled 'Workday', and the other shows 10:00, labeled 'Weekend', demonstrating the dual alarm capability.
2. Función de proyección
The projector allows you to display the time on your ceiling or wall.
- Activar/Desactivar: Presione el PROYECCIÓN button (often labeled with a projection icon) to turn the projection on or off.
- Ajustar el brillo: Presione repetidamente el PROYECCIÓN button to cycle through 3 brightness levels (Low, Medium, High) or turn it off.
- Girar proyección: The projector lens can be physically rotated 180° to adjust the angle of the projected time.

Image: The LIORQUE S7509 Projection Alarm Clock is shown in a bedroom, projecting the time '22:30' onto the ceiling. Below, three smaller images illustrate the three adjustable brightness levels for the projection.

Image: The LIORQUE S7509 Projection Alarm Clock is depicted with its projection arm extended, casting the time '12:45' onto a nearby surface. This image demonstrates the adjustable angle and direction of the projection feature.
3. Brillo de pantalla
Adjust the main display brightness to your preference.
- Presione el REGULADOR DE INTENSIDAD button (or similar, often labeled with a sun icon) to cycle through 4 levels of display brightness.
- The levels typically range from brightest to off, allowing for comfortable viewde día o de noche.

Image: The LIORQUE S7509 Projection Alarm Clock shows the time 22:30. Below, four distinct panels illustrate the four adjustable levels of screen brightness, ranging from completely off to maximum illumination, allowing users to select the appropriate brightness for night vision.
4. Radio FM
Escuche sus estaciones de radio FM favoritas.
- Encender/Apagar: Presione el RADIO Botón para encender o apagar la radio FM.
- Escaneo automático: Mantenga pulsado el RADIO button for 3 seconds to automatically scan and save up to 15 FM stations.
- Cambiar estaciones: Utilice el ANTERIOR / SIGUIENTE buttons (or '+' and '-') to switch between saved stations.
- Ajustar el volumen: Utilice el VOLUMEN +/- buttons to adjust the radio volume through 15 levels.

Image: The LIORQUE S7509 Projection Alarm Clock displays 'FM 7.84' on its screen, surrounded by graphic representations of radio waves indicating different FM frequencies (e.g., FM90.2, FM95.6, FM96.8, FM97.5, FM98.5). The image also highlights that the device can store 15 favorite radio stations and has 15 adjustable volume levels.
5. Función de repetición
Cuando suene una alarma, presione el botón grande DORMITOR / LUZ Botón en la parte superior del reloj. La alarma se pausará durante 9 minutos y luego volverá a sonar.
6. Temporizador de sueño
El temporizador de apagado permite que la radio funcione durante un tiempo determinado antes de apagarse automáticamente.
- Mientras la radio esté sonando, presione el botón DORMIR botón (o similar).
- Presione repetidamente el DORMIR button to cycle through preset sleep times (e.g., 5, 10, 15, 30, 60, 90 minutes).
- La radio se apagará automáticamente después del tiempo seleccionado.
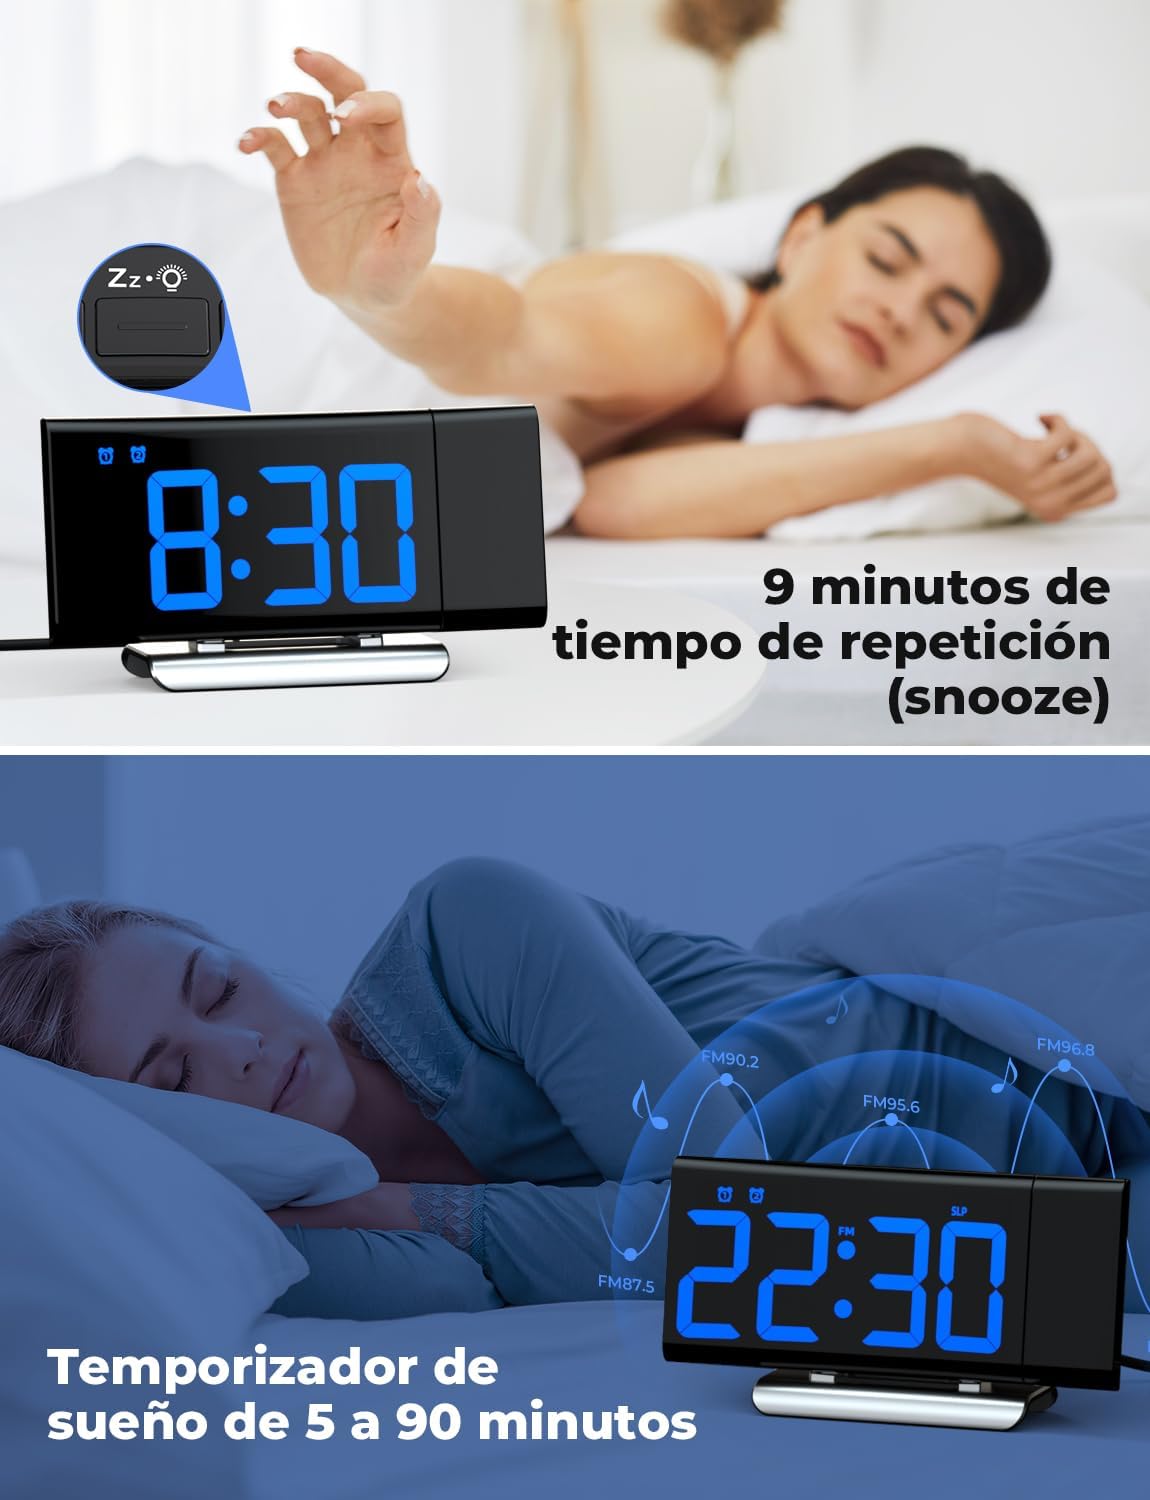
Image: The top section shows a person reaching for the snooze button on the LIORQUE S7509 Projection Alarm Clock, which displays 8:30, indicating a 9-minute snooze period. The bottom section features the clock displaying 22:30 with radio waves, illustrating the sleep timer function which can be set from 5 to 90 minutes, with a person sleeping peacefully in the background.
Mantenimiento
To ensure the longevity and optimal performance of your LIORQUE S7509 Projection Alarm Clock, follow these simple maintenance guidelines:
- Limpieza: Use a soft, dry cloth to wipe the surface of the clock. Do not use abrasive cleaners, solvents, or chemical sprays, as these can damage the finish and electronic components.
- Eliminación de polvo: Gently wipe the projector lens with a soft, lint-free cloth to maintain clear projection quality.
- Colocación: Coloque el reloj sobre una superficie estable y plana, lejos de la luz solar directa, fuentes de calor y humedad excesiva.
- Fuerza: Always use the provided power adapter. If the clock is not used for an extended period, you may unplug it. The built-in battery will retain settings for a short duration.
Solución de problemas
Si tiene algún problema con su despertador, consulte los siguientes problemas y soluciones comunes:
| Problema | Posible causa | Solución |
|---|---|---|
| La pantalla del reloj está en blanco. | Sin poder ni podertage. | Ensure the power adapter is securely plugged into the clock and a working outlet. Check if the display brightness is set to 'off'. |
| La proyección es borrosa o poco clara. | Incorrect focus or distance. | Adjust the distance of the clock from the projection surface. Ensure the projector lens is clean. |
| La alarma no suena. | Alarma no activada o volumen demasiado bajo. | Verify that the alarm icon is displayed on the screen. Check the alarm volume setting. Ensure the alarm time is correctly set. |
| Mala recepción de radio FM. | Señal débil o posición de la antena. | Extend the FM antenna fully. Reposition the clock to improve reception. |
| Los botones no responden. | Fallo temporal del software. | Unplug the power adapter for a few seconds, then plug it back in to reset the device. |
Presupuesto
| Característica | Detalle |
|---|---|
| Dimensiones del producto | 10.5 x 3.81 x 6.2 cm; 340 g |
| Número de modelo | S7509 |
| Marca | LIORQUE |
| Color | Azul |
| Tipo de pantalla | Digital |
| Fuente de poder | Both: Battery and AC power (with adapter) |
| Forma | Rectangular |
| Uso | Interior |
| Material del marco | Metal |
| Pilas incluidas | Sí |
| Tipo de montaje | Superficie de la mesa |
| Despertador | Sí |
| Número de artículos | 1 |
Garantía y soporte
The LIORQUE S7509 Projection Alarm Clock comes with a manufacturer's warranty. For specific details regarding warranty coverage and duration, please refer to the warranty card included in your package or contact LIORQUE customer support.
If you require further assistance, have questions, or encounter issues not covered in this manual, please contact LIORQUE customer support. Contact information can typically be found on the product packaging, the official LIORQUE websitio, o a través de su minorista.